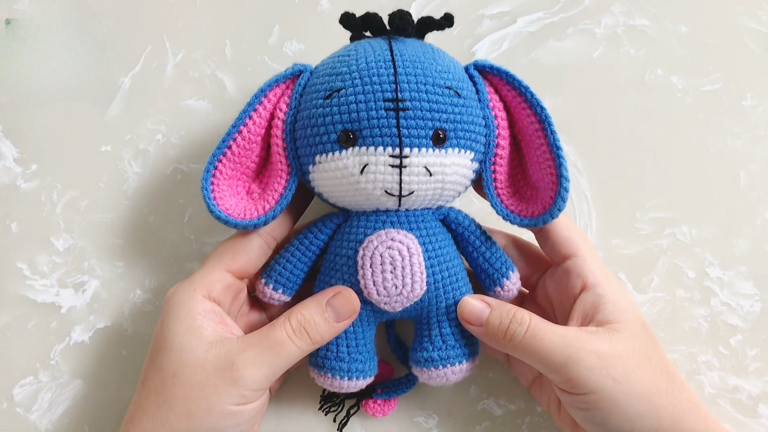
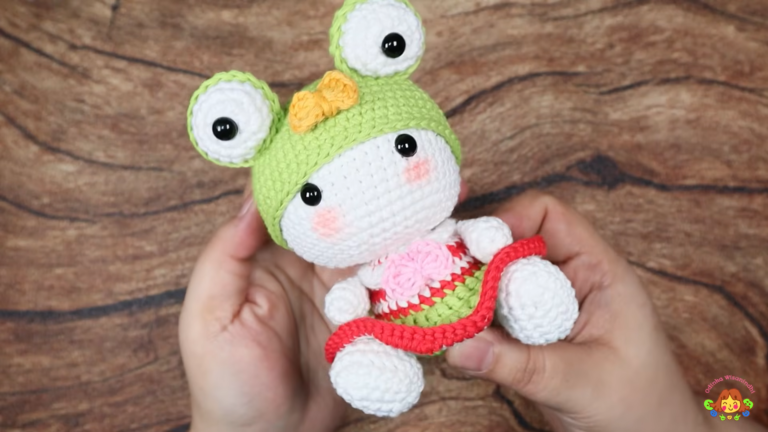
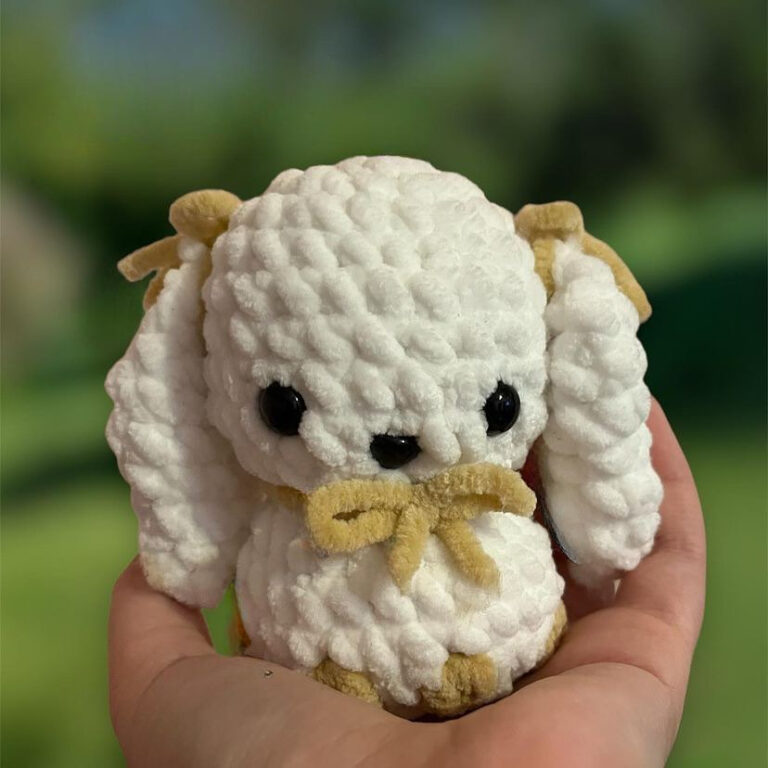
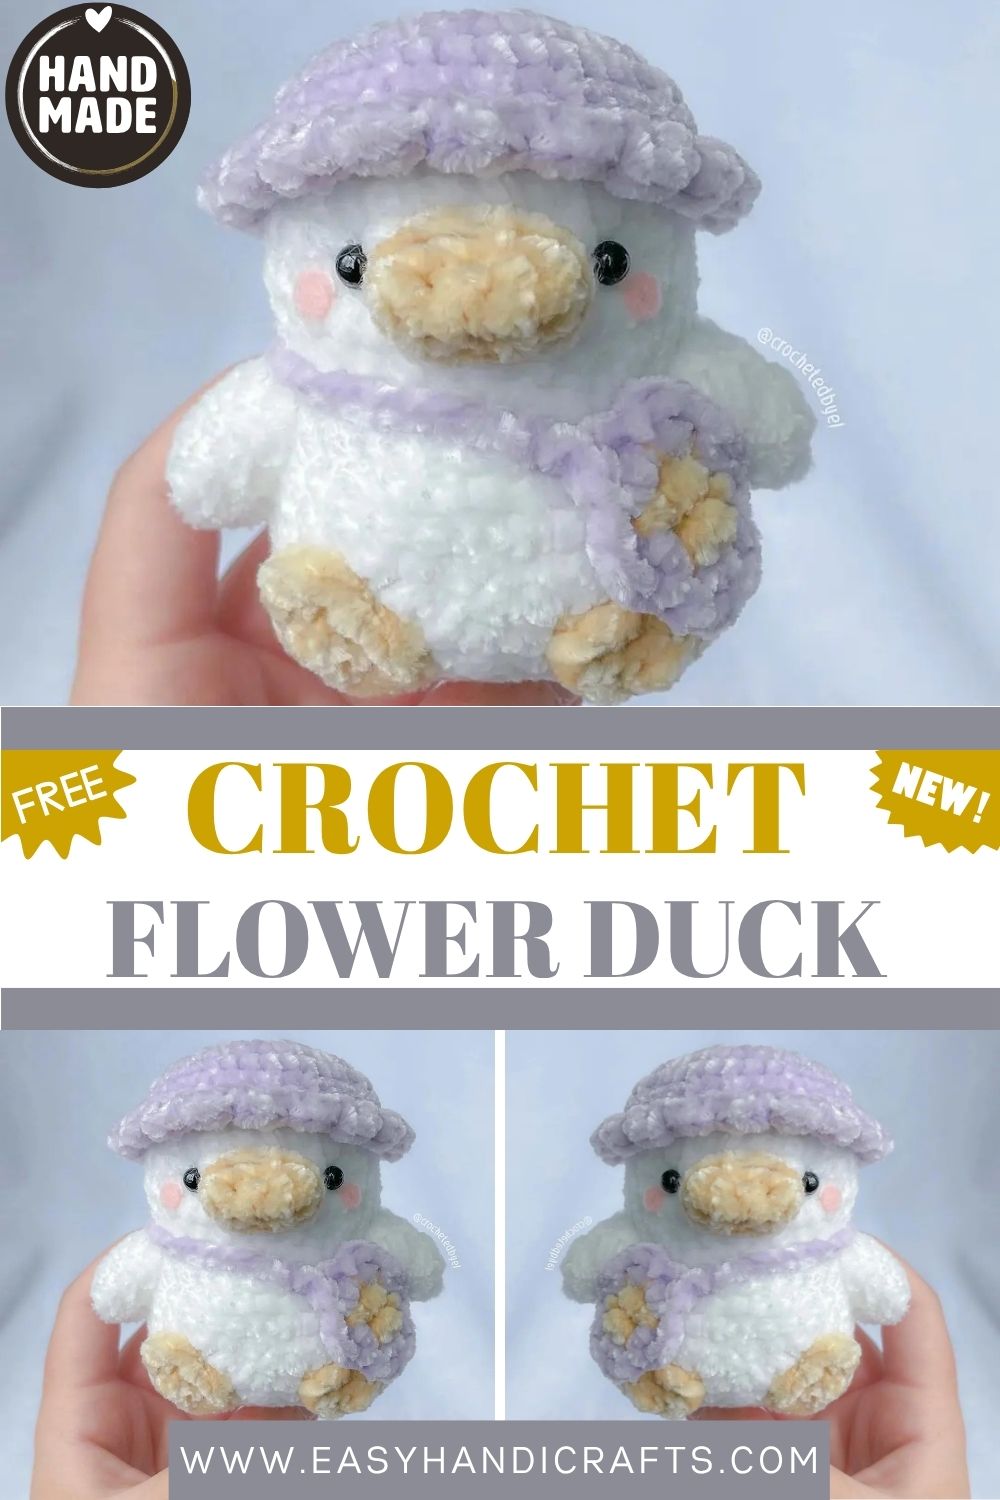
Soft Crochet Duck Toy Purple Hat & Bow Amigurumi Handmade Plush
Skill Level
Beginner to intermediate. If you are comfortable with single crochet and basic increases, you can make this duck with ease and confidence.
Materials You Will Need
- Yarn of your choice
- Hook size to match preferred yarn
- Yarn needle
- Stitch marker
- Poly-fil / stuffing
- Safety eyes
Stitches and Abbreviations
- MC — Magic Circle
- SC — Single Crochet
- INC — Increase
- DEC — Decrease
- SLST — Slip Stitch
- CH — Chain
- FLO — Front Loop Only
- DC — Double Crochet
- HDC — Half Double Crochet
The Pattern — Step by Step
Work in your chosen yarn color unless stated otherwise.
Body
R1: 6 sc in MC — 6 stitches. R2: Inc around — 12 stitches. R3: (1 sc, 1 inc) x6 — 18 stitches. R4: (2 sc, 1 inc) x6 — 24 stitches. R5: (3 sc, 1 inc) x6 — 30 stitches. R6–9: Sc around — 30 stitches. R10: (2 sc, 1 dec) x7, 1 dec — 22 stitches. R11: (1 sc, 1 inc) x11 — 33 stitches. R12–18: Sc around — 33 stitches. R19: (2 sc, 1 dec) x8, 1 sc — 25 stitches. R20: (1 sc, 1 dec) x8, 1 sc — 17 stitches. R21: 8 dec — 9 stitches. R22: Dec around. Fasten off and close.
Wings (Make 2)
R1: 4 sc in MC — 4 stitches. R2: Inc around — 8 stitches. R3–5: Sc around — 8 stitches.
Leave a long tail for sewing.
Feet (Make 2)
R1: 4 sc in MC — 4 stitches. R2: Sc in first stitch, chain 2, HDC in same stitch, slip stitch in next stitch. Repeat (chain 2, HDC, slip stitch) x3 to create toes.
Leave a long tail for sewing.
Bill
R1: Chain 5. Working into the second stitch from hook. R2: Sc 4 along chain — 4 stitches. R3: Sc 4 along other side of chain — 4 stitches.
Sc around foundation chain 2 times — total 8 stitches.
Hat
R1: 6 sc in MC — 6 stitches. R2: Inc around — 12 stitches. R3: (1 sc, 1 inc) x6 — 18 stitches. R4: (2 sc, 1 inc) x6 — 24 stitches. R5: (3 sc, 1 inc) x6 — 30 stitches. R6: (4 sc, 1 inc) x6 — 36 stitches. R7: Sc around — 36 stitches. R8: Working in front loop only — (HDC x3 in same stitch, sl st in following stitch) repeat around.
Bag and Handle
R1: In yellow — 6 sc in MC — 6 stitches. R2: Switch to desired petal color. DC x2 in first stitch, slip stitch in same stitch. Repeat around — (DC x2, sl st) x6.
Handle: Before fastening off, sc a chain of your desired length to wrap around your plush. Fasten off and sew the loose end to the flower.
Customization and Variations
- Swap lavender for any pastel shade soft yellow, mint green, or baby pink all work beautifully with this design.
- Skip the hat and bag for a simpler, classic duck look that still feels charming and complete.
- Use a smaller hook and finer yarn to make a miniature version. Perfect for keychains or bag charms.
- Add embroidered rosy cheeks with pink yarn for extra kawaii cuteness on the face.
- Try making the hat in a contrasting color to give your duck a fun, playful personality.
- Use chunky yarn and a larger hook for a bigger, extra-huggable version of this duck.
- Make a matching set in different colors and gift them together as a sweet little duck family.
Common Mistakes to Avoid
- Not using a stitch marker – Always mark the first stitch of each round. It is very easy to lose count, especially across long rounds like R12 to R18.
- Overstuffing the body – Add stuffing gradually as you go. Too much stuffing too soon distorts the shape.
- Skipping the front loop in R8 of the hat – This step creates the brim. Working through both loops removes the ruffle effect completely.
- Uneven wings -Make sure both wings are the same size before sewing. Hold them side by side to compare before attaching.
- Sewing parts on unevenly – Pin the bill, wings, and feet in place before sewing. This helps you check placement and symmetry first.
- Leaving safety eyes too loose -Always secure the backing washer with a firm press until it clicks into place and will not move.
Finishing Tips
- Use a blunt yarn needle to weave in all ends neatly inside the body so nothing shows on the outside.
- Before sewing the bill, flatten it slightly with your fingers to give it that classic duck beak shape.
- Pin all parts — wings, feet, bill, and hat before sewing anything permanently. Step back and look at the overall shape first.
- When attaching the flower bag handle, make sure the chain length is long enough to sit comfortably around the duck’s body without pulling.
- Give the finished duck a gentle squeeze and reshape if needed. Amigurumi often benefits from a little hand-shaping after assembly.
- If any seams look visible, use the same yarn color to do a few extra whip stitches over the join to tidy it up.
Gifting Ideas
- Wrap the finished duck in tissue paper inside a small box for a gift that feels boutique and special.
- Pair it with a soft baby blanket and gift it as a newborn present. The pastel tones make it perfect for nurseries.
- Make one for Easter and tuck it into a gift basket with chocolates and small treats for a handmade seasonal gift.
- Gift it to a crochet-loving friend along with a skein of lavender yarn and a printed copy of this pattern.
- These Crochet Duck Toy sell well at craft markets make a few in different colors and display them together for an eye-catching stall setup.
- Add a small tag with a handwritten note and gift it as a thank-you present. Handmade always feels more meaningful than store-bought.
Conclusion
At the end of the day, some things just speak straight to the heart and this Lavender Crochet Duck Toy is one of them. Its dreamy pastel tones, cloud-soft texture, and kawaii charm make it a piece that people of all ages instantly adore. If you have been searching for a gift that feels personal, unique, and truly unforgettable, look no further. This little duck is ready to find its forever home.