Little Crochet Christmas House Pattern for home decoration
Make your holidays extra cozy with this Little Crochet Christmas House Pattern. A beginner-friendly DIY ornament perfect for tree decor, garlands, or gift toppers. Learn how to crochet a mini house with a snowy white roof, tiny door, window, and heart detail a sweet handmade addition to your Christmas home decoration.
What Is the Little Crochet Christmas House Pattern?
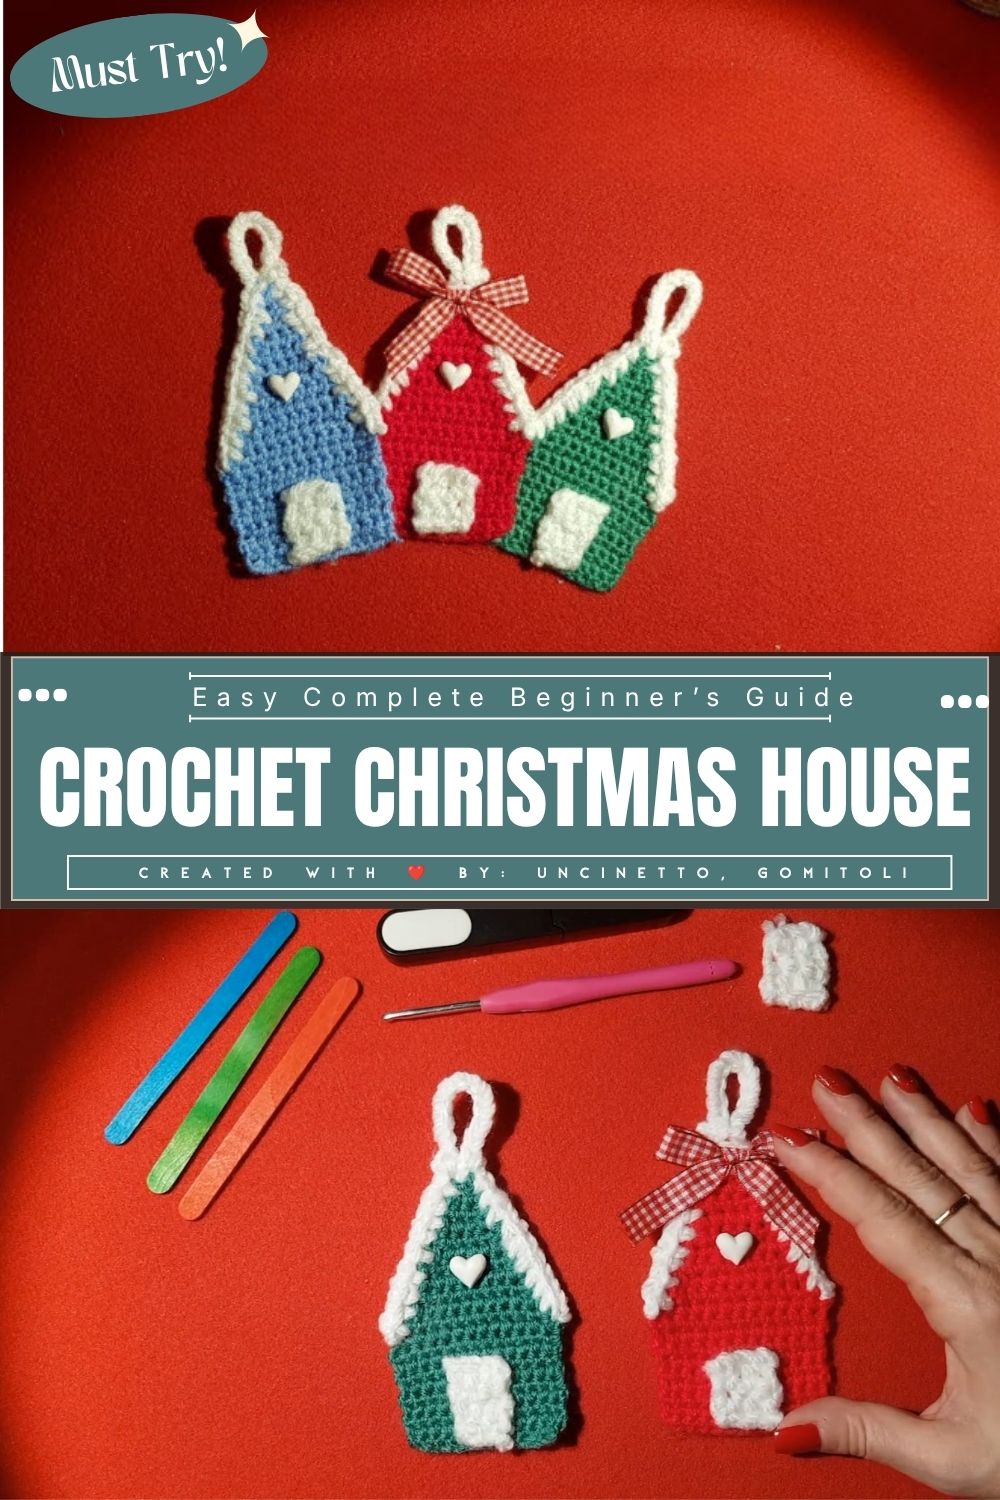
The Little Crochet Christmas House Pattern is a small holiday craft that turns simple yarn and basic stitches into a mini house-shaped ornament. It usually has a colorful body, a contrasting roof, a tiny door, a window, and a small heart on top, which makes it look like a cozy little cottage ready for winter.
This pattern is popular during the Christmas season because it is quick to finish and does not need fancy tools. It works well as tree decor, gift toppers, or garland pieces.
Skill Level
This project is rated as Beginner to Intermediate. If you already know a few basic stitches, you will be able to follow along easily. It is also a great pattern for someone who wants to practice working in rounds and rows before moving on to bigger holiday projects.
What You Will Need
Before you start, gather these simple supplies so your crafting session goes smoothly:
- A medium-size crochet hook (a comfortable, ergonomic handle makes long sessions easier on your hands)
- Worsted weight yarn in your main house color (light blue, red, or green work beautifully)
- A small amount of white yarn for the roof, door, and window trim
- A tiny bit of red or pink yarn for the heart detail
- Scissors for trimming yarn ends
- A yarn needle for weaving in loose ends
- Stitch markers (optional, but helpful for keeping track of your rounds)
- A small piece of cardboard or felt if you want to give the house a flat, sturdy back
Key Techniques Used in This Project
This little house project relies on a few core techniques that come together to create its shape and charm:
Working in the Round
Most little house decorations start from a small ring or loop of stitches, and then you build outward in circular rounds. This method creates a smooth, curved base that later gets shaped into the house body.
Single Crochet Stitches
The main body of the house is built using single crochet stitches, which are simple, tight, and give the fabric a neat, sturdy texture. This texture holds its shape well, which is important for a decoration that needs to look tidy while hanging or sitting on a shelf.
Shaping and Increasing
As the piece grows from a small ring into a wider circle or oval, small increases are added evenly around the round. This gentle widening is what turns a tiny starting loop into a base big enough to form the walls of the house.
Adding Details
Once the main shape is ready, small details like a heart, a door, a window, and a decorative roof trim are added on top. These little extras are what make the finished piece instantly recognizable as a house rather than just a plain shape.
Step-by-Step Guide
Here is a detailed walkthrough based on how this cozy little house comes together, step by step.
Step 1: Start Your Foundation Ring
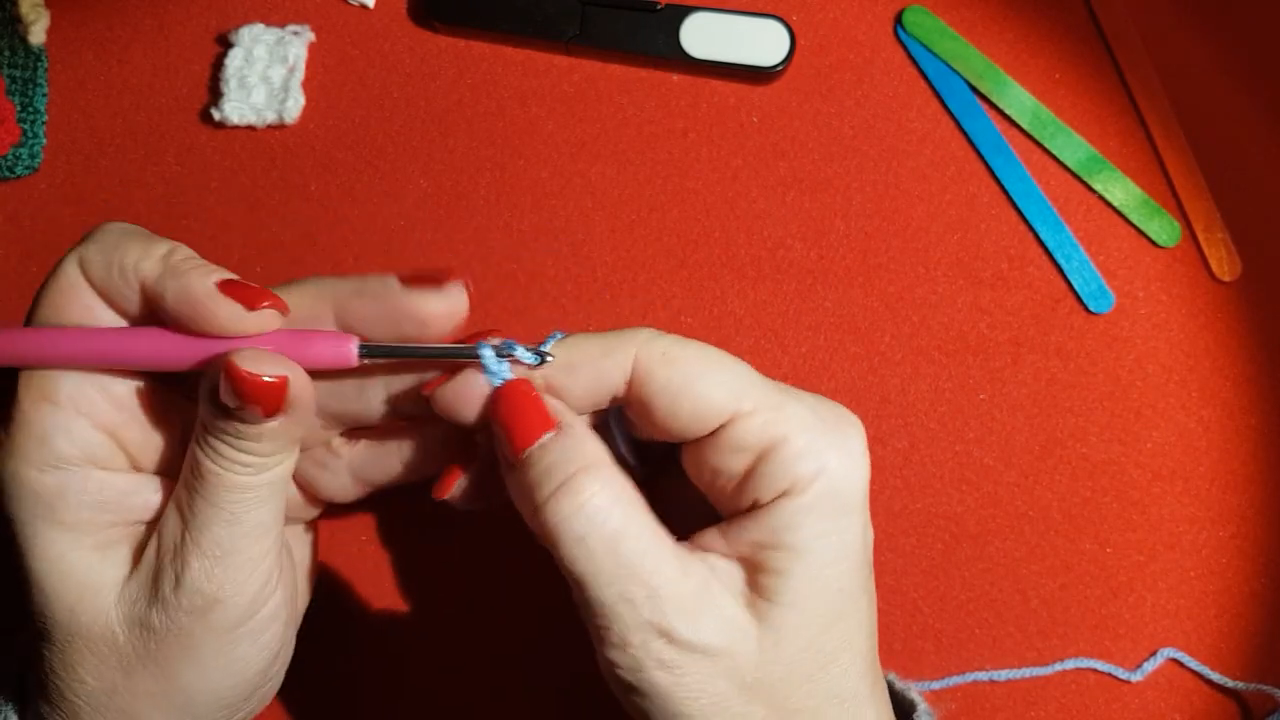
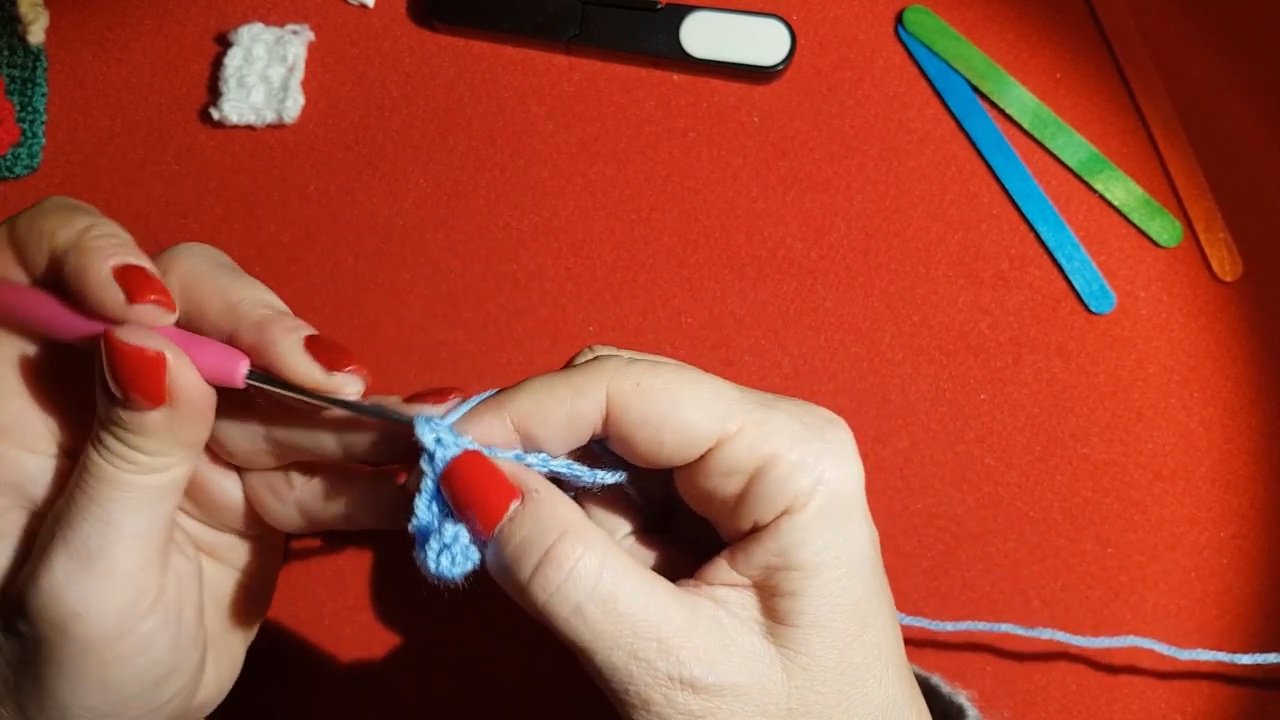
Begin by making a small starting loop with your main color yarn, holding your hook in one hand and guiding the yarn with the other. Pull the yarn through to form your first loop on the hook, keeping your tension relaxed but even. This first loop is the very center of your project, and everything else will be built outward from this one small point. Take your time here, since a neat, snug starting loop makes the rest of the project much easier to shape evenly.
Step 2: Build the First Round of Stitches
Once your starting loop is secure, begin working single crochet stitches directly into it, one after another, going around in a small circle. You will notice the stitches naturally forming a tiny ring shape as you go, with the working yarn trailing off to the side. Keep your stitches close together and consistent in size so the base stays flat and even rather than curling or puckering.
Step 3: Continue Growing the Circle
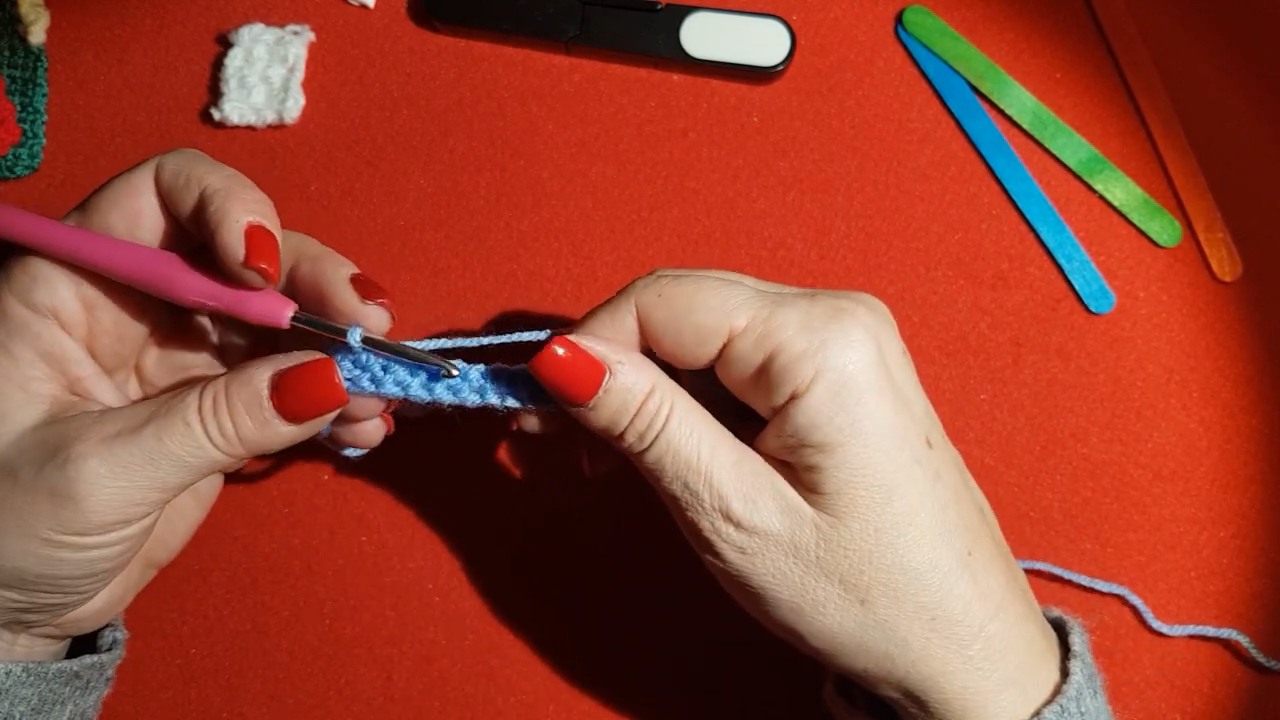
As you complete your first round, continue to the next one, adding stitches evenly so the small ring gradually becomes a wider, flatter circle. At this stage, the piece will still look quite small and simple, almost like a little coaster shape. This is completely normal, since the base needs several rounds before it starts to resemble a house shape. Keep counting your stitches at the end of each round, so your circle stays symmetrical.
Step 4: Shape the Base Further
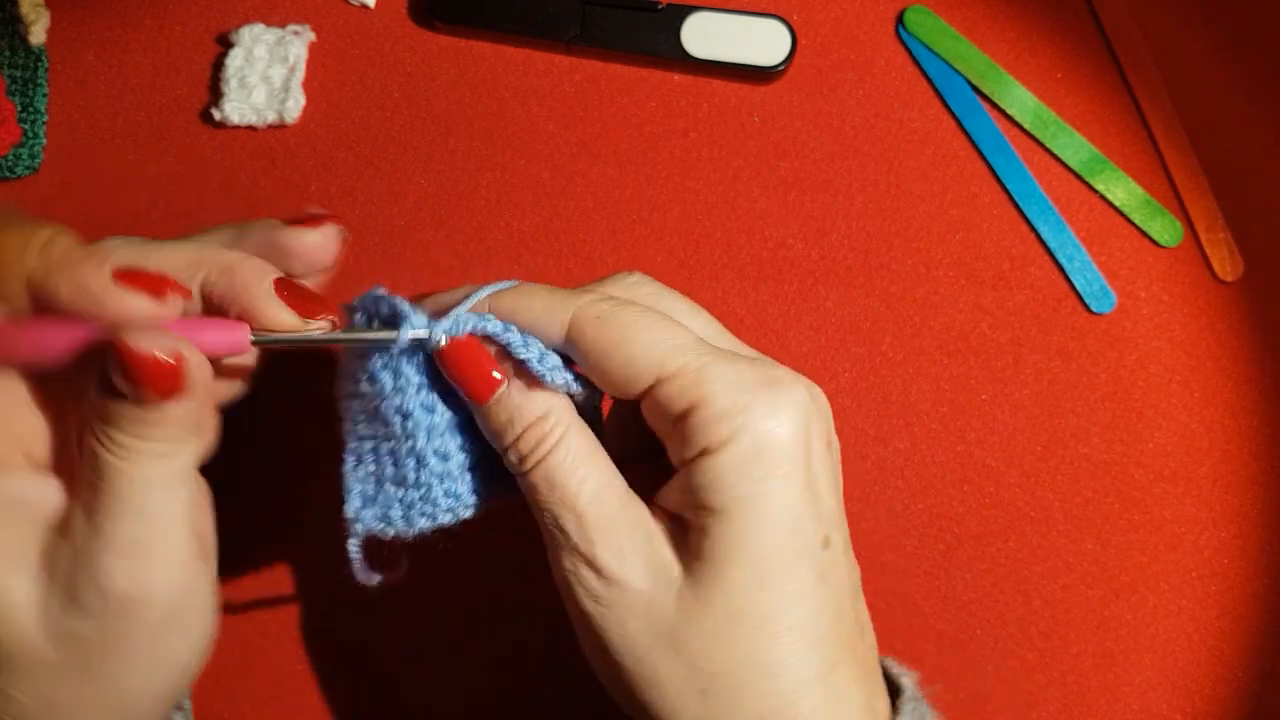
Keep working round after round, gently increasing where needed so the circle grows outward smoothly without becoming wavy or too tight. By this point, the piece should have a noticeably fuller, rounder shape compared to where you started. This wider base is what will eventually form the bottom or the main wall section of the little house, so keeping your tension even is important for a professional-looking result.
Step 5: Transition Into the House Body
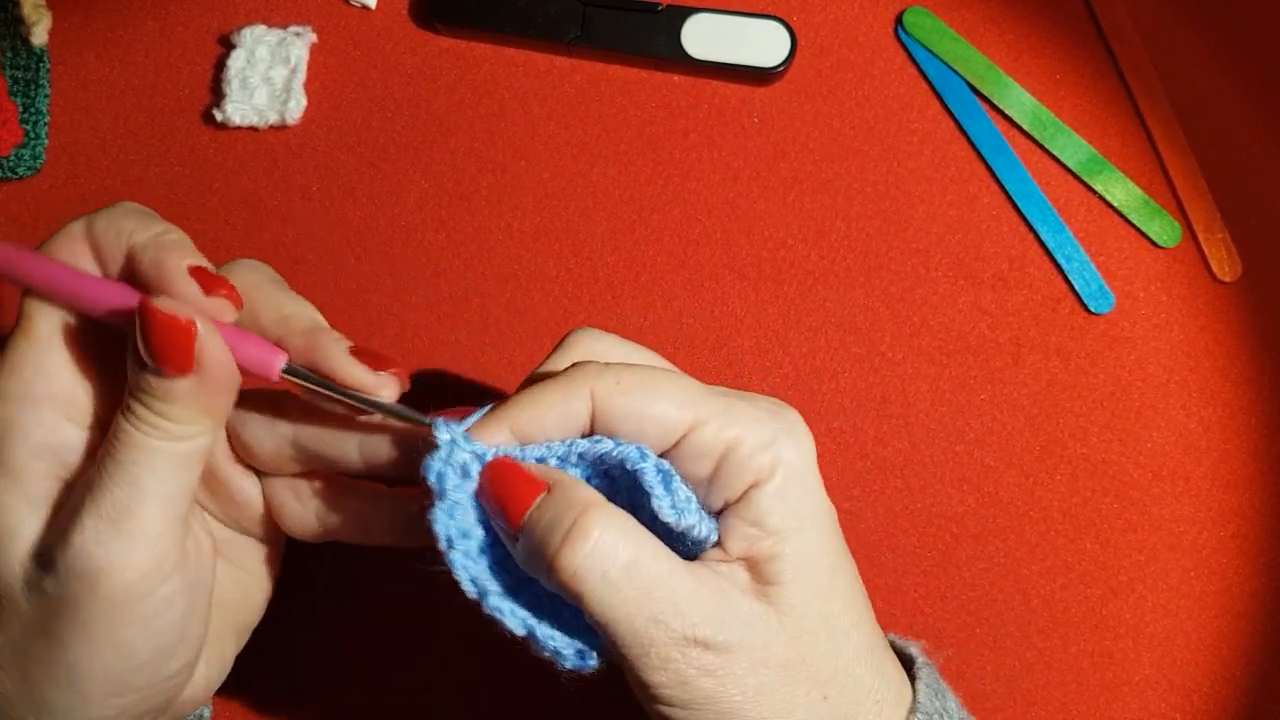
Once your base circle has reached the right size, you will start working in rows instead of rounds to shape the straight walls of the house. This is where the piece begins to look less like a flat circle and more like a small pouch or panel, folding gently to hint at the house structure. Working steadily through this stage gives your project its recognizable boxy house silhouette.
Step 6: Add the Roof Details
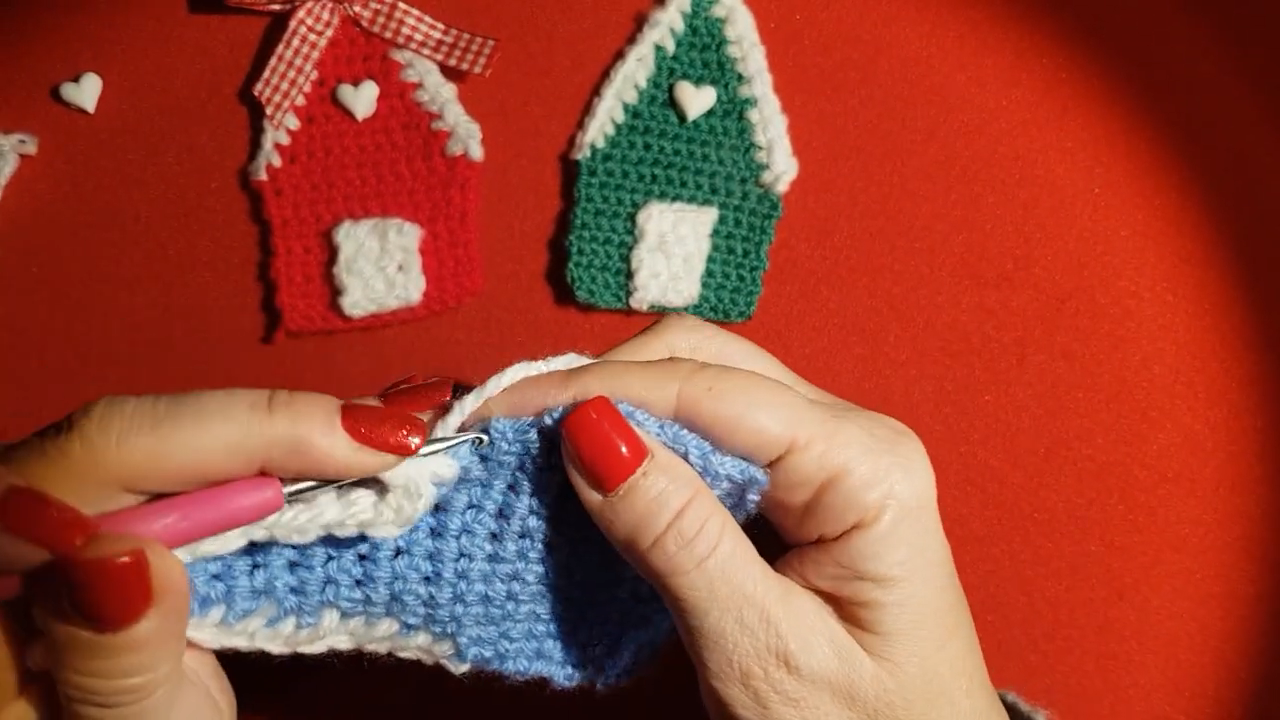
With the body complete, it is time to switch to your white yarn to create the roof section. Work this part along the top edge of the house body, and if your pattern calls for a decorative zigzag or scalloped trim, add it now to give the roof a charming, snow-capped look. This contrast between the white roof and the colored body is what gives these little houses their classic, festive appearance.
Step 7: Attach the Heart, Door, and Window
Now comes the fun part: adding the small details that make each house unique. Stitch or attach a tiny heart shape near the roofline, a small rectangular door in a contrasting color, and a little square window somewhere on the front of the house. These pieces can be made separately in small rounds or rows and then attached with a needle and matching yarn, or worked directly onto the house front depending on your preferred method.
Step 8: Finish and Secure
Once all your pieces and details are attached, weave in every loose yarn end using your yarn needle so the back of your house looks just as tidy as the front. If you want your house to hang on a tree or garland, attach a small loop of yarn or ribbon to the top back of the roof. For a sturdier finish, you can also glue or stitch your piece onto a small backing before adding the hanging loop.
Helpful Tips for Beginners
- Always count your stitches at the end of each round to avoid uneven shaping.
- Use a lighter colored yarn when you are first learning, since it is easier to see individual stitches clearly.
- Keep your tension relaxed; stitches that are too tight make the fabric stiff and hard to shape.
- Practice the basic single crochet stitch on a small swatch before starting the actual house if you are new to this technique.
- Work in good lighting so you can clearly see where your hook needs to go, especially when adding small details like the heart or window.
Common Mistakes to Avoid
- Skipping stitch counts, which leads to a lopsided or curling base instead of a flat, even circle.
- Pulling the yarn too tightly, which makes the fabric stiff and difficult to shape into the house form.
- Rushing through the detail pieces like the door and window, which can end up crooked if attached without pinning them in place first.
- Forgetting to weave in yarn ends, which leaves loose threads that can unravel over time.
- Choosing yarn that is too thin or too thick for the intended hook size, which changes the overall size and shape of the finished house.
Customization Ideas and Variations
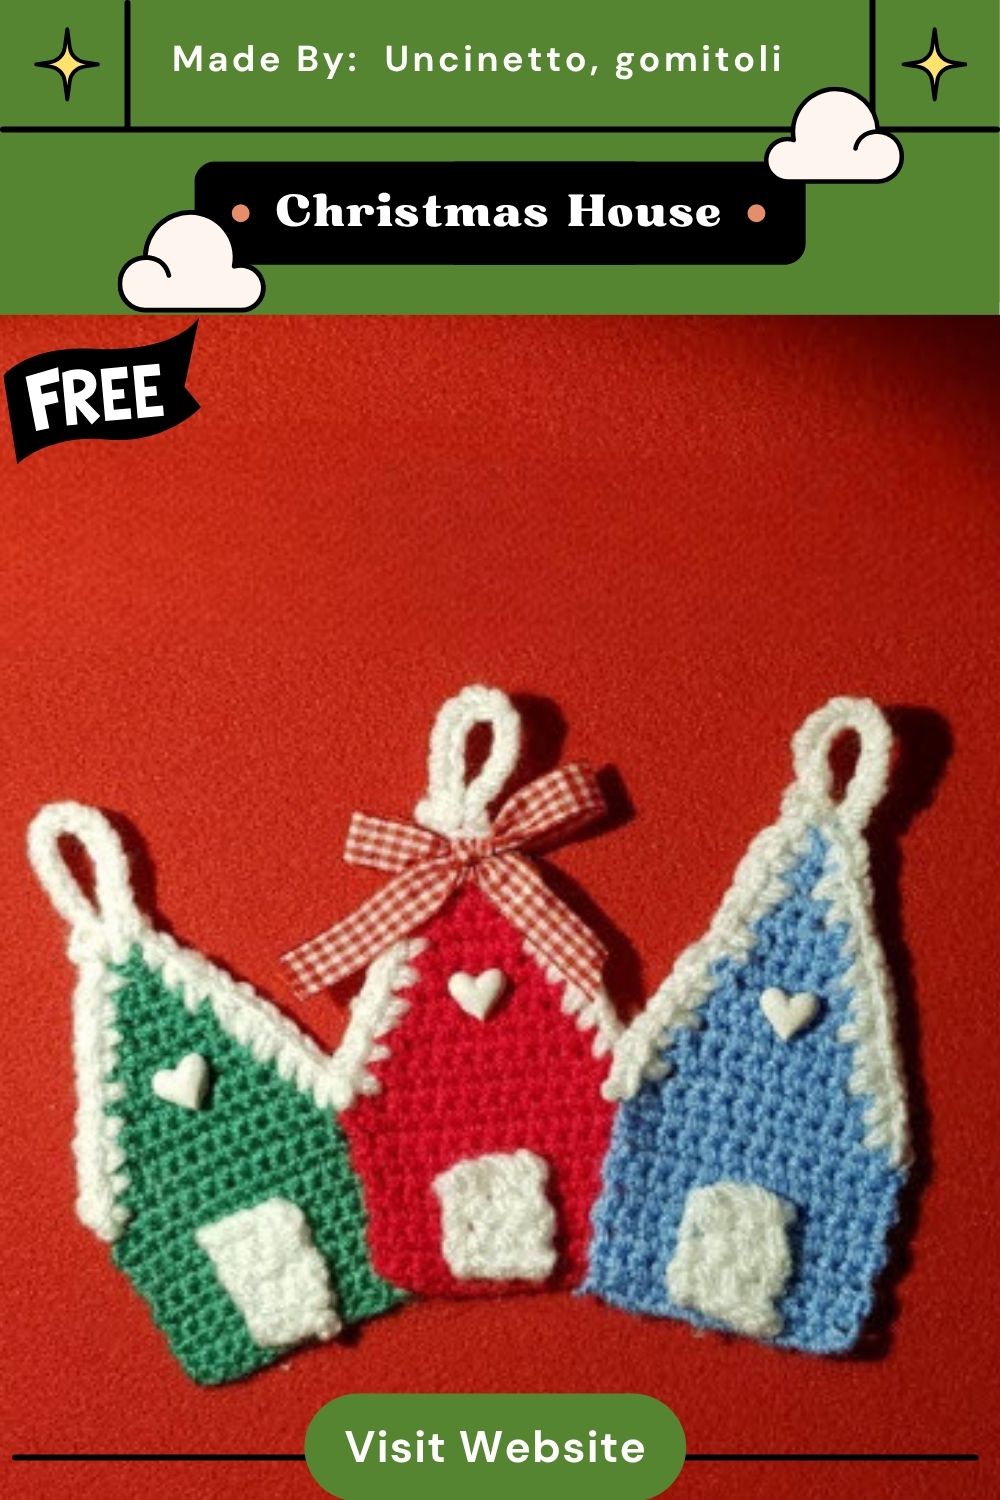
One of the best parts of this little house pattern is how easy it is to personalize. Try a red body with a white roof for a classic candy-cane feel, or a green body for a pine-tree inspired look. You can also experiment with adding tiny buttons as door handles, a small pom-pom on the roof peak, or a string of little houses joined together to make a festive garland. For a non-holiday version, swap the heart for a simple star or leave off the decorations entirely for a year-round cottage-style ornament that suits any season.
Frequently Asked Questions
1. How long does it take to finish one Crochet Christmas House Pattern?
Most beginners can complete a small house ornament in about one to two hours, depending on how detailed the roof and decorations are.
2. Can I make this pattern without prior crochet experience?
Yes, this pattern is beginner-friendly since it mainly uses basic single crochet stitches, though having a little practice beforehand will help your stitches look more even.
3. What yarn weight works best for this Crochet Christmas House Pattern?
A medium or worsted weight yarn is usually ideal, since it holds its shape well and is easy to handle for smaller detail pieces like the door and window.
4. How do I make the house stand up on its own instead of hanging?
You can stiffen the base with a small piece of cardboard or fabric stiffener, or simply lean the finished house against another decoration for a charming display.
5. Can I turn this into a garland for my mantel or tree?
Absolutely. Simply make several little houses in different colors and join them together with a length of ribbon or yarn for a beautiful handmade garland.
6. What is the best way to attach the small details like the heart and window?
Using a yarn needle and matching-colored thread to whip stitch the pieces in place usually gives the neatest, most secure result.
Final Thoughts
The Little Crochet Christmas House Pattern is a delightful way to bring a personal, handmade touch to your holiday decorating. From shaping the first small ring to adding the final heart and window details, each step builds toward a charming little decoration that looks wonderful on a tree, shelf, or gift.