Adorable Crochet Cactus Earphone Case Pattern for Animal Lovers
Adorable Crochet Cactus Earphone Case Pattern for Animal Lovers turns a small ball of green yarn into a pod-shaped cover with a cheerful face, perfect for gifting or everyday carrying. It works up quickly and fits snugly around a standard wireless earbuds case.
This little project sits at the sweet spot between quick and satisfying. A crochet cactus earphone case blends amigurumi shaping with practical function, so the finished piece actually gets used every day instead of sitting on a shelf. Many crafters also search for an amigurumi pouch pattern or a cactus-shaped cozy when browsing beginner-friendly ideas, and this design answers both searches at once. Because it uses basic stitches throughout, it stays approachable even for someone new to shaping rounds.
What Is This Pattern?
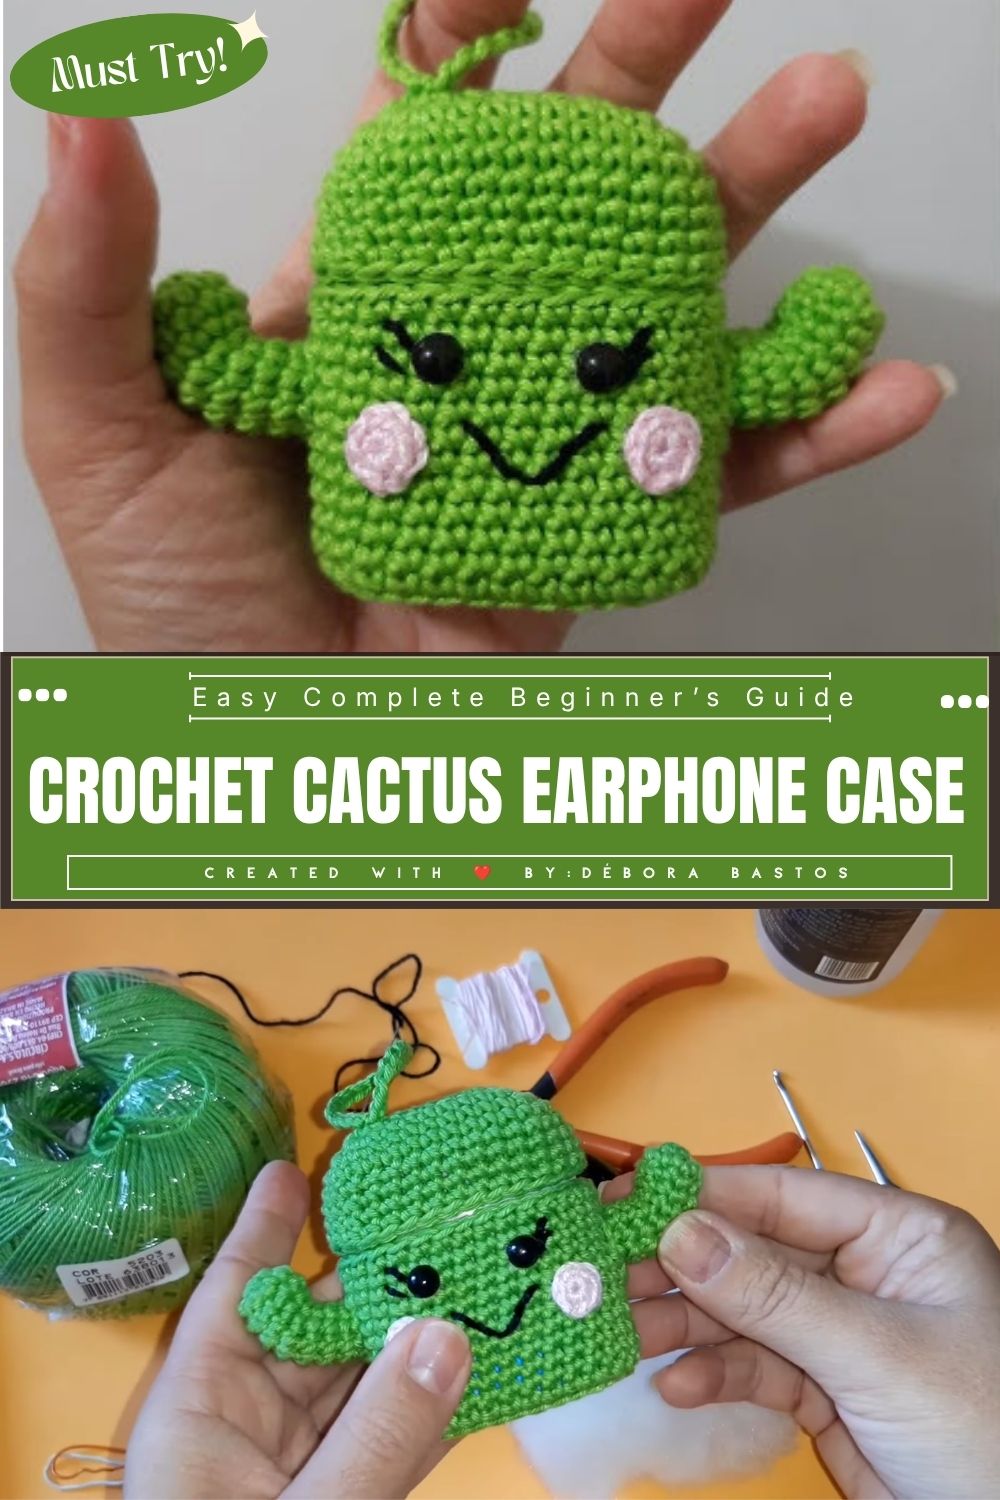
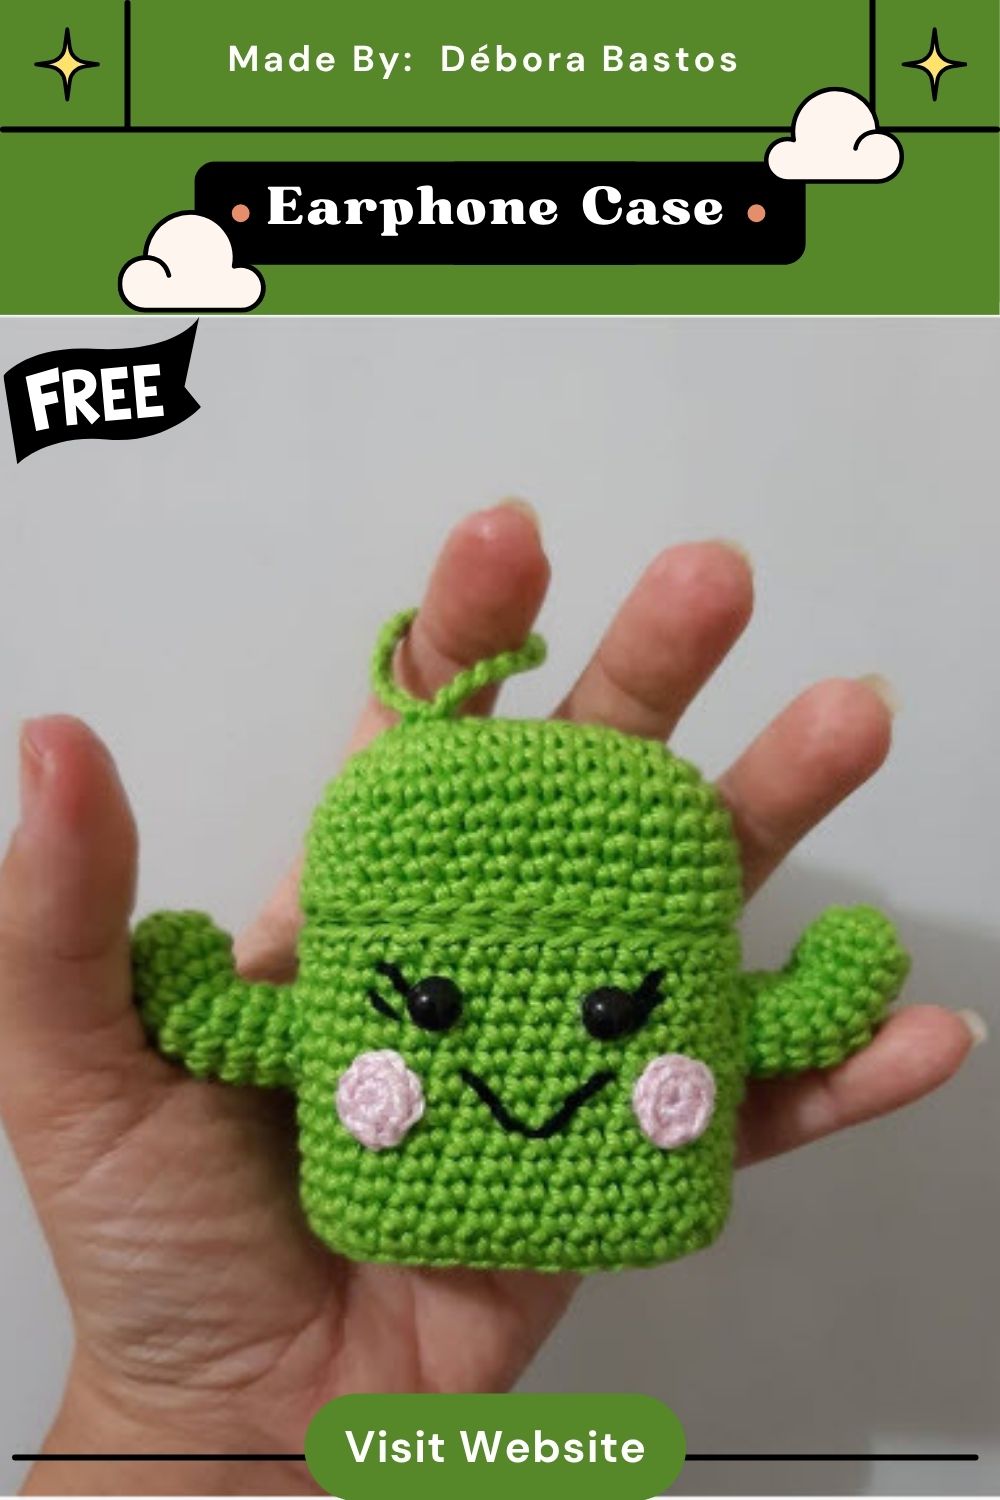
The crochet cactus earphone case is a fitted cover shaped like a small potted cactus, complete with a stitched-on face. Instead of a plain fabric pouch, this pattern gives earbuds a personality. The body wraps snugly around the case, while the top forms a rounded “cactus head” that snaps or pulls open. Beginners often wonder whether the shape is difficult to control, and thankfully the rounds build gradually, so the pot-to-cactus transition stays manageable throughout.
What Do You Need to Make It?
A short supply list keeps this project affordable and quick to start. Gather the following before beginning:
- Worsted-weight green yarn (main color)
- Small amounts of white and black yarn for facial details
- A 2.5mm to 3mm crochet hook
- Stitch marker
- Yarn needle for weaving in ends
- Small scissors
- Fiberfill or a rigid case insert (like an AirPods case) for structure
Since the case wraps directly around an earbud shell, no separate stuffing is strictly required, although a little fiberfill helps the top hold its rounded shape.
What Skills Does It Require?
Nothing advanced is needed here, which makes the pattern approachable for a wide range of skill levels. The core techniques include:
- Magic ring starts
- Single crochet in the round
- Basic increases and decreases
- Simple embroidery for the face
- Seaming two crochet pieces together
Because the stitch count stays consistent within each round, tracking progress becomes intuitive after the first few rows. Additionally, no color changes are required mid-round, which keeps the process smooth for newer crafters.
How Long Does It Take?
Most makers finish this piece in two to three hours, though total time depends on hook speed and experience. Someone comfortable with amigurumi shaping might complete it in a single sitting, while a beginner could spread the work across two short sessions. Either way, the project moves fast compared to larger amigurumi builds, since the case only needs a handful of rounds before shaping begins.
What’s the Process Like?
Each step below follows the actual construction sequence shown in the photos, so following along in order keeps the shape accurate.
Step 1: Start the ring around the hook. Hold the green yarn ball steady in one hand while wrapping the working yarn around the fingers of the other, then insert the hook to catch the first loop. Keeping the tail pinched firmly between two fingers at this stage prevents the center from loosening once stitches are added.
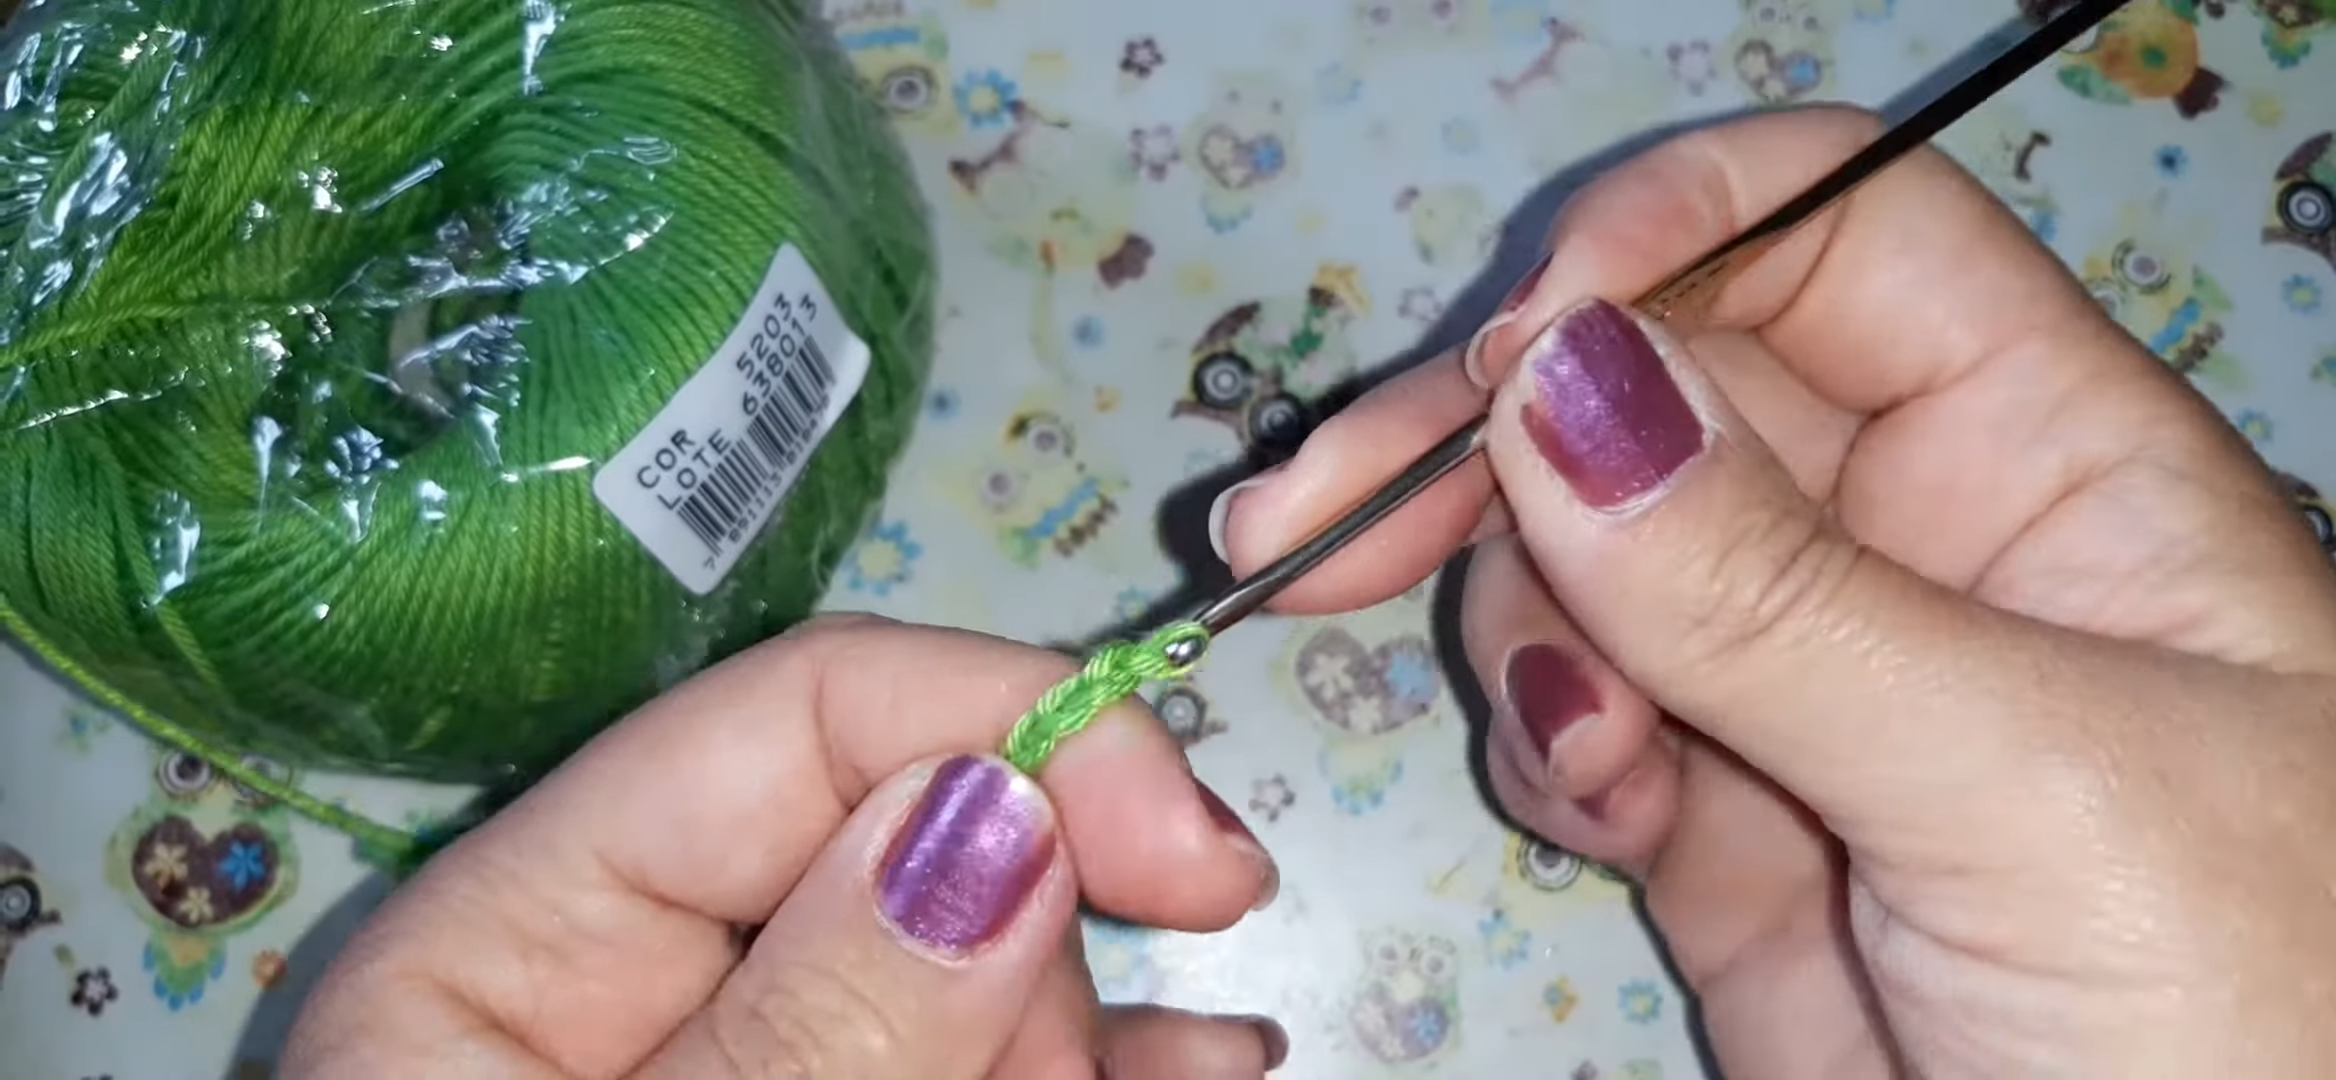
Step 2: Close the ring and work the first round. Once the loop sits on the hook, crochet single stitches directly into the ring, pulling each one snug before moving to the next. Tugging the tail end gently after a few stitches closes the center hole completely, leaving a tight, gap-free circle to build on.
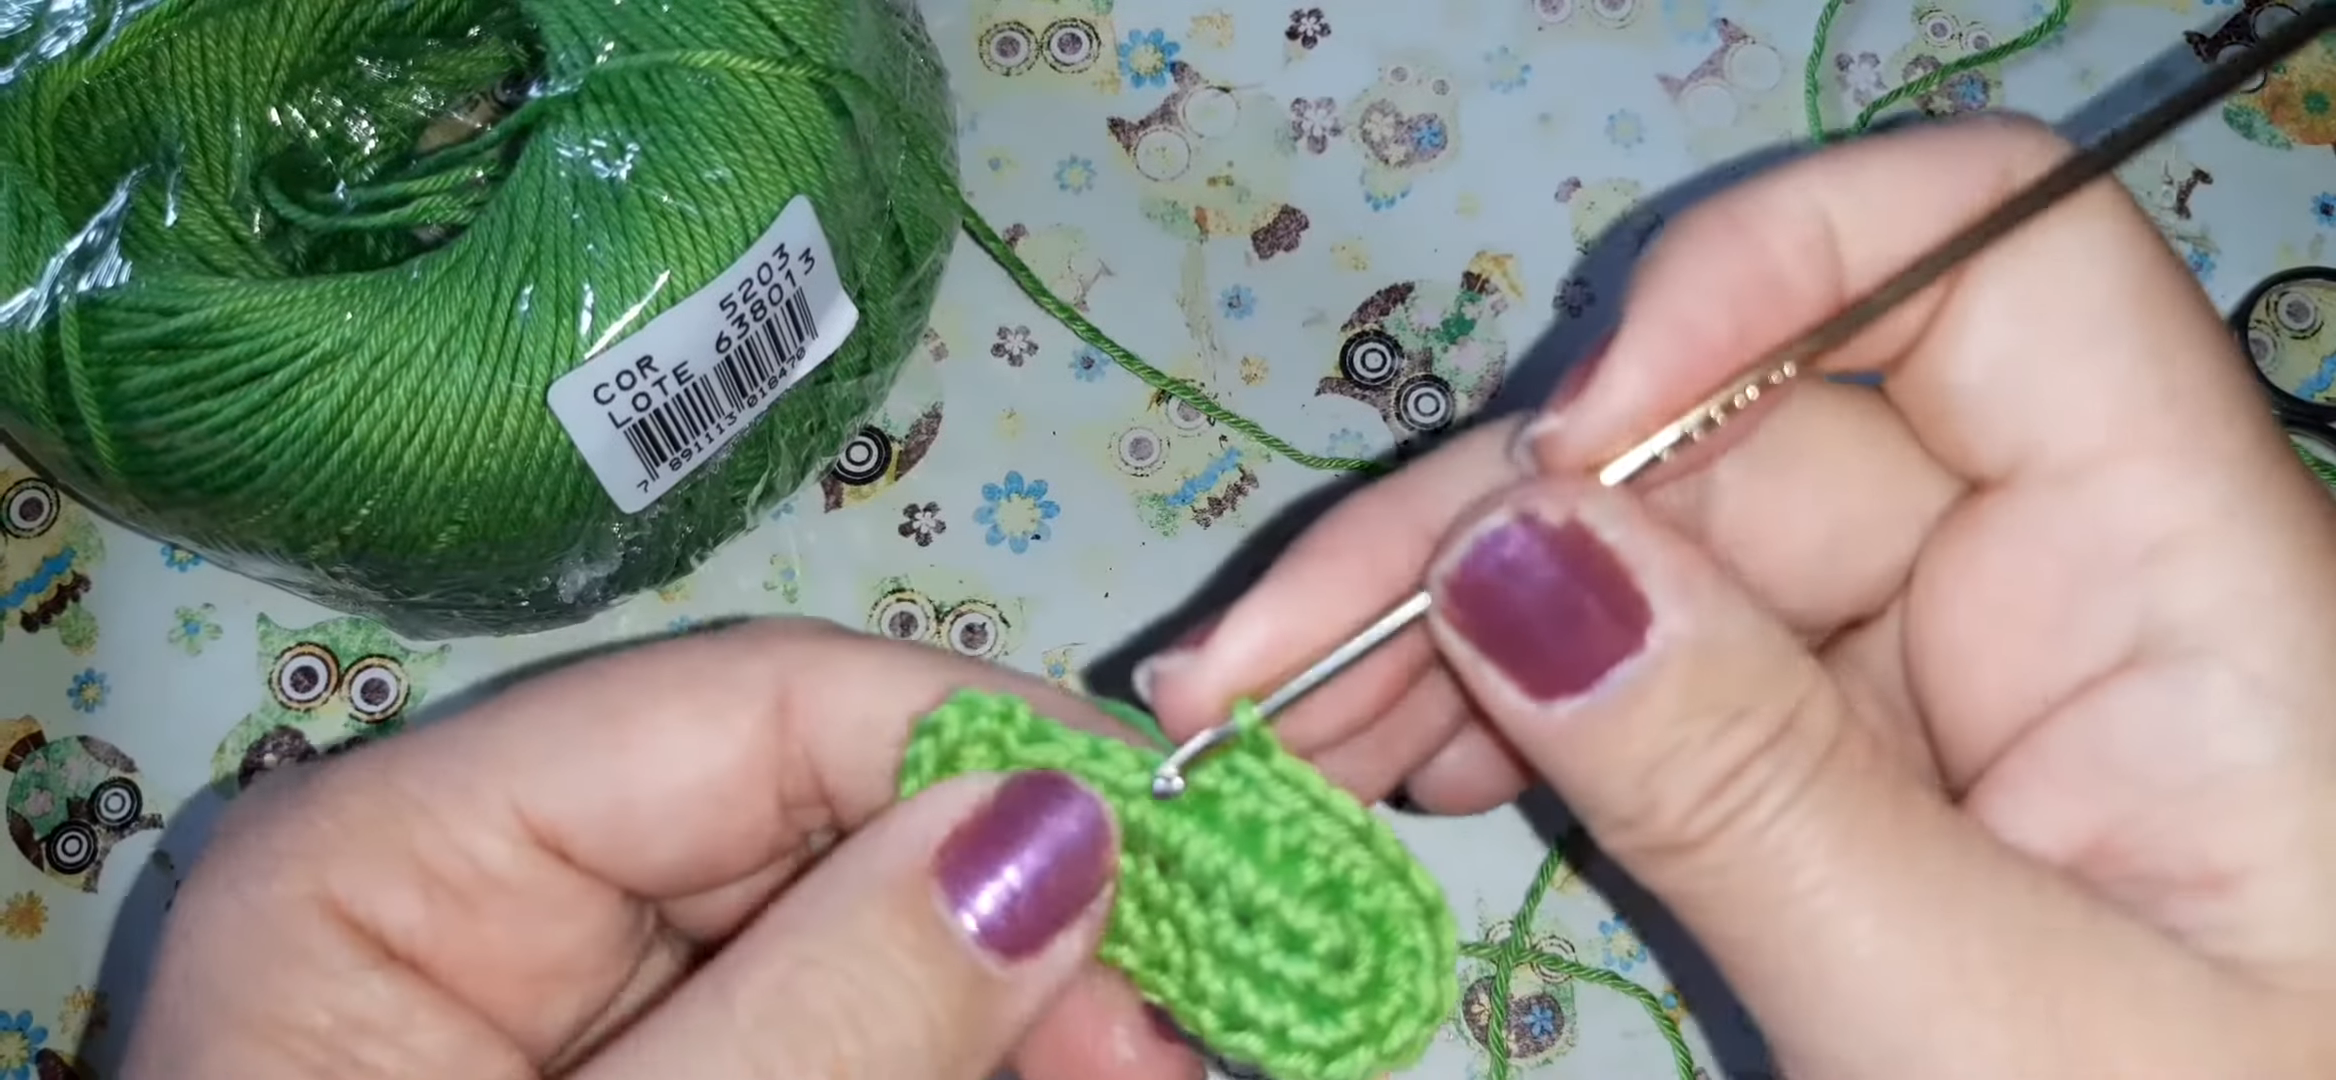
Step 3: Continue building the rounds upward. With the base complete, keep working single crochet stitch by stitch, rotating the piece slightly between fingers to maintain even tension. At this stage the small dome shape starts curving inward slightly, showing the beginning of the case’s rounded top.
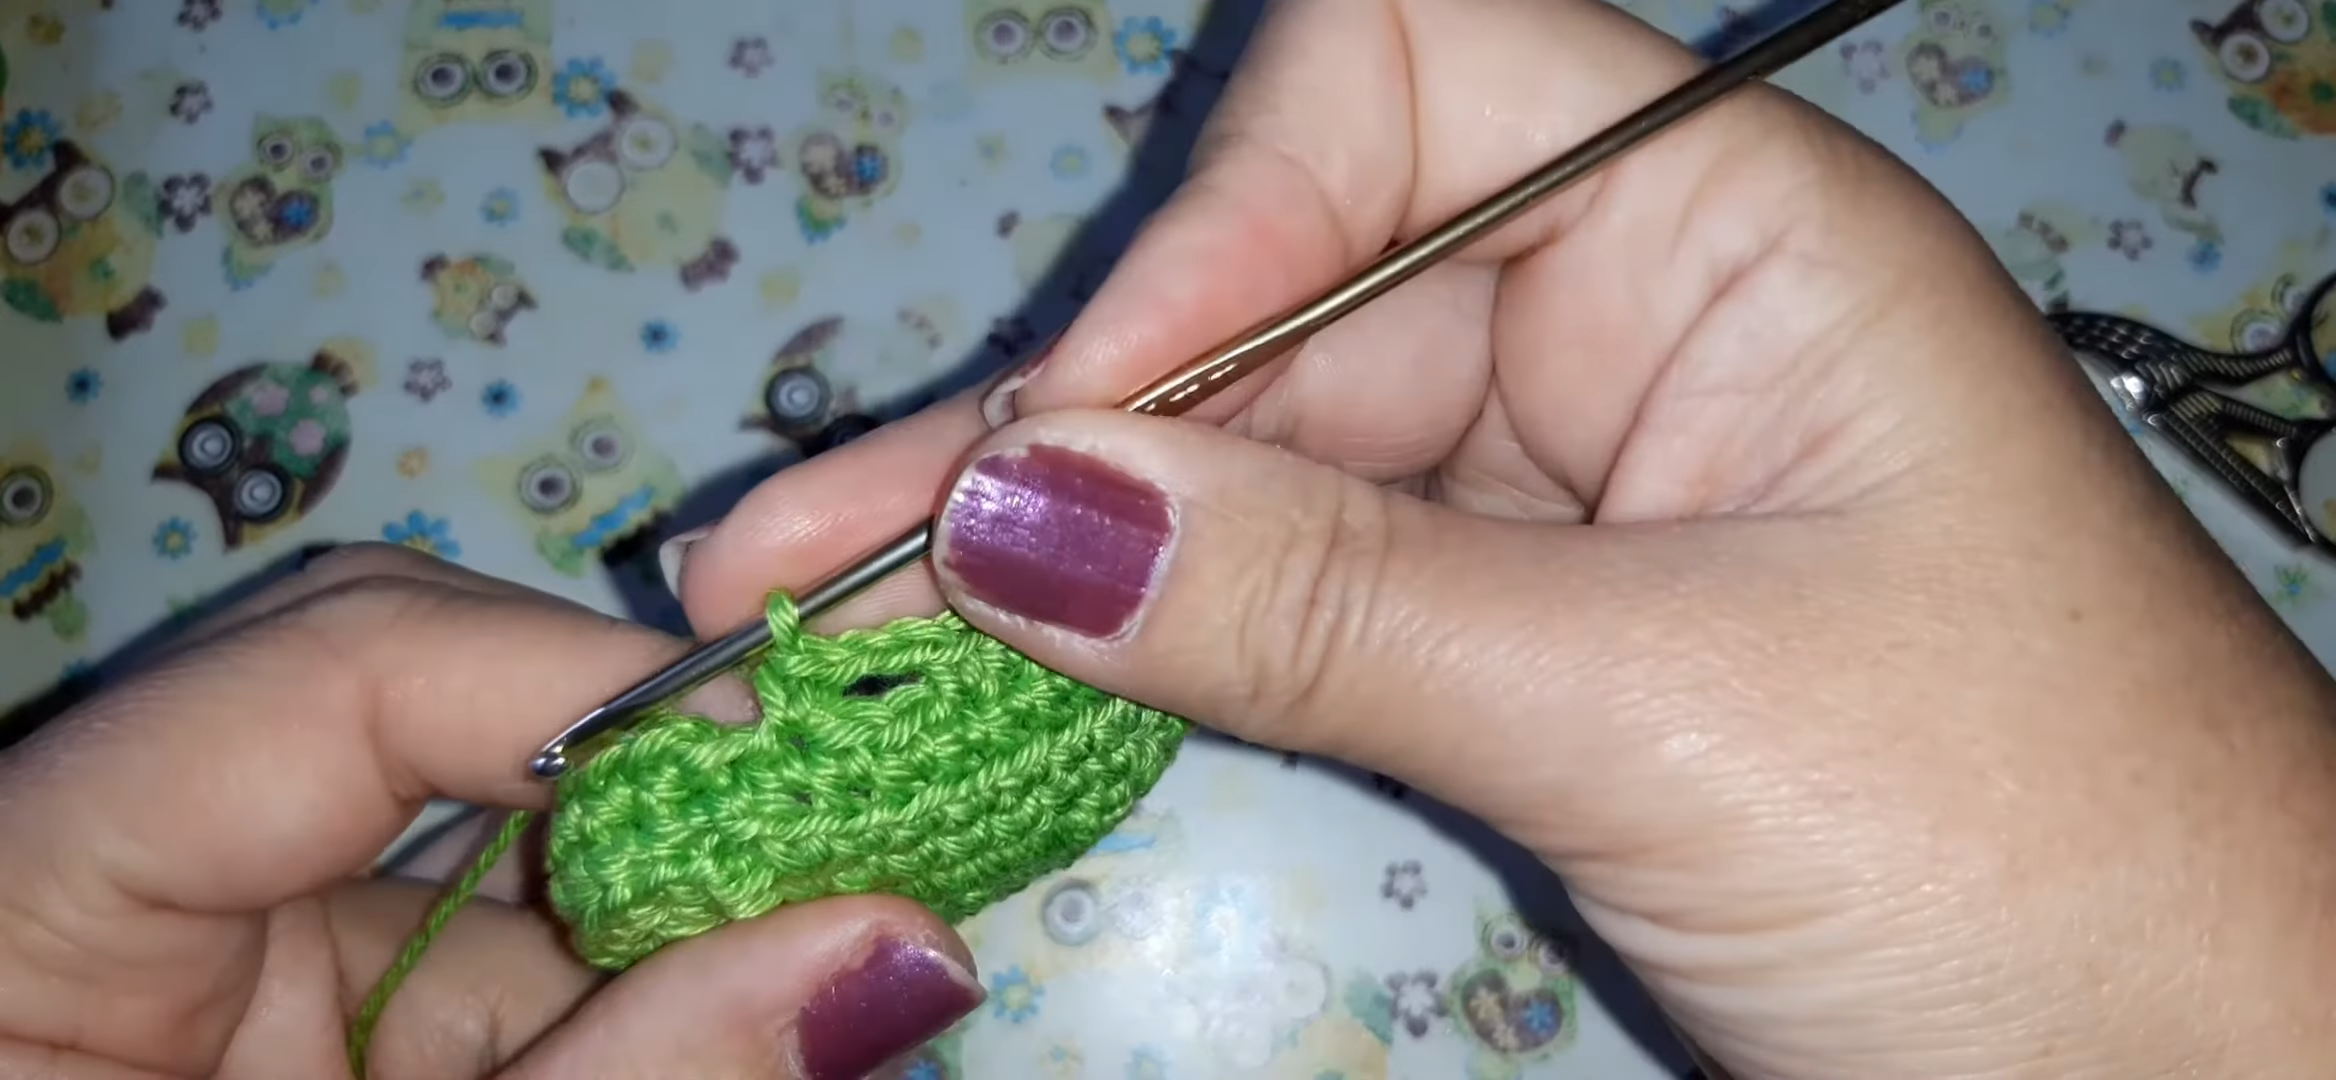
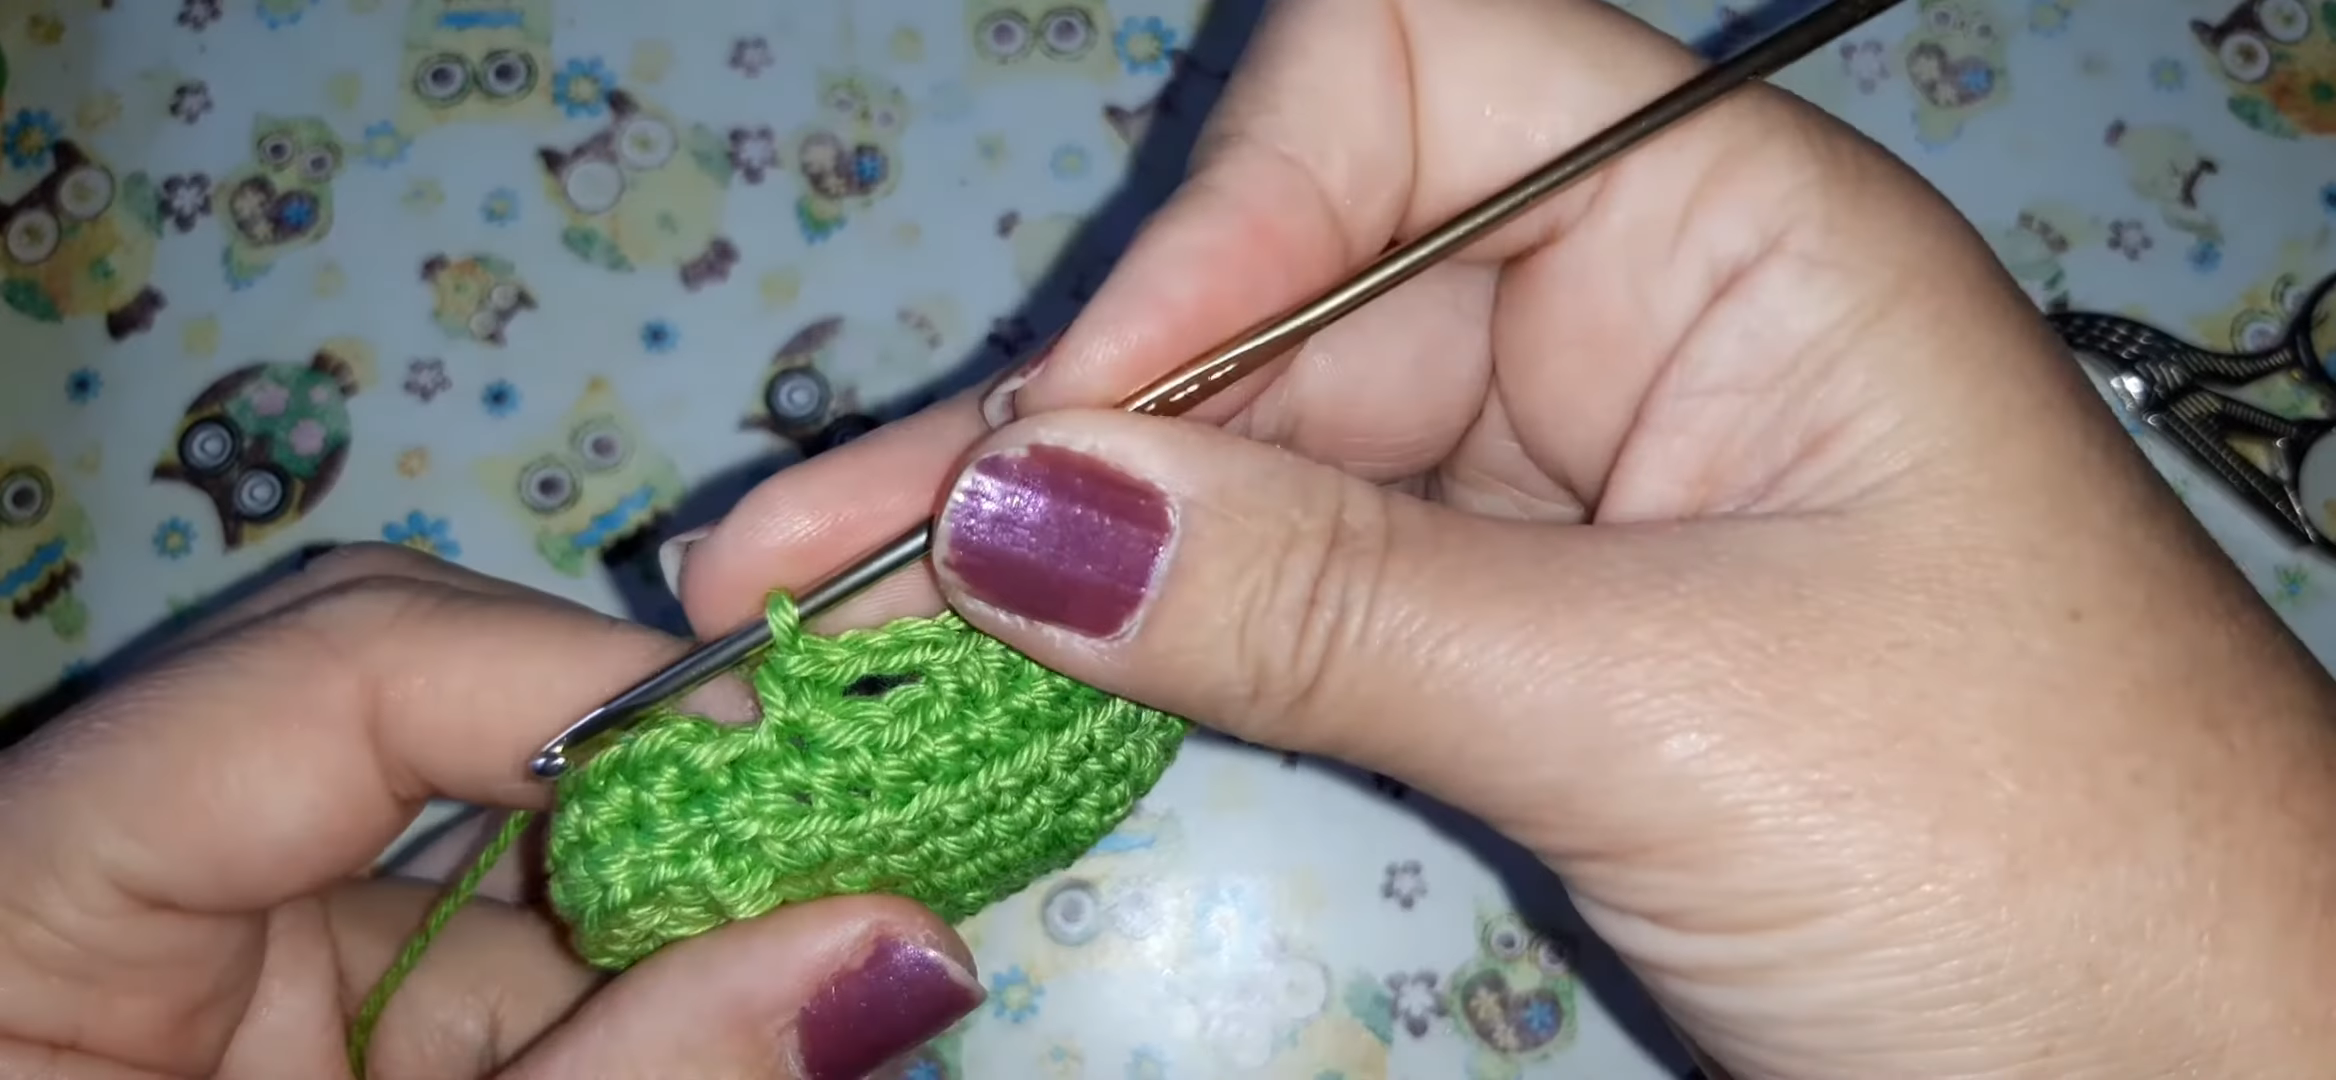
Step 4: Steady the shaping rhythm. Keep repeating the same stitch pattern round after round, checking that each stitch sits snugly against the last one. Holding the hook at a consistent angle here helps keep the fabric dense enough to hold its shape once the case is finished.
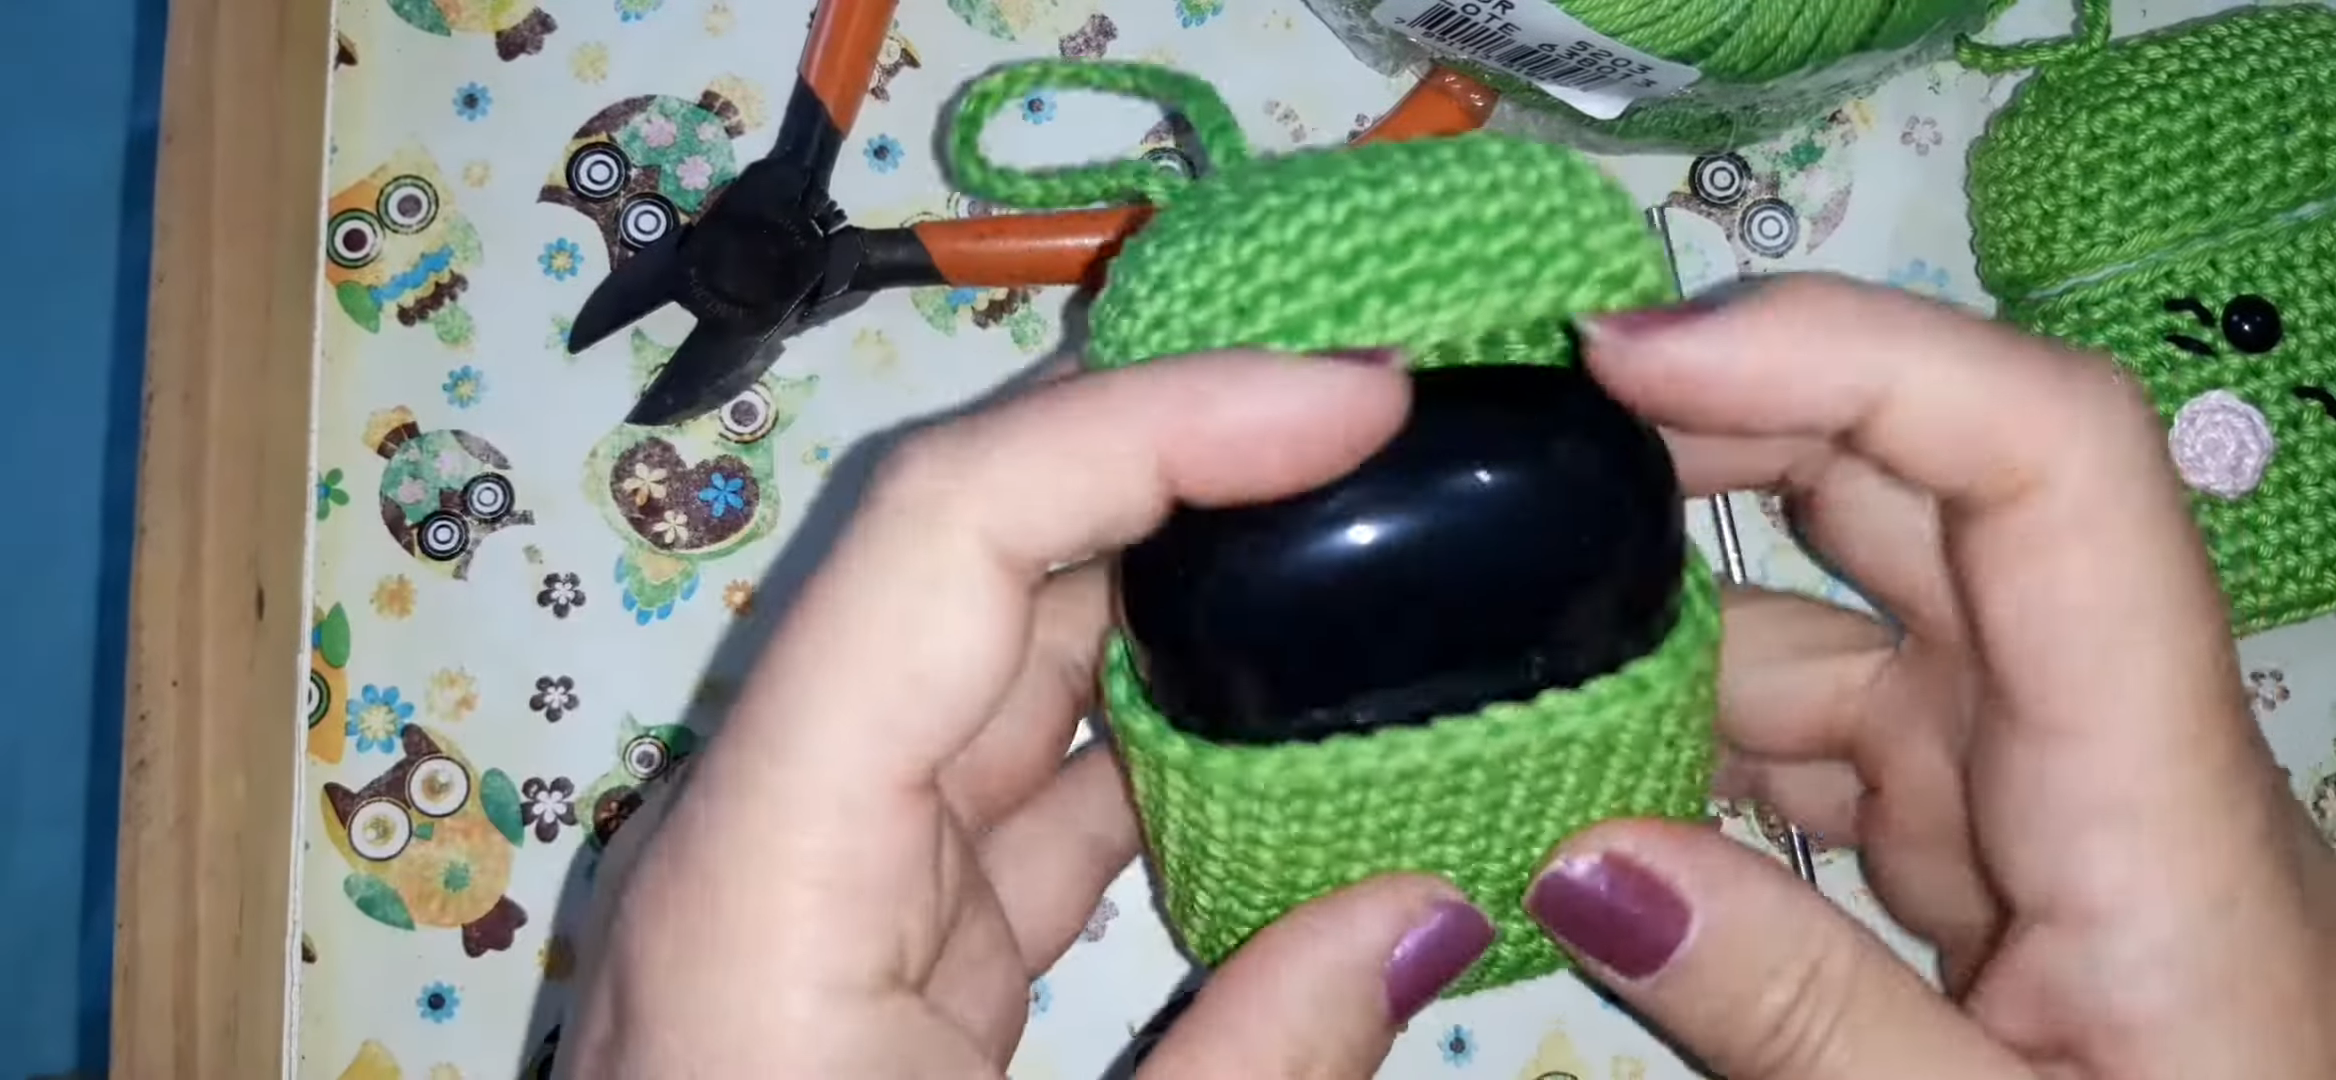
Step 5: Fit the crocheted shell around the earbuds case. Slide the growing piece over the actual case to test the fit, checking that the opening stretches just enough to slip over the curved black shell without gapping at the seams. If it feels loose, tightening the next few stitches keeps the fit snug.
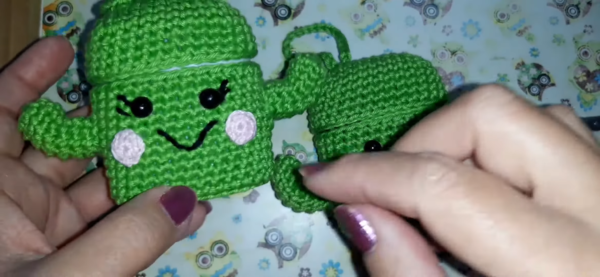
Step 6: Add the face and join the second half. With both case halves complete, stitch on the black eyes, white blush circles, and a simple curved smile using contrasting yarn. Finally, attach the second cactus piece at the hinge point so the two sides open and close together like a finished pouch.
What Usually Goes Wrong?
A few hiccups show up often, especially among first-time amigurumi makers. Loose tails at the start often leave gaps at the center of the magic ring. Uneven tension can also make the case fit loosely around the earbuds’ shell, so stitches end up looser in some rounds than others. Meanwhile, mismatched round counts between the two case halves sometimes push the finished pouch to sit crooked once assembled.#
Common Fit and Tension Issues
Fixing these issues usually comes down to small habits. Counting stitches at the end of every round prevents shape drift before it becomes noticeable. A stitch marker also helps track where each round begins, which matters once the piece grows taller. For fit problems, testing the case against the actual earbuds shell partway through construction catches sizing issues early, rather than waiting until the piece nears completion.
What Can This Piece Be Used For?
Beyond protecting earbuds, this little cactus shape works well in several everyday roles. It can shield a wireless case from scratches inside a bag, decorate a desk when not in use, or serve as a small handmade gift for a friend who loves quirky accessories. Some makers also repurpose the shape to hold small coins, earrings, or a USB drive, since the pouch snaps shut securely once both halves connect.
Is It a Good Project for Beginners?
Yes, and for several clear reasons. The stitch count stays low throughout, the shaping follows a predictable pattern, and no advanced techniques interrupt the flow. Beginners get a real introduction to amigurumi shaping without facing the steeper curve of full toy patterns. Because the final piece has practical use too, it feels rewarding in a way that plain practice swatches simply don’t.
What Makes It Worth Trying?
This pattern rewards makers with a finished, usable object in a short amount of time. It also teaches transferable skills, since magic rings, increases, and simple embroidery show up constantly across amigurumi projects. For anyone building confidence with rounds, a crochet cactus earphone case offers a low-stakes way to practice while producing something genuinely cute.
Why Are People Making This Right Now?
Small, functional amigurumi accessories have grown popular lately, especially pieces that double as gifts. Interest in this particular design keeps climbing for a few reasons:
- Wireless earbud cases need protection, and handmade covers feel more personal than store-bought ones.
- Quick amigurumi projects fit better into busy schedules than large stuffed toys.
- Cactus and plant-themed crochet items remain a steady trend across craft communities.
Conclusion
A crochet cactus earphone case delivers a satisfying mix of quick construction, useful function, and charming detail. Whether it’s made as a gift or a personal accessory, the pattern offers enough shaping practice to build real amigurumi confidence. Once the basic rounds click, repeating the shape in new colors becomes an easy next project.
Conclusion
A crochet cactus earphone case delivers a satisfying mix of quick construction, useful function, and charming detail. Whether someone crafts it as a gift or keeps it for personal use, the pattern offers enough shaping practice to build real amigurumi confidence. Once the basic rounds click, repeating the shape in new colors becomes an easy next project.