Free Crochet Fish Amigurumi Pattern for Newbies
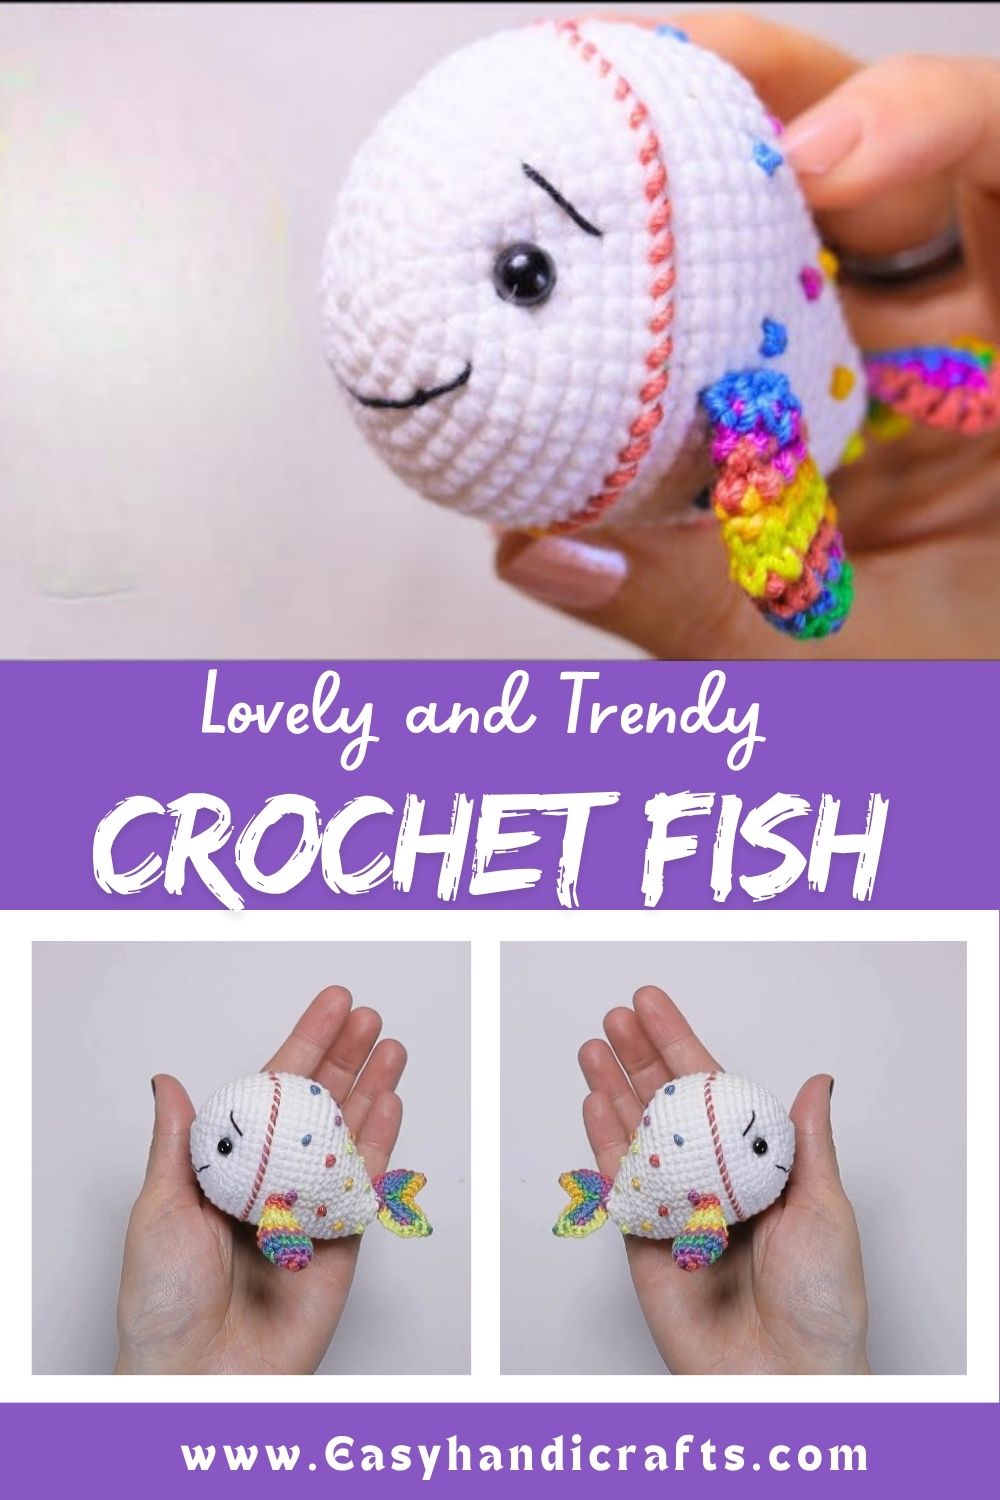
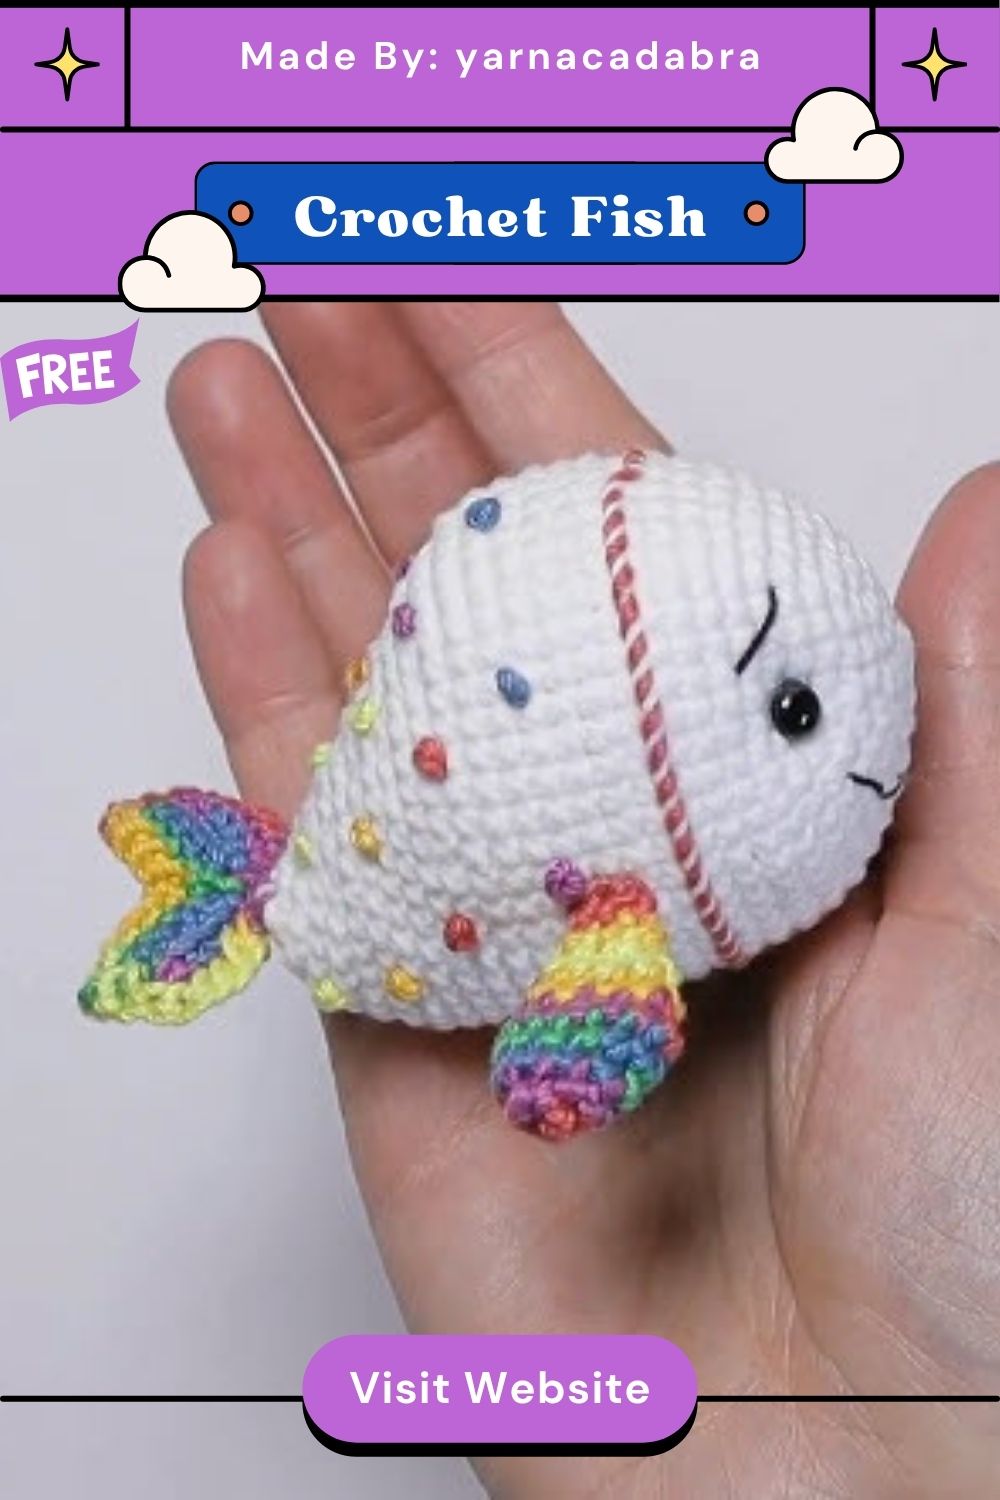
Bringing ocean-inspired charm to life in yarn, sea-themed amigurumi always hold a special appeal, and this little Free Crochet Fish Amigurumi is no exception. Its playful colors, round, chubby body, and wavy tail make it a delightful project for kids and crochet enthusiasts alike. Its easy design and cute style make it a beautiful gift, toy, or a special piece in your handmade collection.
Making a special choice for kids, ocean lovers, and beginner crocheters alike, this cute crochet fish amigurumi wins hearts with its playful colors, round chubby shape, and easy design that appeals to every age. Made with basic stitches, a light color change, and simple materials like safety eyes, this project stays easy even for beginners and comes together in just a few sittings as a beautiful handmade toy or gift.
Skill Level
This pattern sits comfortably at the beginner level, since it uses only single crochet, magic ring, and simple increases and decreases throughout every single round of the body, head, fins, and tail pieces.
Materials and Supplies List
Before starting your fish, gather everything so your hands stay busy and your hooking stays smooth.
Yarn Colors
- Main body color: orange, yellow, or any bright shade you love
- Belly and tail contrast color: white or cream
- Fin and tail accent color: matching or contrasting shade for extra flair
- Worsted weight (4) cotton or acrylic yarn works best for firm stitches
Tools and Supplies
- 3.5mm or 4mm crochet hook (check your yarn label for the best match)
- 9mm or 12mm safety eyes, one pair
- Polyester fiberfill stuffing
- Yarn needle for sewing pieces together
- Sharp scissors
- Stitch markers (a scrap of yarn or a locking marker both work fine)
- Optional keychain ring or bag charm clip if you want a wearable mini version
Crochet Techniques Used
Low-key, this whole project relies on just four core skills, which makes it perfect for anyone stitching their first amigurumi.
- Magic ring: starts every round shape without a hole in the center
- Single crochet (sc): the main stitch used through the entire pattern
- Increase (inc) and decrease (dec): shapes the round belly, tapered tail, and rounded head
- Sewing parts together: joins fins, tail, and head neatly onto the body
Step-by-Step Crochet Pattern Instructions
Grab your hook, and let’s build this fish piece by piece.
Head Creation
- Magic ring, 6 sc into ring (6 stitches)
- Inc in each stitch around (12 stitches)
- Sc 1, inc repeat around (18 stitches)
- Sc 2, inc repeat around (24 stitches)
- Sc 3, inc repeat around (30 stitches) 6–8. Sc around, no increase (30 stitches, 3 rounds)
- Sc 3, dec repeat around (24 stitches)
- Sc 2, dec repeat around (18 stitches)
Stuff the head firmly as you close the last few stitches, then fasten off and leave a long tail for sewing later.
Body Making
- Magic ring, 6 sc into ring (6 stitches)
- Inc in each stitch around (12 stitches)
- Sc 1, inc repeat around (18 stitches)
- Sc 2, inc repeat around (24 stitches)
- Sc 3, inc repeat around (30 stitches) 6–11. Sc around, no increase (30 stitches, 6 rounds)
- Sc 3, dec repeat around (24 stitches)
- Sc 2, dec repeat around (18 stitches)
- Sc 1, dec repeat around (12 stitches)
Stuff the body evenly, keeping it plump but not overly tight, then close the opening with a dec round until 6 stitches remain.
Ears, Fins, and Tail
Fish do not have ears, but their fins and tail give them all their personality.
- Side fins (make 2): magic ring, 5 sc, inc round to 8, work 2 rows flat, fasten off leaving a tail for sewing
- Top fin: small triangle shape made with 3 rows of sc, decreasing at the edges
- Tail: work two small triangle flaps in contrast color, then join them at the base into one wide tail shape
Weave in loose ends on each piece before moving to assembly.
Facial Details
Place the safety eyes about 4-5 rounds up from the neck opening, spacing them evenly apart for a friendly, symmetrical look. Secure the backs tightly on the inside of the head before stuffing.
Add a small embroidered mouth using a curved stitch in a darker thread color, and stitch tiny gill lines on each side using straight stitches for extra charm.
Assembly Process
- Sew the head onto the top of the body, keeping the neck seam neat and tight
- Attach the side fins along the upper sides of the body, slightly angled outward
- Sew the top fin along the spine of the fish
- Attach the tail piece firmly to the back end of the body
Weave in every yarn tail carefully so nothing peeks out later.
Finishing Touches
Fluff the stitches gently with your fingers, trim any stray fuzz, and give your fish a final shape check. If you are adding a keychain ring, sew it securely to the top fin or head before your last stitches close.
Helpful Beginner Tips
No joke, these small habits make a huge difference in how professional your finished amigurumi looks.
- Keep stitches tight: use a hook size slightly smaller than your yarn label suggests so stuffing never peeks through
- Use stitch markers: mark the start of each round so you never lose your place mid-pattern
- Stuff evenly and firmly: small amounts added gradually create smooth curves instead of lumpy bumps
Design Customization Ideas
Once you master the base shape, the fun part is making it your own.
- Different colors: try rainbow stripes, ombre shading, or pastel tones for a softer look
- Cute accessories: add tiny bows, bubbles, or a coral reef backdrop for photos
- Mini size variations: switch to a smaller hook and thinner yarn for keychain-sized fish that fit on a bag or backpack
FAQ Section
What is the best yarn for amigurumi?
Worsted weight cotton or acrylic yarn works best because it holds its shape well and keeps stitches tight enough to hide stuffing.
How do I make my crochet plush firm?
Use a smaller hook than recommended for your yarn weight, keep tension consistent, and add stuffing in small pinches instead of one large clump.
How long does this project take?
Most beginners finish this Free Crochet Fish Amigurumi in about two to three hours, spread across one or two relaxed crochet sessions.
Conclusion
For real, this Free Crochet Fish Amigurumi pattern proves that beginner-friendly projects can still turn out adorable and giftable. Grab your hook, pick your favorite colors, and start stitching your very own ocean buddy today. Save this pattern, share it with a fellow crochet lover, and tag your finished fish so the community can admire your work.