Crochet Ball Bear Amigurumi Pattern for a Unique Look
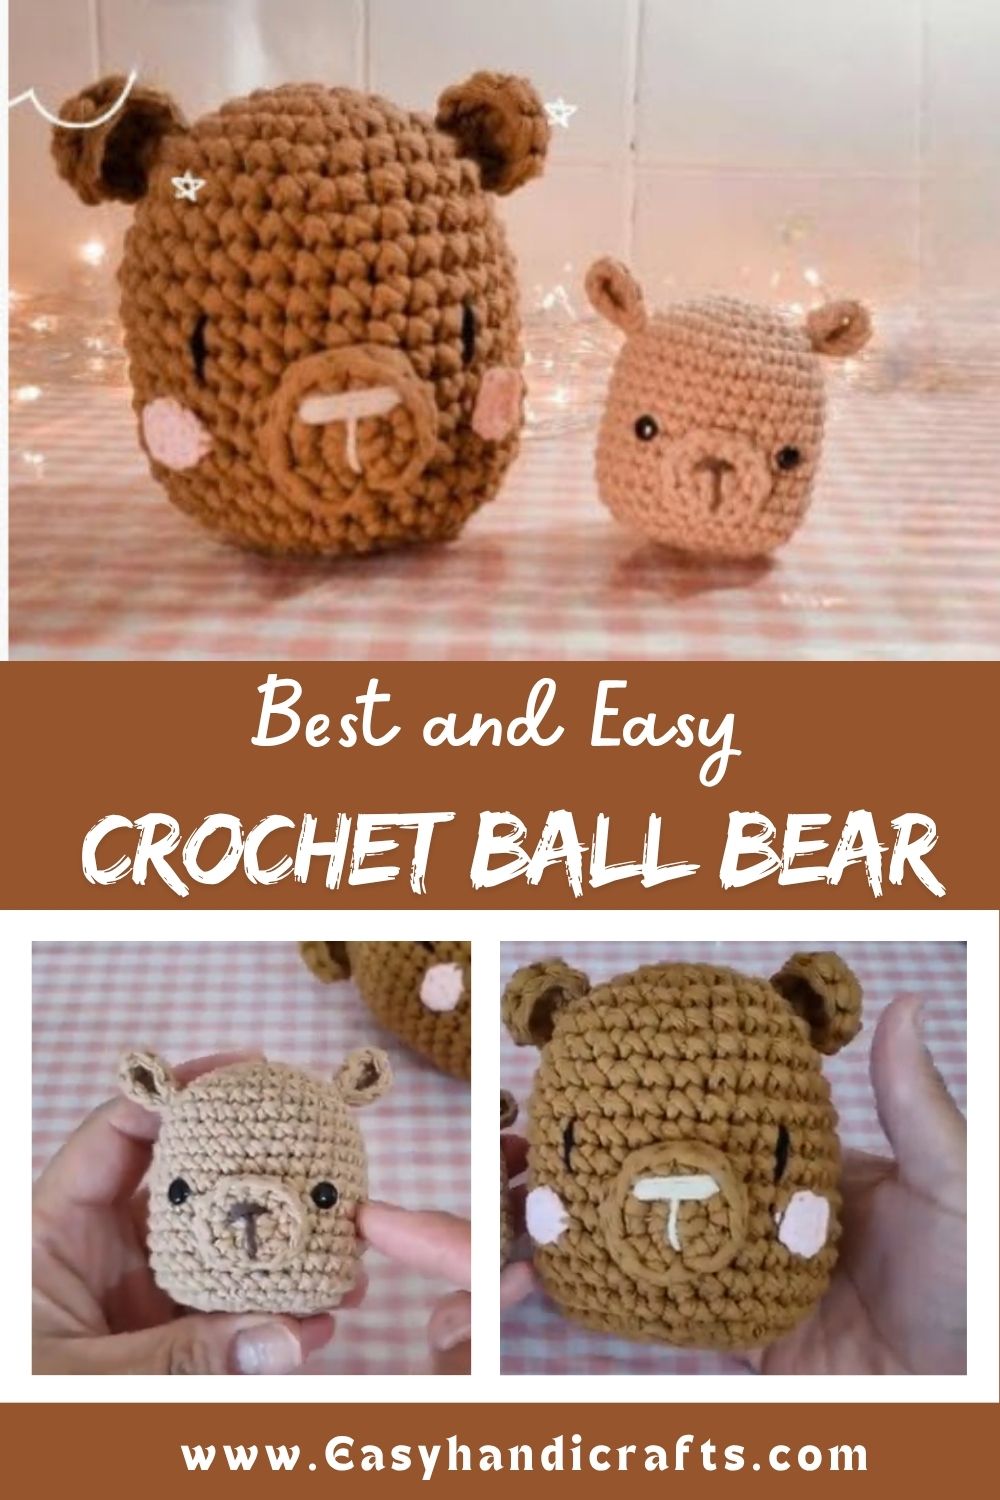
The Crochet Ball Bear Amigurumi Pattern is a delightful project that brings a round, plump teddy bear to life in a soft, cartoon-like style. Thanks to its easy shaping and simple stitches, this pattern suits any crocheter looking to add a beautiful handmade character to their amigurumi collection.
Round, plump amigurumi designs always catch the eye thanks to their distinctive shape, and that’s exactly what makes the Crochet Ball Bear Amigurumi stand out. This soft bear is a lovely choice for kids’ playtime, a soft toy collection, or decorating bedrooms and cozy corners. Crocheters who know basic single crochet and simple shaping can complete it with ease. This project requires yarn, a crochet hook, fiberfill, safety eyes, and a few basic amigurumi supplies. Simple body construction and clear instructions make every step easy, so the whole bear comes together without any complications.
Skill Level
Beginner to Intermediate. This pattern is a wonderful choice if you already know how to single crochet and want to practice shaping with increases and decreases. It’s simple enough for a first amigurumi project, yet satisfying enough that experienced crocheters enjoy making it too. If you can count stitches and follow a round, you can make this bear.
Materials and Supplies List
Gathering your supplies before you start makes the whole process smoother and more enjoyable.
Yarn
- Worsted weight (4) cotton or acrylic yarn in your chosen bear color (light brown, cream, or grey are popular choices)
- A small amount of contrast yarn for the muzzle, inner ears, and paw details
- Black yarn or embroidery thread for facial details
Hook and Tools
- 3.5mm or 4mm crochet hook (matched to your yarn weight for tight, even stitches)
- Yarn needle for sewing pieces together
- Sharp scissors for clean yarn cuts
- Stitch markers to track the beginning of each round
Safety Features and Filling
- 12mm safety eyes (or embroidery thread if making this for a very young child)
- Polyester fiberfill stuffing for a firm, huggable shape
Optional Accessories
- A small keychain ring and jump ring if you want to turn your bear into a bag charm or keychain
- Small ribbons or bows for extra cuteness
Crochet Techniques Used
This pattern relies on a handful of essential amigurumi techniques, all of which are great for building your beginner crochet skills:
- Magic ring – to start each piece with a tight, hole-free center
- Single crochet (sc) – the main stitch used throughout the entire project
- Increase (inc) – two single crochets worked into one stitch, used to widen the shape
- Decrease (dec) – two stitches worked together, used to narrow the shape
- Sewing parts together – attaching the head, ears, and any accessories using a yarn needle
Step-by-Step Crochet Pattern Instructions
Making the Head
- Start with a magic ring and work 6 single crochets into it.
- Increase every stitch on the next round to reach 12 stitches.
- Continue increasing evenly over the following rounds until the head reaches about 24–30 stitches, depending on your desired size.
- Work several rounds even (no increases) to build the roundness of the head.
- Begin decreasing gradually, spacing the decreases evenly around the round.
- Insert the safety eyes before closing the head completely, spacing them evenly apart for a friendly expression.
- Stuff firmly and close the opening with a decrease round, then fasten off.
Making the Body
- Work the body in the same way as the head, starting from a magic ring.
- Increase evenly to reach a slightly larger stitch count than the head, since the body forms the main “ball” shape.
- Work several even rounds to build the round belly shape.
- Decrease gradually toward the top, leaving a smaller opening to attach the head.
- Stuff firmly before closing.
Ears, Tail, and Small Accessories
- Make two small circles using a magic ring, increasing once or twice to form a slightly domed shape for the ears.
- Flatten each ear slightly and sew it onto the head using the contrast color as an inner ear detail if desired.
- For the tail, make a tiny stuffed ball using the same magic ring and increase technique, then sew it onto the lower back of the body.
- If adding limbs, small stitched ovals worked flat or in the round can be sewn onto the sides of the body.
Facial Details
- Use black yarn or embroidery thread to stitch a small nose and mouth in the center of the muzzle area.
- Add the contrast muzzle patch before stitching the nose, for a classic teddy bear look.
- Keep facial features small and centered for the cutest possible expression.
Assembly Process
- Sew the head onto the body using a whipstitch or ladder stitch, keeping the seam invisible.
- Attach the ears symmetrically at the top of the head.
- Sew the tail onto the back of the body.
- Add any limbs or accessories, checking placement before you commit to sewing.
Finishing Touches
- Trim any loose yarn ends neatly.
- Fluff the stuffing gently through the seams if any area feels lumpy.
- Attach a keychain ring at the top of the head if you’re turning your bear into an accessory.
Helpful Beginner Tips
Keep Your Stitches Tight
Amigurumi pieces need tight, even stitches so the stuffing doesn’t peek through. Using a hook one size smaller than recommended for your yarn weight is a simple trick that makes a big difference.
Use Stitch Markers
Since amigurumi is worked in continuous rounds without joining, it’s easy to lose track of where a round begins. A stitch marker placed at the start of every round keeps your stitch counts accurate.
Stuff as You Go
Don’t wait until the very end to stuff your pieces. Add stuffing gradually as you close each section, pushing it into corners with a chopstick or knitting needle for a smooth, firm finish.
Design Customization Ideas
Play With Colors
Try soft pastels for a nursery-friendly version, or bold colors for a bear that really pops on a shelf or keychain.
Add Cute Accessories
- A tiny bow tie or scarf
- A miniature hat
- A small heart-shaped patch on the chest
Make a Mini Version
Using a smaller hook and thinner yarn instantly creates an adorable mini bear, perfect for keychains, bag charms, or party favors.
Frequently Asked Questions
What is the best yarn for amigurumi?
Cotton yarn is a favorite among amigurumi makers because it holds its shape well and creates crisp, defined stitches. Acrylic yarn is also a great budget-friendly option and comes in a huge range of colors.
How do I make my crochet plush firm?
Firmness comes from a combination of tight stitches and generous stuffing. Use a hook slightly smaller than usual, and stuff in small amounts as you close each round rather than stuffing all at once at the end.
How long does this Crochet Ball Bear Amigurumi project take?
Most crocheters finish this ball bear amigurumi in a few hours spread over one or two evenings, depending on experience level and the size of the finished bear.
Final Thoughts
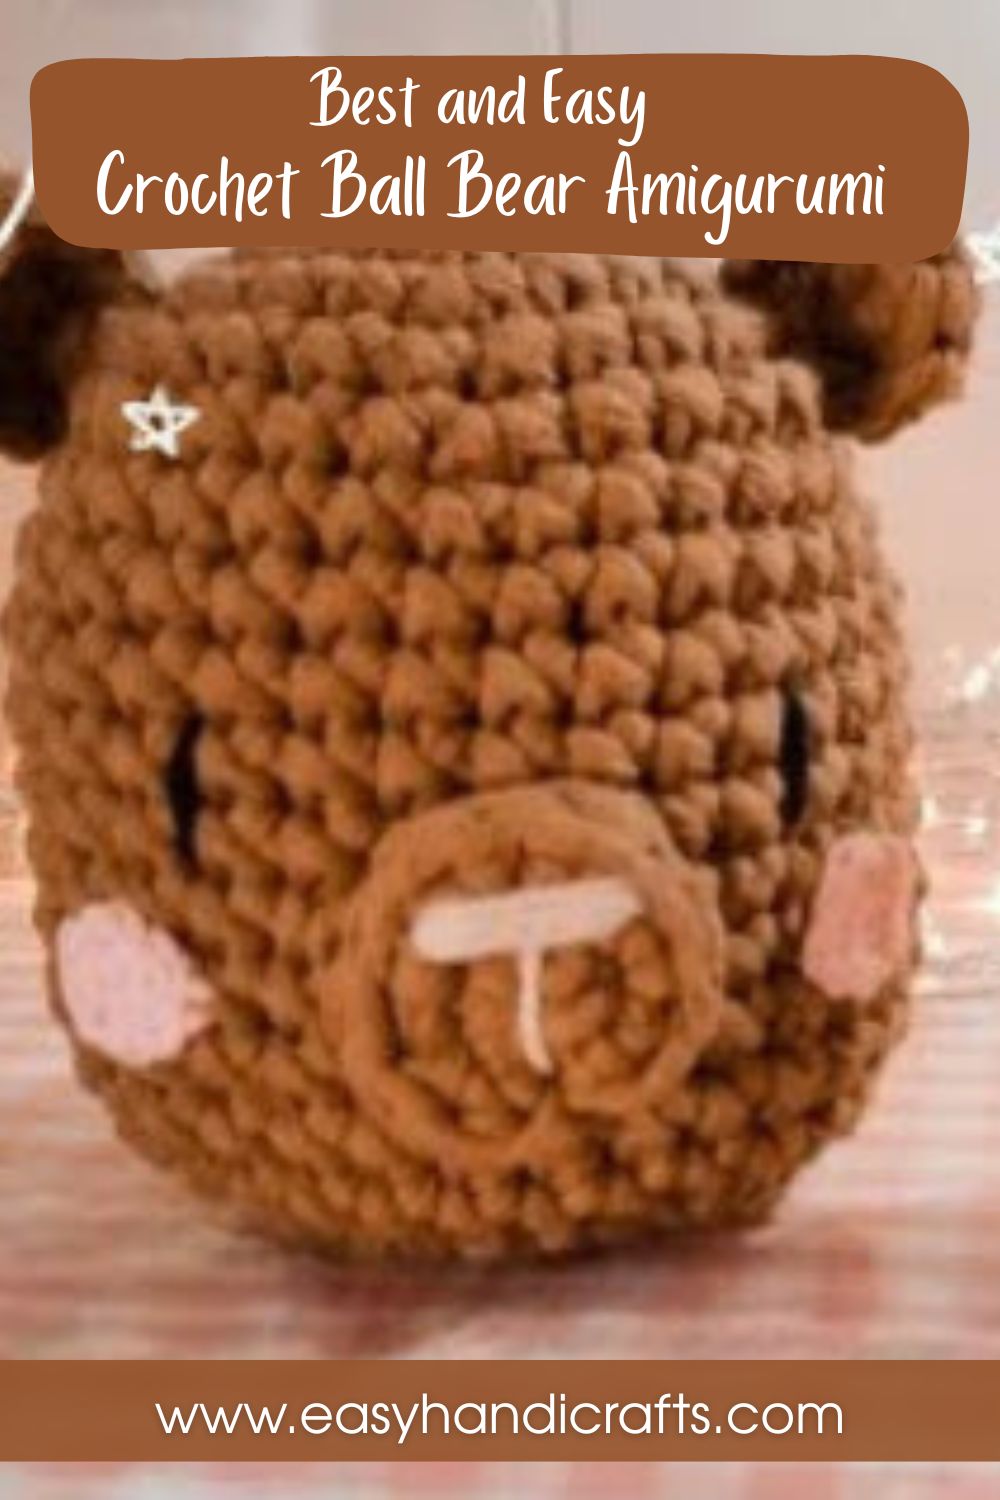
This crochet ball bear amigurumi pattern is proof that simple shapes and basic stitches can create something truly charming. Whether you’re crocheting your first amigurumi or adding a new bear to your collection, this project is quick, satisfying, and endlessly customizable. Grab your hook and yarn, and give this cute crochet tutorial a try today your new favorite handmade friend is just a few rounds away.