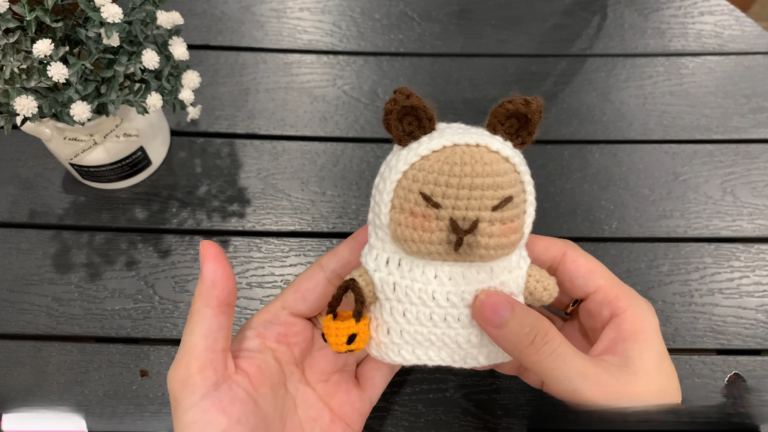
Crochet White Bunny Keychain Amigurumi Idea Your Heart It Today
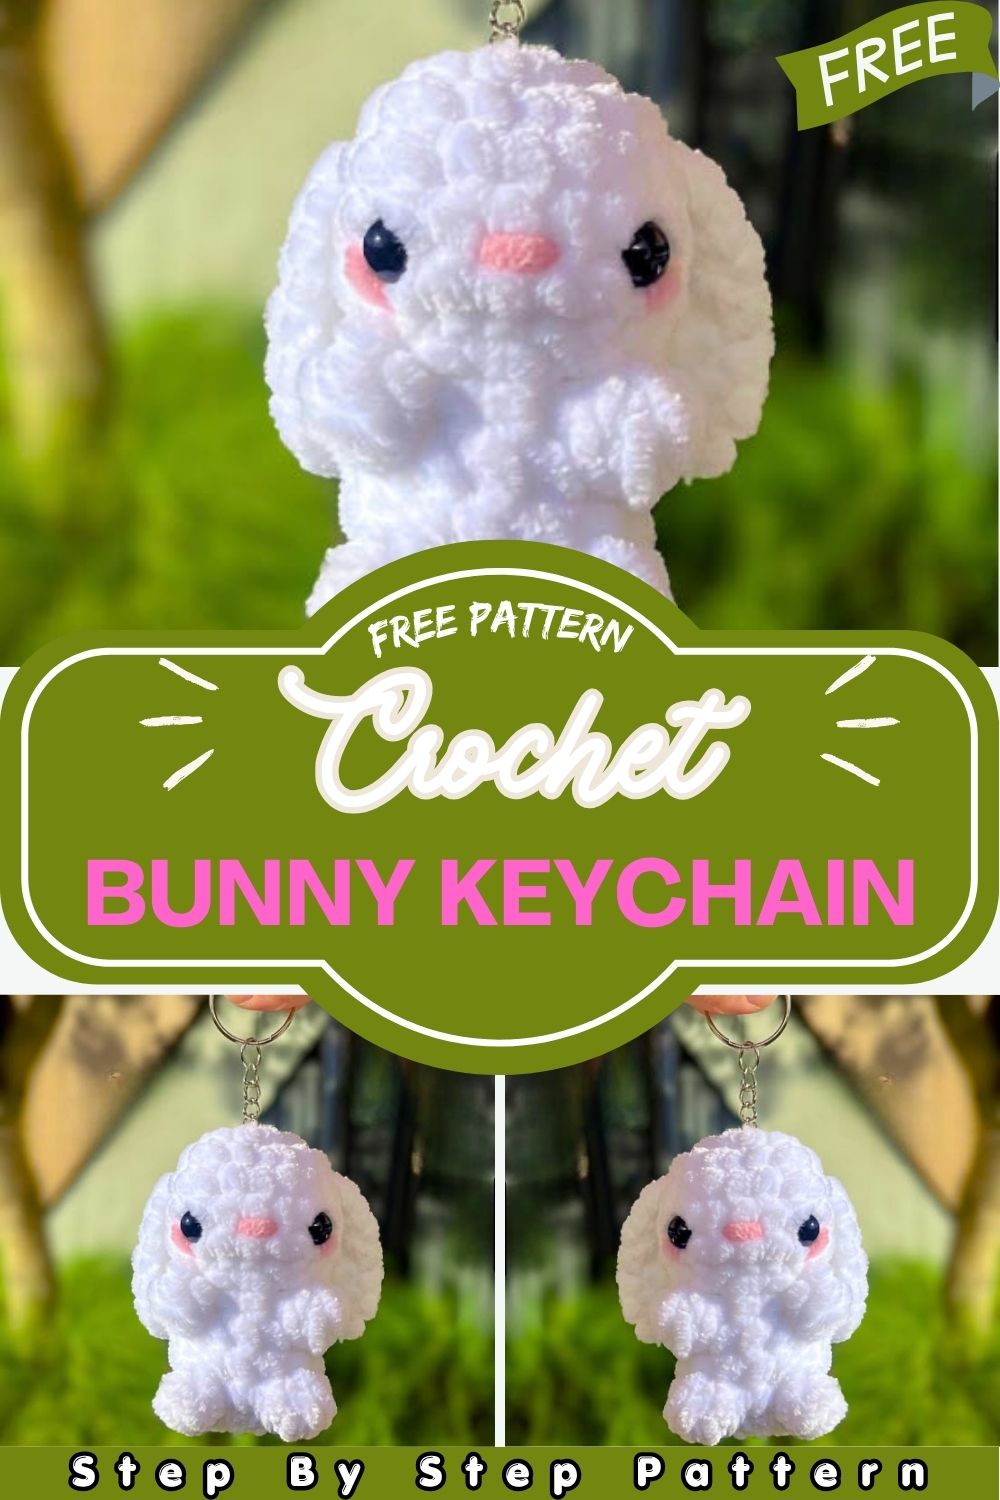
A tiny bunny that fits in your pocket and warms every heart it meets this fluffy white keychain amigurumi is simply the cutest crochet project you will ever make.
So, what makes this little bunny so special? First of all, it is beginner-friendly. Additionally, it takes only thirty minutes to finish. Most importantly, it carries that handmade warmth that no store-bought item can ever replace. Crochet designed this sweet pattern for crafters of all levels. Whether you want a charm for your bag, a heartfelt gift, or simply a fun afternoon project, this bunny checks every single box. Just grab your super bulky yarn and your 4.5mm hook, and you are already halfway there.
Skill Level
This pattern suits beginners perfectly. As long as you know how to single crochet, increase, decrease, and start a magic ring, you already have every skill this bunny needs. Moreover, because it works up so quickly, you will feel confident and accomplished from start to finish.
Materials
- Size 6 (super bulky) yarn in your colour of preference (plus pink for detail)
- 4.5mm crochet hook
- 2x 10mm safety eyes
- Polyester fiberfill for stuffing
- Stitch marker
- Blunt darning needle
- Keychain hardware
Abbreviations
- R: round
- MR: magic ring
- SC: single crochet
- INC: increase
- DEC: decrease
- DC: double crochet
- BBL: bobble (5 unfinished DC)
- F/O: finish off
- ST: stitch
- SLST: slip stitch
Pattern Notes
- This pattern takes roughly 30 minutes to complete.
- All instructions follow US crochet terminology.
- Work this pattern in a continuous spiral. Do not join rounds.
- XEN Crochet wrote this pattern (@XENcrochet on Instagram).
- Do not copy or redistribute any part of this pattern as your own.
- However, you may sell finished products you make using this pattern.
- Always credit XEN Crochet as the original pattern owner when you share.
Pattern: Head & Body
- R1: MR6 [6]
- R2: INC x6 [12]
- R3: (SC, INC) x6 [18]
- R4–6: SC around (3 rounds) [18]
- R7: 3SC, 6DEC, 1SC, 2INC [14]
- R8: 2INC, 1SC, BBL, 3SC, BBL, 6SC [16] — Place eyes between rows 5 and 6, keeping 3 visible stitches apart. Line them up with the BBL stitches in R8. Then start stuffing.
- R9–10: SC around (2 rounds) [16]
- R11: BBL, 5SC, BBL, 3SC, BBL, 5SC [16] — Centre the BBL stitches so the feet align with the arms and the tail sits at the back. Add or remove a stitch if needed.
- R12: 8DEC [8] — Slip stitch and fasten off with a short tail. Finish stuffing, then sew the hole closed.
Ears (Make 2)
Chain 8. Start in the second chain from the hook and work 6SC. Next, place 3SC in the last stitch. Then work 6SC back along the other side of the chain. Fasten off and leave a long tail for sewing. Furthermore, crochet over the starting tail during those final 6SC to keep everything neat.
Assembly
Ears: First, attach the ears between rows 2 and 4. Sew the first corner of each ear between rows 3 and 4, about 2 stitches away from the eye and 2 rows above it. Then sew the second corner about 2 stitches and 1 row higher, between rows 2 and 3.
Keychain: Cut a 10cm length of yarn in your body colour. Thread it through the bottom chain of the keychain hardware, then tie a firm knot. Next, thread the ends through the centre of the magic ring. After that, attach the yarn securely to the top of the bunny’s head. Finally, tuck all ends neatly inside the body.
Common Mistakes to Avoid
- Skipping the stitch marker — Always place a stitch marker at the start of each round. Since this pattern works in a continuous spiral, losing your place is easy without one.
- Adding eyes at the wrong time — Place the safety eyes between rows 5 and 6, before you close the head. After stuffing, fixing their position becomes very difficult.
- Under-stuffing the body — A firmly stuffed bunny keeps its round shape and looks much cuter. Therefore, add more fiberfill than you think you need.
- Attaching the keychain loosely — If the yarn connection feels weak, the bunny will fall off quickly. Always double-check the knot and tuck the ends deep inside.
- Off-centre bobble stitches in R11 — These stitches form the arms and tail. So, count carefully before moving forward to avoid an uneven finish.
- Using the wrong yarn weight — Super bulky yarn creates that fluffy, chubby shape. Thinner yarn produces a flat result that simply does not match this pattern.
Finishing Tips
- First, weave in all yarn ends with your darning needle. Pay close attention to the magic ring — even a tiny gap there makes the whole piece look unfinished.
- Next, tug the ears gently after sewing them on. This quick check confirms they are secure enough for daily use.
- Additionally, add a small dab of craft glue behind each safety eye washer. This extra step matters especially if children will handle the keychain.
- If the bunny looks a little flat, lightly mist it with water. Then reshape it gently with your hands and let it dry. It will look rounder and fluffier as a result.
- Finally, photograph the bunny before you attach the keychain. Without the hardware, you get a much cleaner shot from every angle.
Customization & Variations
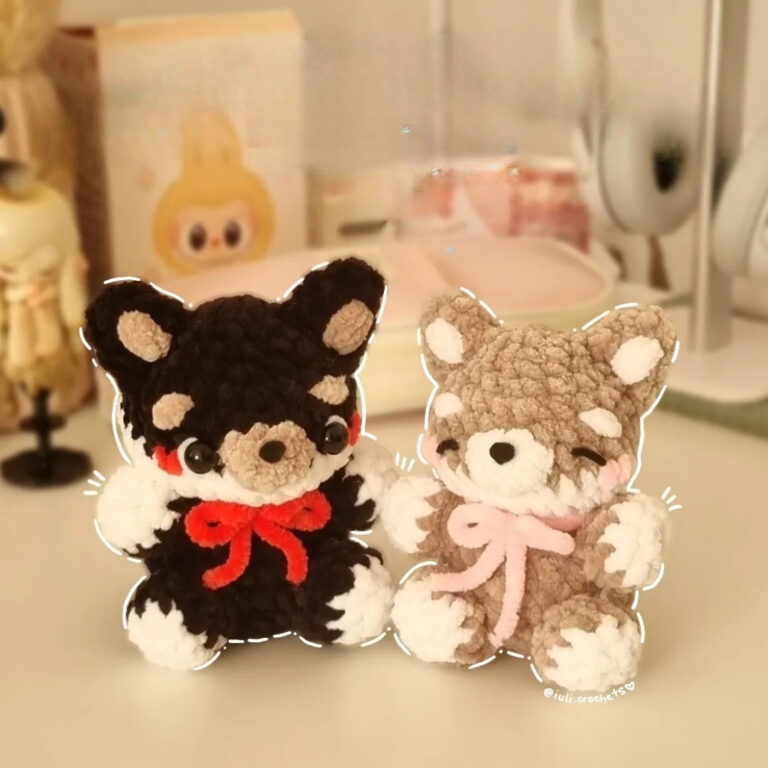
- Change the colour — White is classic, but grey, cream, brown, lavender, or baby blue all work beautifully with this pattern.
- Embroider a nose — Take a short piece of pink yarn and stitch a tiny triangle between the eyes. It instantly adds more character.
- Adjust the size — Use medium weight yarn with a 3.5mm hook for a smaller bunny. Alternatively, go chunkier for a bigger, bolder version.
- Make a whole family — Crochet several bunnies in different colours. Then clip them together on a bag or gift one to each family member.
- Add a lobster clasp — Swap the standard keychain for a lobster clasp so the bunny clips easily onto bags, backpacks, or luggage.
- Try seasonal colours — Orange works for Halloween, red and green suit Christmas, and soft pastels make a lovely Easter set.
- Stitch on an accessory — Crochet a tiny bow or mini hat and sew it onto the head. Even this small detail makes the bunny feel truly one of a kind.
Gifting Ideas
- Baby shower — Pair the bunny with a soft muslin blanket or a small baby outfit. Together, they make a sweet and thoughtful handmade set.
- Birthday — Tie the bunny onto a gift bag handle or tuck it inside a card. It adds a personal, creative touch that store-bought gifts simply cannot match.
- Easter basket — Instead of plastic toys, fill baskets with colourful crocheted bunnies. They are more charming, more durable, and completely reusable year after year.
- Teacher gift — Choose the teacher’s favourite colour and include a handwritten note. This kind of thoughtful, handmade gesture leaves a lasting impression.
- Party favour — Wrap matching bunnies in small organza bags. They work perfectly as favours for birthday parties, baby showers, or bridal showers.
- Friendship gift — Make one for each close friend in their favourite colour. It shows real thought and effort in a way that a purchased gift rarely does.
- Treat yourself — Clip one onto your own bag or keys. Carrying a little handmade happiness with you every day is always a good idea.
Conclusion
This fluffy white bunny keychain amigurumi proves one thing clearly — you do not need hours of spare time to make something truly beautiful. In just thirty minutes, you hold a finished piece that looks like it came straight from a boutique craft shop.
Whether you make it for yourself, give it as a gift, or sell your finished pieces, this pattern delivers a result that feels polished and full of heart. The fluffy yarn, the bobble arms and tail, and those sweet 10mm safety eyes come together in a way that is honestly very hard to resist. So pick up your hook, choose your favourite colour, and get started today. Then, when your bunny is done, tag @XENcrochet on Instagram because a creation this adorable truly deserves to be seen. Happy crocheting!
Tester Appreciation
A huge thank you to every tester who helped bring this pattern to life. Because of their hard work and honest feedback, this pattern became something truly special. Their finished bunnies were gorgeous, and their input shaped every detail. Check out their Instagram handles below and go show them some well-deserved love