Free Crochet Baby Duck Amigurumi Pattern for Handmade Gifts
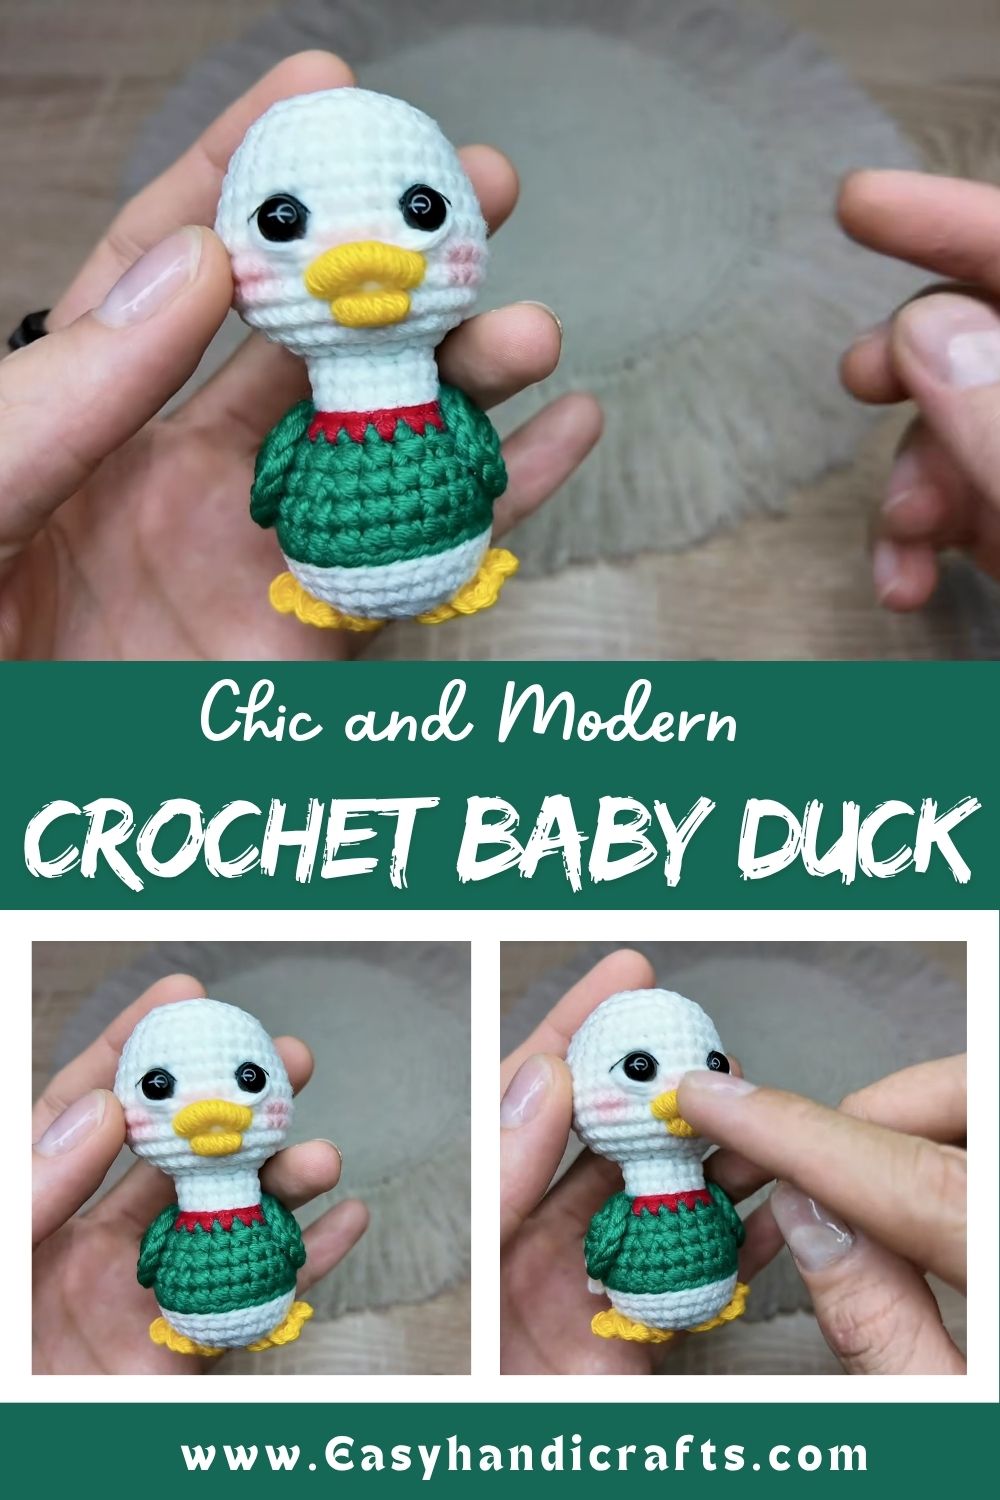
Baby ducks just have that special charm, don’t they? Round bellies, tiny wings, and that classic waddle inspired this Crochet Baby Duck Amigurumi pattern. Honestly, there’s something about a fuzzy yellow duckling that makes even grown-ups smile like kids again.
This baby duck amigurumi comes together with simple rounds of single crochet, making it perfect for gift-giving season or just because. Trust me, once you finish one duck, you’ll want to make an entire pond full of them for cousins, coworkers, and neighbors.
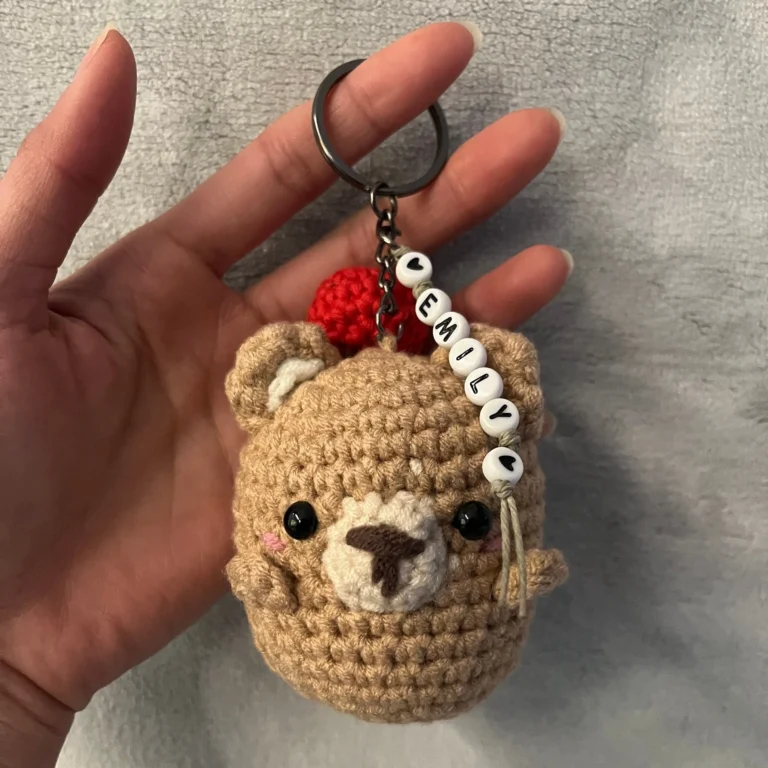
The finished duck stands about 4-5 inches tall. It works great as a keychain, bag charm, or standalone plush toy.
Skill Level
Beginner to Beginner-Intermediate
If you know how to single crochet and work in a magic ring, you’re ready for this project. Real talk—this pattern is one of the easier amigurumi builds out there, so newer crocheters shouldn’t feel intimidated.
Materials and Supplies List
Gather these items before you start:
- Yarn colors: Yellow (main body color), orange (beak and feet), small amount of white or black for eye highlights
- Crochet hook: 2.5mm or 3.0mm (matched to your yarn weight)
- Safety eyes: 6mm or 8mm black safety eyes (two pieces)
- Stuffing: Polyester fiberfill stuffing
- Needle: Yarn needle for sewing and weaving ends
- Scissors: Small, sharp scissors for clean cuts
- Keychain ring: Optional metal keyring or lobster clasp for accessory version
- Stitch marker: To track your rounds (a bobby pin works too, no joke)
Crochet Techniques Used
Before diving in, here’s a quick rundown of the stitches and skills this pattern uses:
- Magic ring (MR): Creates a tight, adjustable starting loop
- Single crochet (sc): The main stitch used throughout the body
- Increase (inc): Two single crochets worked into one stitch
- Decrease (dec): Single crochet two stitches together
- Sewing parts together: Attaching wings, beak, and feet using a yarn needle
Step-by-Step Crochet Pattern Instructions
Creating the Head
- Start with a magic ring, 6 sc into the ring (6 stitches)
- Round 2: Increase in every stitch (12 stitches)
- Round 3: [sc, inc] repeat around (18 stitches)
- Round 4: [2 sc, inc] repeat around (24 stitches)
- Rounds 5-8: sc around, no increases (24 stitches each round)
- Insert safety eyes between rounds 5 and 6, spaced evenly apart
- Round 9: [2 sc, dec] repeat around (18 stitches)
- Round 10: [sc, dec] repeat around (12 stitches)
- Stuff firmly before closing
- Round 11: dec around (6 stitches), fasten off and close the gap
Making the Body
- Magic ring, 6 sc into the ring (6 stitches)
- Round 2: Increase in every stitch (12 stitches)
- Round 3: [sc, inc] repeat around (18 stitches)
- Round 4: [2 sc, inc] repeat around (24 stitches)
- Rounds 5-9: sc around (24 stitches each round)
- Round 10: [2 sc, dec] repeat around (18 stitches)
- Stuff the body as you go, adding more toward the end
- Round 11: [sc, dec] repeat around (12 stitches)
- Round 12: dec around (6 stitches), fasten off
Wings, Beak, and Feet
Wings (make 2):
- Magic ring, 5 sc into ring
- Work 3-4 rows flat in single crochet
- Leave a long tail for sewing onto the body
Beak:
- Small orange triangle shape, worked in 3-4 single crochet stitches
- Fold slightly for a 3D duck bill look
Feet (make 2):
- Magic ring, 6 sc, then flatten into a webbed foot shape
- Attach to the base of the body for stability
Facial Details
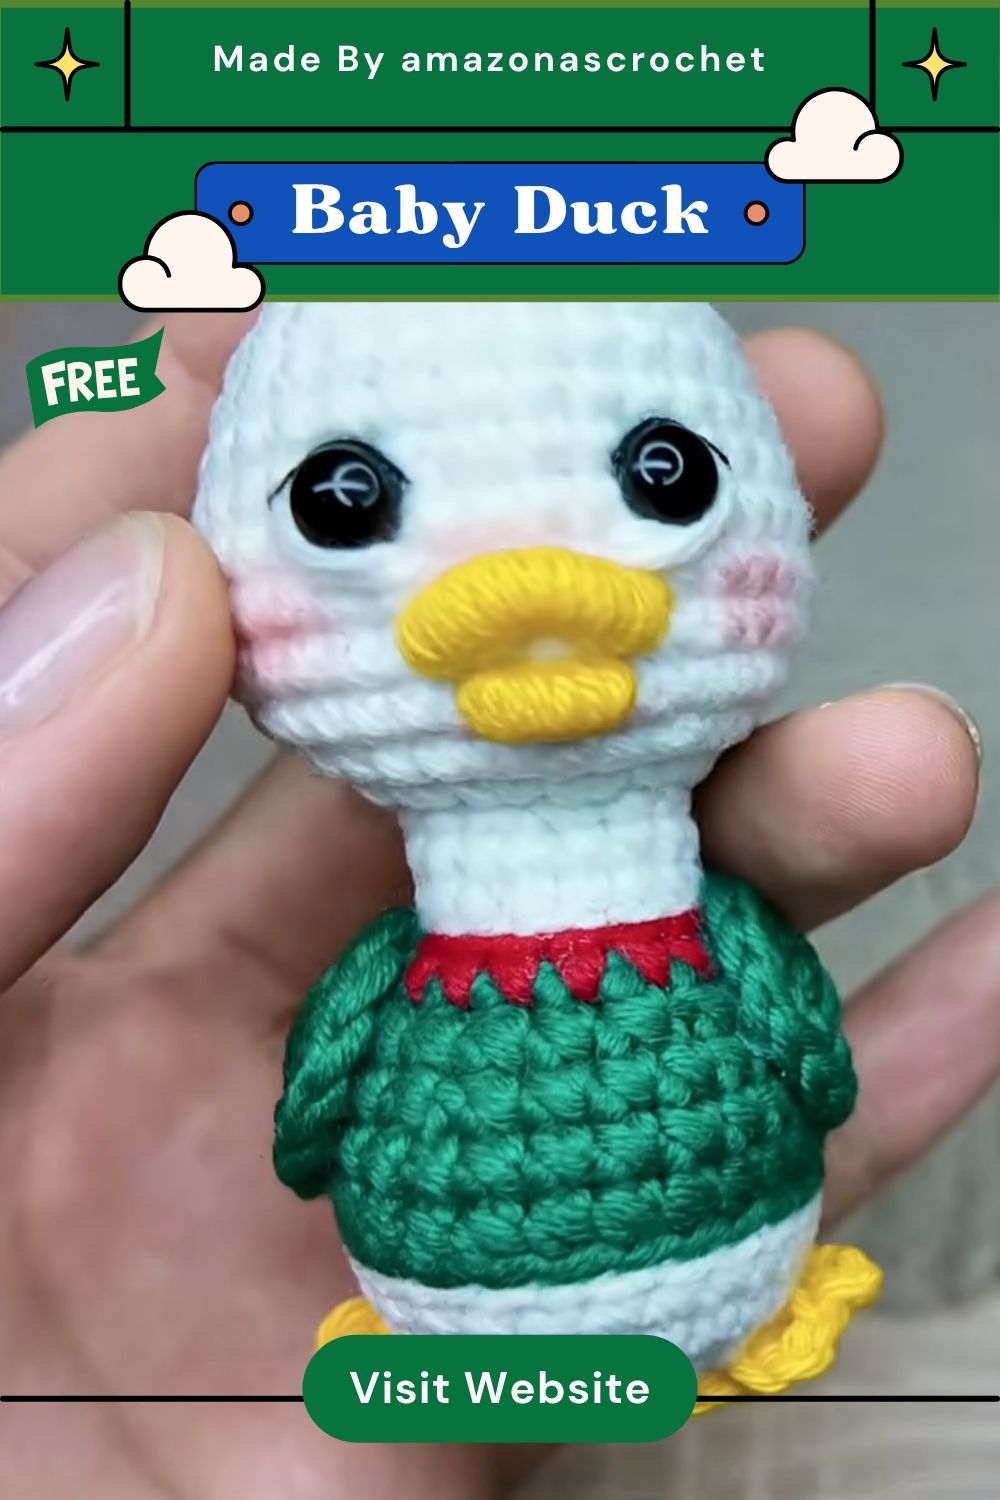
Once the safety eyes are secured, use a small piece of black or brown yarn to embroider tiny eyebrow lines above each eye for extra personality. This little touch honestly makes such a big difference in the finished look.
Assembly Process
- Sew the head onto the body using a whip stitch
- Attach wings to each side of the body
- Position the beak centered below the eyes
- Sew feet to the bottom so the duck can stand upright
- Weave in all loose ends securely
Finishing Touches
If you’re making a keychain version, attach the ring to the top of the head or back of the body before final stuffing. For a plush toy version, skip the ring and add a little extra stuffing for a squishier feel.
Helpful Beginner Tips
- Keep stitches tight: Amigurumi needs snug stitches so stuffing doesn’t peek through. Go down a hook size if your stitches feel loose.
- Use stitch markers: Since amigurumi is worked in continuous rounds, a stitch marker keeps you from losing track of where each round begins.
- Stuff evenly: Add stuffing in small amounts as you go rather than cramming it all in at the end. This keeps the shape smooth and prevents lumps.
Design Customization Ideas
Want to make your duck one-of-a-kind? Try these fun variations:
- Swap yellow for pastel colors like mint, lavender, or baby pink for a spring look
- Add a tiny bow, hat, or scarf accessory for extra cuteness
- Make a mini version using thread-weight yarn and a smaller hook for tiny keychains
- Create a whole duck family in different sizes as a gift set
FAQ Section
What’s the best yarn for amigurumi?
Cotton or acrylic worsted weight yarn works best since both hold their shape well and give clean, defined stitches. Cotton yarn is especially popular for amigurumi because it’s smooth and doesn’t split easily while crocheting.
How do I make my crochet plush firm?
Firmness comes down to two things: tight stitches and generous stuffing. Use a hook slightly smaller than recommended for your yarn weight, and stuff in small handfuls, pressing gently as you fill each section.
How long does this project take?
Most crocheters finish this duck in about 2-3 hours, depending on experience level. Beginners might take a bit longer, especially while getting comfortable with increases and decreases, but that’s totally normal.
Conclusion
There’s nothing quite like handing someone a tiny duck you made with your own hands. This pattern is beginner-friendly, works up fast, and turns into the sweetest keychain or plush gift for anyone on your list. This Crochet Baby Duck Amigurumi is such a sweet, quick project for handmade gifts, keychains, or a shelf full of cozy little friends. Grab your hook and yarn, and give this pattern a try today; your future duck is waiting to be made.