Make a Free Crochet Little Zombie Amigurumi Pattern
Halloween-themed amigurumi always catch the eye with their distinctive look, and the Free Crochet Little Zombie Amigurumi Pattern is one of them. Its simple shaping and easy stitches make this project easy to complete, letting you create a unique handmade character with ease.
Clear step-by-step instructions and simple construction make it easy to create the zombie’s distinctive look, while every detail further highlights its Halloween character.
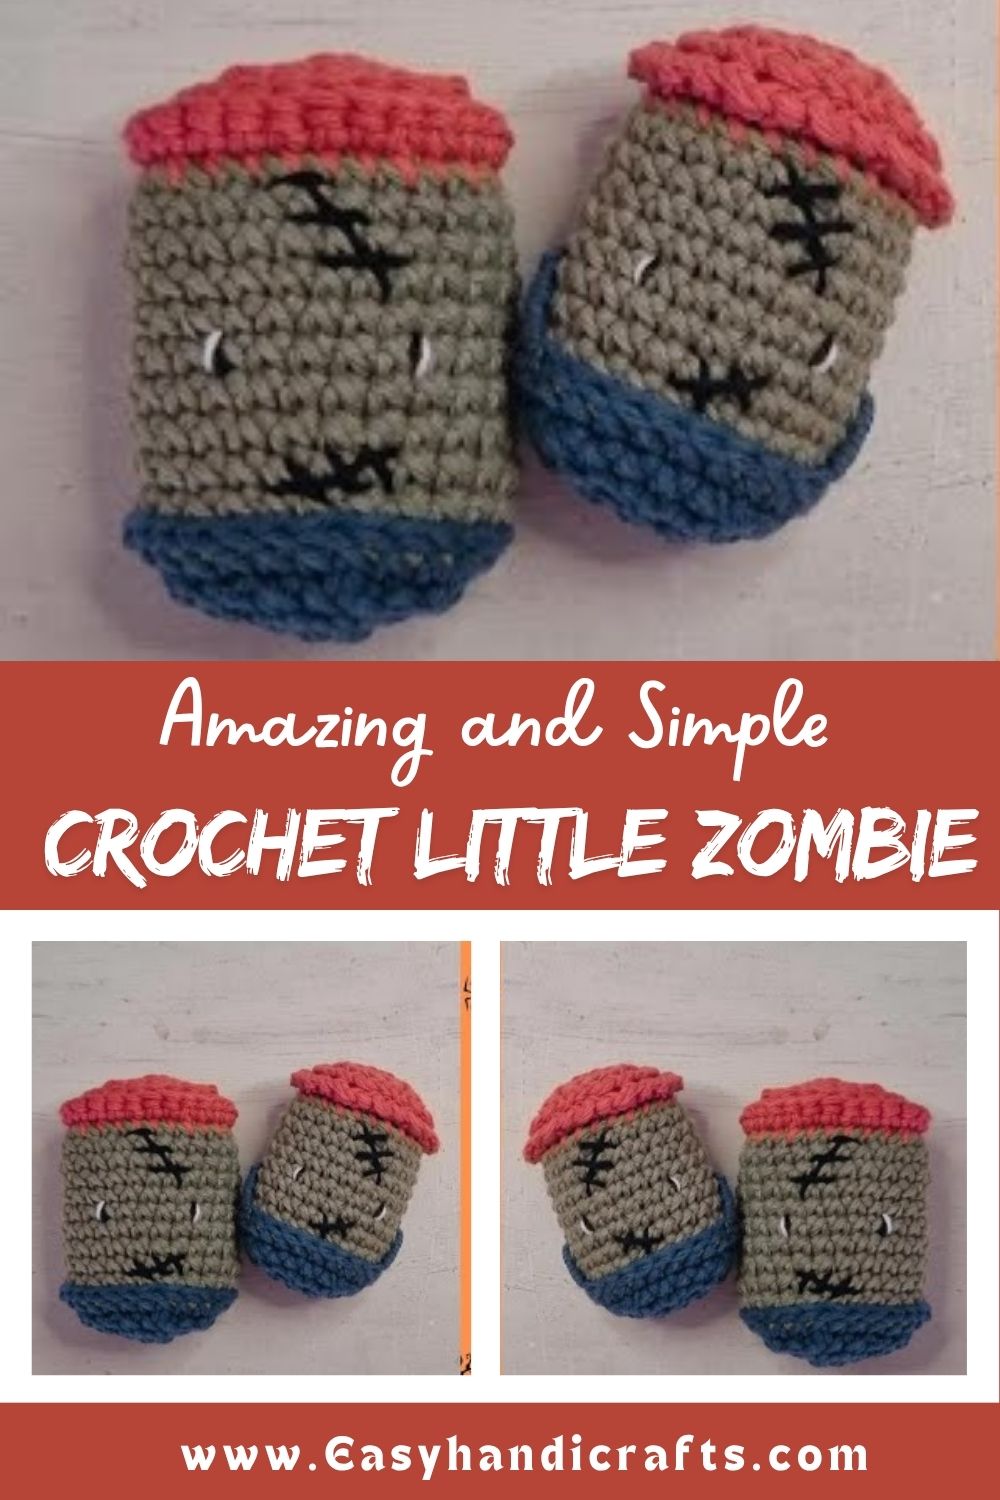
Soft yarn and standard stuffing give this design its huggable quality, even with the eerie theme layered on top. Kids enjoy the silly, non-scary vibe, while adult crafters appreciate the chance to add darker color combinations, faux stitching details, or grungy yarn textures. Every finished zombie ends up with its own quirky expression, so no two turn out exactly alike.
Project Details
- Skill Level: Beginner to Intermediate
- Finished Size: Approximately 5–6 inches tall
- Estimated Time Required: 3–4 hours
- Recommended Yarn Weight: Worsted weight (Medium, #4)
- Crochet Hook Size: 3.5mm (E-4) or 4.0mm (G-6), depending on tension
Materials Needed
- Worsted weight yarn in green or grayish-green (main body color)
- Small amounts of yarn in black, dark red, and tattered brown or gray (details and clothing)
- 3.5mm or 4.0mm crochet hook
- Safety eyes (9mm) or embroidery floss for hand-stitched eyes
- Fiberfill stuffing
- Tapestry needle
- Stitch markers
- Scissors
- Optional: small fabric scraps for a torn shirt, black embroidery floss for scars and stitches
Crochet Stitches & Techniques
- Magic Ring (MR)
- Chain Stitch (ch)
- Single Crochet (sc)
- Increase (inc)
- Invisible Decrease (dec)
- Color Changes
- Fastening Off
- Sewing Pieces Together
Real talk, none of these techniques are advanced. Once the invisible decrease feels comfortable, the rest of this pattern moves quickly.
Pattern Instructions
Creating the Head
Start with a magic ring using green yarn and build the head using standard amigurumi shaping: increase evenly across the first several rounds to reach the widest point, then work several rounds even before decreasing back down toward the neck opening. Stuff firmly as the decreases progress to keep the head round rather than lumpy.
Crocheting the Body
Switch to a slightly smaller magic ring for the body and shape it with a gentle taper, wider at the top and narrower at the base. Stuff evenly in stages instead of all at once, since packing stuffing in too late often leaves the bottom rounds looking flat.
Arms and Legs
Small tube-shaped limbs work best here. Crochet four short tubes total, leave them lightly stuffed for a floppy, shambling look, and flatten the last round before sewing for a cleaner seam. Uneven stuffing actually works in this project’s favor, giving the limbs that classic loose-jointed zombie sway.
Facial Features and Details
This is where the personality comes alive. Safety eyes placed slightly asymmetrically add instant character, while a few strands of dark red or black yarn stitched across the face create quick scar lines. A simple mouth line in black yarn, either straight or slightly crooked, finishes the expression.
Joining All Pieces
Pin the head, arms, and legs before sewing so the proportions can be checked from multiple angles first. Sew each piece using a whip stitch, tucking the yarn tail through the body afterward to hide the finish.
Final Assembly
Add any clothing details last, such as a torn fabric scrap glued or stitched around the torso, or a few loose strands of yarn frayed at the edges for tattered sleeves. A light dusting of gray or brown yarn fuzz around the head and shoulders finishes the grungy, undead look.
Tips for Success
- Keep tension consistent so stitches stay tight enough to hold stuffing without gaps
- Count stitches at the end of every round, especially through increase and decrease sections
- Use stitch markers to track round starts, since amigurumi is worked in a continuous spiral
- Stuff in small amounts throughout rather than one large handful at the end
- Weave in yarn ends securely so nothing unravels with handling
- Steam-block the finished piece lightly if stitches look uneven
Personalization Ideas
- Swap the green base for pale gray, mossy olive, or sickly yellow-green tones
- Add a pumpkin patch or graveyard-themed keychain clip for a Halloween accessory
- Give the zombie mismatched button eyes for an even quirkier expression
- Crochet a mini version as an ornament or bag charm
- Dress it in tiny torn “clothing” pieces using felt or scrap fabric
- Create a whole zombie family in varying sizes for a fun display set
Common Mistakes to Avoid
Skipping stitch counts early on tends to cause shape problems that only show up several rounds later, so checking often saves frustration. Overstuffing the head can distort its round shape, while understuffing the limbs leaves them saggy in a way that doesn’t match the intended floppy look. Rushing the facial features is another common slip, since safety eye placement is nearly impossible to adjust once secured, so double-checking spacing before locking them in place matters more than it seems.
Frequently Asked Questions
1. What yarn weight works best for this pattern?
Worsted weight (medium, #4) gives the cleanest stitch definition and holds its shape well for a project this size.
2. Can I make this Free Crochet Little Zombie amigurumi bigger?
Yes, switching to bulky yarn and a larger hook scales the whole project up without changing the stitch pattern itself.
3. Do I need safety eyes, or can I embroider them instead?
Both work well. Safety eyes give a polished look, while embroidered eyes are safer for gifts intended for very young children.
4. How much yarn do I need in total?
Roughly one skein of the main color covers the project comfortably, with small leftover amounts needed for details.
5. What’s the best way to get that “tattered” look?
Frayed yarn ends, uneven stitching on small fabric scraps, and slightly loose limb stuffing all contribute to the worn, undead texture.
6. Is this Free Crochet Little Zombie pattern suitable for complete beginners?
For real, yes. Anyone comfortable with magic rings, increases, and decreases can complete this project without much trouble.
7. Can I turn this into a keychain or bag charm?
Absolutely. Reducing the stuffing slightly and attaching a keyring loop at the top of the head works perfectly for this purpose.
Conclusion
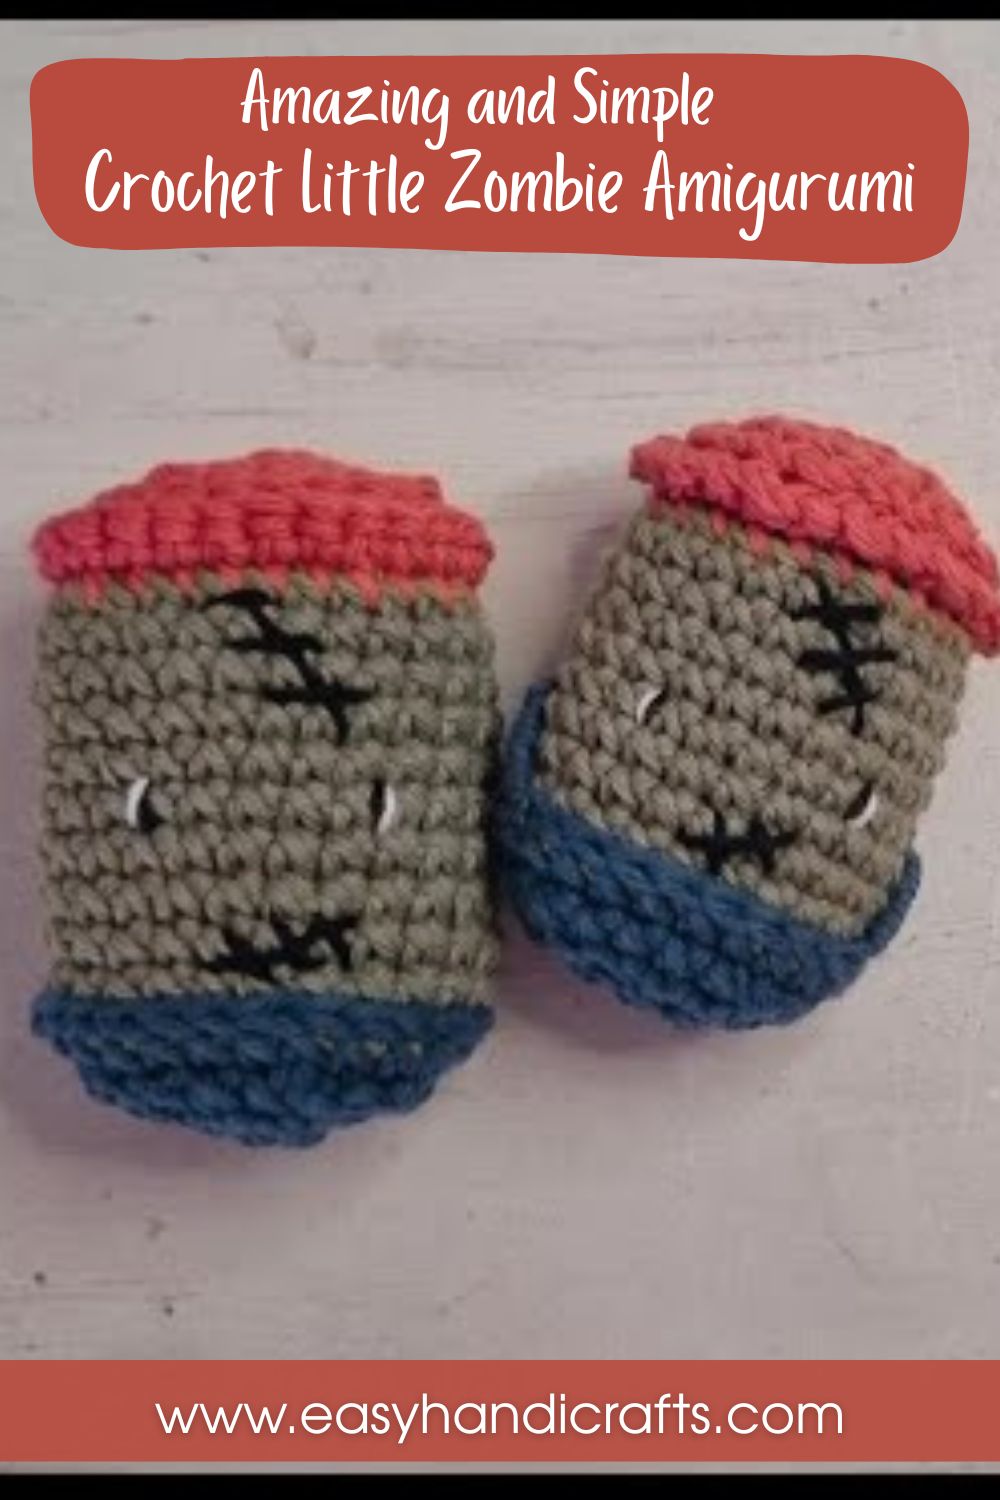
This Free Crochet Little Zombie proves that spooky and adorable can absolutely coexist in the same small stitched creature. Give this pattern a try, experiment with different color combinations, and don’t be afraid to make your zombie as gruesome or as gentle as you like. Once finished, share your creation with fellow crochet enthusiasts, since every handmade zombie ends up with its own unmistakable personality.