Crochet Cropped Bolero Jacket Pattern for Fashion Lovers
Fashion trends may come and go, but the beauty of handmade Crochet Cropped Bolero Jacket pieces never fades. Just grab your crochet hook and soft yarn, and turn a simple afternoon into a beautiful handmade piece you’ll love wearing again and again.
A beautiful, easy layering piece for fashion lovers, this crochet cropped bolero jacket comes together with DK-weight cotton yarn and a 4.5mm hook, staying light, comfortable, and perfect for warm weather. Beginners can make it with ease, while experienced crocheters enjoy its quick, satisfying design. This bolero adds a beautiful handmade touch over dresses, jeans, or jumpsuits.
What Is This Crochet Project?
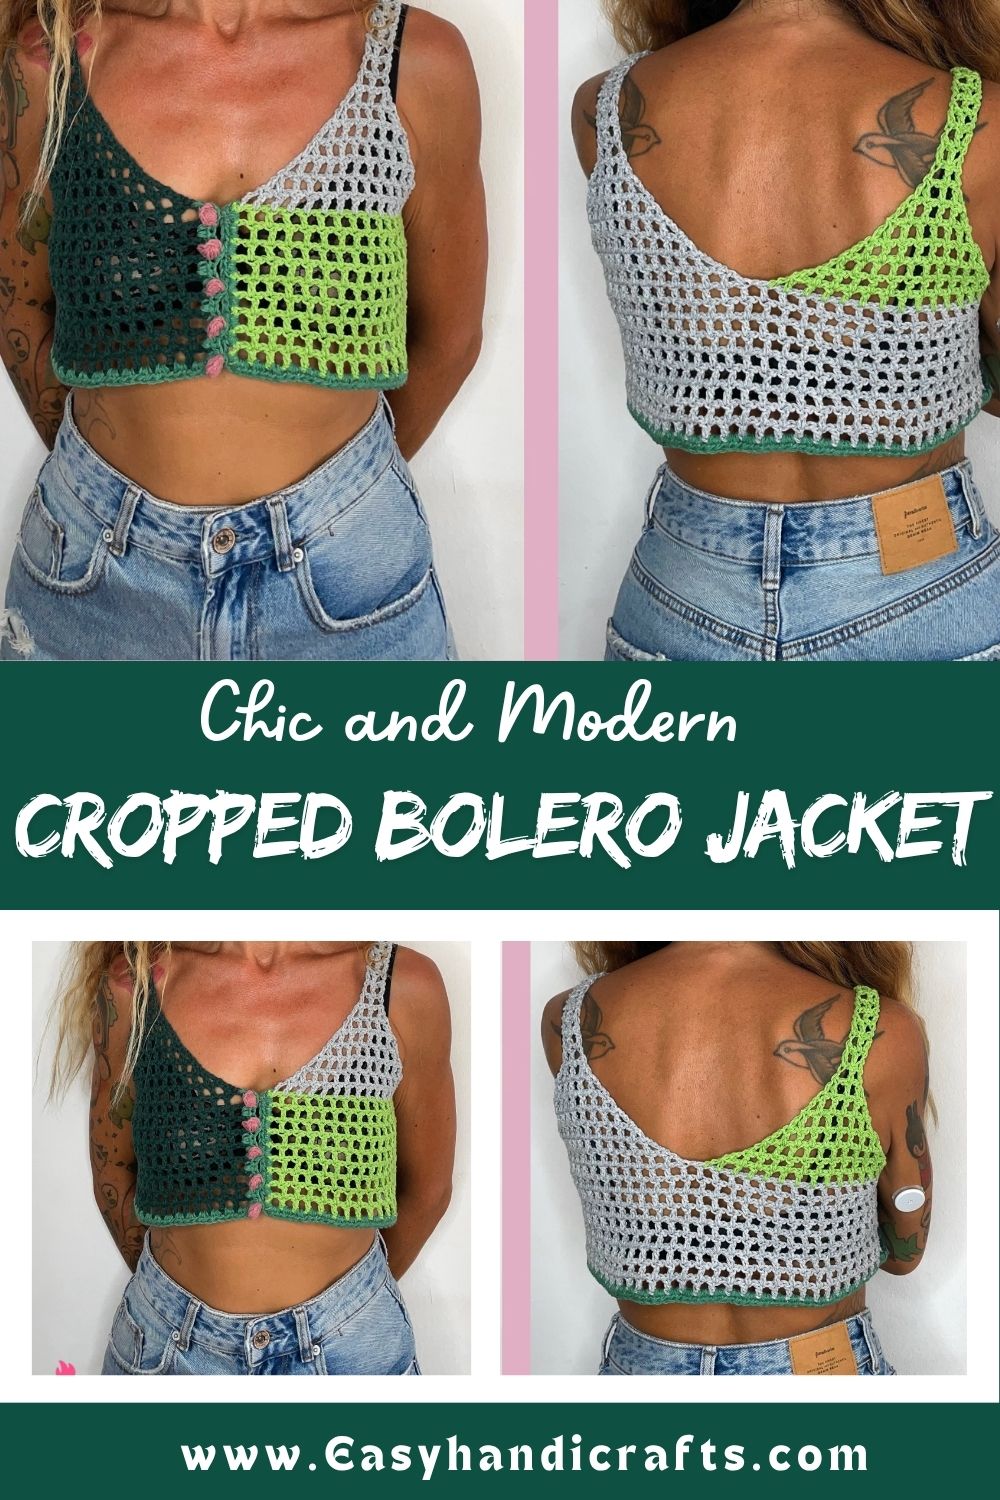
A cropped bolero jacket is a short, open-front topper that sits above the waist and covers the shoulders and arms without adding bulk. Unlike a full cardigan, a bolero skips the long body and focuses purely on shoulder coverage and a polished silhouette, making it perfect for layering over dresses, tank tops, or jumpsuits.
Two simple panels, joined at the shoulders and sides, come together to form the whole jacket in this pattern. No complicated shaping, no confusing charts. Basic stitches repeat in a rhythm that builds confidence with every row, and by the time you seam the sides, you’ll already be planning your next color combo.
Skill Level
Beginner to intermediate. Anyone comfortable with basic stitches and simple seaming can complete this bolero without trouble. Advanced crocheters will breathe through it quickly, while newer crocheters get a satisfying, low-stress project that still looks runway-ready once it’s finished.
Materials and Supplies You’ll Need
Before diving into the stitches, let’s talk about what fills your project bag for this one.
Yarn Type
- DK weight (light worsted) cotton or cotton-blend yarn works best for a soft drape
- Approximately 500–650 yards depending on size (add roughly 150 yards per size up)
- Bamboo, linen, or cotton blends keep the fabric breathable for warmer weather
- Chunky or bulky yarn is a solid swap if you want a cozier, thicker jacket for cooler seasons
Hook Size
- 4.5mm (G/7) hook for DK weight cotton
- 6mm (J/10) hook if you switch to chunky yarn
- Always swatch first, since hook size shifts the drape and finished measurements
Extra Tools
- Yarn needle for weaving in ends and seaming
- Stitch markers to track shoulder and side seam points
- Fabric scissors
- Measuring tape to check gauge and body fit
- Optional: buttons or a ribbon tie if you want a closable front
Crochet Stitches and Abbreviations Used
Here’s a quick abbreviation guide so the instructions read smoothly:
- ch – chain
- sc – single crochet
- dc – double crochet
- hdc – half double crochet
- sl st – slip stitch
- st(s) – stitch(es)
- rep – repeat
- sk – skip
- rnd – round
Nothing fancy shows up here, just foundational stitches combined in a way that builds a flattering shape.
Step-by-Step Crochet Instructions
Step 1: Foundation Chain and Gauge Swatch
Chain 20 and work a small swatch in dc to confirm your gauge matches roughly 12 stitches and 7 rows per 4 inches. Adjust your hook size up or down until the swatch matches, since this determines your final fit.
Step 2: Crochet the Back Panel
Chain to your desired width (roughly 60–70 stitches for a medium). Work in dc across every row until the panel measures about 10–12 inches long, leaving armhole gaps by skipping stitches roughly 3 inches from each side edge on the appropriate row. Fasten off once the panel reaches your target length.
Step 3: Crochet the Two Front Panels
Repeat a similar process for each front panel, working half the stitch count of the back panel so the two fronts mirror each other once joined. Shape a soft curve at the top edge by decreasing a few stitches every other row near the neckline for a rounded finish.
Step 4: Join the Shoulders
Line up the shoulder edges of the front and back panels and join with sl st or a simple whip stitch using your yarn needle. Keep tension even so the shoulder seam lies flat rather than puckering.
Step 5: Seam the Sides
Sew the side seams from the hem up to the armhole gap, leaving the top portion open for the arm opening. Weave in loose ends as you go to save cleanup time later.
Step 6: Add a Border
Work a round of sc evenly around the entire outer edge, including the neckline, front openings, hem, and sleeve edges, to give the piece a clean, finished look. Add a second round of sc or a simple picot edge for extra polish if desired.
Step 7: Final Finishing Touches
Steam block the finished bolero lightly to relax the stitches and even out the drape. Attach buttons, a ribbon tie, or leave the front fully open, depending on the style you’re going for.
Helpful Beginner Tips
- Count stitches at the end of every row to catch mistakes early
- Use a stitch marker on row one so you always know your starting point
- Block your panels before seaming for a much cleaner final shape
- Keep tension relaxed; tight stitches make seaming harder later
- Practice the border stitch on a scrap swatch first if picot edges feel new
Common Mistakes and Solutions
Mistake: Uneven panel widths. Solution: Count stitches at the end of every row rather than trusting the eye alone.
Mistake: Armhole gaps too tight or too loose. Solution: Try the panel against your shoulder before seaming and adjust the gap width as needed.
Mistake: Puckered seams. Solution: Pin panels together with stitch markers before sewing, then seam slowly with even tension.
Mistake: Curling edges. Solution: Block the finished panels with steam or a light wet-block before adding the border round.
Pattern Customization Ideas
- Swap solid yarn for a variegated or gradient skein for a completely different visual effect
- Add a lace stitch panel down the front edges for a more romantic look
- Shorten the length for a cropped, boxy fit or lengthen it slightly for more coverage
- Add fringe or tassels along the hem for a boho vibe
- Crochet the border in a contrasting color for a bold pop against the base yarn
Size and Color Suggestions
Sizes typically range from small through extra-large, adjusted by changing the starting chain length and row count. A general guide:
- Small: 55–60 starting stitches, roughly 500 yards
- Medium: 60–65 starting stitches, roughly 550 yards
- Large: 65–70 starting stitches, roughly 600 yards
- X-Large: 70–75 starting stitches, roughly 650+ yards
For color choices, cream and soft beige feel timeless and pair with nearly every outfit, while pastel shades like blush or sage suit spring and summer wear. Bold jewel tones such as emerald or burgundy work beautifully for fall layering, and a classic black bolero adds instant polish to evening looks.
FAQ Section
Can beginners really finish this bolero jacket?
Yes, the pattern relies on basic stitches and simple seaming, so most beginners finish it without major setbacks.
How long does this Crochet Cropped Bolero Jacket project usually take?
Most crocheters finish within a weekend, though total time depends on yarn weight and personal crochet speed.
What yarn weight gives the best drape?
DK weight cotton offers the softest, most flattering drape for warm-weather wear.
Can I make this bolero without buttons?
Absolutely, an open-front style works just as well and keeps the design low-maintenance.
Is this pattern suitable for plus sizes?
Yes, adjusting the starting chain length and row count scales the pattern to fit larger sizes comfortably.
Can I use acrylic yarn instead of cotton?
Acrylic works fine for a budget-friendly option, though cotton typically gives a more elegant drape.
Conclusion
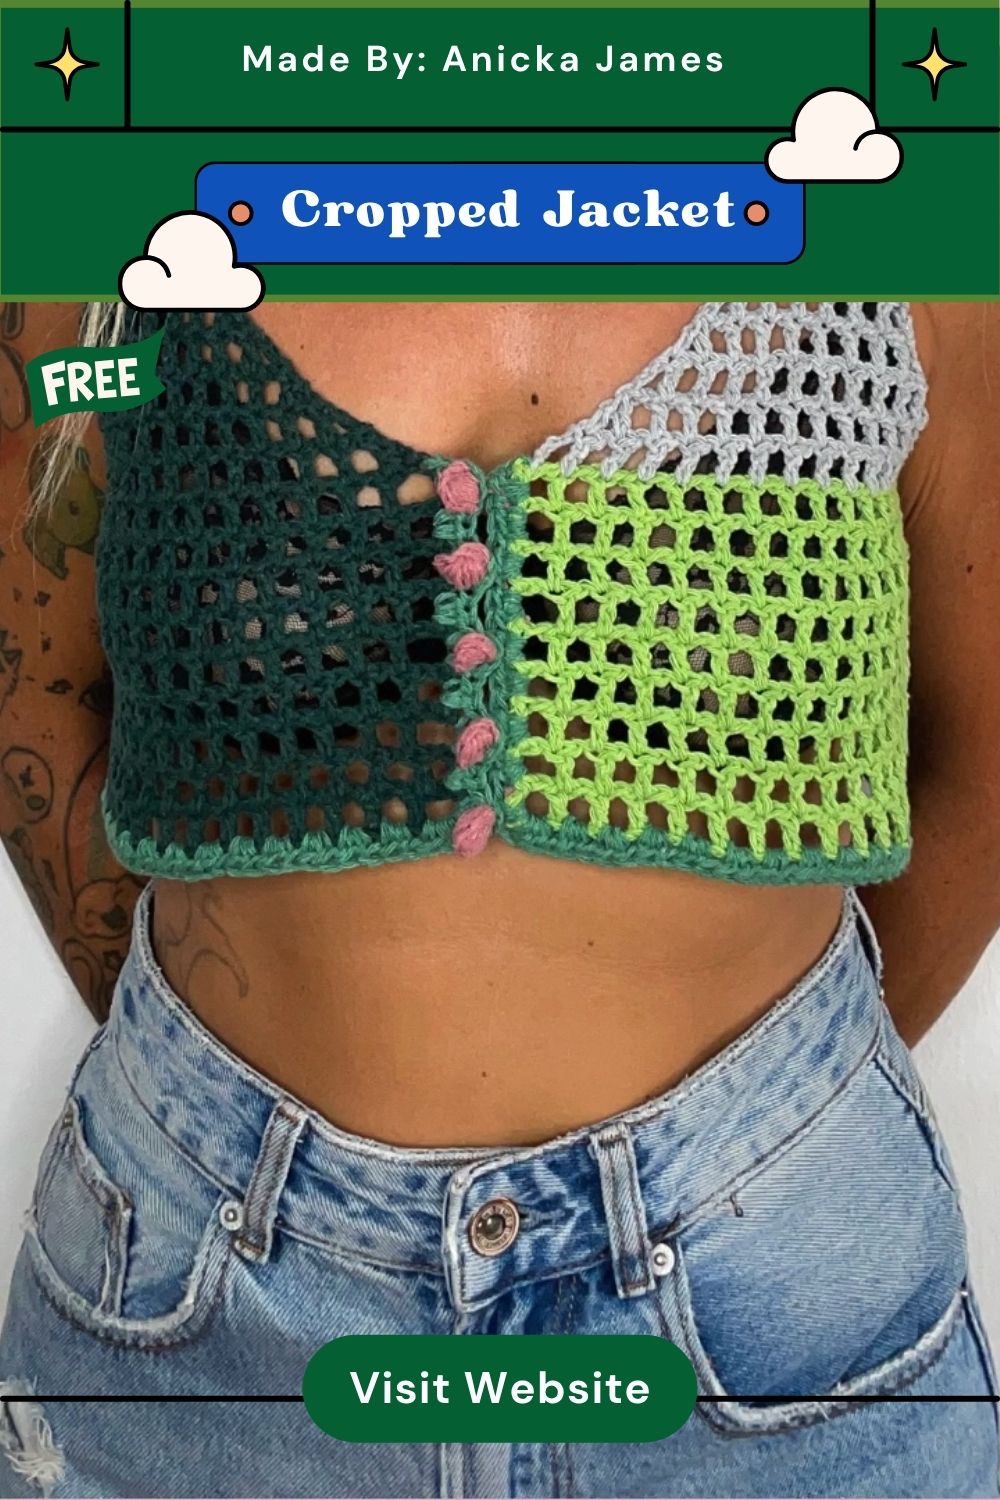
A handmade Crochet Cropped Bolero Jacket brings a personal, polished touch to any outfit, and this pattern makes the process approachable for crocheters at nearly any skill level. From choosing your yarn to adding that final border round, every step builds toward a piece you’ll genuinely want to wear again and again.