Crochet Owl Bird Amigurumi Pattern for Special Occasions
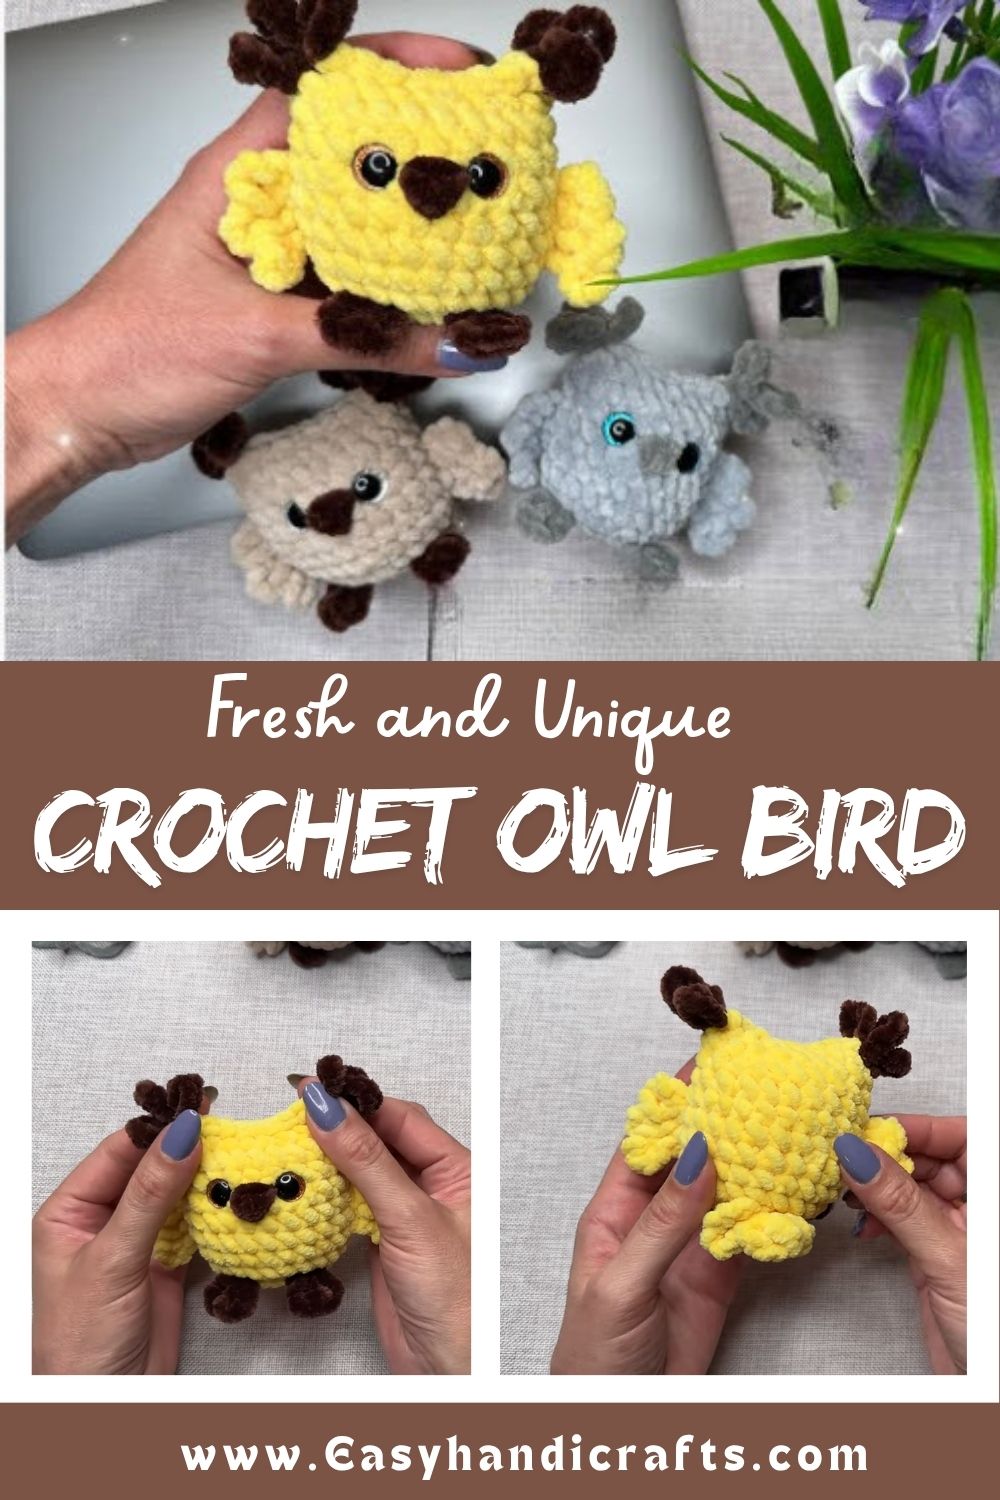
Owls have always felt magical, wise, quiet, and full of charm, sitting on branches like tiny guardians of the night. This crochet owl amigurumi captures that same gentle wonder, turning simple yarn into a keepsake perfect for birthdays, holidays, or heartfelt handmade gifts.
Project Overview
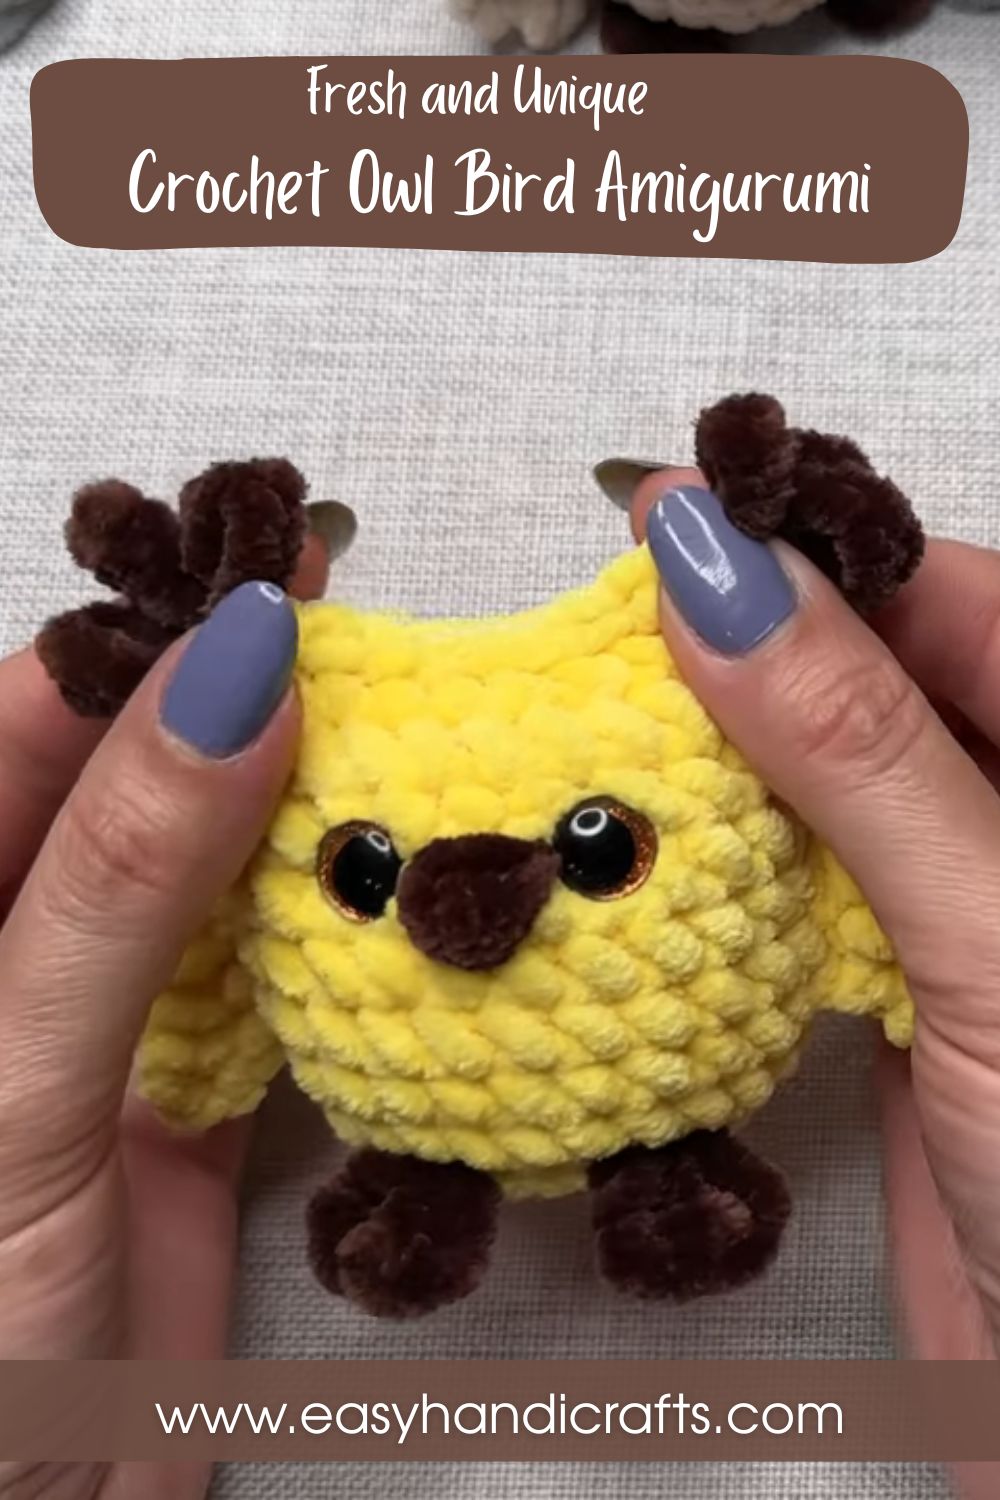
This Crochet Owl Bird Amigurumi is a beginner-friendly project that blends simple stitches with big personality. Using single crochet, increases, and decreases, you will shape a round little owl body, chubby wings, tiny ears, and an expressive face that feels ready for a shelf, a nursery, or a keychain.
Each part is crocheted separately and then sewn together. It is a relaxing, low-pressure project that rewards patience with an adorable finished friend.
Skill Level
This pattern is rated beginner to intermediate. If you already know how to work a magic ring, single crochet, and basic increases and decreases, you are fully ready to start. New crocheters can follow along too, since every step is explained in a simple, friendly way, with no confusing shortcuts.
Materials and Supplies You Will Need
Gathering your supplies first makes the whole project smoother and more enjoyable. Here is everything to have on hand:
- Yarn colors: Worsted weight (medium #4) yarn in brown or cream for the body, white and black for the eyes, and yellow or orange for the beak and feet
- Crochet hook: 3.5mm hook, or a size that matches your yarn for a nice tight fabric
- Safety eyes: 8mm to 10mm safety eyes (or embroidery thread if you prefer stitched eyes)
- Stuffing: Polyester fiberfill for a soft, huggable finish
- Needle and scissors: A blunt tapestry needle for sewing pieces together, plus sharp scissors for trimming yarn
- Extra accessories: A keychain ring, bag clip, or small ribbon bow if you want to turn your owl into a wearable accessory or gift topper
Crochet Techniques Used in This Pattern
You do not need fancy skills for this owl. The whole project relies on a few core amigurumi techniques:
Magic Ring
This is how almost every amigurumi part begins. It creates a tight, adjustable loop so there is no hole at the center of your rounds.
Single Crochet
The single crochet stitch builds the dense, sturdy fabric that amigurumi is known for, keeping the stuffing neatly tucked inside.
Increase and Decrease
Increases (two single crochets in one stitch) shape the rounded body and head, while decreases (single crochet two stitches together) bring the piece back in to close it up smoothly.
Sewing Parts Together
Once each piece is finished, a tapestry needle is used to attach wings, ears, and the beak, giving your owl its final, charming shape.
Step-by-Step Crochet Pattern Instructions
Making the Head and Body (Worked as One Piece)
Amigurumi owls are usually worked from the top of the head down to the base of the body in one continuous piece, using a spiral of single crochet rounds.
- Start with a magic ring and work 6 single crochets into it
- Increase every round for the first several rounds to shape the rounded top of the head, working up to around 30–36 stitches
- Once you reach your desired width, work several rounds even (no increases) to build the height of the head and body
- Begin decreasing gradually near the base to curve the body inward
- Stuff firmly as you go, adding a little more stuffing before the final rounds
- Close the last few stitches together to finish
the Ears
- Using the same color as the body, make a small magic ring with 4–5 single crochets
- Work one more round without increasing, then fasten off, leaving a tail for sewing
- Make two ears the same size
the Wings
- Start with a magic ring and 6 single crochets
- Increase for one round to widen the base
- Work a few even rounds to create a flat, teardrop-like wing shape
- Flatten the wing and close with a few stitches or a slip stitch seam
- Repeat for the second wing
The Tail or Feet (Optional Accessory)
- For a small pointed tail, crochet a short strip of single crochet rows and fold it slightly before sewing to the base of the body
- For feet, small clusters of chain stitches or tiny crocheted ovals in yellow yarn work beautifully
Creating the Facial Details
- Attach safety eyes securely before adding final stuffing, spacing them evenly on the upper-middle part of the head
- Crochet a tiny triangle or oval beak in yellow or orange yarn using a magic ring and one or two rounds
- Sew the beak just below and between the eyes for that classic owl expression
Assembly Process
- Sew the ears to the top of the head, angled slightly outward
- Attach the wings to each side of the body, close to the middle
- Position the beak and eyes before final placement, checking that everything looks balanced
- If adding a keychain ring, sew a small loop of yarn or attach the ring securely to the top of the head or back of the body
Finishing Touches
- Weave in every loose yarn tail using your tapestry needle
- Fluff the stitches gently with your fingers for a neat, tidy look
- Trim any stray fibers with sharp scissors
- Give your owl a gentle shape-check, adjusting stuffing through small gaps if needed before the final seam
Helpful Beginner Tips for Amigurumi Success
Keep Your Stitches Tight
Amigurumi needs firm, close stitches so stuffing never peeks through. If your stitches look loose, try going down half a hook size for a snugger fabric.
Use Stitch Markers
Since amigurumi is worked in a continuous spiral with no visible round markers, a simple stitch marker or scrap yarn loop at the start of each round keeps you from losing track and prevents accidental increases.
Stuff a Little at a Time
Add small amounts of stuffing gradually rather than one big handful at the end. This keeps the shape smooth and rounded instead of lumpy, and makes it much easier to reach every corner.
Design Customization Ideas
One of the best parts of this project is how easily you can make it your own:
- Different colors: Try soft pastels for a nursery-friendly owl, deep autumn tones for a fall décor piece, or festive red and green for a holiday version
- Cute accessories: Add a tiny bow, scarf, or graduation cap to match birthdays, holidays, or celebrations
- Mini size variations: Use finer yarn and a smaller hook to crochet a mini keychain-sized owl, perfect for bag charms or party favors
Frequently Asked Questions
What is the best yarn for Crochet Owl Bird Amigurumi?
Worsted weight (medium #4) cotton or acrylic yarn works best for amigurumi, since it holds its shape well and gives clean, defined stitches without being too thick or too thin.
How do I make my Crochet Owl Bird Amigurumi plush firm and sturdy?
Use a hook size slightly smaller than recommended for your yarn, keep your tension tight, and stuff generously in small amounts as you crochet, rather than stuffing everything at the very end.
How long does this project take?
Most beginners finish this owl amigurumi in about 3 to 5 hours, spread across a few relaxed sessions, depending on your crochet speed and how many extra details or accessories you add.
Final Thoughts
This Crochet Owl Bird Amigurumi is more than just a fun weekend project; it is a sweet handmade keepsake that brings warmth to any occasion, from birthdays to holiday gifting. Grab your hook and yarn, follow along step by step, and watch your very own little owl friend come to life.
Ready to give it a try? Pick your favorite yarn colors today and start stitching your own crochet owl, then share your finished amigurumi with fellow crochet lovers for some well-deserved cheers.