Crochet Sunshine Keychain Amigurumi Pattern with Smiling Face
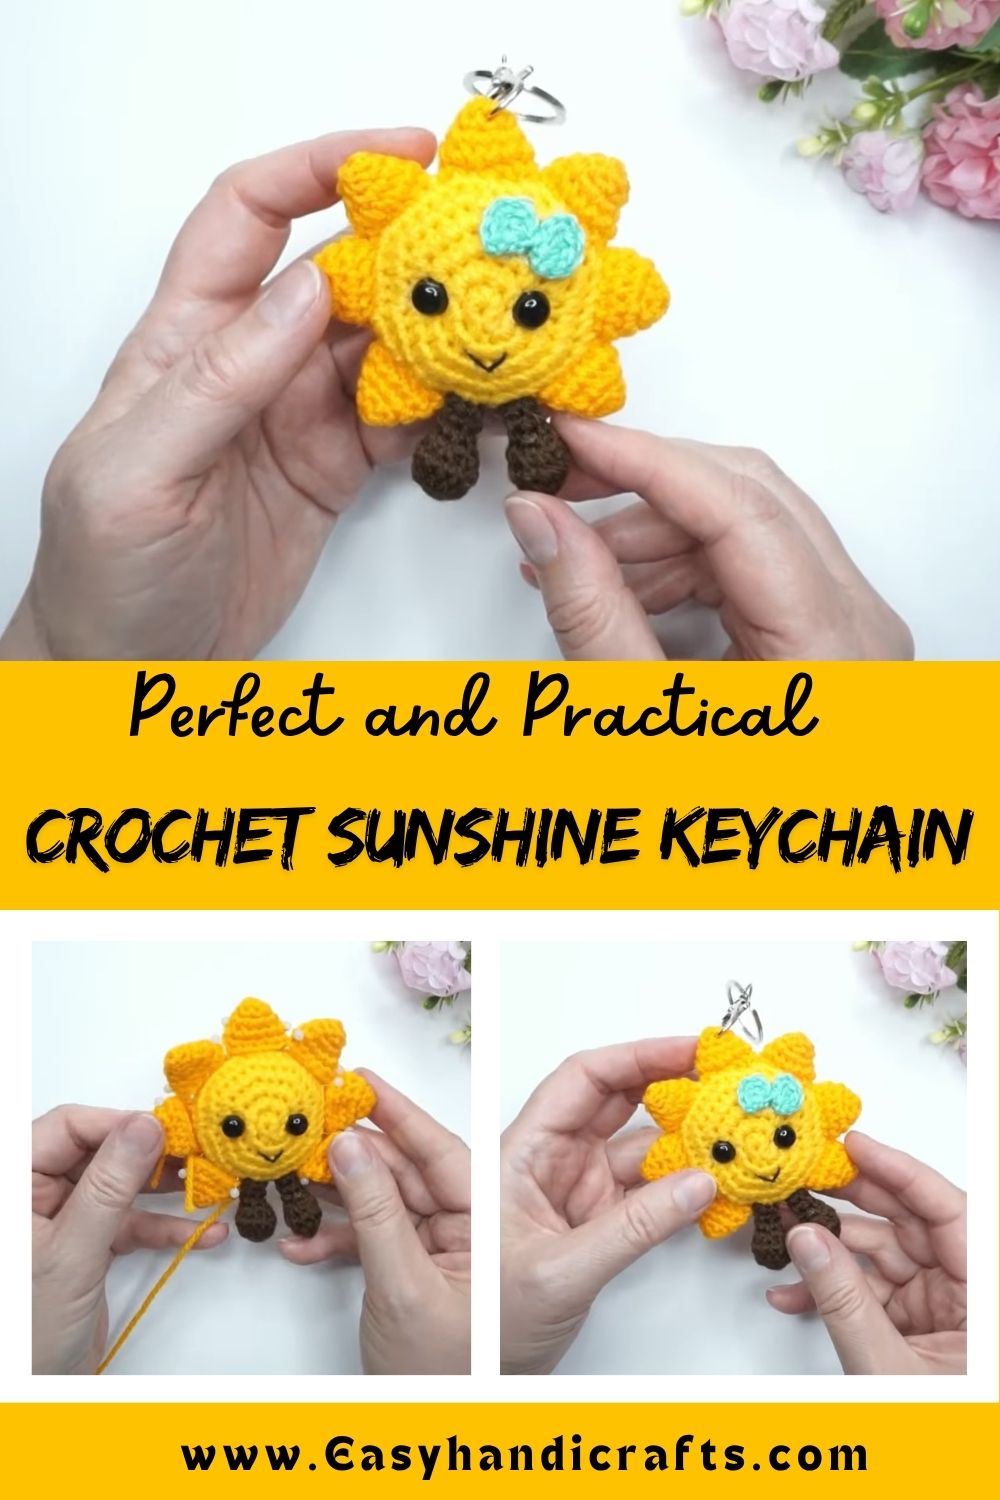
Few things bring instant joy quite like a tiny crochet sun dangling from your keys or bag. This Crochet sunshine keychain amigurumi pattern combines a round, cheerful face with pointed rays and little dangling feet, making it a fun, quick project that adds a pop of happiness to everyday essentials.
This sunshine keychain is a small amigurumi build made from just a few basic pieces: a round stuffed body, several pointed ray petals, two little legs, and simple facial features. Each part is crocheted separately, then joined together to form one complete, huggable little sun.
Skill Level
Beginner-friendly. Working in the round and shaping small amigurumi pieces are the main skills needed here. If you’ve made a basic amigurumi ball before, the rays and legs will feel familiar and easy to repeat.
What You’ll Need
- Worsted weight yarn in yellow (main color) and brown (for the legs)
- A small crochet hook suited to your yarn weight
- Polyester fiberfill for stuffing
- Small black safety eyes or embroidery thread for the face
- A yarn needle for sewing pieces together
- Scissors
- A keychain ring or clasp
- Stitch markers to track rounds
Core Techniques in This Project
- Magic ring or starting loop: Used to begin small, tight pieces like the legs and rays without a hole in the center.
- Working in continuous rounds: Builds the round body shape without visible seams.
- Shaping small appendages: Creates the legs and pointed sun rays as separate mini pieces.
- Stuffing as you go: Keeps the body firm and rounded before closing it up.
- Assembly and finishing: Joins all the separate parts and adds the facial details to bring the sunshine to life.
Step-by-Step Instructions
Step 1: Form the Starting Loop for the Legs
Wrap the brown yarn around your fingers and pull a loop through with your hook to create your first starting stitch. This small loop is the base for one of the little legs, so keep it snug enough that it won’t unravel as you work the first few stitches around it.
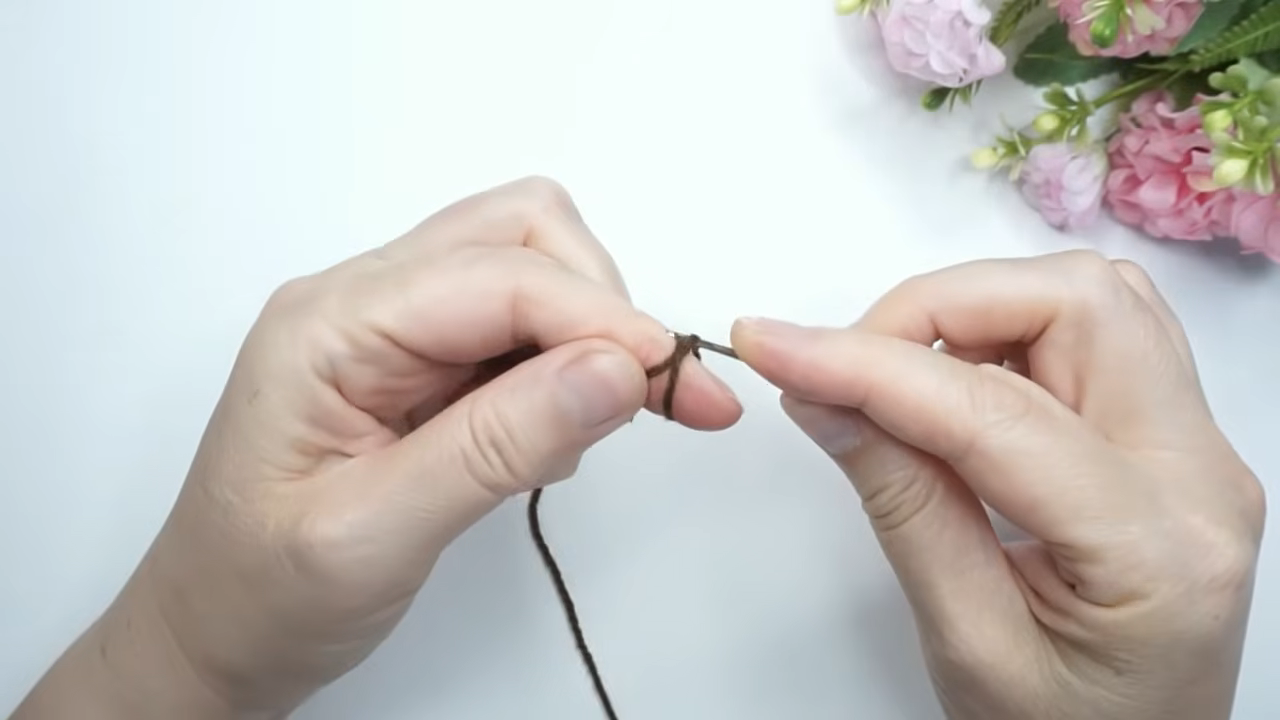
Step 2: Close Up the First Leg
Continue working stitches around your starting loop, then pull the tail to close any gap at the center. You’ll end up with a small, rounded shape that forms the foot. Leave a short tail of yarn hanging so you can attach it to the body later.
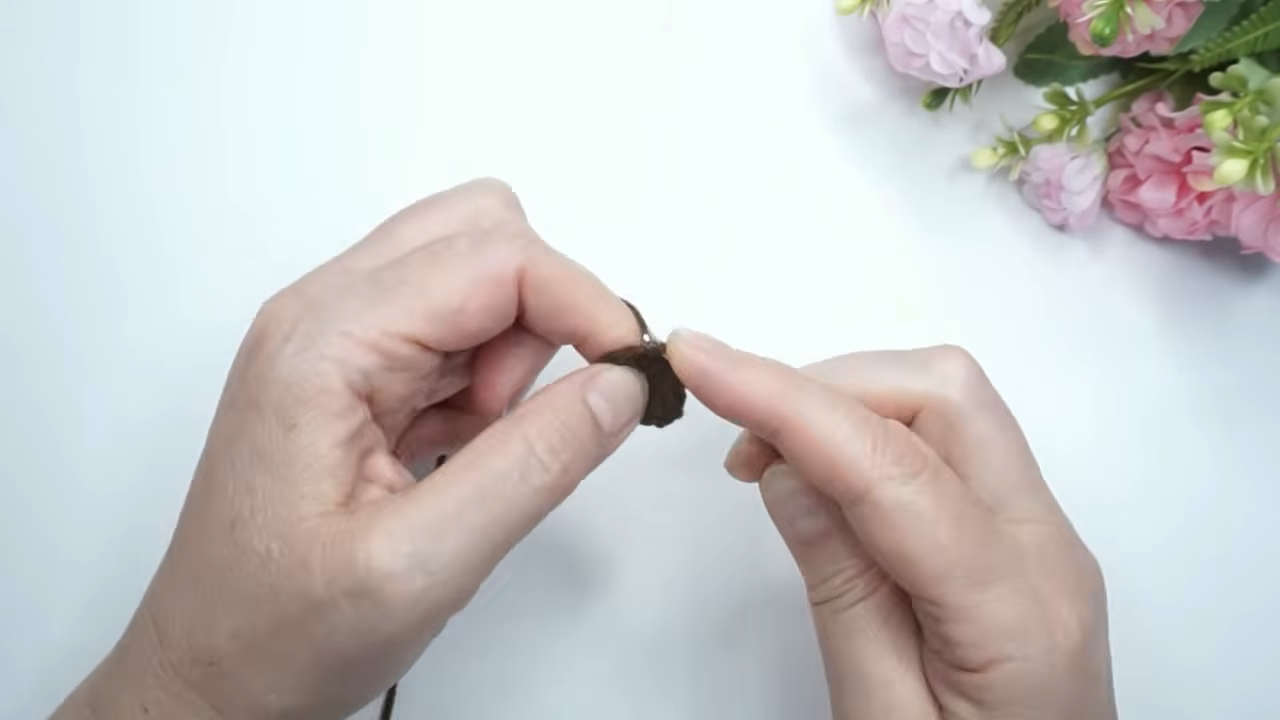
Step 3: Repeat for the Second Leg
Make a matching second leg using the same method, keeping both pieces close in size so the finished sunshine stands or hangs evenly. Once both legs are done, set them aside with their yarn tails still attached for sewing later.
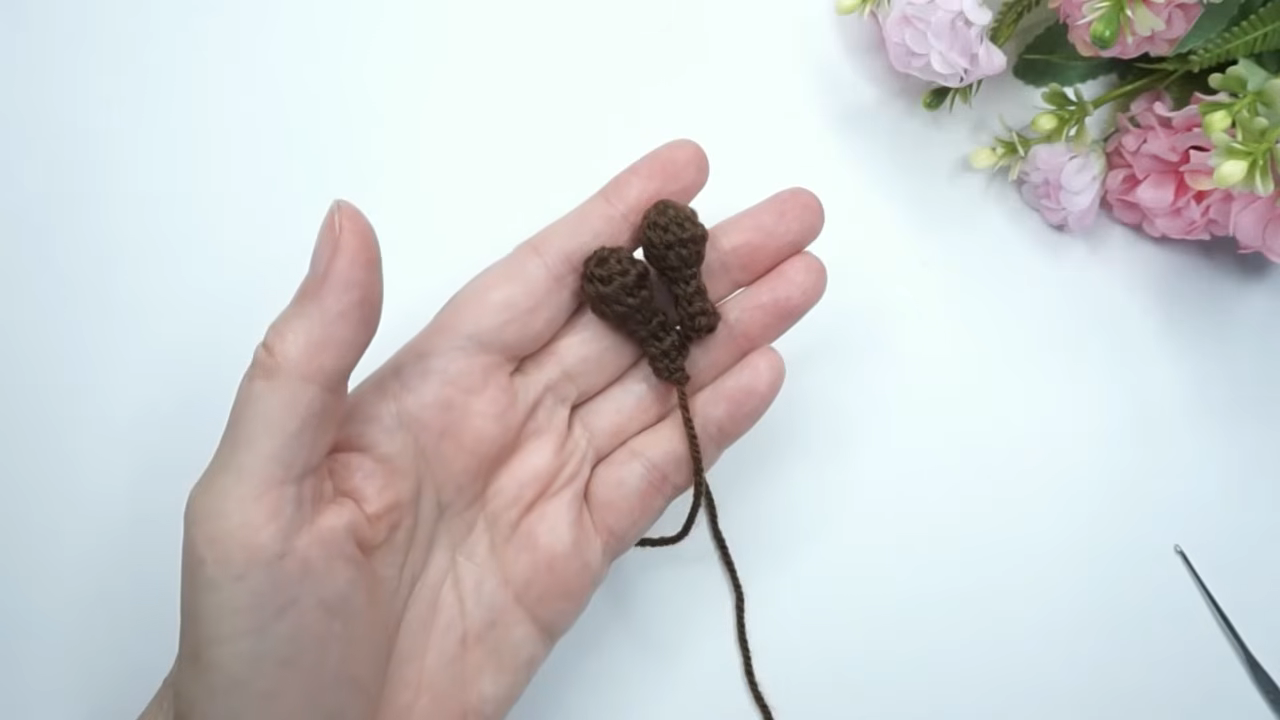
Step 4: Crochet the Sun’s Pointed Rays
Switch to yellow yarn and crochet several small triangle-shaped pieces to form the sun’s rays. Each ray is worked flat, building up from a few stitches into a pointed tip. Make enough rays to circle the entire body evenly, keeping them uniform so the finished sun looks balanced from every angle.
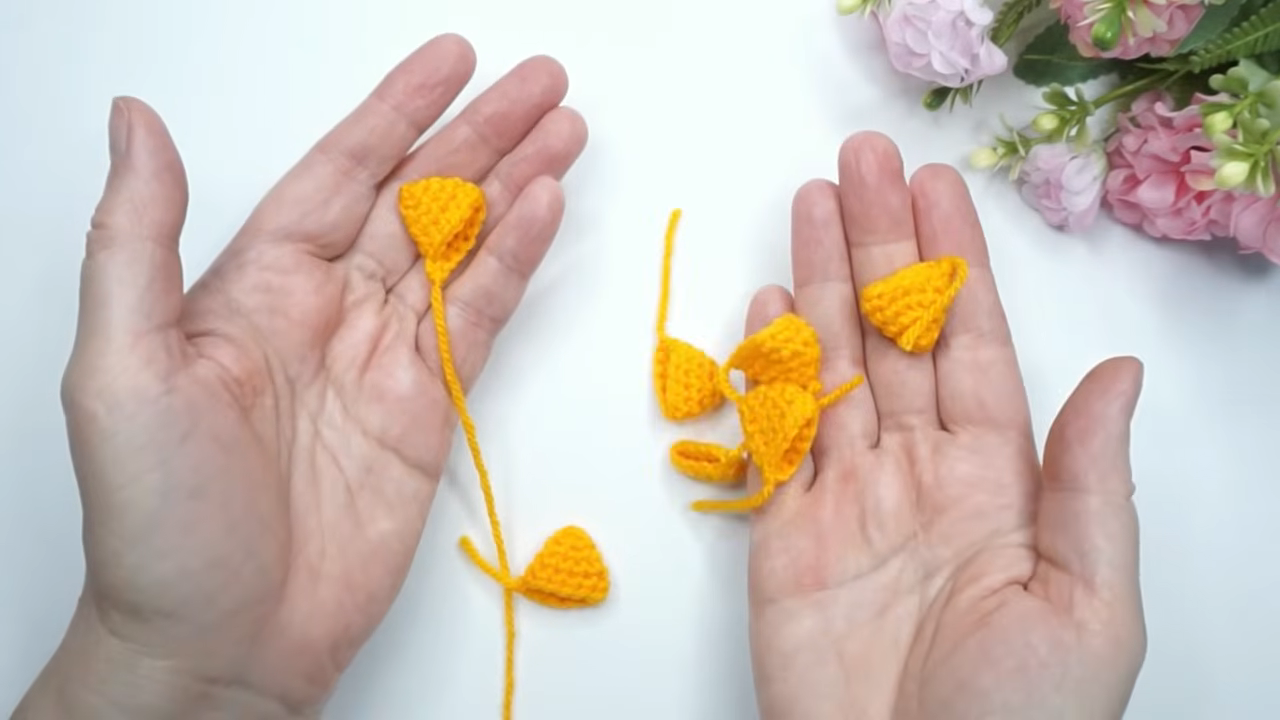
Step 5: Build and Stuff the Round Body
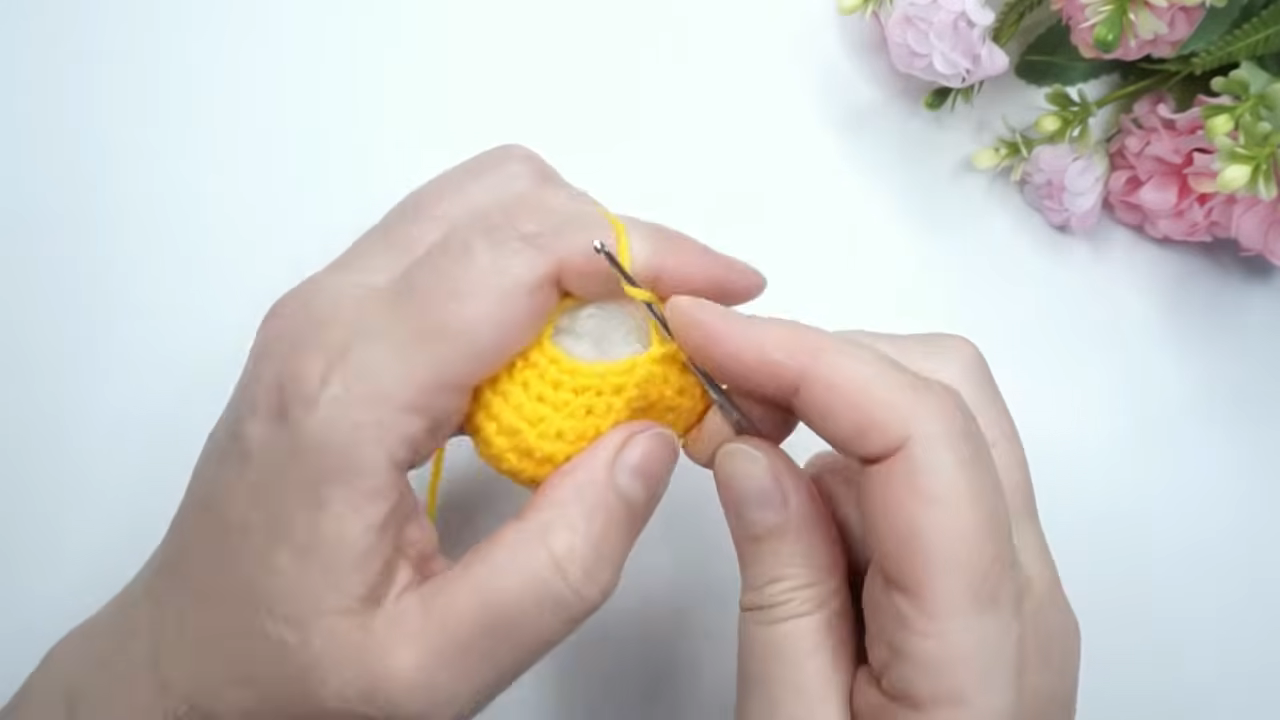
Work the main body in continuous rounds, increasing stitches early to shape a rounded form, then working even rounds until the piece reaches the size you want. Add stuffing gradually as you go rather than waiting until the end, pressing it in gently so the shape stays smooth and firm without any lumps.
Step 6: Assemble the Face and Attach All Pieces
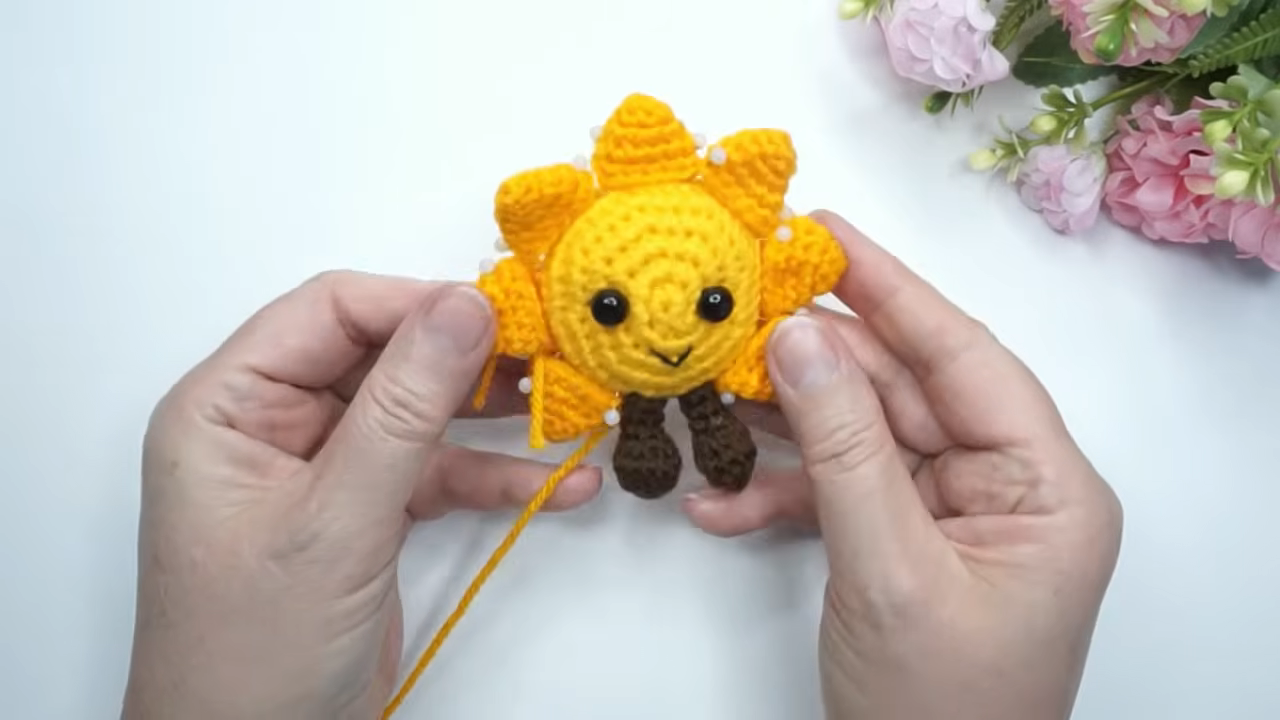
Once the body is stuffed and closed, attach the safety eyes and stitch on a simple smiling mouth using your needle and thread. Sew the rays evenly around the outer edge of the body, then attach the two legs at the bottom so the sunshine can sit upright. Finish by adding your keychain ring at the top, and your smiling sunshine amigurumi is ready to hang.
Tips for Beginners
- Stuff a little at a time instead of all at once for a smoother, rounder shape.
- Lay your ray pieces out in a circle before sewing to check spacing and symmetry.
- Use stitch markers on your starting round so you never lose track of where a new round begins.
- Keep your leg pieces short and simple; they’re meant to peek out just slightly from the bottom.
- Secure safety eyes before adding stuffing, since it’s much easier to adjust their placement on an empty piece.
Common Mistakes to Avoid
- Rushing the starting loop, which can leave a small hole at the center of the legs or rays.
- Overstuffing the body, which can distort its round shape and make sewing the rays uneven.
- Attaching rays unevenly, resulting in a lopsided sun instead of a balanced circular look.
- Forgetting to leave a long enough yarn tail on small pieces, making sewing them onto the body difficult later.
- Skipping stitch markers, which often leads to losing track of where each round starts and ends.
Ways to Customize This Keychain
- Swap the yellow yarn for orange or peach tones for a sunset-themed version.
- Add tiny cheeks with pink thread for an extra cute, blushing look.
- Make the rays longer and pointed for a more dramatic sunburst effect.
- Turn the same pattern into a plush without the keychain ring for a small desk decoration.
- Try mismatched pastel colors for a whimsical, rainbow-sun variation.
Frequently Asked Questions
Q: How long does this keychain usually take to make?
A: Most makers finish this Crochet Sunshine Keychain Amigurumi project in a couple of hours, since each piece is small and works up quickly.
Q: Can I skip the safety eyes and embroider the face instead?
A: Yes, embroidered eyes and a stitched smile work just as well and are a great option if you’re making this for a young child.
Q: What size hook should I use for a tiny keychain like this?
A: A smaller hook than usual, paired with worsted weight yarn, helps keep the stitches tight so stuffing doesn’t peek through.
Q: How many rays does the sun usually need?
A: This depends on personal preference, but most sunshine amigurumi patterns use somewhere between six and eight evenly spaced rays for a full, balanced look.
Q: Is this Crochet Sunshine Keychain Amigurumi pattern suitable for gifting?
A: Definitely. Its small size and cheerful design make it a popular handmade gift for birthdays, bag charms, or small thank-you presents.
Q: Can I make this without safety eyes for young children?
A: Yes, embroidered eyes are a safer alternative for amigurumi meant for babies or toddlers, since they won’t come loose over time.
Final Thoughts
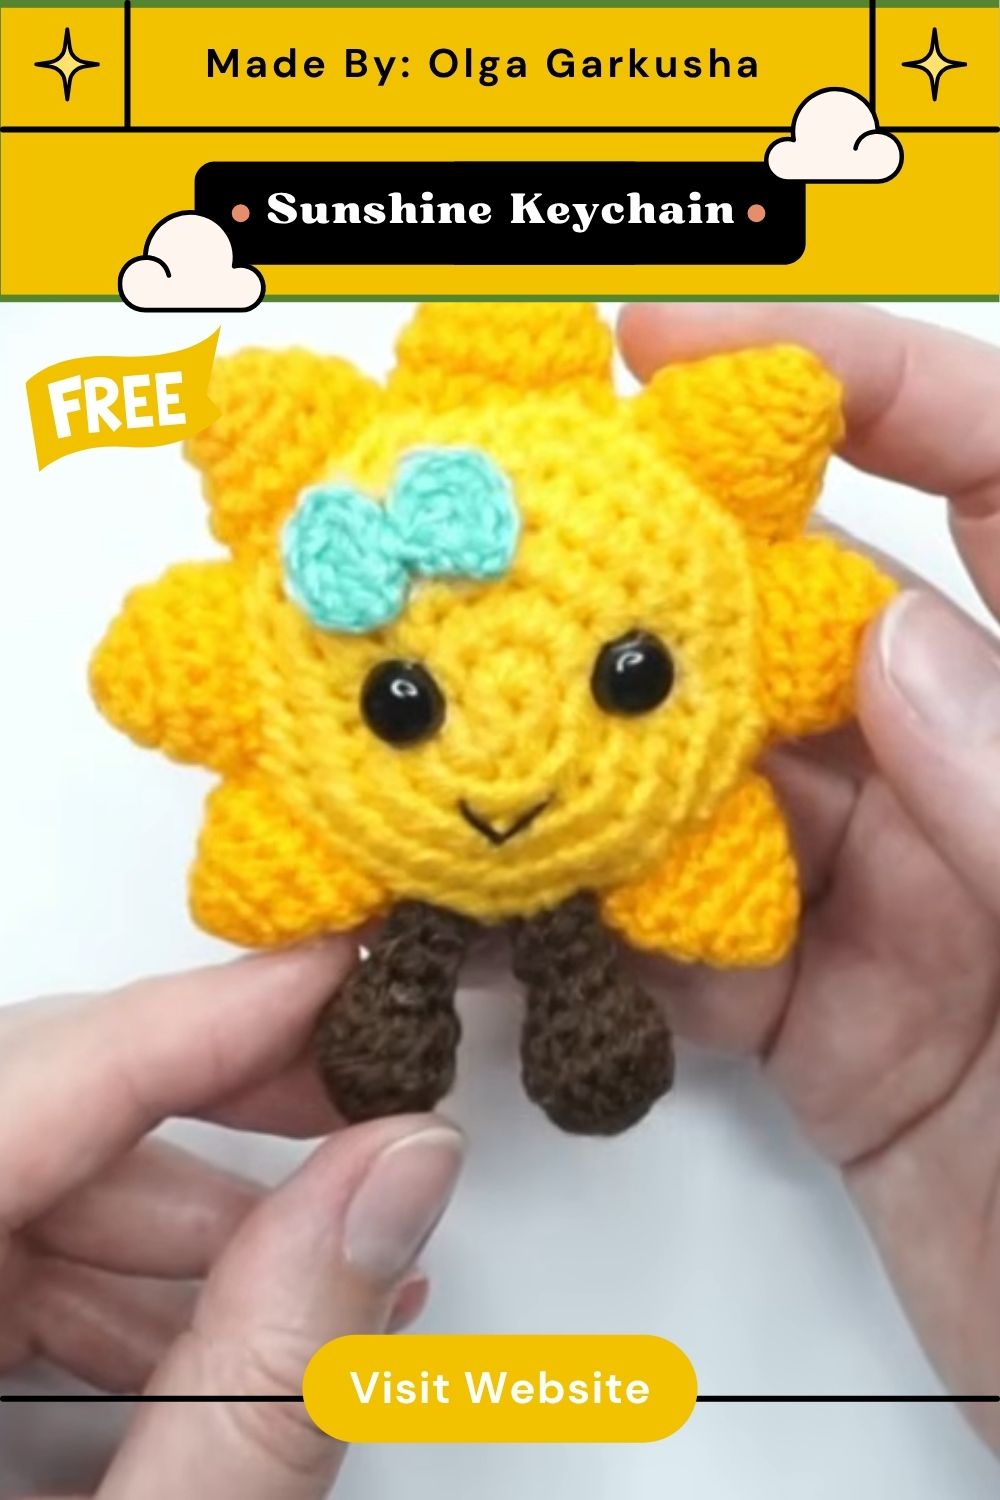
This Crochet Sunshine Keychain Amigurumi pattern shows how a handful of small crocheted pieces can come together into one cheerful little charm. From shaping the tiny legs to stuffing the round body and sewing on each pointed ray, every step builds toward a finished piece that’s practically guaranteed to bring a smile. Whether you’re making it as a personal keychain, a small gift, or your first amigurumi project, this pattern is simple enough to enjoy from start to finish. Gather your yarn, follow the steps at your own pace, and watch your own little sunshine come to life.