Stylish Crochet Cala Blouse Pattern for Casual Looks
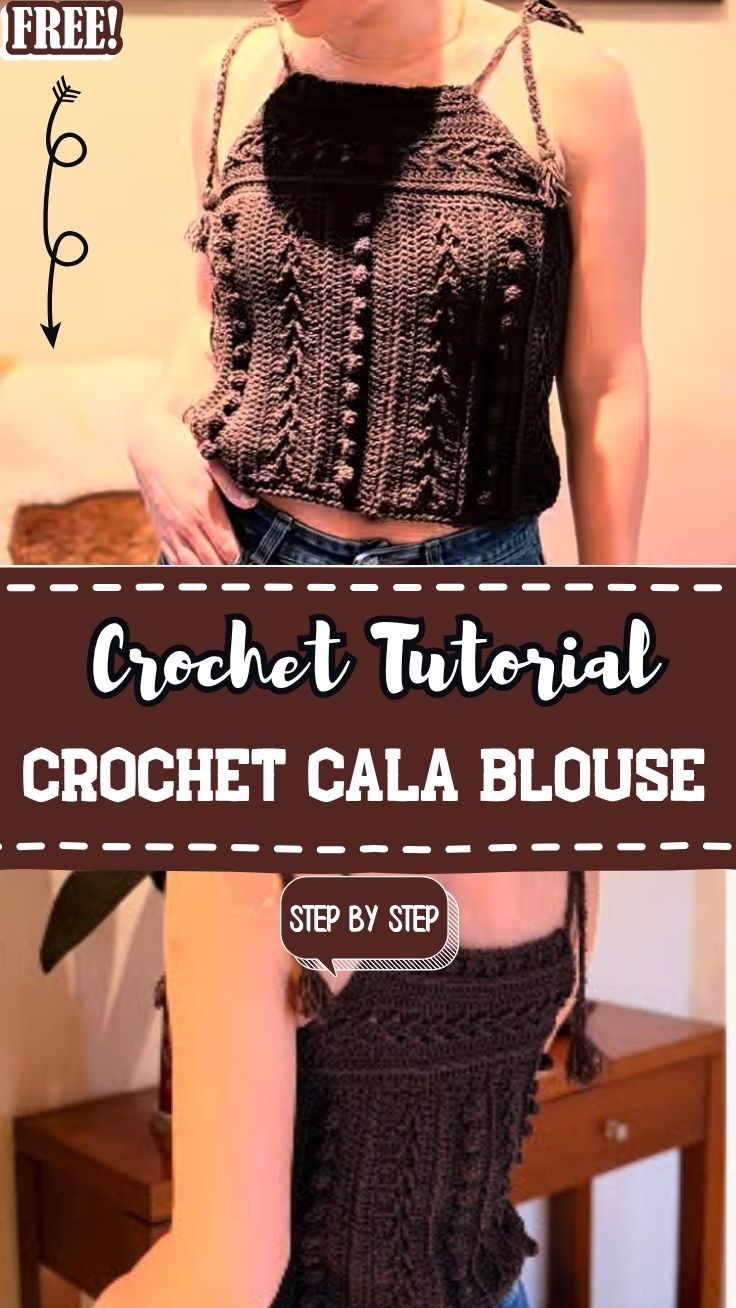
Rows of raised bobble stitches sit just below an airy eyelet yoke, giving structure to the Stylish Crochet Cala Blouse Pattern for Casual Looks before the body opens into a soft, drapey double crochet fabric perfect for warm-weather layering.
The Crochet Cala Blouse Pattern builds a fitted yoke first, working the bobble stitch trim and eyelet mesh yoke into one continuous piece before opening into looser body stitches. Readers get a stitch-by-stitch breakdown of the yoke transition, practical tension checks, and finishing guidance for a blouse that layers easily over shorts, jeans, or a slip dress.
Pattern Overview
The Cala Blouse combines three distinct textures in one garment: an open eyelet mesh at the yoke, a raised bobble stitch band running across the chest, and a plain double crochet body that gives the piece its drape. A scalloped lace trim finishes the edges. Working top-down keeps fitting straightforward, since the yoke and bobble band can be tried on before the body length is decided.
Materials
- DK or worsted weight cotton or cotton-blend yarn, roughly 800–1,000 yards depending on size
- 4mm (G/6) crochet hook for the body, with a 3.5mm hook optional for a tighter yoke
- Tapestry needle
- Stitch markers
- Measuring tape
Important Stitches
- Bobble stitch – clusters of incomplete double crochets pulled together at the top, creating raised texture
- Eyelet mesh – chain spaces worked between stitches to form small open holes
- Shell/scallop edging – grouped stitches worked into a single space to fan out along an edge
- Standard chain, slip stitch, and double crochet throughout the body
Time Box
- Prep and gauge swatch: 20–30 minutes
- Yoke, bobble band, and body: 4–6 hours
- Trim and finishing: 1–1.5 hours
Construction and Step-by-Step Instructions
1. Start the yoke and eyelet row
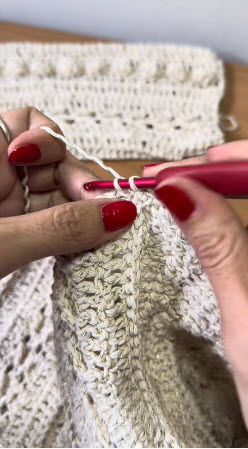
Work the eyelet mesh first, spacing chain gaps evenly so the bobble row above sits centered once added. Count eyelets across before moving on an uneven eyelet count will throw off the bobble placement in the next row.
Stitch check: recount your eyelet spaces before starting the bobble row above them.
2. Add the bobble stitch band
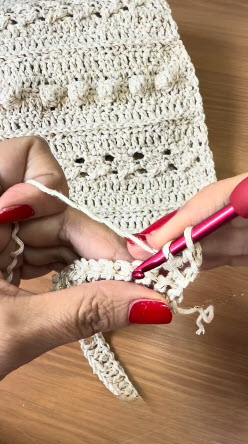
the hook picking up a stitch right at the base of the eyelet and bobble section, with the working yarn tail still loose below. Position each bobble directly above an eyelet space so the texture lines up cleanly rather than drifting sideways across the row.
3. Transition into the plain body stitches
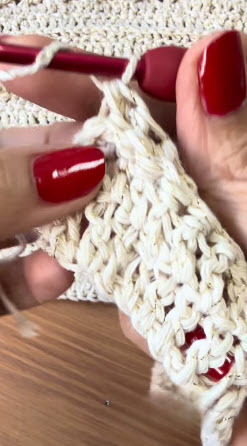
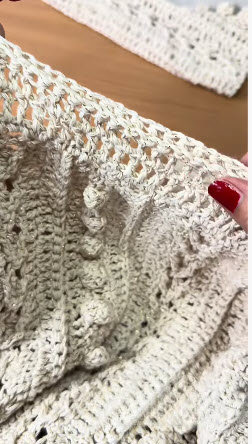
solid double crochet fabric being worked, noticeably looser and more open than the dense bobble texture above it. Once the bobble band is complete, switch to consistent double crochet stitches for the body, keeping your tension relaxed here so the fabric drapes instead of stiffening.
Tension note: the body stitches should feel visibly looser on the hook than the bobble row that difference is intentional and gives the blouse its drape.
4. Work the second bobble and eyelet join
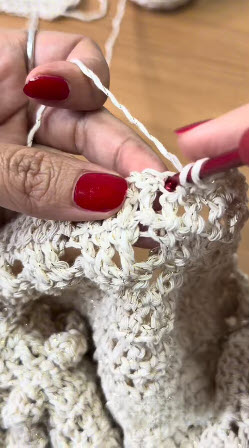
Screenshot 3 shows the same bobble-and-eyelet combination being worked again, this time along what appears to be a side seam or second panel edge, with the hook picking up a fresh loop mid-row. Match the eyelet spacing from your first panel here so both sides read as mirror images once assembled.
Fit check: hold both panels together at this stage and confirm the bobble rows line up before continuing.
5. Confirm the yoke-to-body transition
Screenshot 4 gives a wider view of the piece, showing the eyelet mesh yoke, the raised bobble band, and the plain-stitch body sitting together as one continuous panel. Use this as your visual reference point: if your own piece doesn’t show this same layered look, recheck your row count before moving further down the body.
6. Finish with the scalloped edge
Screenshot 5 shows a delicate, open lace edge being worked with fine picot-style loops, likely along a neckline or sleeve opening. Keep picot spacing even across the row, since any gap that’s noticeably wider or narrower than its neighbors will stand out once the trim is finished and laid flat.
Measure now: lay the finished trim flat and check it doesn’t ripple or pull tight before weaving in ends.
Common Mistakes
- Losing count of eyelet spaces before starting the bobble row
- Crocheting the body section too tightly, which flattens the intended drape
- Uneven picot spacing along the scallop trim
- Forgetting to compare both panels for symmetry before joining
Troubleshooting
If the bobble row is puckering the fabric, loosen your tension slightly on the bobble stitches themselves rather than the surrounding rows. If the scallop edge is curling, block the finished piece lightly with steam or a damp cloth before wearing.
Sizing and Fit
Since the yoke and bobble band are worked before the body length is set, try the piece on after Step 4 and add or remove body rows to adjust length before finishing.
Personalization Ideas
Color blocking
Work the body in a contrasting shade from the yoke and bobble band for a two-tone look.
Sleeve length
Shorten or extend sleeve rows to shift the blouse from a cropped summer top to a longer layering piece.
Trim swap
Replace the scallop edge with a simple single crochet border for a cleaner, more minimal finish.
Care Instructions
Hand wash in cool water and lay flat to dry, especially if using cotton yarn, to prevent the bobble texture from stretching out of shape.
FAQs
Can beginners make this blouse?
Readers comfortable with basic double crochet and simple chain spaces can manage the body; the bobble and scallop rows benefit from prior stitch practice.
Why does the body look looser than the yoke in the photos?
The body is worked at a relaxed tension deliberately, giving the blouse drape rather than stiffness.
What if my eyelet count doesn’t match my bobble count?
Recount the eyelet row before adding bobbles the two rows need to align for the texture to sit evenly.
Conclusion
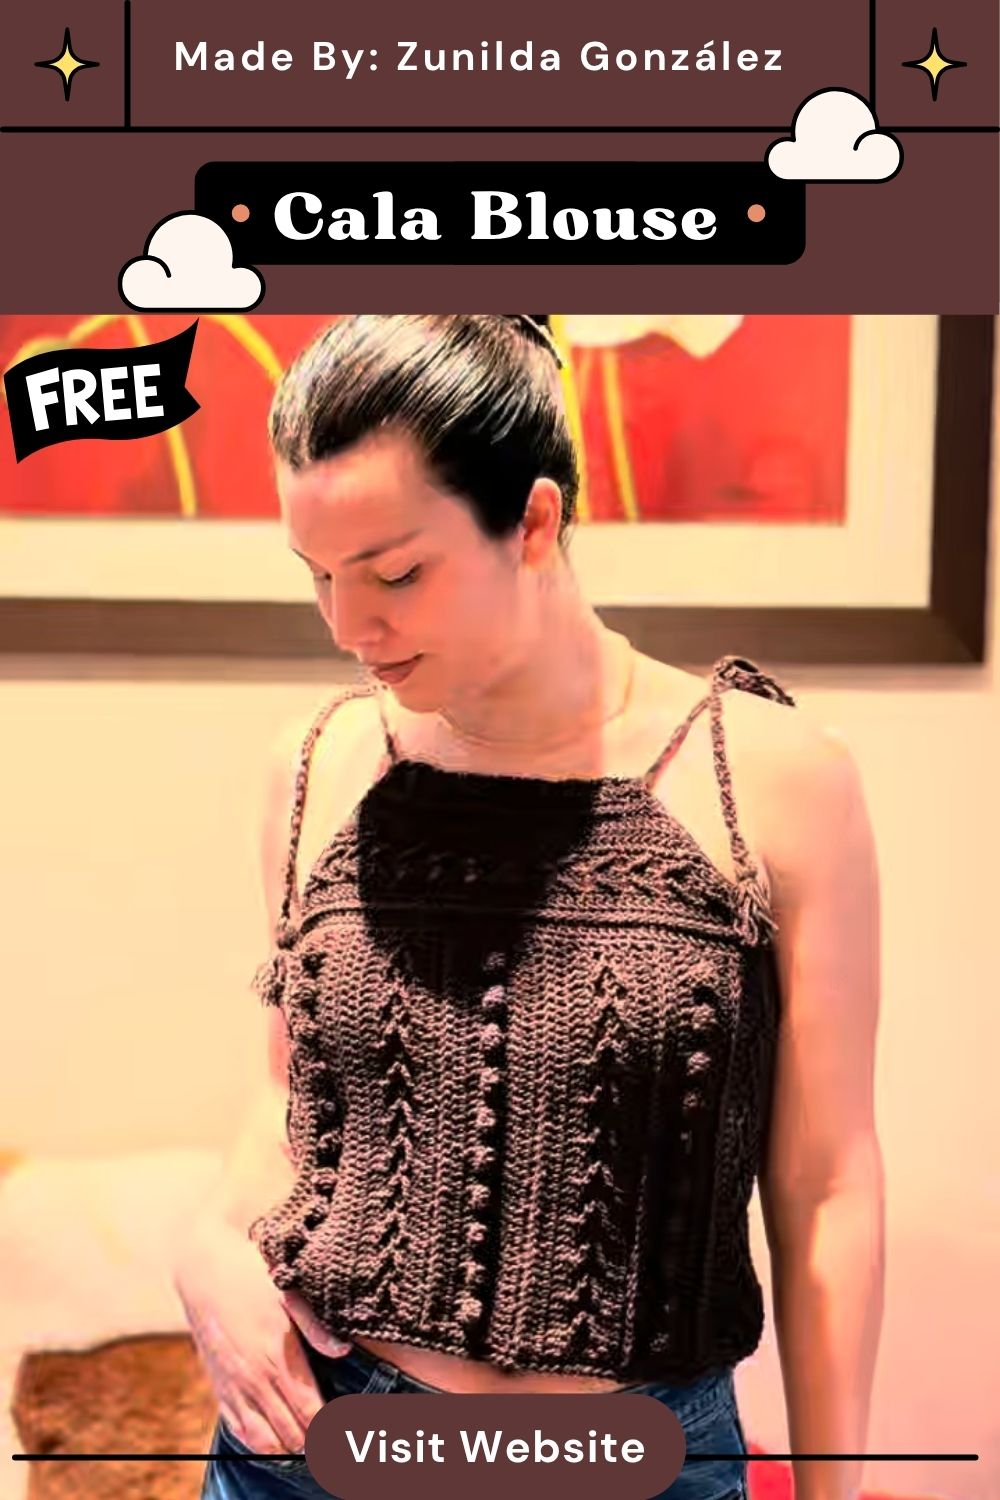
The layered texture across the yoke, bobble band, and body is what gives the Cala Blouse its character, and matching each screenshot checkpoint against your own progress keeps the construction on track from start to finish.