Free Crochet Saltena Keychain Pattern for Bags
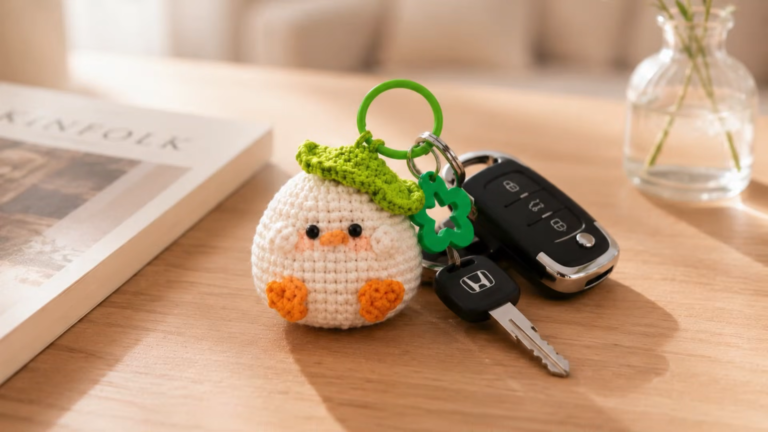
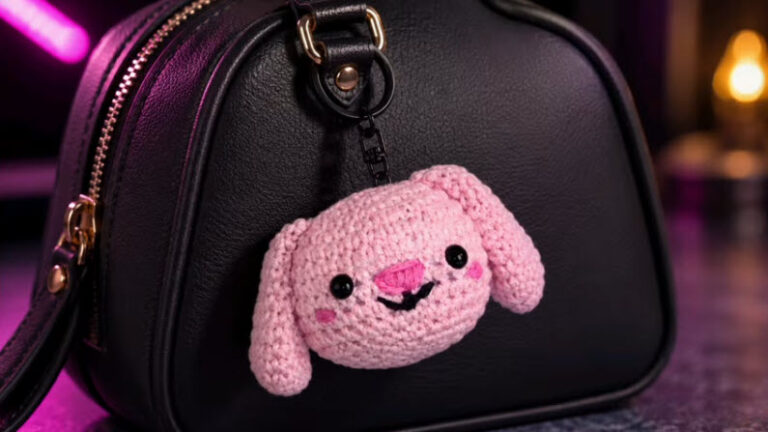
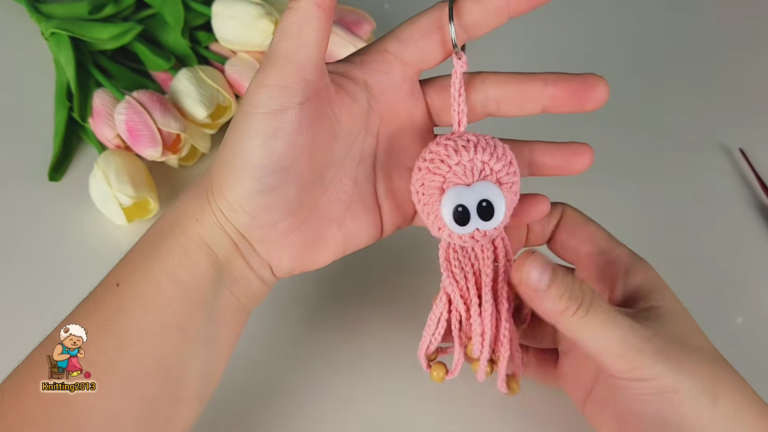
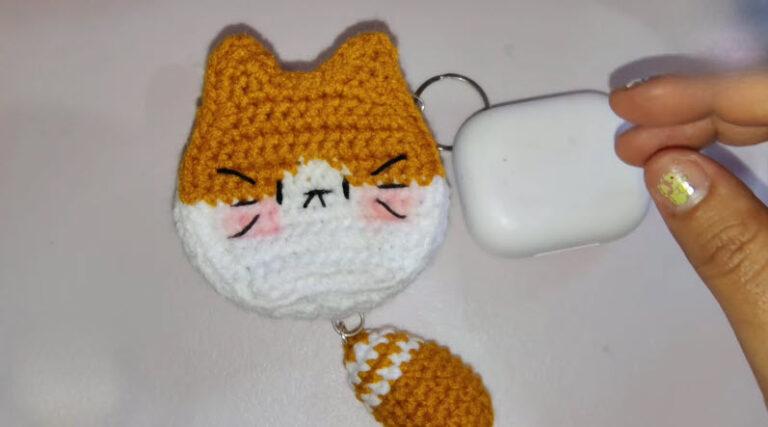
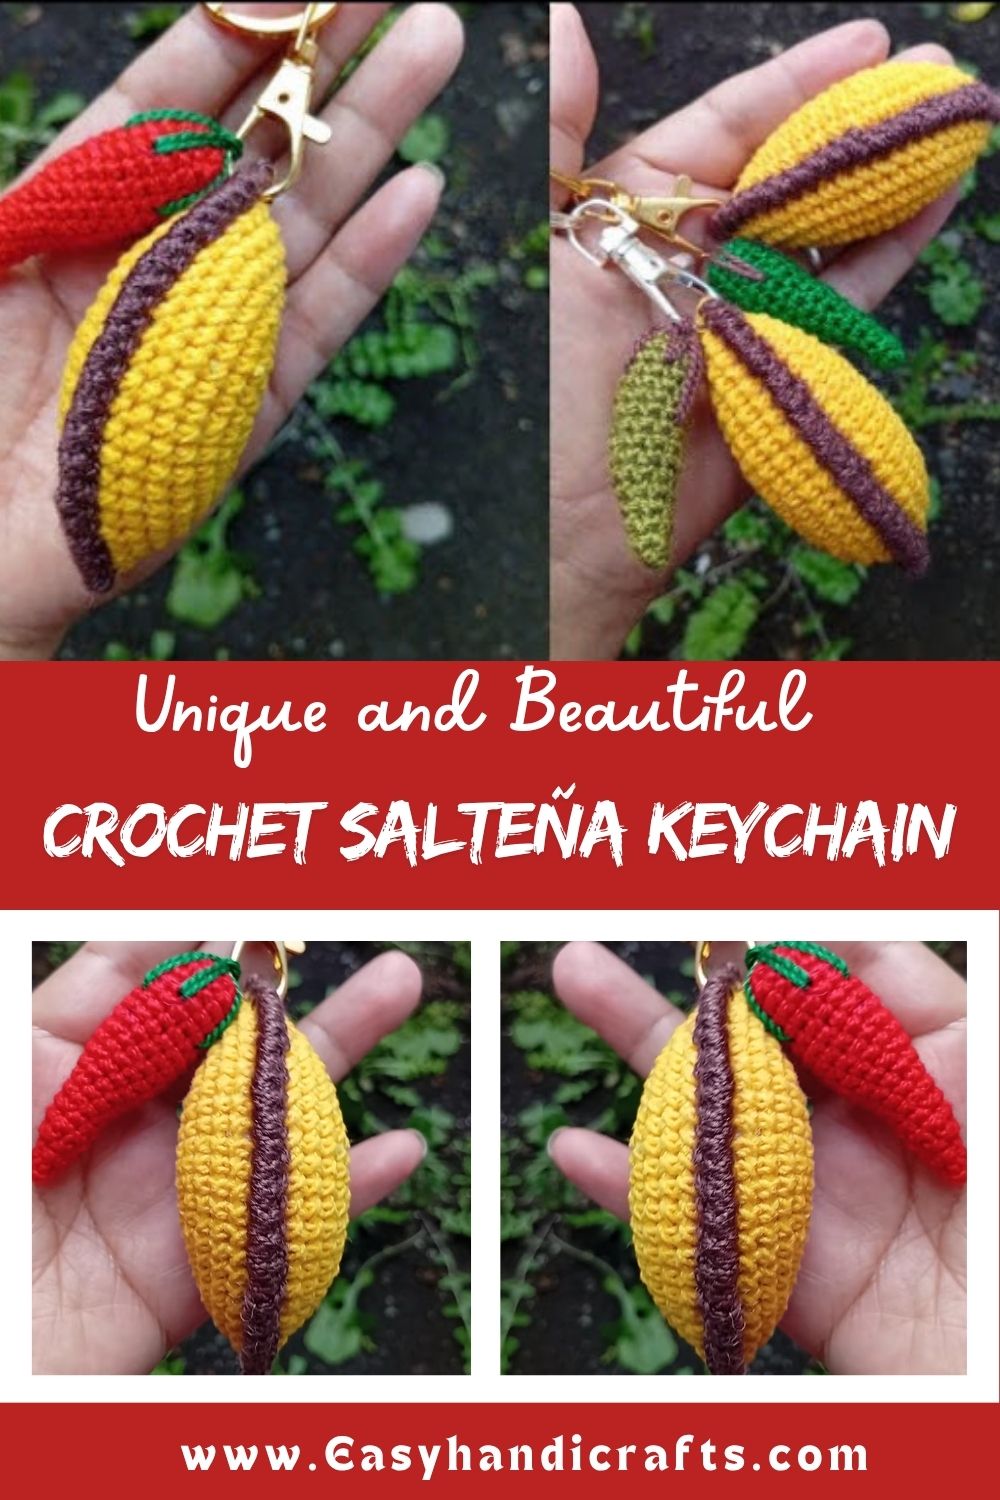
Salteñas hold a special place in traditional Bolivian cuisine, their juicy filling and golden, beautifully crimped crust turning every bite into something memorable. Turning this beloved snack into a soft Free Crochet Saltena Keychain brings a touch of warmth, culture, and lovely nostalgia to your bag or keyring.
This crochet pattern turns a classic Bolivian pastry into an adorable, pocket-sized amigurumi charm. Worked mostly in single crochet with a rounded body and a crimped top edge, the finished piece looks just like a real saltena, only softer, huggable, and ready to dangle from your favorite tote or school bag zipper.
The whole project comes together quickly using basic amigurumi stitches. It’s a satisfying weekend make that produces a genuinely unique, giftable accessory.
Skill Level
This pattern sits comfortably in the beginner-to-intermediate range. Someone who already knows how to work in the round, increase, and decrease will move through it smoothly. First-timers can manage it too, as long as they’re patient with the shaping rows around the curved edge and take their time with the crimped seam that gives the saltena its signature pinched look.
Materials and Supplies List
Gather these before you start so your crochet session flows without interruptions.
Yarn Colors
- Golden tan or light brown (worsted weight, for the crust/body)
- Deep brown or rust (optional, for shading the crimped edge)
- Small scraps of orange, yellow, or green if you want to peek a bit of “filling” through a seam detail
Tools and Notions
- 3.5mm or 3.75mm crochet hook (adjust based on your yarn weight for a tight, gap-free fabric)
- Pair of small safety eyes (4mm to 6mm) or embroidery floss if you’d rather stitch a simple face
- Polyester fiberfill stuffing
- Yarn needle for sewing and weaving in ends
- Sharp fabric scissors
- Stitch marker (a locking one works best)
- Keychain ring with a jump ring or lobster clasp attachment
Crochet Techniques Used
- Magic ring, to start the body with a snug, hole-free center
- Single crochet, the main stitch used throughout the pattern
- Increase and decrease rounds, to build and close the rounded shape
- Sewing pieces together, for attaching any extra details and closing the final seam
Knowing these four techniques ahead of time makes the whole pattern much easier to follow, so it’s worth practicing a swatch first if you’re newer to amigurumi.
Step-by-Step Crochet Pattern Instructions
Creating the Body (Base Shape)
The saltena starts as one continuous rounded piece rather than a separate head and body, since the real pastry is a single pocket shape.
- Begin with a magic ring and work 6 single crochet stitches into it, then pull the ring closed.
- Round 2: increase in every stitch (12 stitches total).
- Round 3: alternate one single crochet, one increase, all the way around (18 stitches).
- Round 4: alternate two single crochet, one increase (24 stitches).
- Round 5: alternate three single crochet, one increase (30 stitches).
- Work several rounds even (no increasing) until the piece measures roughly 2 to 2.5 inches across, forming the rounded belly of the saltena.
- Begin decreasing gradually over the next few rounds to taper the shape into a gentle dome, similar to the plump curve of a real pastry.
Shaping the Top Edge
Instead of ears, this project needs the pinched, crimped edge that makes a saltena instantly recognizable.
- Once the body is stuffed about three-quarters full, flatten the opening slightly.
- Work a single crochet seam directly across the opening, catching both sides together as you go, rather than closing it in a smooth circle.
- Every second or third stitch, pinch the seam slightly toward you before pulling the loop through. This creates the little peaks and folds along the top that mimic a traditional crimped crust.
Facial Details
- Insert the safety eyes about one-third of the way up from the base, spaced a comfortable distance apart, before you finish stuffing.
- Add a small curved mouth using a strand of brown embroidery floss for a friendly, subtle expression.
- Optional: stitch tiny pink cheek dots with a scrap of pink yarn for extra charm.
Assembly Process
- Finish stuffing the body firmly but not overly tight, leaving enough give for the shape to stay soft against a bag.
- Complete the crimped seam across the top, weaving in the working yarn tail securely on the inside.
- Attach the keychain ring by looping a small length of yarn or a jump ring through one of the top stitches, then reinforce with a few extra stitches so it holds up to daily use.
Finishing Touches
- Weave in every loose end carefully so nothing unravels with regular handling.
- Fluff and shape the crimped top with your fingers to open up the folds.
- Give the whole piece a light steam or gentle press with your hands if the stitches look uneven, which helps the shape settle.
Helpful Beginner Tips
- Keep stitches tight. Amigurumi needs a dense fabric so stuffing doesn’t peek through, so drop down a hook size if your stitches look loose or gappy.
- Use a stitch marker religiously. Since this pattern works in continuous rounds, a marker on the first stitch of each round keeps your stitch count accurate and saves you from unpicking rows later.
- Stuff a little at a time. Add small pinches of fiberfill as you go rather than cramming it all in at the end, which helps you avoid lumps and keeps the rounded shape smooth.
Design Customization Ideas
- Different colors: Try a deeper golden-brown for a “baked longer” look, or a pale cream shade for a softer, freshly-made appearance.
- Cute accessories: Add a tiny embroidered steam swirl above the crimp, or stitch on a mini chili pepper charm for a playful nod to spicy fillings.
- Mini size variations: Use a lighter weight yarn with a smaller hook for a miniature charm that fits on a phone strap or bracelet, or size up with bulky yarn for a plush pillow version.
FAQ Section
What is the best yarn for amigurumi?
Worsted weight cotton or acrylic yarn tends to work best for a Free Crochet Saltena Keychain like this one. Cotton gives sharper stitch definition and holds its shape well, while acrylic is budget-friendly and comes in a wide color range. Either works, as long as it pairs with a hook size small enough to keep the fabric tight.
How do I make a crochet plush firm?
Firmness depends on two things: stitch tension and stuffing. Use a slightly smaller hook than the yarn label recommends. Add the stuffing gradually in small pinches. Press it into every curve to keep the shape firm. This also prevents the stitches from stretching out of place.
How long does this project take?
Most crocheters finish a Free Crochet Saltena Keychain in one to two hours, depending on experience level and how detailed the facial embroidery is. It’s a great project to complete in a single sitting or split across two short crochet sessions.
Conclusion
This Free Crochet Salteña Keychain proves that even a humble street snack can become a charming handmade keepsake. Clip it onto a backpack or add it to your keychain collection. It also makes a thoughtful gift for anyone who loves Bolivian food. Grab your hook and a scrap of golden yarn. Give this quick pattern a try this week. Once you finish one, you’ll probably want to crochet a few more in different shades.