Free Crochet Nature Poncho Sweater Pattern for Fall Fashion
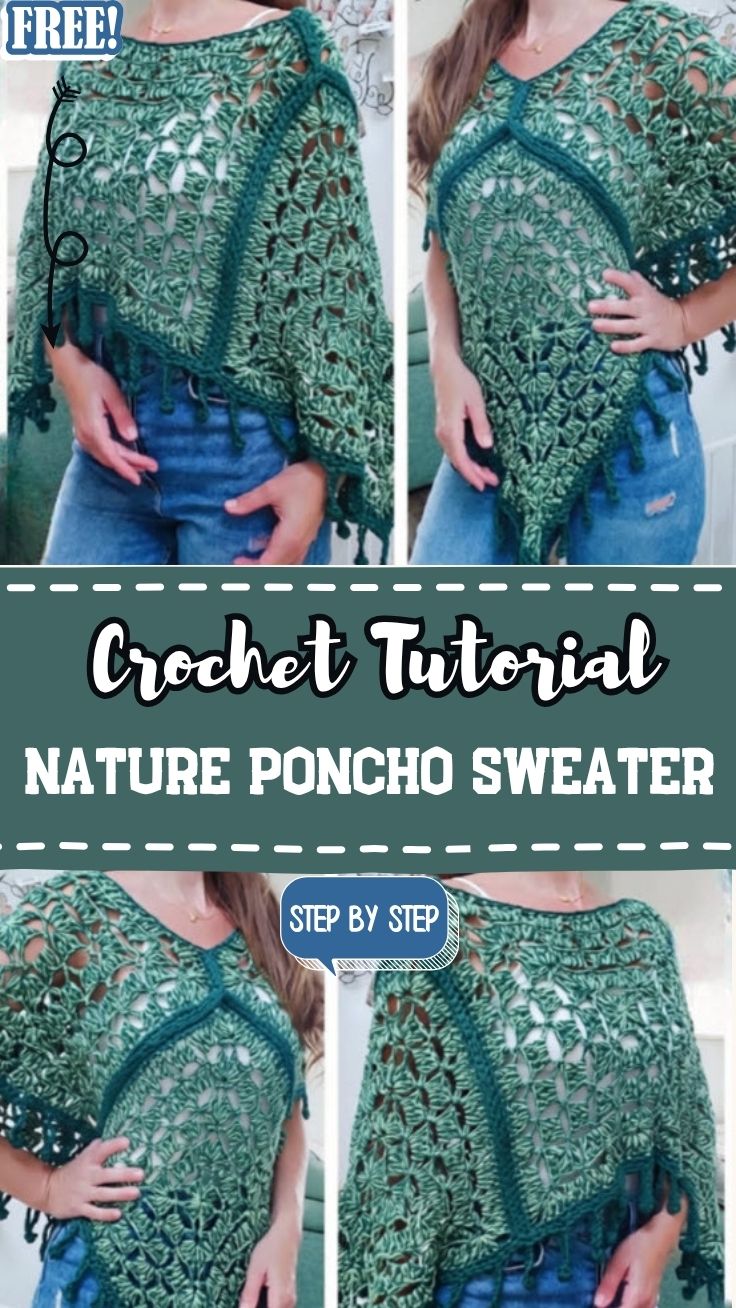
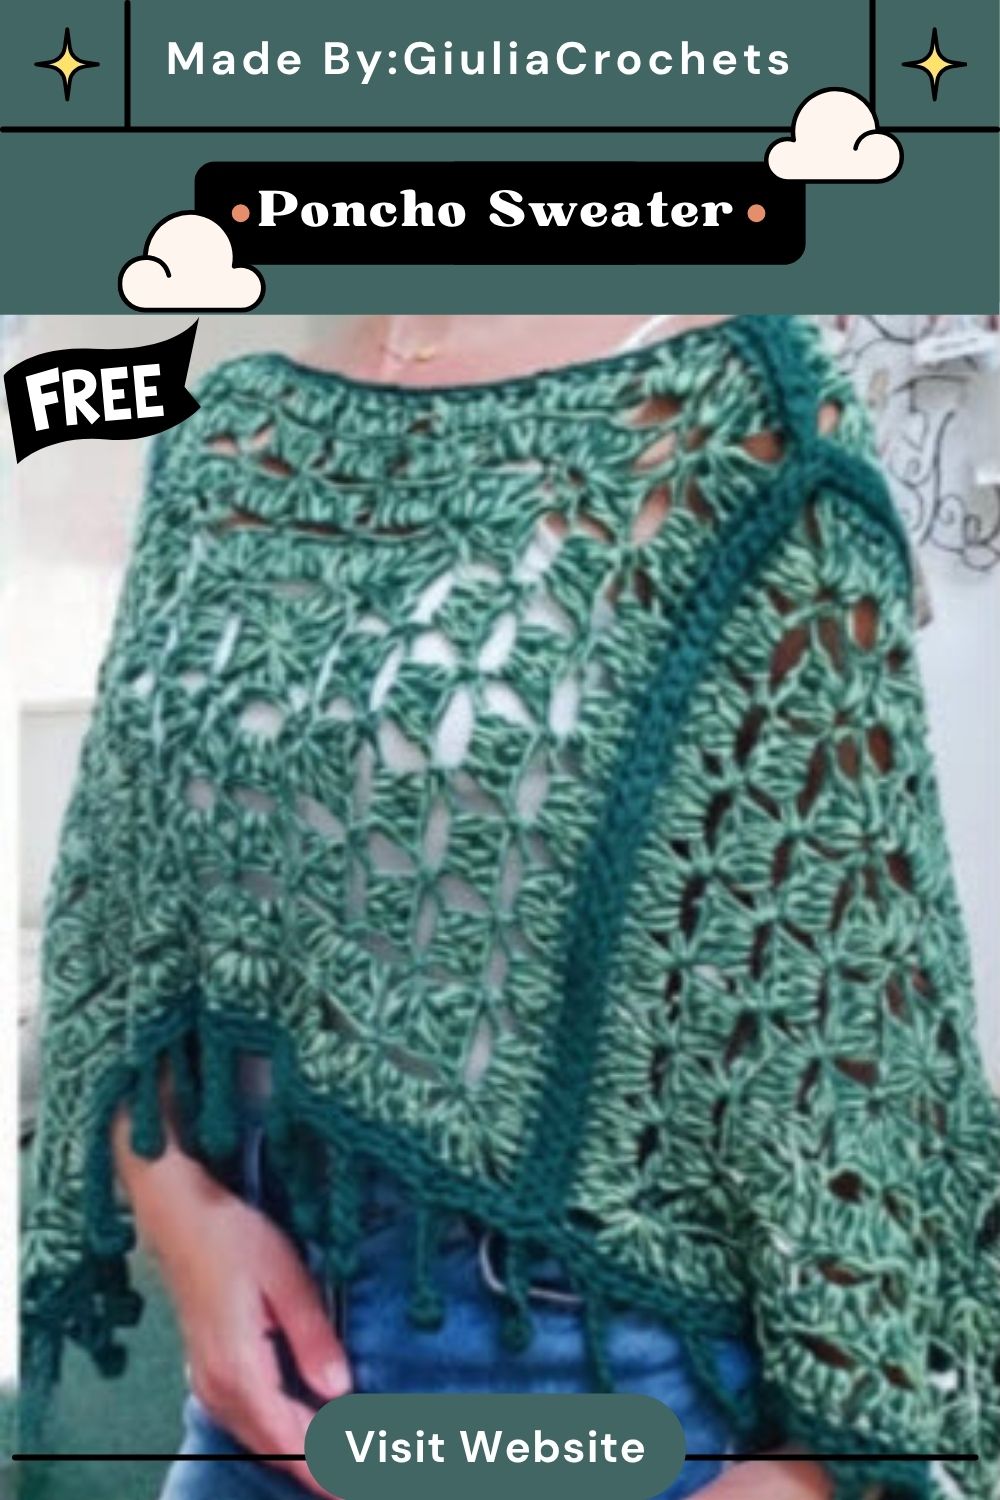
Cream-and-forest shell motifs stack into a triangular panel on the hook, and that fan texture is exactly what carries the Free Crochet Nature Poncho Sweater Pattern for Fall Fashion into a wearable piece with real drape.
Built from joined granny-square motifs rather than one continuous panel, this Crochet Nature Poncho Sweater takes its earthy character from a variegated green-and-cream yarn worked in shell stitches, then framed with a solid dark-green border. You will find guidance on hook size, motif joining, and shaping the neckline so the finished triangle drapes evenly over both shoulders.
Pattern Overview
Each motif starts from a ring, builds outward in shell-stitch rounds, and joins to its neighbors into a strip; strips combine into two triangular panels that meet at the shoulders. A solid-color border squares up the motif edges and gives the piece its clean outer line.
Materials
- Worsted or light-worsted weight yarn, variegated green/cream for the body, solid dark green for the border (amount depends on finished size — see Before Publishing)
- 5.0mm (H/8) crochet hook, or the size that gives you the gauge below
- Yarn needle, stitch markers, scissors
Yarn Selection
A yarn with some drape — cotton-acrylic or wool blends — lets the shell motifs fold naturally over the shoulders instead of standing stiff. Pure acrylic works but will sit boxier; a wool blend softens the fall and adds warmth.
Hook Size / Gauge
Standard practice for this weight of yarn is a 5.0mm hook, with one motif measuring roughly 4 inches square before joining. Swatch one full motif and measure it — poncho drape depends on this more than most garments, since a tight gauge shortens the front panels and pulls the neckline up.
Abbreviations
ch (chain), sc (single crochet), dc (double crochet), tr (treble/triple crochet), ss (slip stitch), sp (space), rnd (round), rep (repeat)
Important Stitches
The motif is built from shell clusters (groups of dc or tr worked into the same stitch or space) separated by chain spaces at the corners — this is what gives the finished piece its fan-like, nature-inspired texture rather than a flat grid.
Before You Start
Wind your two colors into separate balls before beginning so you’re not stopping mid-round to untangle. Decide now whether you want a swoncho (with sleeve openings) or a closed poncho — it changes how strips get joined later.
Time Box
- Prep and swatching: 20–30 minutes
- Motif stitching: 3–5 hours, depending on final motif count
- Joining and border: 1–2 hours
- Finishing and blocking: 30–45 minutes
Construction and Instructions
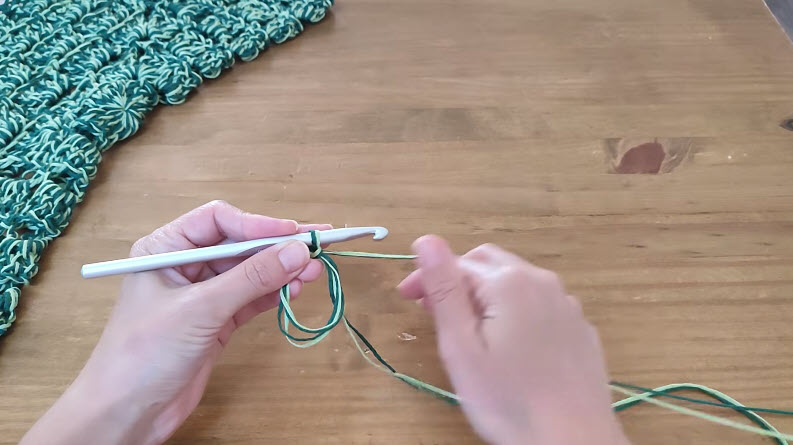
Step 1 – Start the ring. Make a slip ring or chain-4 joined into a ring, and work your first round of shells directly into it.
Step 2 – Build the motif rounds. Work each following round’s shells into the chain spaces of the previous round, increasing at the four corners so the piece stays flat and square. Corner increases matter more here than in a flat blanket square skip one and the whole motif starts to cup.
Stitch check: count your corner spaces after every round you should have the same number of shells on each side before moving to the next round.
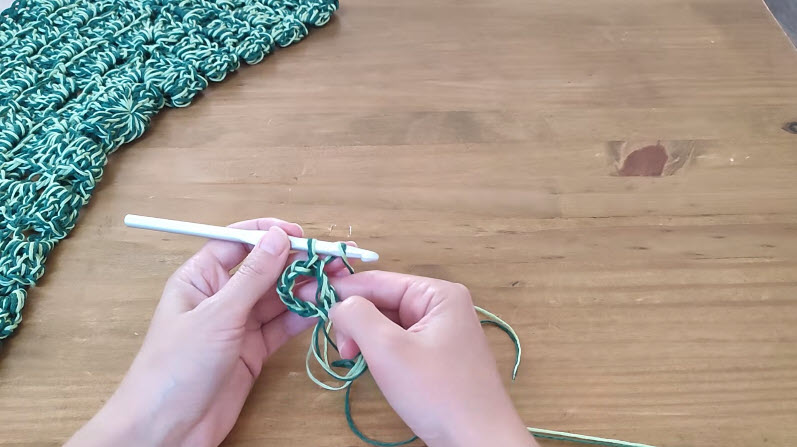
Step 3 – Repeat to the needed motif count. Continue until you have enough motifs for one strip, keeping your working tension consistent motif to motif so panel width doesn’t drift.
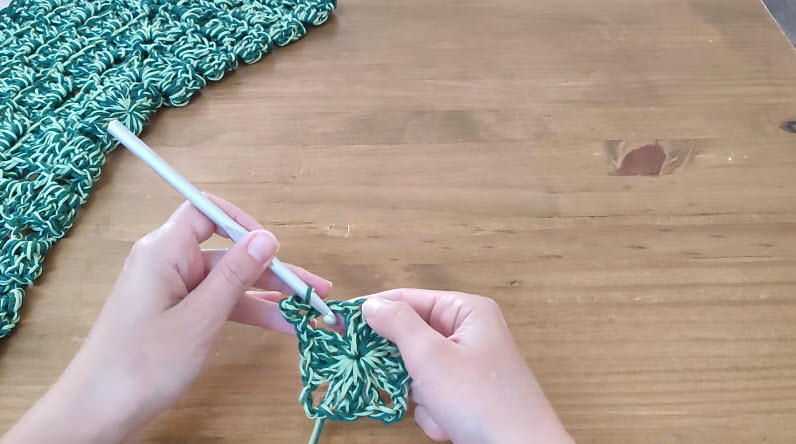
Step 4 – Join motifs into strips. Join with slip stitch or single crochet through matching corner spaces, always working with motifs facing the same direction a flipped motif will show its wrong side once the poncho is worn.
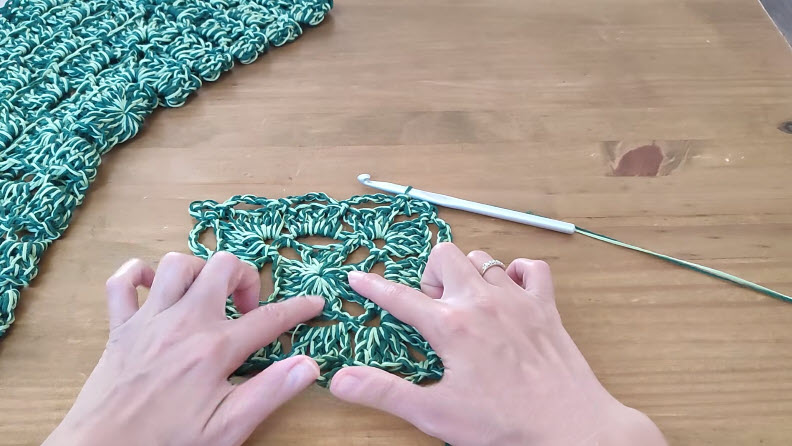
Step 5 – Join strips into panels, then panels at the shoulder. Lay both panels flat before joining the shoulder seam to confirm they mirror each other.
Fit check: hold the joined panels up to your shoulders before adding the border this is the easiest point to adjust neckline width.
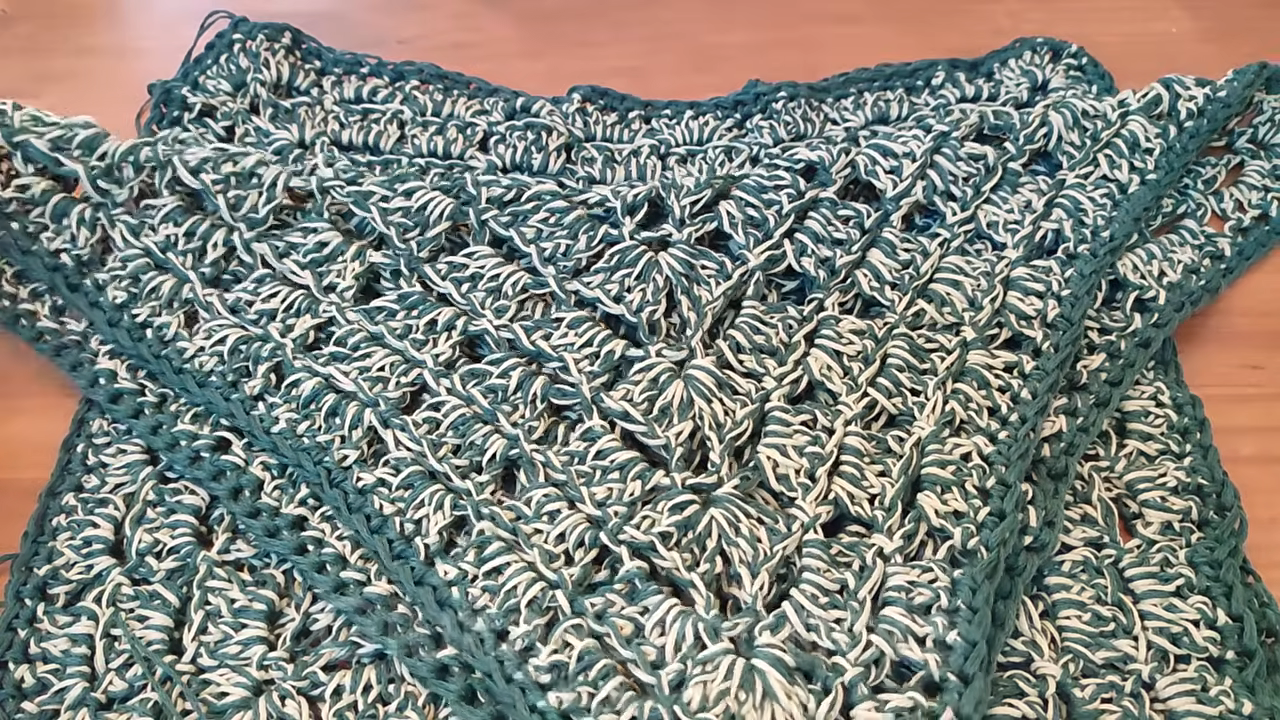
Step 6 – Work the border round. Single crochet evenly around the outer edge and neckline in your solid color, adding extra stitches at outer points and skipping a stitch occasionally around concave curves so the edge lies flat instead of ruffling.
Pro-Tip Callout
If your finished panel edge waves instead of lying flat, your border stitch count is uneven relative to the motif points — rip back the border only, not the motifs, and recount stitches per side before rejoining.
Sizing / Fit Guidance
Poncho fit is controlled by motif count and border tension rather than traditional garment shaping. More motifs per strip lengthens the body; a looser border stitch widens the neck opening. Try the piece on before weaving in ends, since the border is the last easy adjustment point.
Common Mistakes
- Joining motifs with mismatched orientation, creating a visible seam twist
- Skipping corner increases, causing cupped or ruffled motifs
- Working the border too tightly, pulling the neckline out of shape
- Losing track of which side is the “public” side while switching colors
Troubleshooting
If the neckline feels tight after finishing, work one relaxed round of single crochet around it rather than restarting moderate stretch on chain-space edges usually corrects a snug fit without unraveling work.
Size Modification
Add or remove one motif per strip to adjust overall length, and add a motif on each side to widen the shoulder drape. Keep motif count even between the two panels so the poncho hangs symmetrically.
Color Variations
Swap the solid border for a third accent color pulled from the variegated yarn, or alternate two variegated colorways strip by strip for a deeper, layered look suited to fall palettes.
Assembly
Assemble strips into panels first, check both panels against each other for identical motif count and orientation, then join at the shoulders before working the continuous border this order keeps the two front edges even.
Finishing
Weave in all ends along seam lines rather than through open lace areas, where loose tails will show. Block the finished piece lightly with steam or a damp-cloth press to relax the shell texture without flattening it.
Care Instructions
Hand wash in cool water and lay flat to dry, since post-stitch texture holds its shape better away from a dryer’s tumbling motion. Store folded rather than hung to keep the shoulder seams from stretching.
Personalization Ideas
Fringe Trim
Add a knotted fringe along the bottom border for extra movement.
Button Closure
Work a few button loops along one front edge for a closed, cardigan-style wear option.
Ombré Motifs
Transition yarn shades motif by motif from dark at the neckline to light at the hem.
FAQs
How many motifs does this poncho need?
Motif count depends on your gauge and desired size swatch one motif first, then calculate from your target panel measurements.
Can I make this poncho without visible seams?
Joining as-you-go through the last round of each motif, rather than sewing after the fact, keeps seams flatter and less visible.
Is this pattern beginner-friendly?
Anyone comfortable with basic shell stitches and simple increases can follow it, though motif joining takes a little practice to keep tension even.
What yarn weight works best?
Worsted weight gives the shell texture the most definition; a finer yarn will need a smaller hook and more motifs for the same finished size.
Checking Panel Symmetry Before Joining
Lay your two finished panels edge to edge on a flat surface before the shoulder seam goes in. Compare motif count, border tension, and overall width side by side this is the last point where an uneven panel is easy to fix, since unpicking a joined shoulder seam later risks distorting the neckline shape.