Granny Crochet Top-Down Mosaic Pattern For Chic Layering
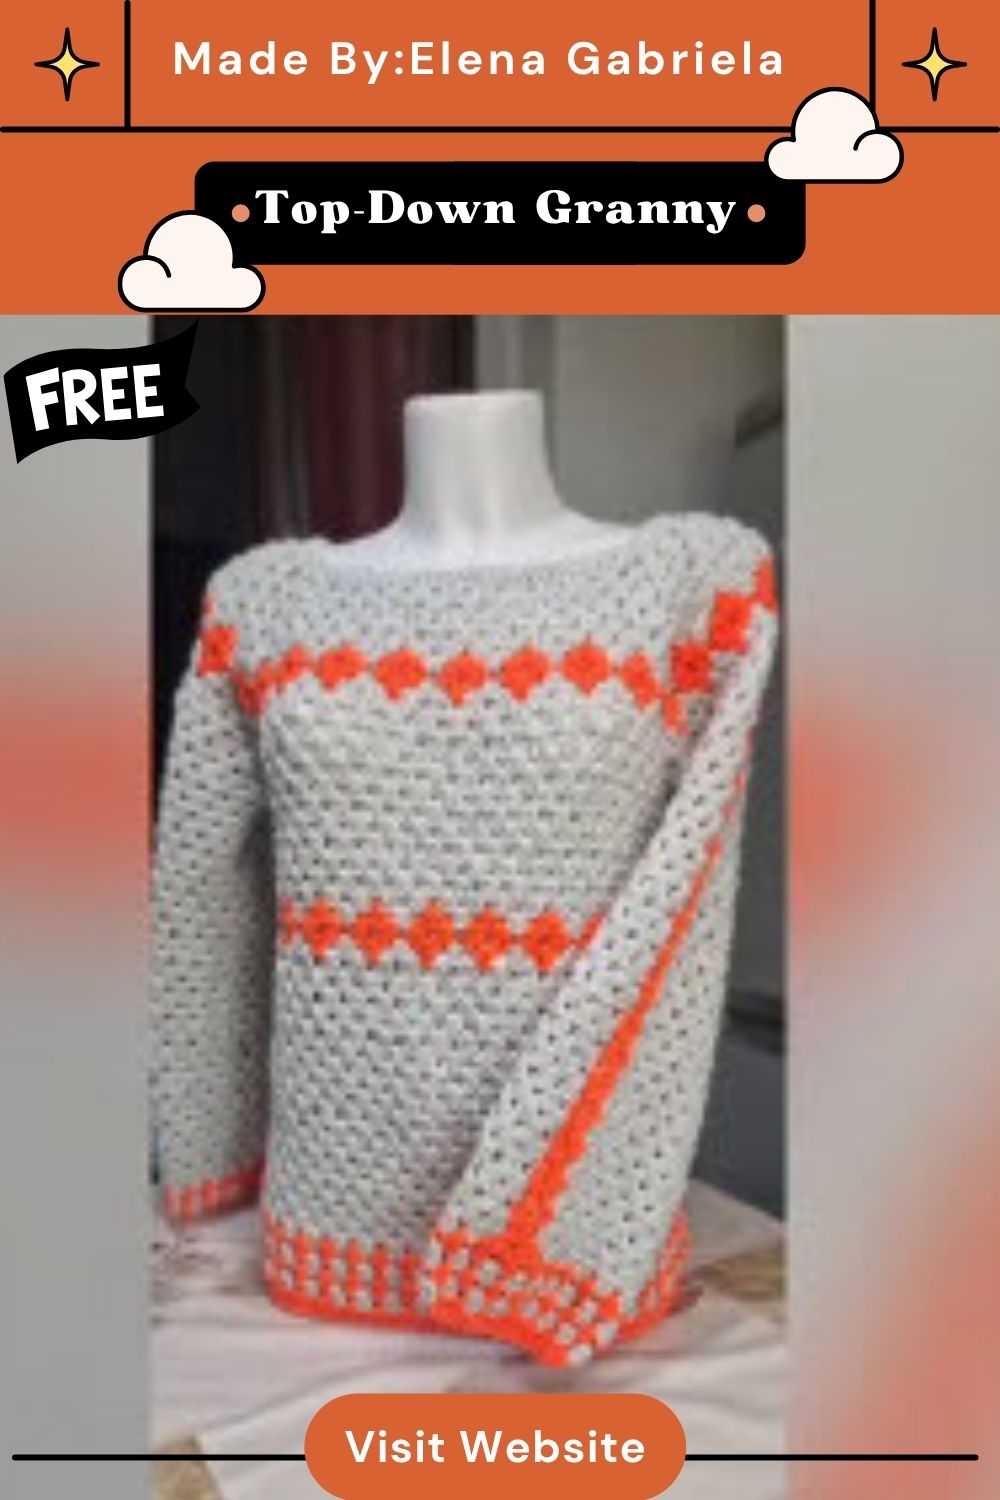
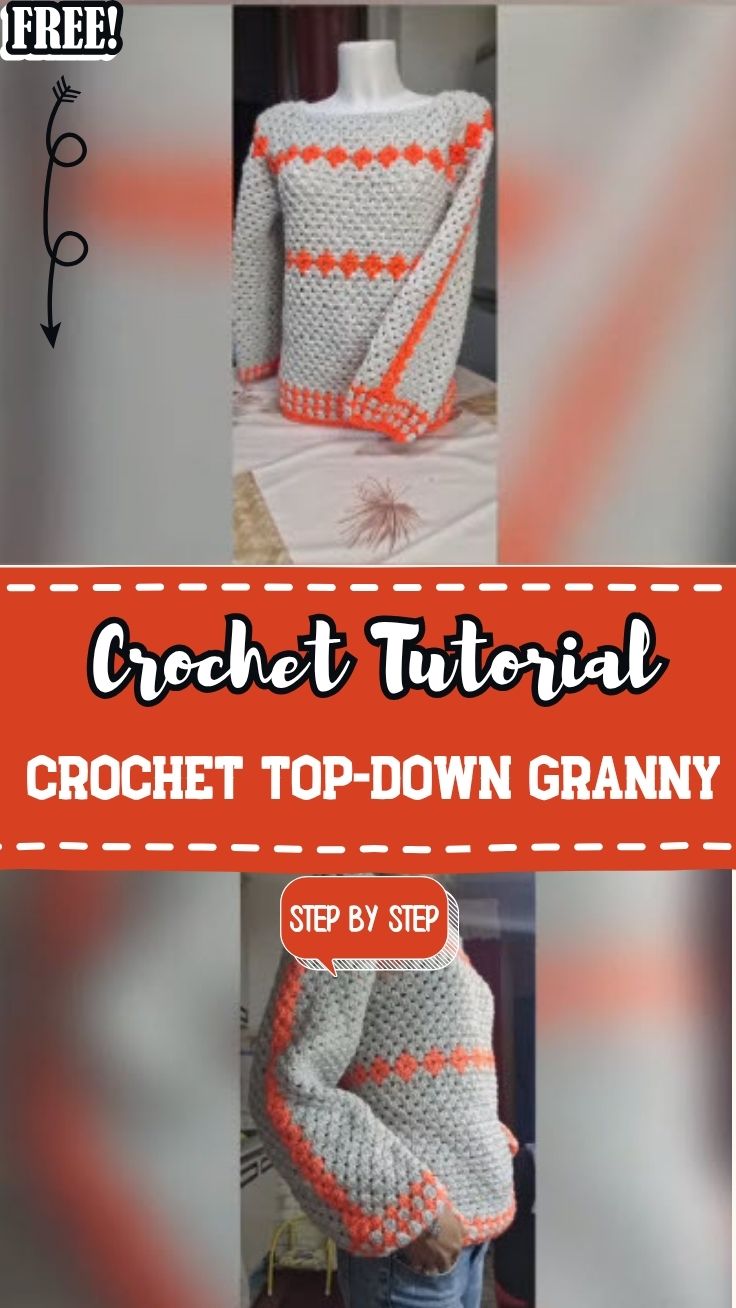
Bright orange clusters checker a light gray granny body in the Crochet Top-Down Mosaic Pattern For Chic Layering, which grows from a narrow neckband into a rounded yoke before the two colors start alternating.
Working a Crochet Top-Down Mosaic garment means every stage builds on the one before it, so the neckband length shapes everything below. The solid gray yoke keeps the shoulders calm, while the checkered body turns a simple granny stitch top into a graphic two-color crochet top. You’ll find photo-by-photo steps, color-change tips, and fit checks below.
Pattern Overview
The top is worked from the neckline down in three stages:
- Neckband: a narrow strip worked in rows until it reaches the length needed for the neckline.
- Yoke: solid gray granny clusters worked outward from the band, forming a wide curved piece.
- Mosaic body: gray and orange clusters alternate to create a checkerboard effect.
Because it’s top-down, you can try it on at several points and adjust before you go too far.
Materials
- Light gray yarn (main color)
- Bright orange yarn (contrast color)
- Crochet hook marked G-4.5mm, as shown on the handle in the photos
- Stitch markers
- Yarn needle
- Scissors
Yarn weight, fiber, and yardage aren’t confirmed in the available material.
Yarn Selection
The pattern depends on strong contrast. Pale gray against bright orange makes each cluster read clearly as a block. If you swap colors, pick two shades with a clear difference in lightness, not just in hue. Two mid-tones can blur the checkerboard from a distance.
For a layering piece, think about what goes underneath. Granny fabric has open spaces, so the color of your under-layer will show through.
Hook Size and Gauge
The hook in the photos is a G-4.5mm. No gauge is supplied, so work a swatch of granny clusters in both colors. Two-color rows can tighten up because of the carried strand, so measure the checkered section separately from the solid gray section.
Before You Start
- Measure your neck and upper chest, and compare them with a top you like to layer.
- Wind both colors into balls that feed smoothly, since you’ll switch between them often.
- Have at least four stitch markers ready for the yoke.
- Decide how much ease you want. A layering top usually needs room to go over a tee.
Construction and Instructions (Photo by Photo)
Exact stitch counts and row counts aren’t included in the supplied material. Use the video tutorial for the numbers. The notes below explain what each stage should look like and what to check.
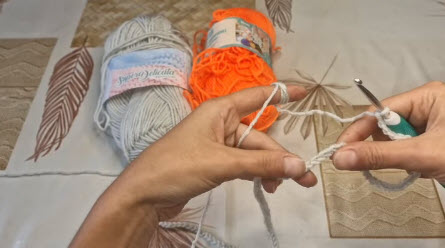
Photo 1: Starting the Neckband
Both yarns sit on the table while the gray strand is chained with the teal hook. The working yarn runs over the left index finger.
Instructions:
- Make the foundation chain given in the video with gray yarn.
- Keep the chain loose so the first row isn’t hard to work.
- Keep the orange ball nearby but out of the way. It isn’t needed until the body.
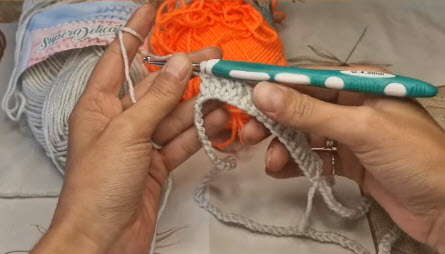
2: Building the Band in Rows
A narrow gray strip has formed, with several rows stacked on the chain.
Instructions:
- Work back and forth in rows as shown in the video.
- Count stitches at the end of each row.
- Keep turning chains consistent so both edges stay straight.
Checkpoint: The strip should have parallel edges. A widening or narrowing strip points to added or skipped stitches at the row ends.
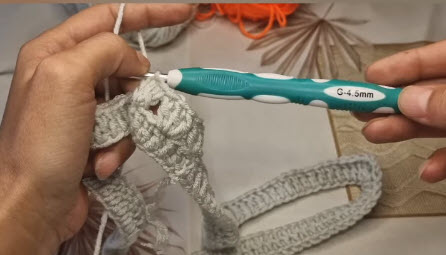
3: Growing the Band to Neckline Length
The band is now long and curves around on the table. Here the hook’s G-4.5mm marking is visible.
Instructions:
- Continue rows until the band reaches the length in the video.
- Wrap the band around your neck or over your head to test the fit before moving on.
- Before joining, check that the band isn’t twisted.
Checkpoint: A neckband that is too tight is hard to fix later, because the yoke grows directly from it.
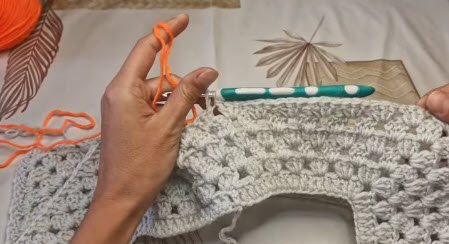
4: The Gray Granny Yoke
A wide gray section of granny clusters spreads out from the band in a curve. Along the lower edge, the fabric has a curved opening. The orange strand is being brought in.
Instructions:
- Work granny cluster rows outward from the band as shown in the video.
- Mark the points where the video places increases, and move the markers up each row.
- Check the curved opening carefully against the video. In a top-down garment, this is typically where the yoke divides, so its placement matters for fit.
- Join the orange yarn at the point the video shows.
Checkpoint: Lay the yoke flat. It should curve evenly without ruffling. Ruffles mean too many increases; cupping means too few.
5: Placing the First Orange Clusters
Two orange clusters sit side by side in the gray fabric, each worked into its own space.
Instructions:
- Work orange clusters where the video places them, alternating with gray.
- Change colors on the final step of the last stitch before the new color, so the new cluster starts clean.
- Keep the unused strand on the wrong side or worked inside the clusters.
Checkpoint: Each orange cluster should sit squarely in a space, not straddle two.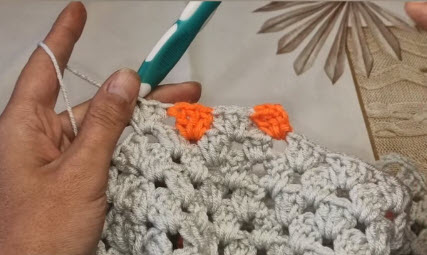
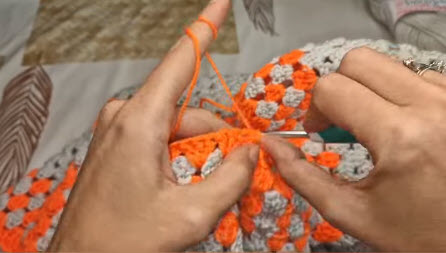
6: The Checkered Mosaic Body
Several rows of orange and gray clusters now form a clear checkerboard. The orange strand is looped over the left index finger for tension.
Instructions:
- Continue alternating colors row by row, following the video’s color order.
- Stack each cluster so the check pattern lines up.
- Work to your desired length, trying the top on as you go.
Checkpoint: Look at the fabric from a short distance. Misplaced colors are easier to spot from a few feet back than up close.
Pro Tip: Tuck the carried strand inside the clusters rather than across the open gaps. Granny spaces show everything, so a loose float will be visible from the right side.
Sizing and Fit Guidance
No size range is supplied, but top-down construction makes fitting easier. Try the top on at three points:
- After the neckband: it should slip over your head comfortably.
- At the yoke division: the yoke should reach the underarm without pulling.
- During the body: check length and ease over the layer you plan to wear under it.
Common Mistakes and Troubleshooting
Neckband too tight
- Looks like: The band won’t go over your head.
- Check: Band length against your head circumference.
- Fix: Add rows before joining or starting the yoke.
Yoke ruffles or cups
- Looks like: The yoke won’t lie flat.
- Check: Increase placement and count per row.
- Fix: Rip back to the last flat row and compare increases with the video.
Checkerboard drifts
- Looks like: Orange blocks don’t line up vertically.
- Check: Where the color change happened in the previous row.
- Fix: Take back to the misplaced cluster and rework.
Carried yarn shows through
- Looks like: Gray or orange strands visible in the gaps.
- Fix: Work over the carried strand inside each cluster and keep it snug but not tight.
Fabric puckers in the mosaic section
- Looks like: The two-color rows pull narrower than the solid gray yoke.
- Fix: Loosen the carried strand so it doesn’t draw the clusters together.
Color Variations
For a softer look, try cream with a dusty pink or sage. For stronger contrast, pair black and white, or navy and mustard. You can also keep the yoke in the contrast color and make the body gray, reversing the scheme. Keep the checkerboard to two colors so the mosaic stays crisp.
Finishing
Weave in ends inside clusters of the same color so they stay hidden. Finish the edges as shown in the video. Care depends on your yarn, so follow the label.
FAQs
Which hook is used?
The handle in the photos is marked G-4.5mm.
Is the top worked in one piece?
It’s built from the neck down, with the yoke worked directly from the band and the body growing from the yoke. Confirm seaming details in the video.
Can I change the colors?
Yes. Choose two colors with strong contrast so the check pattern stands out.
Do I need to carry yarn?
The photos show both colors in use in the same rows. Follow the video for how each color is handled.
Choosing Colors for the Mosaic Effect
Before buying yarn, photograph your two colors side by side and turn the picture black and white. If the two colors look nearly the same, the checkerboard will fade. Gray and orange work well in the photos because one is pale and the other is saturated. Pick pairs with that same kind of difference, and think about what you’ll layer underneath, since it shows through the granny spaces.