Free Crochet Chicken Keychain Amigurumi Pattern For bags
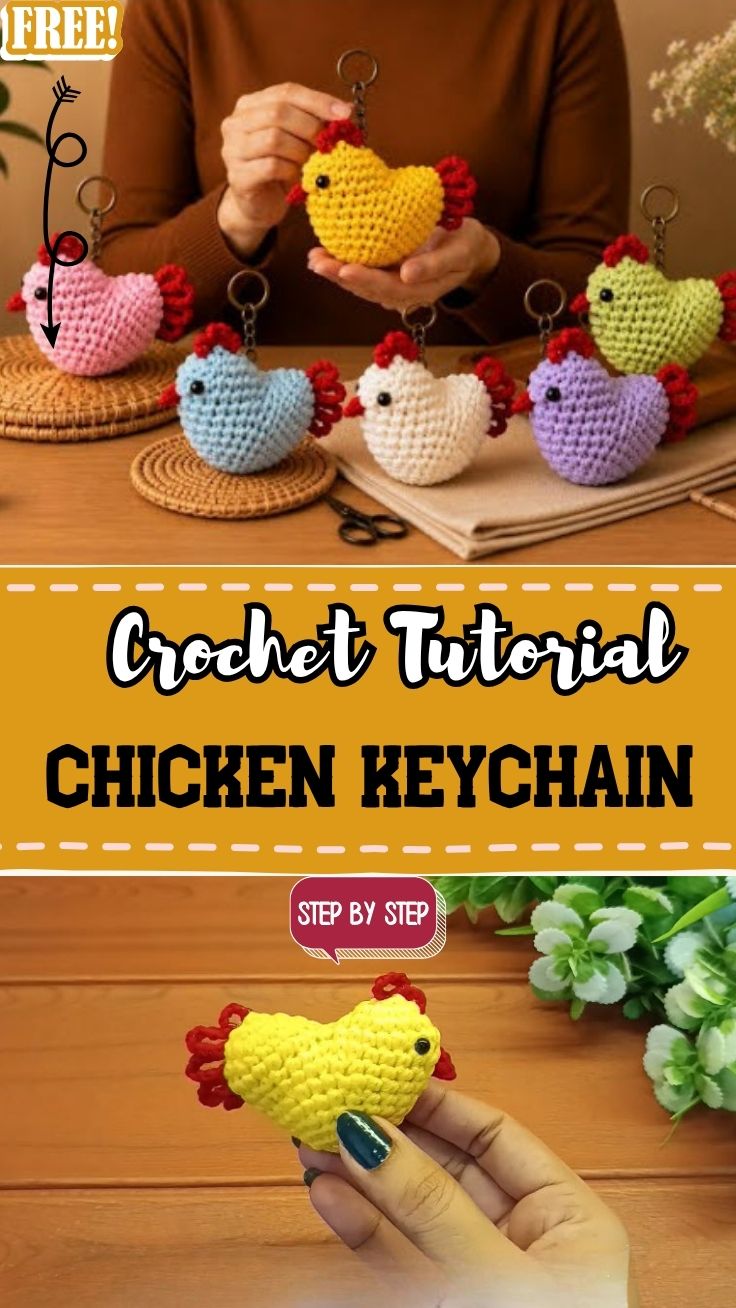
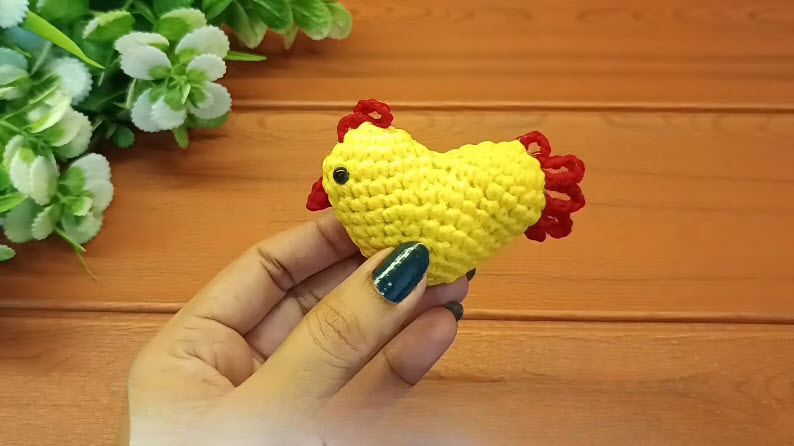
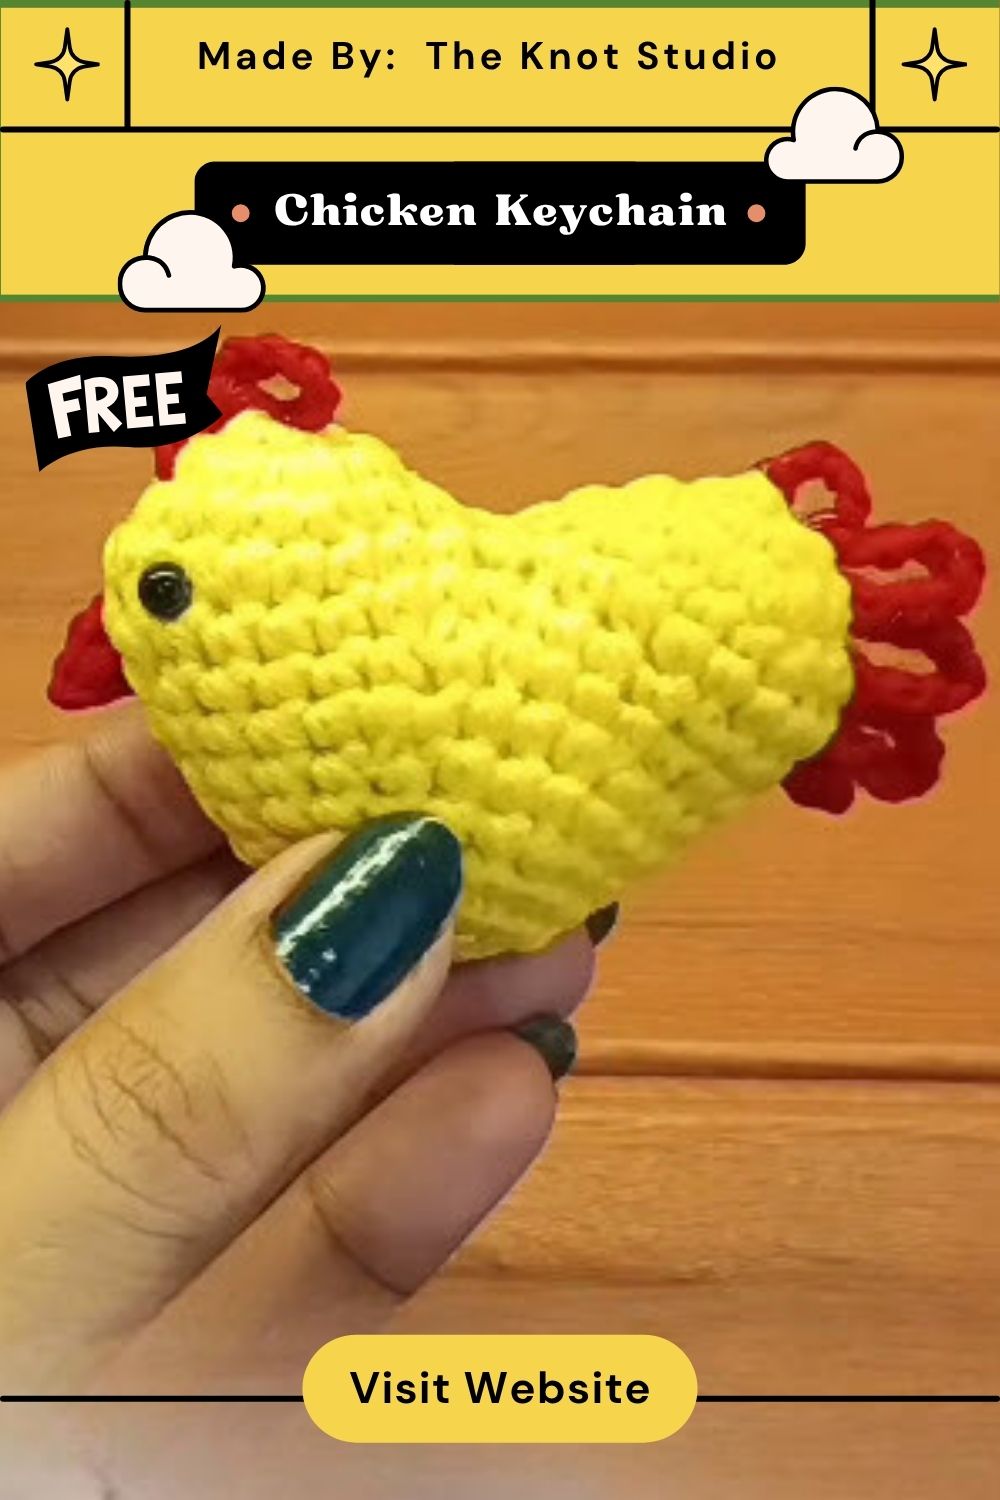
Barnyard-inspired amigurumi has a way of bringing instant charm to everyday accessories, and this little chicken keychain does exactly that. With its round yellow body, curled red comb details, and tiny stitched eyes, this Crochet Chicken Keychain pattern turns a simple farmyard favorite into a keychain that’s just as fun to make as it is to carry.
This chicken keychain starts with a couple of small matching pieces, worked individually before being set aside, then moves into building the main rounded body. It’s designed to work as a fun bag charm or a small handmade gift for anyone who loves quirky farmyard-inspired accessories. Once the body is complete, those smaller pieces are attached on top, followed by curled red details that give the chicken its signature comb and wattle.
Because the smaller pieces are made first and separately, you get a natural checkpoint partway through the project before tackling the larger body section.
Skill Level
Beginner to Intermediate. The small matching pieces and main body rely on manageable round-based techniques, while attaching the curled details neatly takes a bit of extra care.
Materials You’ll Need
- Yellow yarn for the main body
- Red yarn for the comb, wattle, and small curled accents
- A small crochet hook suited to your yarn weight
- Polyester fiberfill for stuffing
- Small black safety eyes or beads for the face
- A yarn needle for assembly and finishing
- Scissors
- A keychain ring or clasp
- Stitch markers to track your rounds
Techniques Used in This Pattern
- Starting loop or magic ring: Begins each piece cleanly without a visible gap.
- Small matched-piece construction: Builds two identical rounded pieces before moving to the main body.
- Continuous round crocheting: Shapes the chicken’s rounded body smoothly.
- Curled detail stitching: Creates the wavy red comb and wattle accents.
- Piece assembly: Joins the smaller pieces and detail work onto the finished body.
Why Making the Small Pieces First Makes Sense
Starting with the two matching smaller pieces before building the larger body might seem like an unusual order, but it actually keeps the project organized. Completing these small sections first means you can compare them side by side and confirm they match in size before committing to the main shape, saving you from having to unpick anything after the body is already stuffed and assembled.
Step-by-Step Instructions
Step 1: Start With Your First Loop
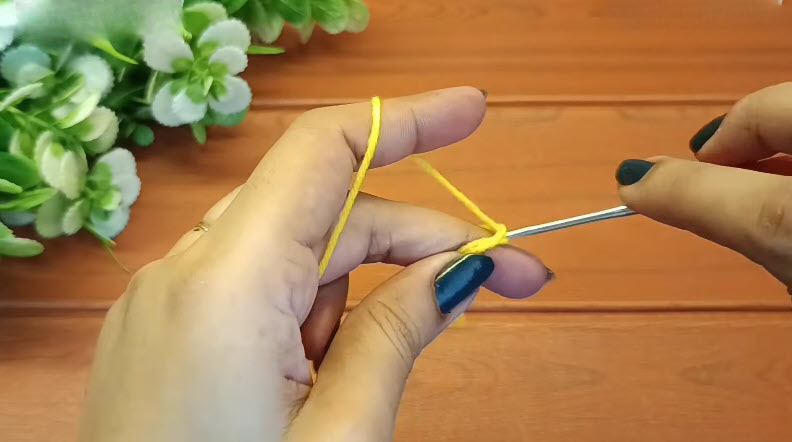
Pull your first loop through with the hook using yellow yarn, keeping it snug enough to hold its shape as you begin stitching. This loop becomes the starting point for one of your two small matching pieces.
Step 2: Shape the First Small Piece
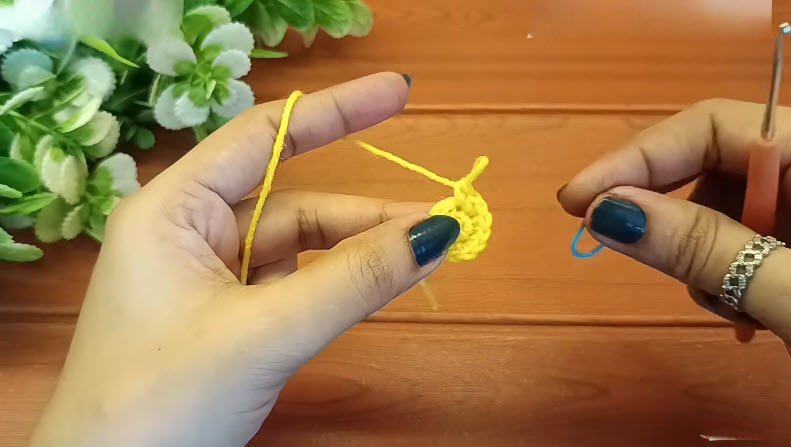
Stitch evenly around your starting loop to close the gap, then continue building a few more rounds to form a small, rounded shape with a short loop of chain at the top. This piece will later become one of the chicken’s small decorative details.
Step 3: Complete a Matching Second Piece
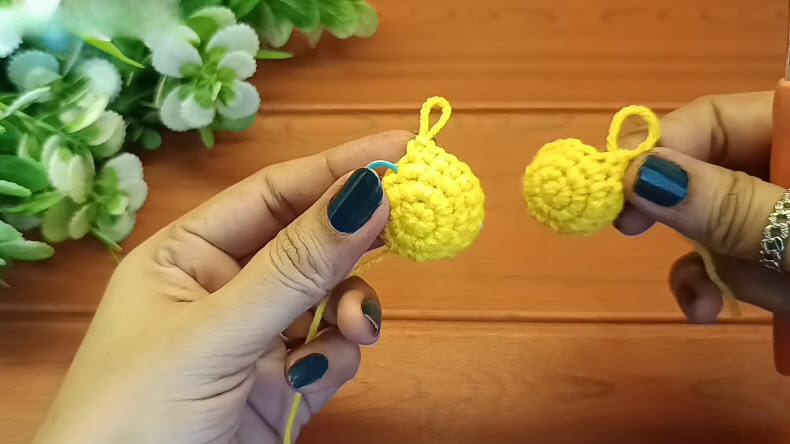
Repeat the same process to create a second piece identical in size to the first, comparing them side by side to confirm they match before setting them aside. Having both pieces ready ahead of time makes the assembly stage much smoother later on.
Step 4: Build the Main Body
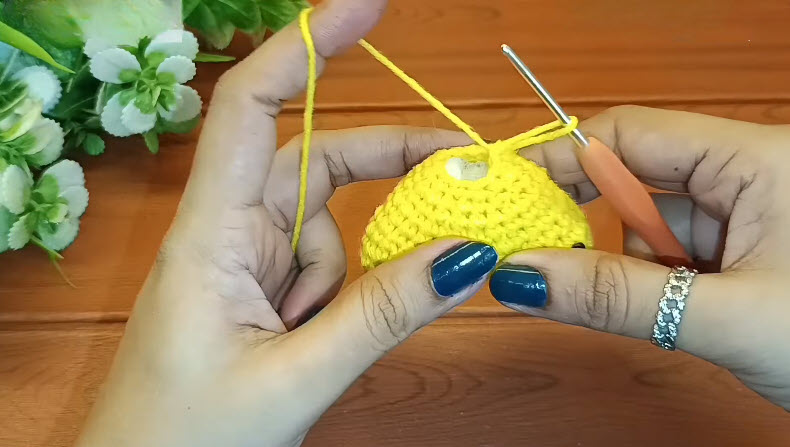
Using yellow yarn, work your main body in continuous rounds, increasing steadily to shape a rounded form before stuffing it evenly as you go. Once the body reaches the right size, attach your two smaller pieces at the top before closing up the final rounds.
Step 5: Add the Comb and Facial Details
Using red yarn, work several curled or wavy stitches to form the comb and wattle, then sew these pieces securely onto the head area. Attach the safety eyes and any remaining details, then finish by adding a keychain ring to complete your chicken.
Tips for a Neater Finish
- Lay your two small matching pieces side by side before attaching to confirm consistent sizing.
- Practice the curled stitch technique on a scrap piece before working the final comb details.
- Stuff the main body gradually rather than all at once for a smoother, rounder shape.
- Secure eye placement before final assembly, since adjusting them later is much harder.
- Keep your red curled details evenly spaced for a balanced, symmetrical look.
Common Mistakes to Avoid
- Making the two small pieces noticeably different in size, which becomes obvious once attached.
- Rushing the curled comb stitches, resulting in flat or uneven details.
- Skipping a placement check before attaching the eyes, leading to an off-center expression.
- Understuffing the main body, causing it to lose its rounded shape over time.
- Attaching the small pieces off-center, throwing off the chicken’s overall balance.
Ways to Customize This Keychain
- Swap the yellow body for white or brown to represent different chicken breeds.
- Add tiny wing details on the sides of the body for extra dimension.
- Make a mini version using thinner yarn for a smaller, more delicate keychain.
- Try a rooster-inspired look with a taller, more dramatic comb shape.
- Skip the keychain ring and turn it into a small farmyard-themed shelf decoration.
Frequently Asked Questions
Q: How long does this chicken keychain typically take to finish?
A: Most makers complete it in under two hours, since the pattern relies on a few small pieces alongside one main body section.
Q: Can I make the comb a different color than red?
A: Yes, while red is the classic choice, any bright contrasting color works well for the comb and wattle details.
Q: What yarn weight works best for this small keychain design?
A: Medium weight yarn paired with a smaller hook tends to give the cleanest, most detailed results for a keychain of this size.
Q: Is this a good project for practicing multi-piece amigurumi assembly?
A: Definitely, since it involves making separate small pieces before joining them, making it useful practice for more complex future projects.
Q: Can this pattern be made without safety eyes for young children?
A: Yes, embroidered eyes work just as well and are a safer alternative if the keychain might end up in a child’s hands.
Final Thoughts
This Crochet Chicken Keychain pattern brings a playful farmyard character to life through a manageable mix of small pieces, careful assembly, and a few curled details that really make it pop. From shaping the matching side pieces to adding the finishing comb and face, every step builds toward a keychain that’s genuinely fun to look at and carry. Whether it ends up clipped to your own bag or gifted to someone who loves quirky handmade accessories, this pattern delivers a satisfying project from start to finish.