Crochet Sun Keychain Amigurumi Pattern with Smiling Face
Sunny days feel a little closer once this tiny Crochet Sun Keychain Amigurumi charm is clipped onto your bag. Bright yellow yarn, a cheerful stitched smile, and a handful of pointed rays come together in an afternoon project that beginners can finish without stress. Crafters who love quick, giftable makes will find this pattern especially satisfying, since it uses basic stitches from start to finish. Anyone craving a burst of color during gray weather will enjoy watching this little sun take shape row by row.
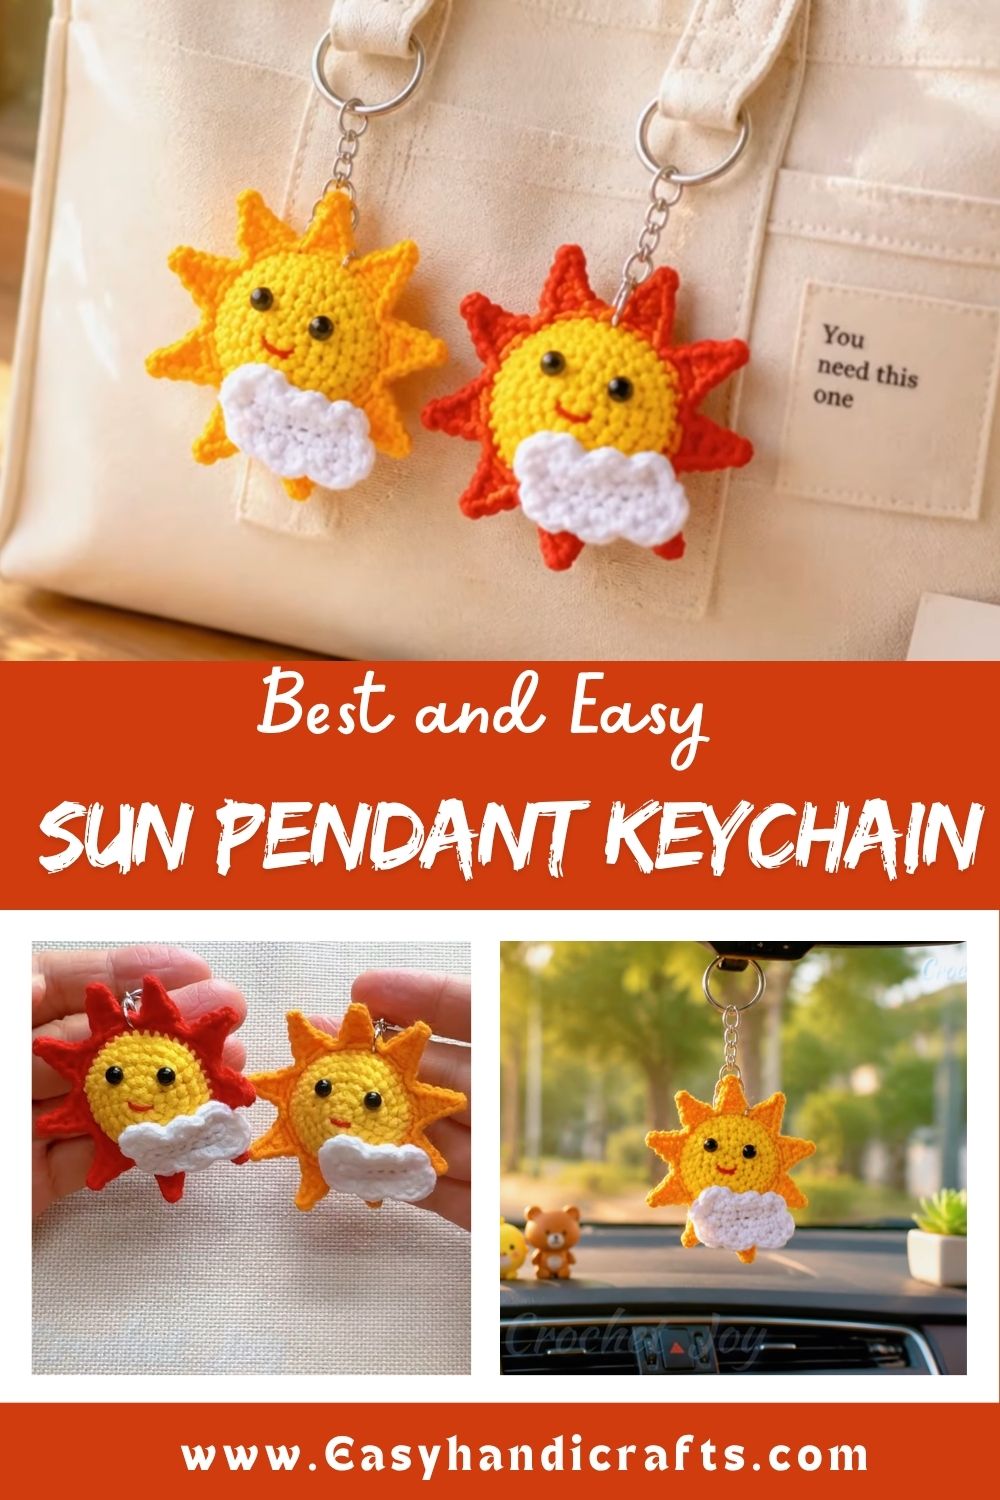
Whenever crochet enthusiasts want a quick, distinctive project without giving up on beauty, they often turn to small, charming amigurumi-style designs just like this one, and this free pattern delivers that exact blend of charm, simplicity, and ease.
Project Details
- Skill Level: Beginner to Advanced Beginner
- Finished Size: Approximately 3 to 3.5 inches in diameter, including rays
- Estimated Time Required: 2 to 3 hours
- Recommended Yarn Weight: Worsted weight (Medium, #4)
- Crochet Hook Size: 3.0mm to 3.5mm (sized down from yarn label for a tight amigurumi fabric)
Materials Needed
- Yellow worsted weight yarn (main color for the sun body and rays)
- Small amount of orange or gold yarn (optional, for shading or an alternate ray color)
- Pink or peach yarn (for cheek details, embroidered or felt)
- Black yarn or embroidery floss (for the smiling face)
- 3.0mm to 3.5mm crochet hook
- Tapestry needle
- Small amount of fiberfill stuffing
- Stitch marker
- Scissors
- Keychain clasp and jump ring
Crochet Stitches & Techniques
- Magic Ring (MR): Forms a tight, gap-free starting point for the sun’s body
- Chain Stitch (ch): Used for the ray tips and any small connecting sections
- Slip Stitch (sl st): Joins rays to the main body and closes rounds
- Single Crochet (sc): The primary stitch for the entire sun shape
- Increase (inc): Grows the circle evenly during the first several rounds
- Invisible Decrease (inv dec): Keeps the closing rounds smooth and tidy
- Fastening Off: Secures the final stitch and hides the tail
- Sewing Pieces Together: Attaches rays and facial details to the main body
Pattern Instructions
Creating the Main Body
Begin with a magic ring and work 6 sc into it, then pull the ring closed and place a stitch marker in the first stitch of every round going forward. Increase every stitch in round 2 to reach 12 stitches total, then alternate one increase and one regular stitch in round 3 to land at 18. Round 4 spaces increases every two stitches, bringing the count to 24, and round 5 spaces them every three stitches for a total of 30. Work even, without increasing, for rounds 6 through 9, since this section forms the flat front and back panels of the sun’s face.
Stuffing goes in gradually rather than all at once, since amigurumi pieces hold their shape better when fiberfill gets added in small handfuls throughout the closing rounds instead of stuffed in at the very end. Begin decreasing in round 10 by working an invisible decrease every three stitches, dropping the count to 24. Continue decreasing every other stitch in round 11 to reach 12, then decrease every stitch in round 12 to close down to 6. Fasten off, leaving a long tail for closing the small remaining gap.
Making the Rays
Twelve rays give this sun a classic, balanced look, though eight or sixteen work just as well for a different silhouette. Attach yarn to any stitch along the outer edge of the main body and chain 5, then work back down the chain with a slip stitch in the second chain from the hook, followed by 3 single crochets. Slip stitch into the next stitch on the body to secure the ray, then skip one stitch and repeat the entire ray sequence around the whole circle. Spacing matters more than precision here, so eyeballing even gaps between rays usually looks more natural than obsessively counting stitches between each point.
Facial Features
Cheeks add warmth to the design, and a small pink circle sewn onto each side of the face brings that rosy glow without much extra work. Two options exist for the cheeks: crochet two tiny pink circles using a magic ring and 6 single crochets, or cut small felt circles and glue them on instead. Either method works fine, though crocheted cheeks tend to hold up better if the keychain gets tossed around in a bag.
Embroider the smile using black yarn or floss and a simple backstitch curve, positioning it just below where the cheeks sit. A few small stitches for closed eyes, or two French knots for open ones, finish the expression. Testing the placement with pins before committing to permanent stitches saves time and avoids unpicking crooked embroidery later.
Joining All Pieces
Sewing the front and back panels together happens naturally during the final stuffing rounds, since this pattern works the body as one continuous piece rather than two separate circles. Attach the keychain clasp by threading a jump ring through several stitches along the top edge, reinforcing the connection with a few extra passes of yarn or thread for durability.
Final Assembly
Weave in any remaining yarn tails using a tapestry needle, running them through several stitches before trimming the ends close to the fabric. Check that every ray sits securely, giving each one a gentle tug to confirm nothing pulls loose. Once the clasp feels sturdy, this little sun is ready to clip onto a bag, keys, or a backpack zipper.
Tips for Success
- Count stitches at the end of every round during the increase and decrease sections, since amigurumi shapes distort quickly when a stitch gets missed.
- Stuff in small amounts throughout the closing rounds rather than cramming fiberfill in at the last minute.
- Keep tension consistent by holding the working yarn the same way throughout the project, since loose spots show up clearly on a small, tightly stitched piece.
- Mark the first stitch of each round with a stitch marker to avoid losing track of where rounds begin.
- Hide yarn ends by weaving them through several stitches in different directions rather than a single straight line, which helps them stay put through wear.
Personalization Ideas
- Swap yellow for orange or gold to create a warmer, sunset-toned version.
- Add a pastel color palette for a soft, springtime sun instead of the classic bright yellow.
- Try a sleepy expression with closed eyes and a small yawn instead of the standard smile.
- Attach a small tassel or bead to one of the rays for extra movement.
- Scale the pattern up using bulky yarn and a larger hook for an ornament or nursery decoration instead of a keychain.
- Turn the same base pattern into a moon or star charm by adjusting the outer shape and swapping the color palette.
Common Mistakes to Avoid
Skipping the stitch count check at the end of each round tends to cause the most trouble, since a single missed increase throws off the entire shape without an obvious visual cue until several rounds later. Overstuffing creates a lumpy, uneven surface, while understuffing leaves the sun looking flat and floppy, so aiming for a firm but slightly squishable feel usually produces the best result. Rays that get spaced unevenly around the body pull the whole design off-balance, so laying the piece flat and eyeballing the spacing before attaching each one helps keep things symmetrical.
Frequently Asked Questions
Can I use cotton yarn instead of acrylic?
Cotton works well and gives the rays a bit more structure, though it can feel stiffer to work with than acrylic during the increase rounds.
How many rays should I make?
Twelve rays create a classic look, but eight rays give a simpler silhouette, and sixteen rays produce a fuller, fluffier appearance.
Do I need safety eyes for this pattern?
No, embroidered features work better on a piece this small, since safety eye backings can add unwanted bulk to a thin amigurumi shape.
What if my Crochet Sun Keychain Amigurumi looks lopsided?
Uneven ray spacing is usually the cause, so removing and reattaching a few rays with more even gaps typically fixes the issue.
Can this pattern be made without a keychain clasp?
Yes, it also works well as an ornament, a bag charm on a ribbon, or a magnet with a small disc glued to the back.
How long does the whole project take?
Most crocheters finish within 2 to 3 hours, though total time depends on experience level and how much detail goes into the face.
Is this Crochet Sun Keychain Amigurumi pattern good for using up scrap yarn?
Absolutely, since the small size makes it an ideal project for leftover yellow, orange, or pink yarn scraps sitting in a stash.
Conclusion
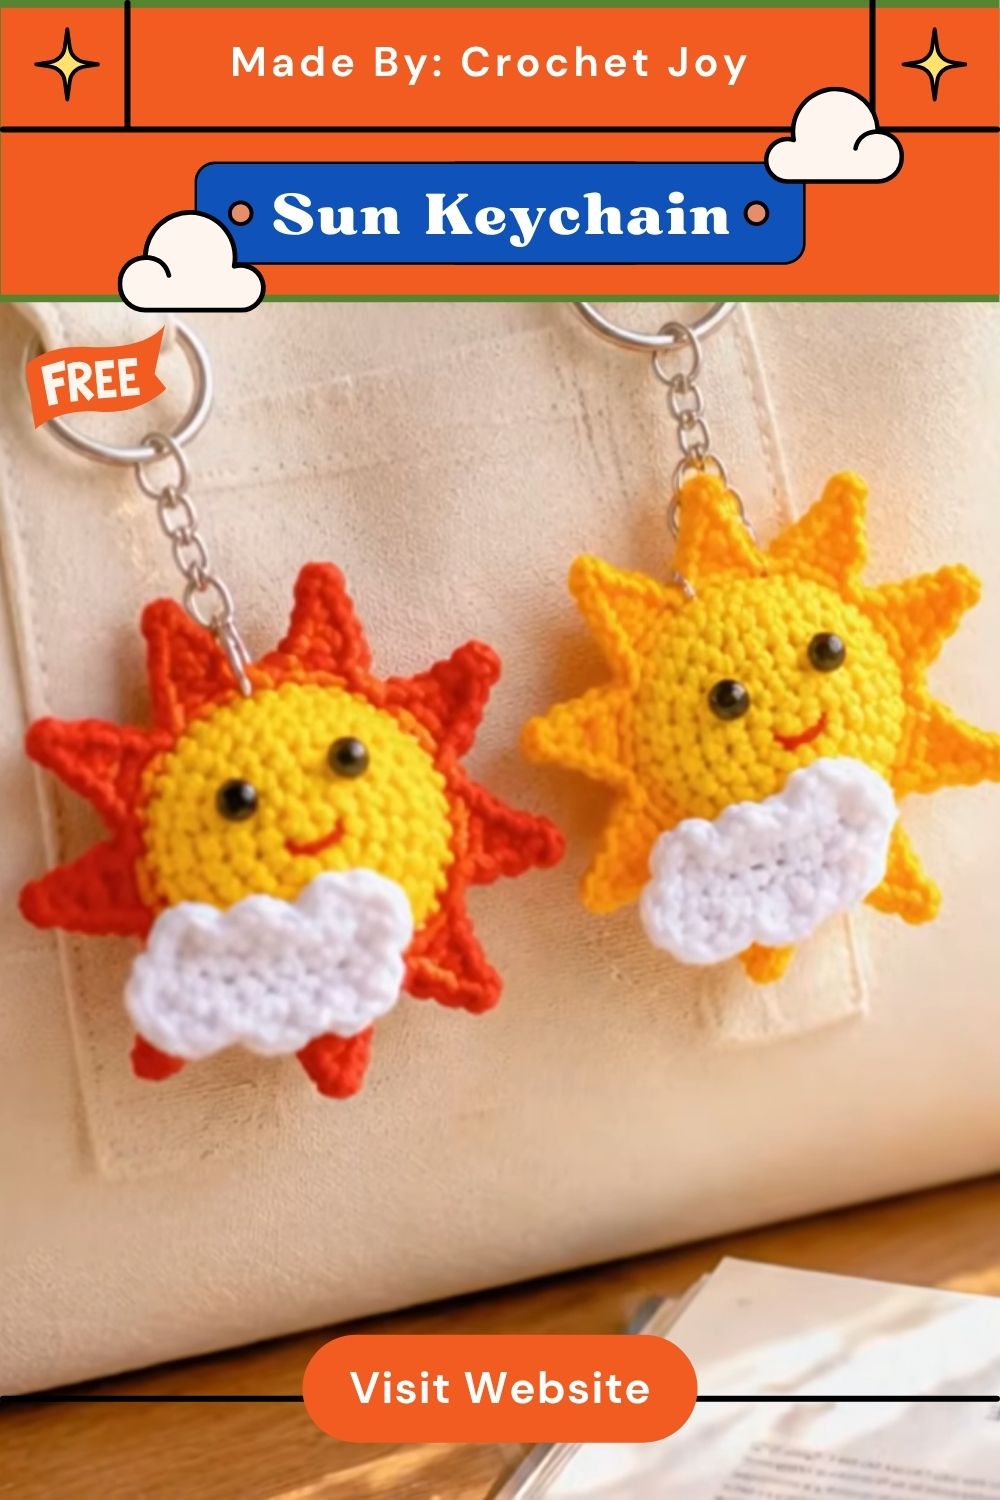
Few projects deliver this much charm for such a small time investment, and a finished Crochet Sun Keychain Amigurumi tends to bring a smile to whoever spots it dangling from a bag. Trying different color combinations or facial expressions opens the door to a whole collection of sunny little charms. Sharing a finished project with fellow crafters often sparks new ideas, so snapping a photo and posting it somewhere visible is always worth doing.