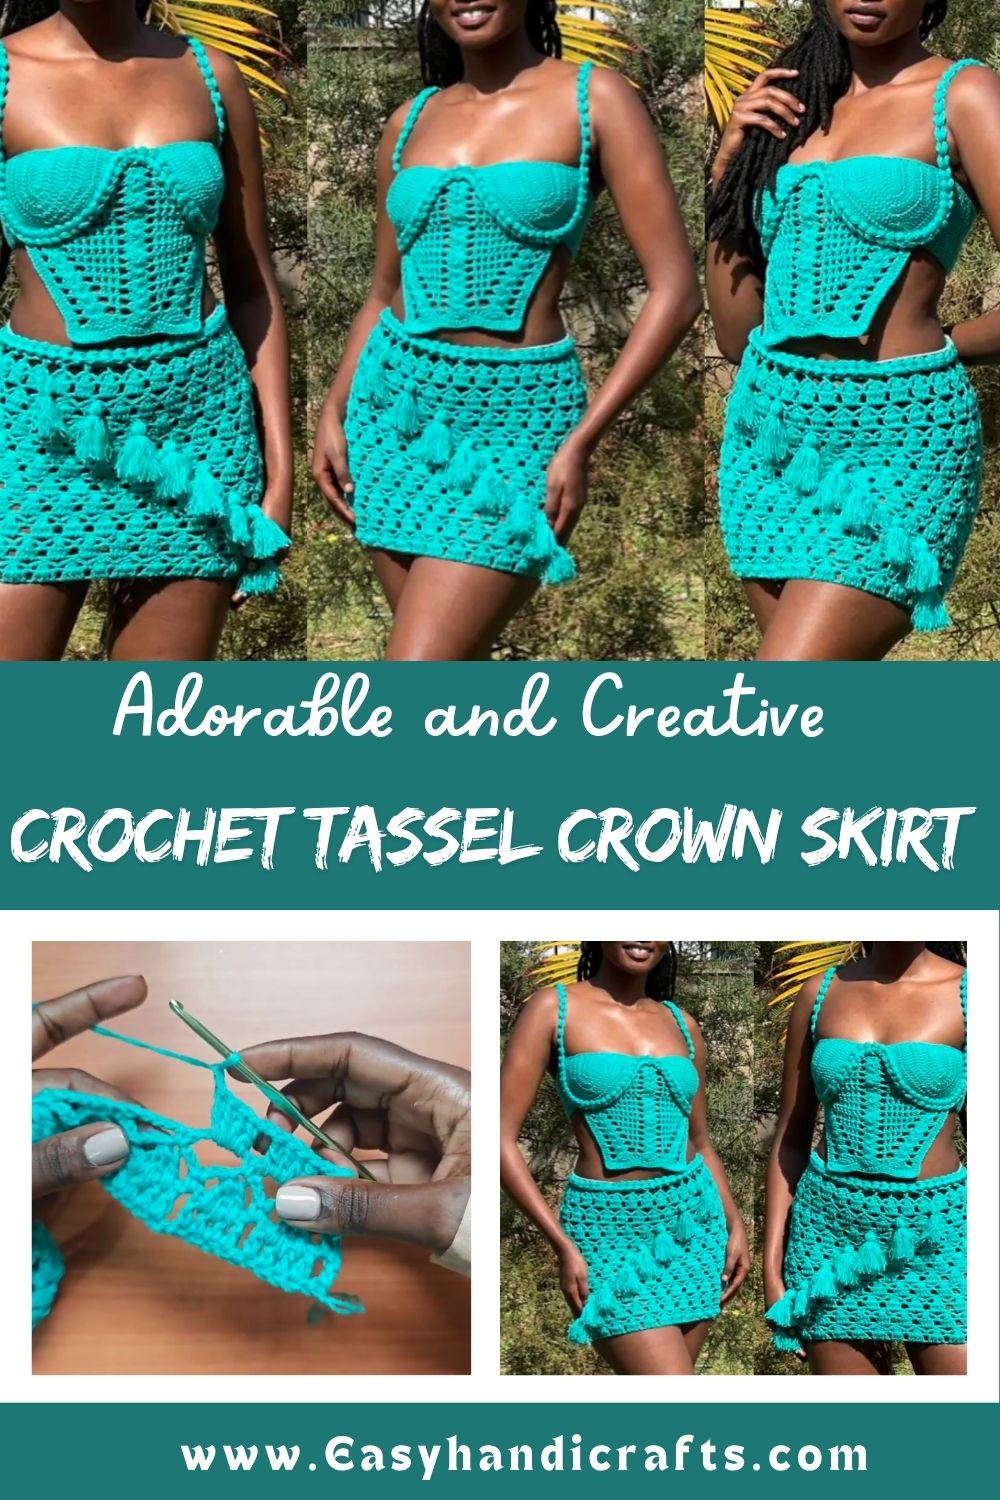
Crochet Tassel Crown Skirt Pattern with Braided Waistband
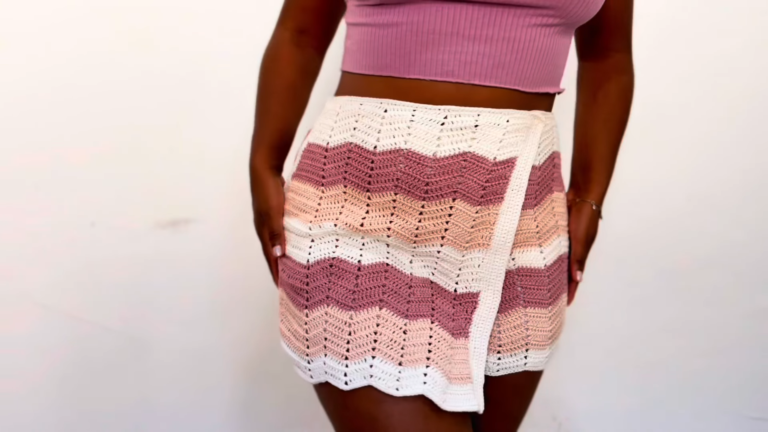
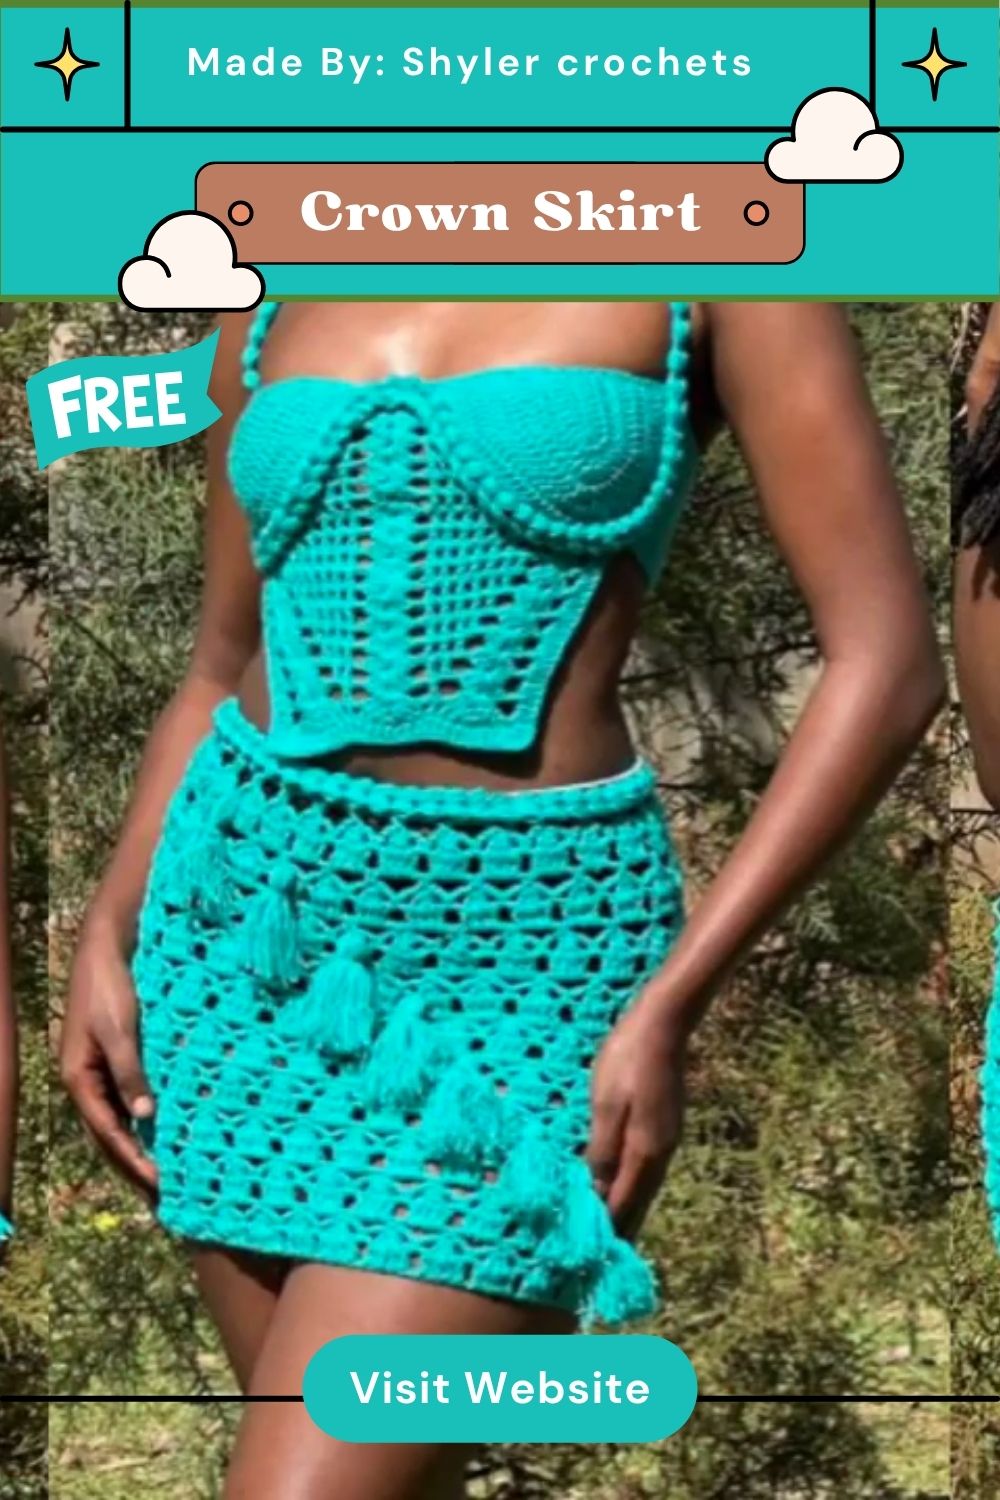
Some skirts blend into the background, and then there are pieces like this one that practically demand a second look. This Crochet Tassel Crown Skirt pattern combines an open shell-stitch body with a braided waistband, creating a flowy, textured piece that feels equal parts boho and bold.
The body of this skirt relies on a repeating shell or fan stitch, which builds rows of scalloped texture that give the fabric movement and openness at the same time. A braided waistband finishes the top edge, adding structure exactly where the skirt needs it most.
Together, these two elements balance flow and support, resulting in a piece that looks intricate but follows a manageable, repeatable rhythm once you get into the pattern.
Skill Level
Intermediate. Shell stitch patterns involve grouped stitches worked into the same space, so some prior comfort with basic stitch combinations will make this Crochet Tassel Crown Skirt project much smoother than starting from scratch.
Materials and Tools
- Medium-weight yarn in your chosen skirt color (cotton or a cotton blend gives good drape)
- A crochet hook sized to match your yarn
- A yarn needle for weaving in ends
- Measuring tape for checking waist and length sizing
- Stitch markers for tracking pattern repeats
- Elastic thread or cord, if reinforcing the waistband further
Techniques This Pattern Relies On
- Starting loop and foundation chain: Sets the width for the entire skirt body.
- Shell or fan stitch repeats: Creates the scalloped, textured rows that define the skirt’s look.
- Row-by-row pattern tracking: Keeps the shell repeats aligned as the piece grows taller.
- Waistband shaping: Forms a fitted top edge using a braided or twisted stitch technique.
- Drape and flow control: Balances stitch openness with structure so the skirt moves naturally.
What Makes the Waistband Worth the Extra Effort
A lot of skirt patterns treat the waistband as an afterthought, but here it plays a real functional role. The braided texture adds just enough grip and structure to keep the skirt sitting properly at the waist, without needing elastic sewn in separately. Spending a little extra care on this section pays off in both comfort and how well the finished skirt holds its shape while being worn.
Step-by-Step Instructions
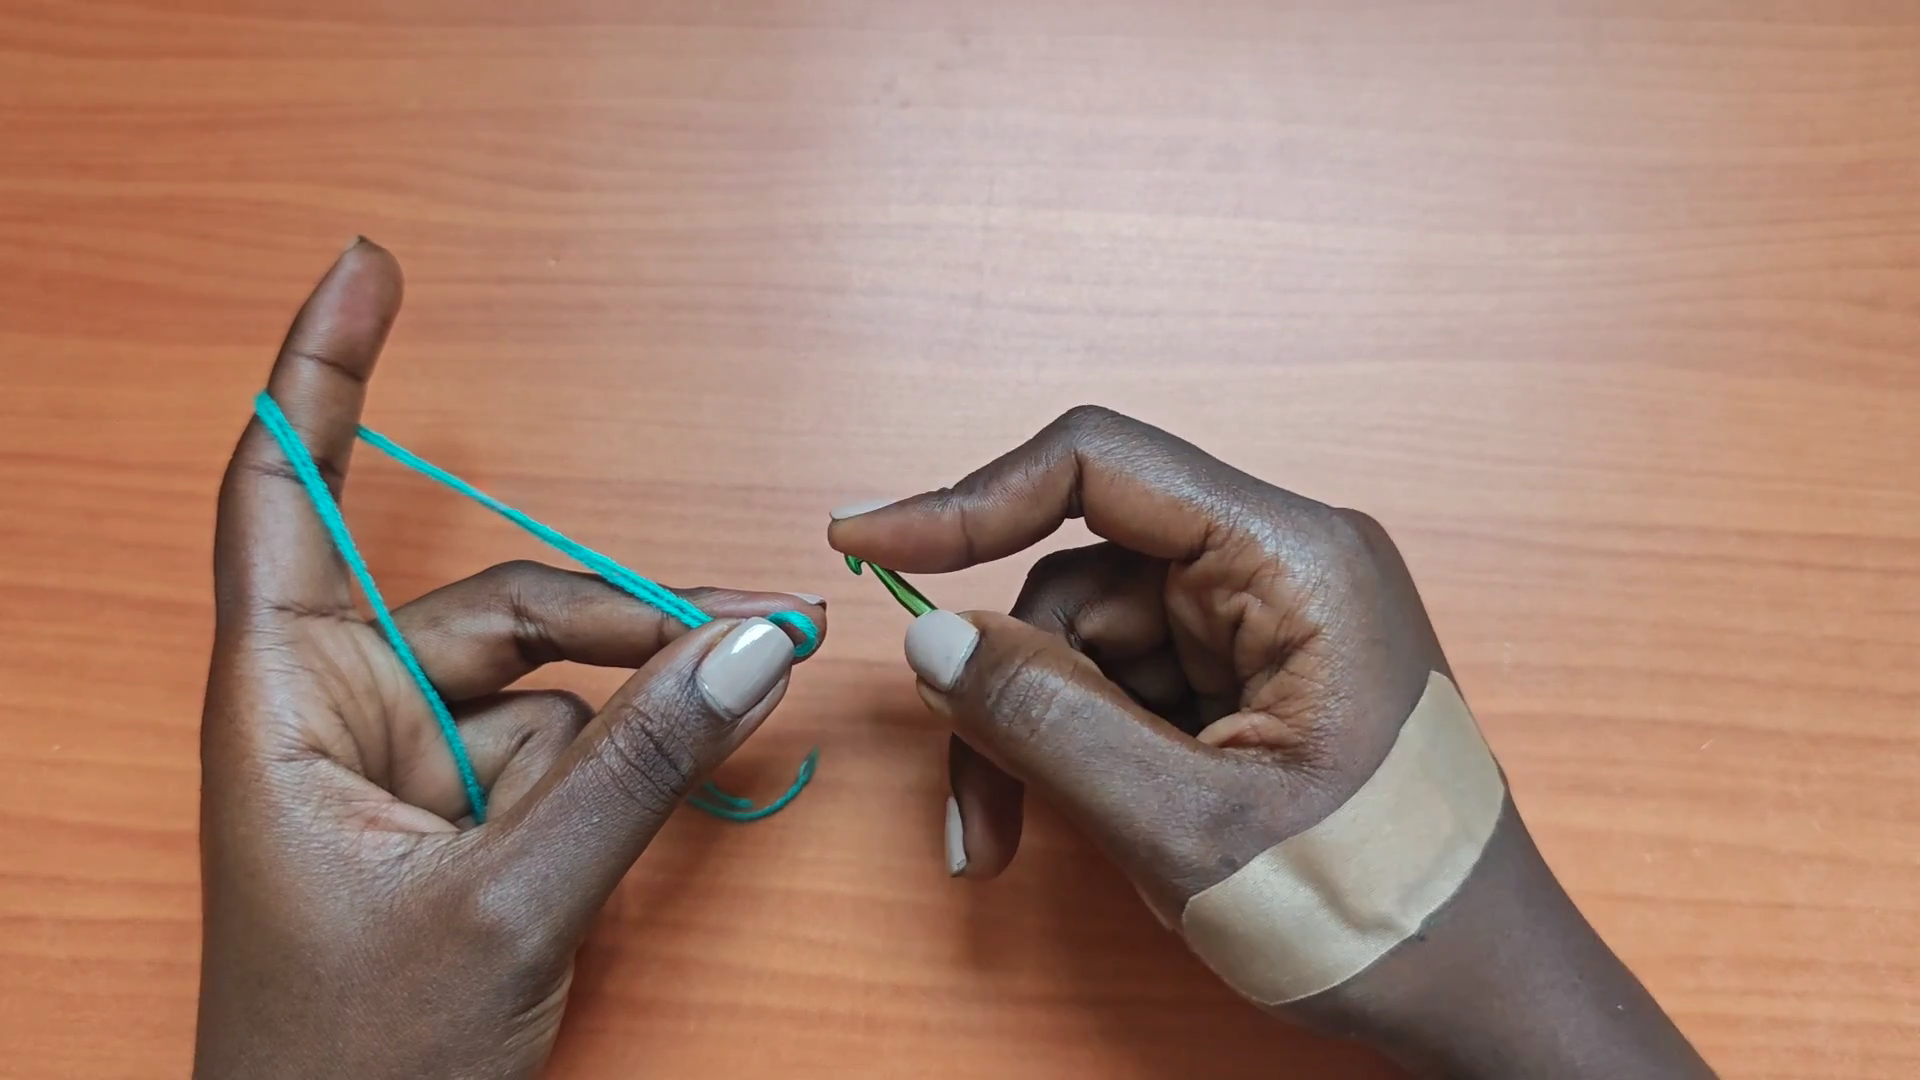
Step 1: Set Up Your Starting Loop
Pull your first loop through with the hook, holding the yarn steady between your fingers so it feeds evenly as you begin. This loop anchors the very first stitches of your foundation, so keep it snug enough to hold its shape through the next few steps.
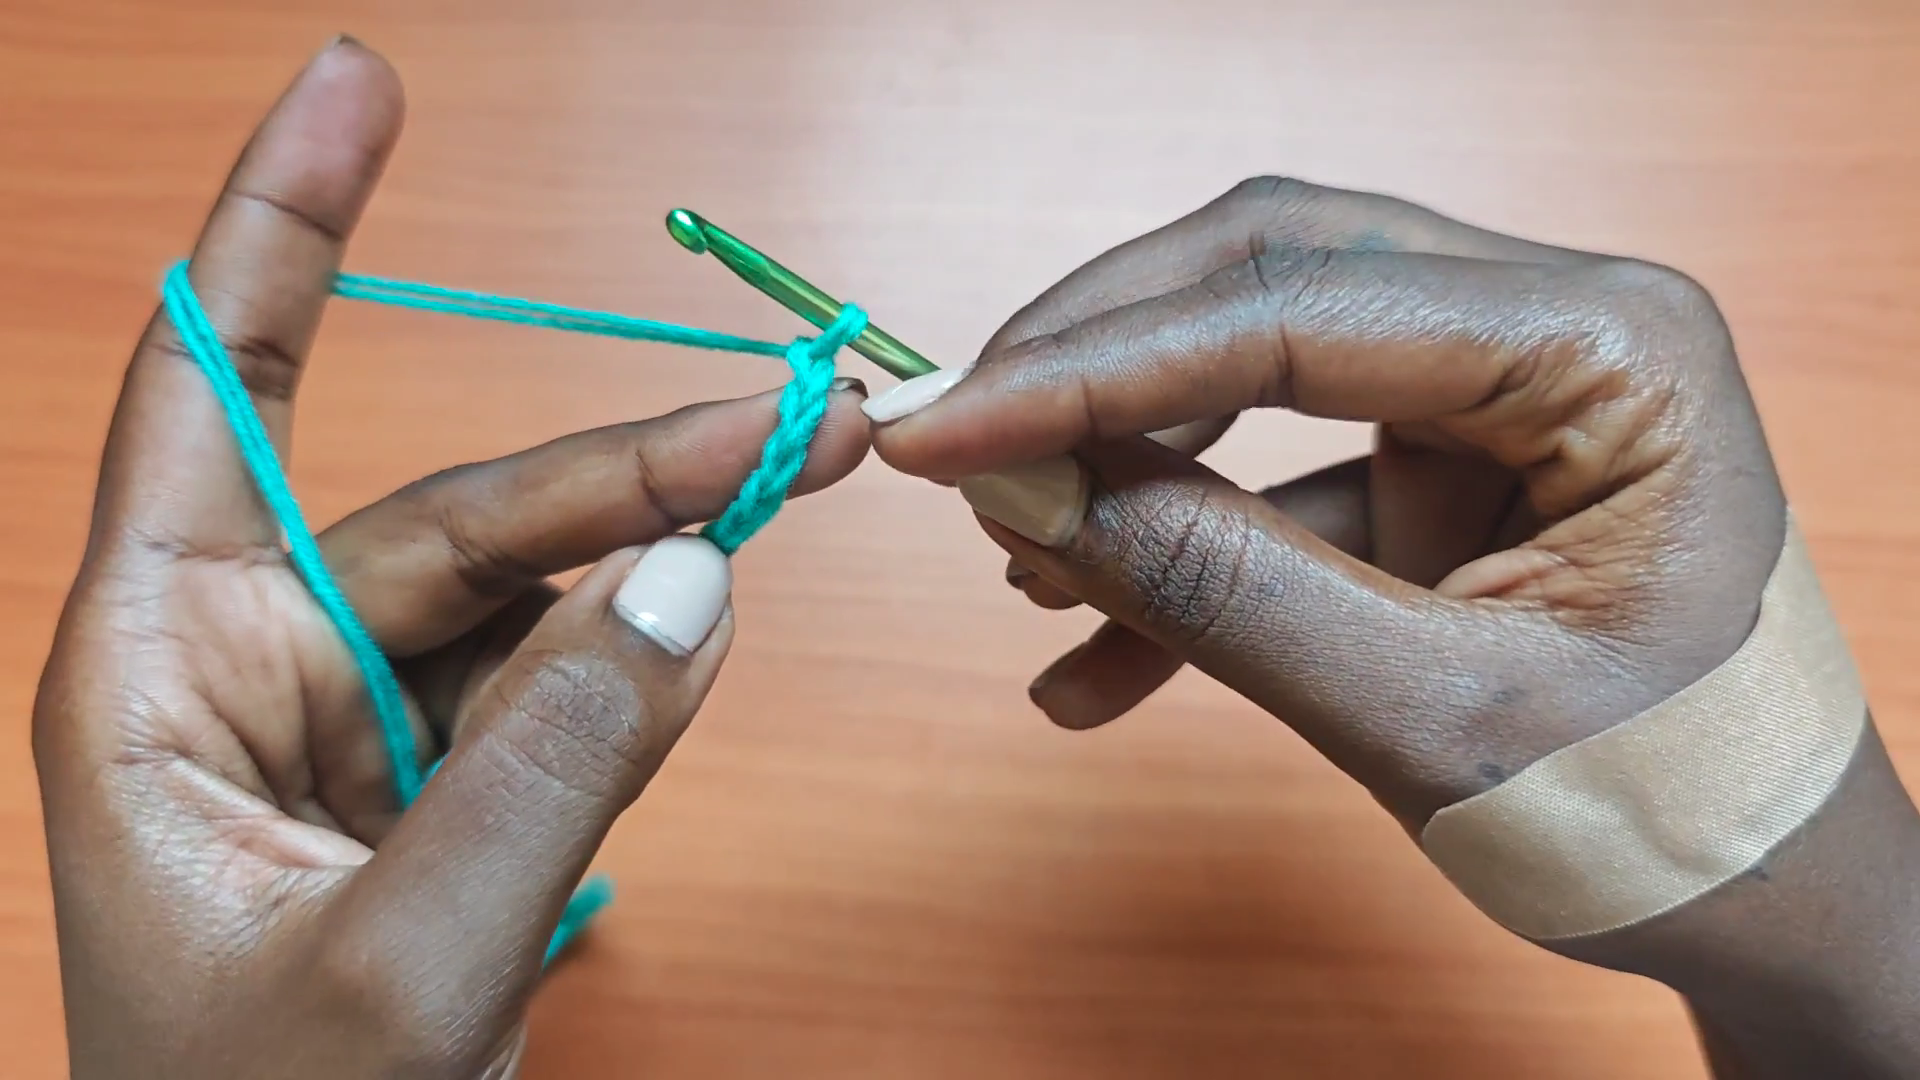
Step 2: Build the Foundation Row
Work your first row of stitches into the starting chain, establishing the width your skirt will need at the top edge. Keep an even tension here, since a foundation row that’s too tight will pull the whole piece narrower than intended.
Step 3: Work the Shell Stitch Pattern
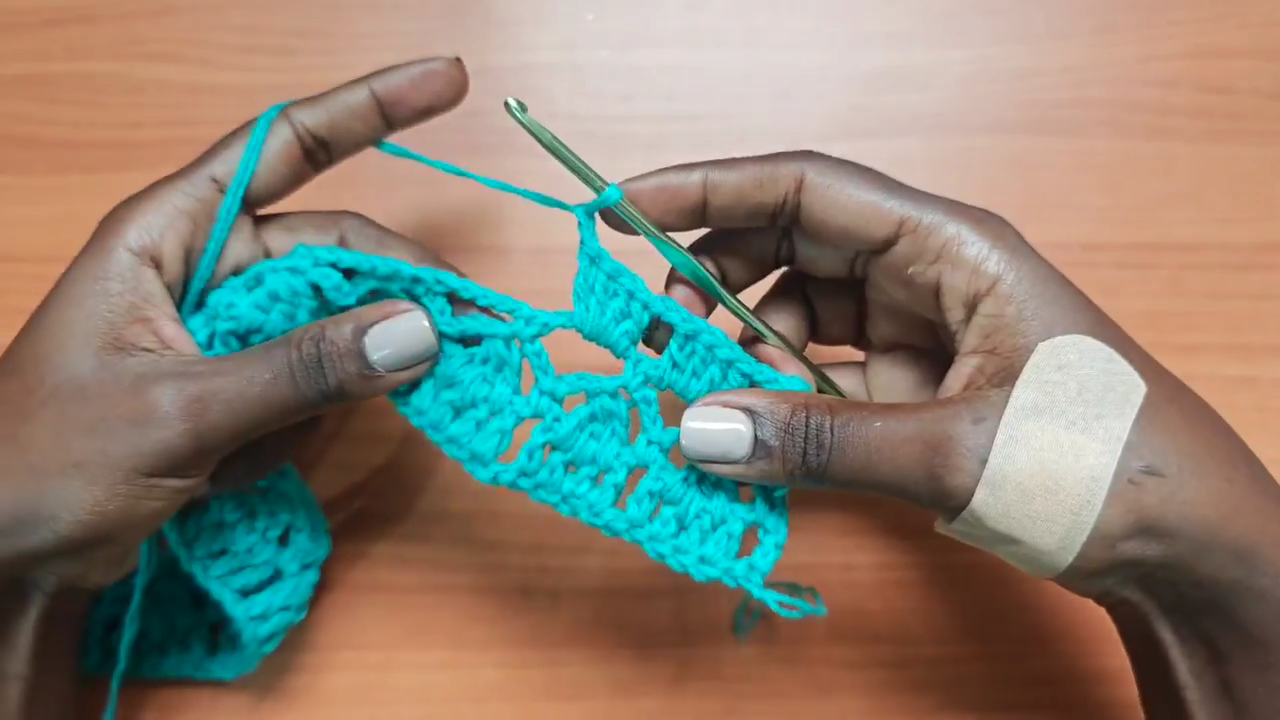
Begin repeating the shell stitch group across each row, working multiple stitches into the same space to form the fan-like clusters. Count your repeats carefully at the end of each row so the scalloped pattern stays aligned as the fabric grows.
Step 4: Continue the Body and Finish the Waistband
Keep repeating the shell stitch pattern row after row until the skirt reaches your desired length, then switch to the braided stitch technique to shape the waistband along the top edge. Secure your final stitches and weave in any loose ends to complete the piece.

Tips for a Smoother Process
- Practice the shell stitch repeat on a small swatch before starting the full skirt.
- Use a stitch marker at the start of each row so you can quickly find your place again.
- Check your skirt length against your body periodically rather than guessing until the end.
- Block the finished piece lightly to help the shell stitch pattern lay open and even.
- Keep consistent tension on the waistband section, since it affects how well the skirt fits.
Mistakes That Are Easy to Make
- Losing track of shell stitch repeats, which throws off the pattern’s symmetry across rows.
- Making the foundation chain too tight, causing the top edge to pucker.
- Rushing the waistband, which can leave it too loose to hold the skirt in place.
- Using yarn that’s too heavy, making the shell stitch pattern look bulky instead of airy.
- Skipping length checks, resulting in a finished skirt that’s shorter or longer than expected.
Variations Worth Trying
- Add fringe or tassels along the hemline for extra texture and movement.
- Work the skirt in two contrasting colors, alternating every few rows.
- Adjust the shell stitch size for a tighter, more compact pattern instead of an open one.
- Line the skirt with fabric for a more structured, less see-through finish.
- Shorten the length for a cropped version suited to layering over leggings.
Frequently Asked Questions
Q: How much yarn does this skirt typically require?
A: This varies by size, but most adult skirts use around 3–5 skeins of medium weight yarn depending on length and waist size.
Q: Can this pattern be resized for different body types?
A: Yes, adjusting your foundation chain length and number of shell repeats allows the pattern to scale up or down as needed.
Q: Is the shell stitch difficult for someone newer to crochet?
A: It takes a little practice to get the rhythm right, but it’s a manageable stitch to learn with a bit of patience.
Q: Does the braided waistband need extra reinforcement?
A: Not usually, though adding elastic thread through the final round can give extra support for a more secure fit.
Q: What yarn weight gives the best drape for this design?
A: Medium weight cotton or cotton-blend yarn tends to offer the best balance of structure and flowy movement for this style.
Final Thoughts
This Crochet Tassel Crown Skirt pattern turns a simple repeating stitch into a piece with real texture and presence, finished off by a waistband that’s as functional as it is decorative. From the very first foundation row to the last stitch of the braided edge, each stage builds toward a skirt that moves beautifully and fits with intention. Whether you’re making it for a festival look, a beach day, or just to add something unique to your wardrobe, this project rewards patience with a genuinely eye-catching result.