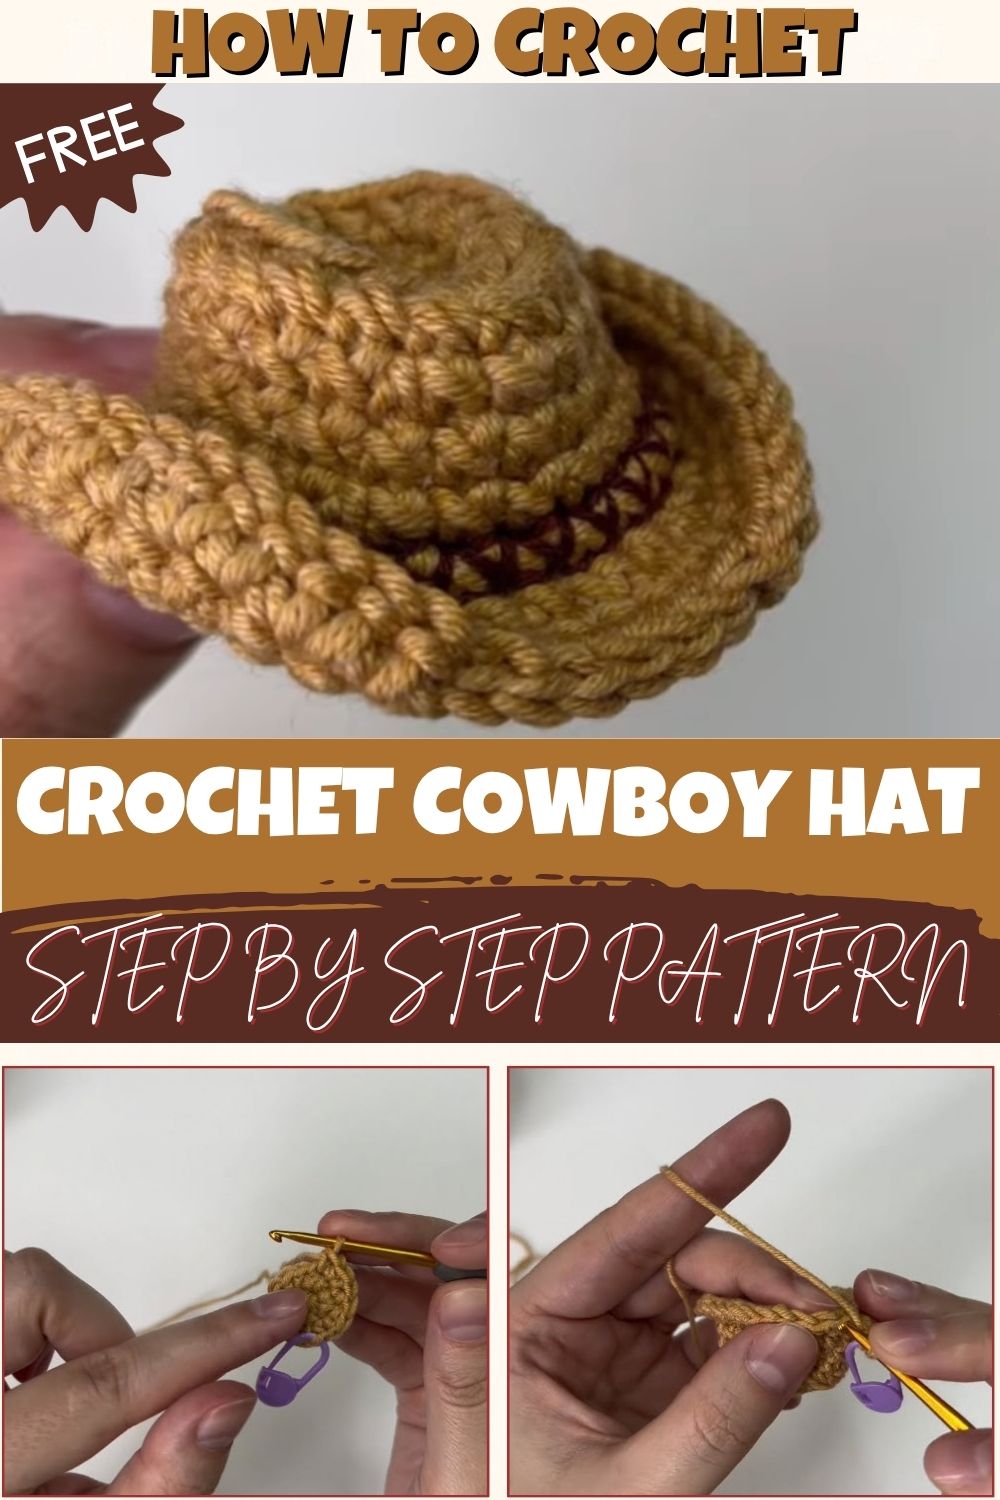
Mini Crochet Cowboy Hat Pattern for Beginners
Nothing adds western charm to a tiny project quite like a cowboy hat. Picture dusty trails, rodeo lights, and a little hat perched on your favorite plush. This mini crochet cowboy hat pattern brings that spirit straight into your yarn stash.
It’s a quick amigurumi project that works up in one piece. First, you start with a magic ring and build a round crown. Then you flare out a wide brim. Because the shaping is simple, it’s a gentle way to practice increases, and the finished hat fits plush toys, dolls, and keychains.
It also uses scrap yarn and takes about an hour, so it suits gifts, craft fairs, and party favors. Make several in different colors, and you’ll soon have a whole western crew.
Skill Level for This Mini Crochet Cowboy Hat Pattern
Beginner. If you can make a magic ring, work single crochet, and add a few increases, you’re ready. There’s no decreasing and no tricky sewing, so it makes a lovely first win for new crocheters.
Materials and Supplies
Yarn
- Main color: tan or golden beige cotton yarn (sport or DK weight works best; the Craft Yarn Council’s yarn weight guide explains these categories)
- Optional hat band: a small scrap of brown, red, or cream yarn
- About 5 to 8 meters of yarn in total, so scraps are perfect
Tools
- Crochet hook: 2.5 mm (go down to 2.25 mm if your stitches feel loose)
- Stitch marker (a bright one is easier to spot)
- Yarn needle for weaving in ends
- Scissors
Optional Extras
- Keychain ring and a small jump ring, if you want a bag charm
- Safety eyes: not needed for the hat itself, but handy if you plan to place it on a plush you’re making
- A pinch of polyester stuffing, if you’d like a slightly puffy crown
- Fabric stiffener or clear glue for a firmer brim
Crochet Techniques Used
- Magic ring (MR): an adjustable loop that starts the crown with no hole in the middle
- Single crochet (sc): the main stitch for almost the whole hat
- Increase (inc): two single crochets in the same stitch, which shapes the flat top and the wide brim
- Back loop only (BLO): gives the crown a crisp little edge
- Slip stitch and simple sewing: for the neat brim edge and for attaching the hat to a plush or keyring
New to the magic ring? Our guide to starting a magic ring walks you through it slowly. If you’d like some background on the craft itself, this overview of amigurumi is a good place to start.
Abbreviations (US Terms)
- MR: magic ring
- sc: single crochet
- inc: 2 sc in the same stitch
- BLO: back loop only
- sl st: slip stitch
- (12): the stitch count at the end of the round
Step-by-Step Mini Crochet Cowboy Hat Pattern Instructions
Before you start, a quick note. A cowboy hat has no face, ears, or tail, so the usual amigurumi stages are matched to the hat instead. The crown is your “head,” the brim is your “body,” and the extras are your accessories. Work in a continuous spiral, and keep your marker in the first stitch of every round.
Part 1: Crown Top (The “Head”)
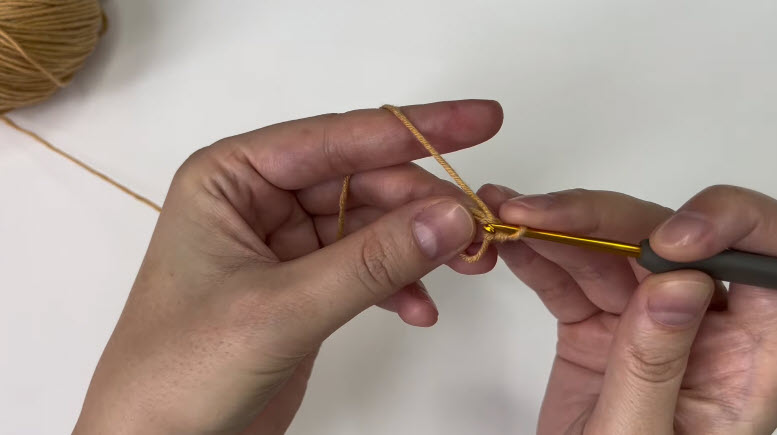
Round 1: Make a magic ring and work 6 sc into it. Pull the tail tight. (6)
Round 2: Inc in every stitch around. (12)
Round 3: (1 sc, inc) repeat 6 times. (18)
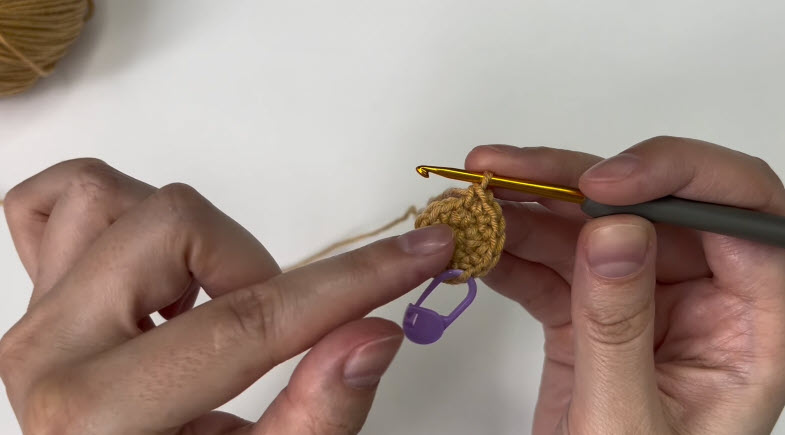
Your piece should now be a small, flat circle. If it’s cupping, you’ve probably added too many stitches, so check your counts. If it’s ruffling, you’re likely missing a few.
Part 2: Crown Sides
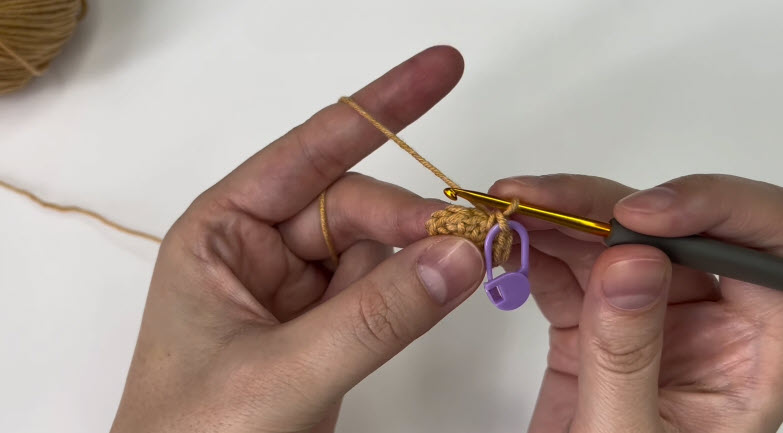
Round 4: Work 1 sc in the back loop only of each stitch around. (18)
Rounds 5 to 7: Sc in each stitch around. (18)
The back-loop round creates a small ridge, and after that the sides climb straight up. That’s the crown finished, and it already looks like a tiny hat.
Part 3: The Brim (The “Body”)
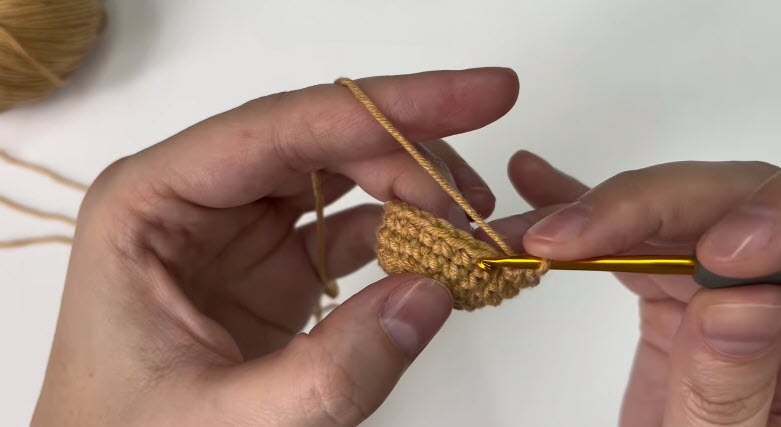
Round 8: (1 sc, inc) repeat 9 times. (27)
Round 9: (2 sc, inc) repeat 9 times. (36)
Round 10: Sc in each stitch around. (36)
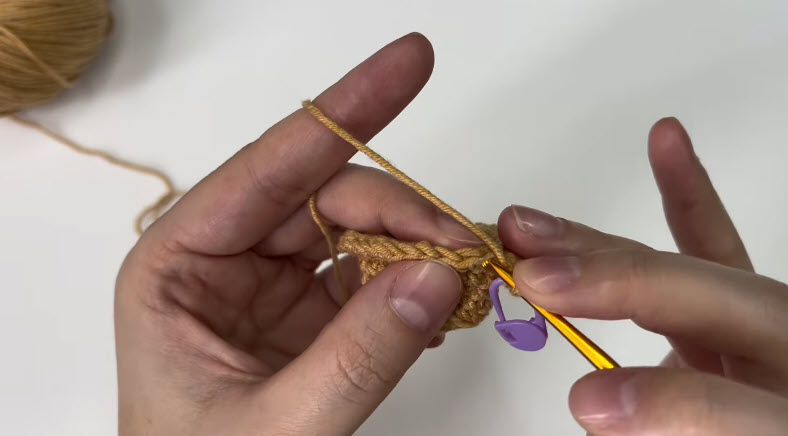
Round 11: Sl st in each stitch around. Fasten off and leave a tail about 10 cm long.
The slip stitch edge keeps the brim tidy and gives it a bit of spring, which helps when you curl it in the next step.
Part 4: Shape the Brim Curl (No Face Needed)
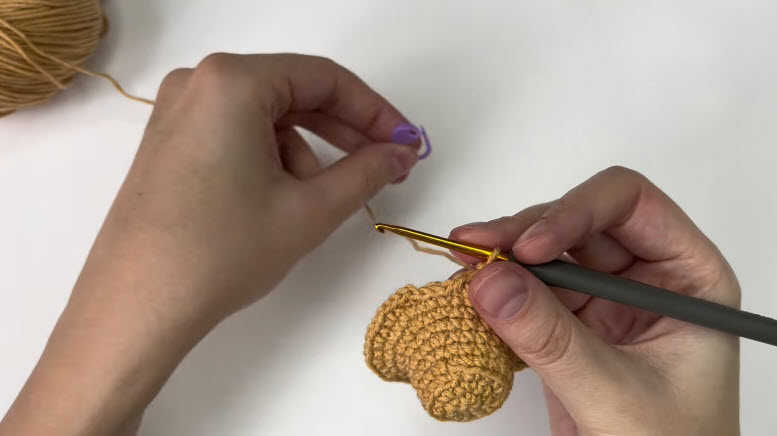
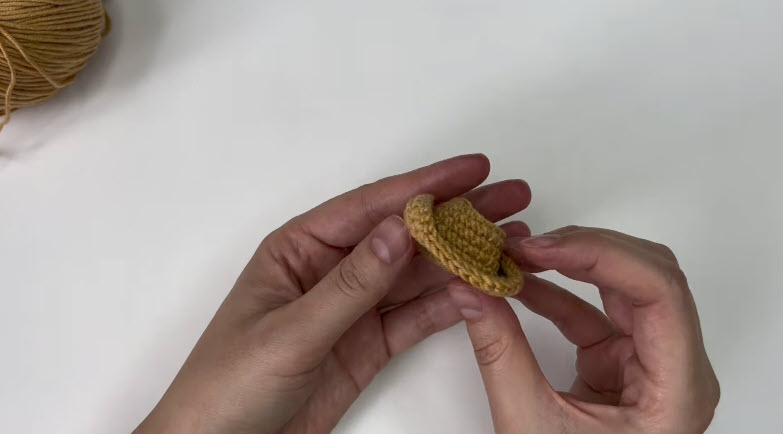
There’s no face to embroider on this hat, so the personality comes from the brim. Pinch the brim at the left and right sides and fold both upward. Next, use your yarn tail to take two or three small stitches on each side to hold the curl in place. Finally, give the crown a gentle dent from front to back for that classic western look.
Part 5: Accessories and Assembly
- As a keychain: Thread a short length of yarn through the top of the crown, loop it through a jump ring, and tie it off inside.
- On a plush: Place the hat on the head and stitch through the inside of the crown edge into the fabric, using 4 to 5 small stitches.
- As a hat band: See the bonus section below.
Part 6: Finishing Touches
Weave in every loose end with your yarn needle, then trim the extras. After that, give the hat a last pinch and shape, and set it on a flat surface to see how it sits. If one side looks higher, a tiny stitch will fix it.
Add a Little Hat Band to Your Mini Cowboy Hat
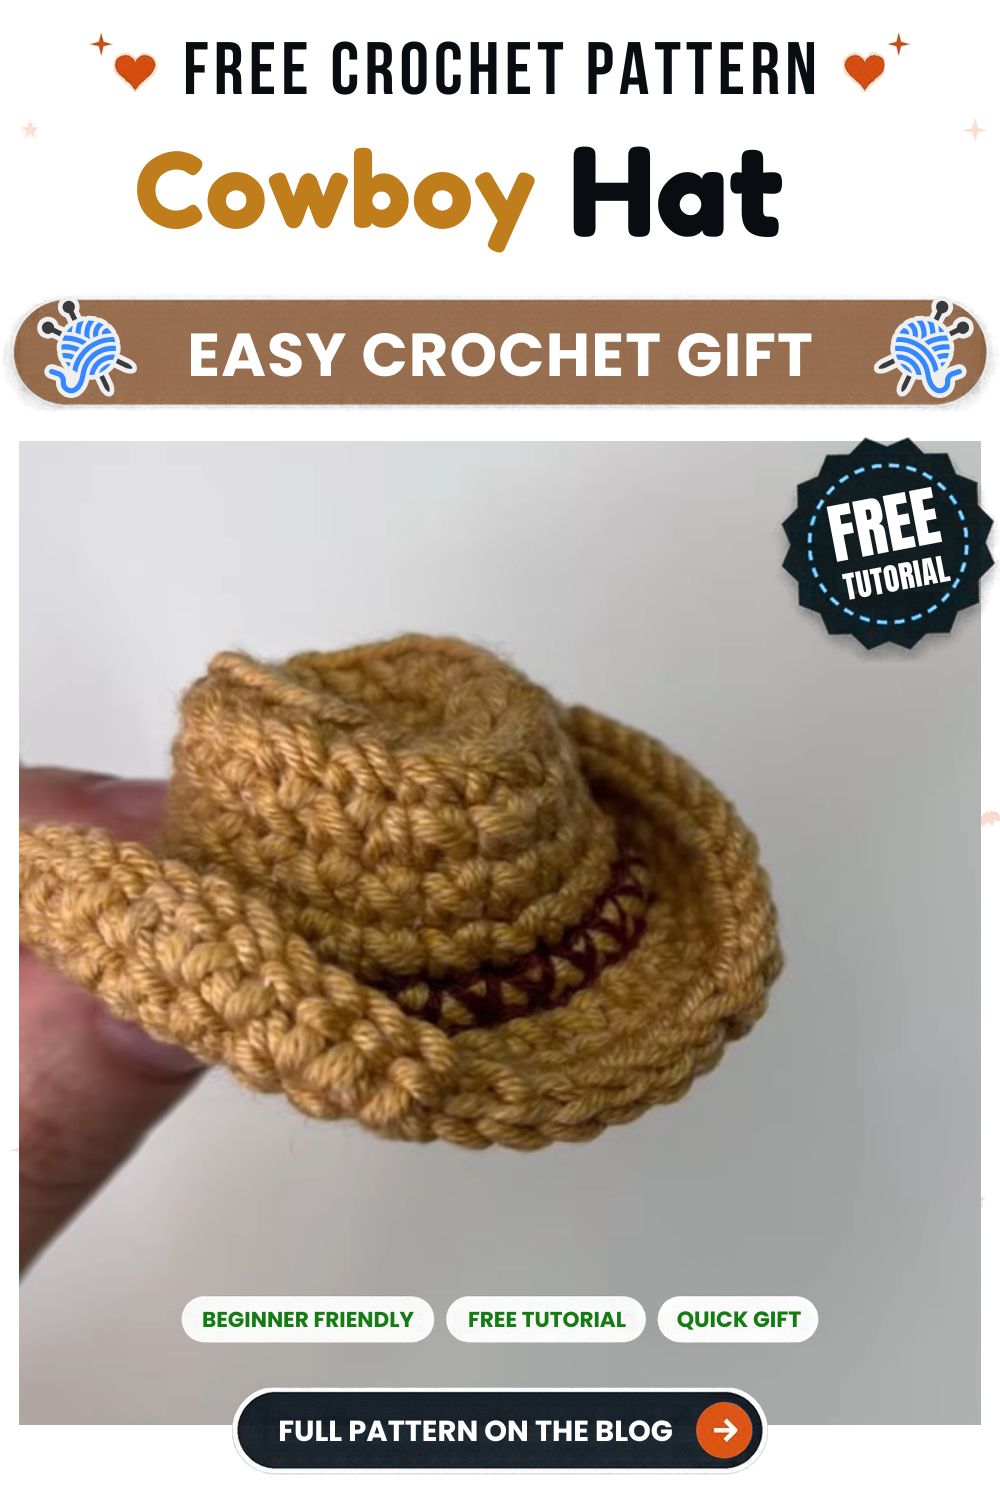
A hat band is the easiest way to make the hat look more finished. Cut a scrap of contrasting yarn about 25 cm long and weave it around the base of the crown, going over and under the stitches of Round 7. Then tie a small knot at the back and trim the ends. For a fancier band, chain 20, sew the chain around the crown, and tuck a tiny bead or button at the front. It takes about five minutes and changes the whole mood of the hat.
Helpful Tips for This Mini Crochet Cowboy Hat Pattern
Keep Your Stitches Tight
Amigurumi works best when there are no gaps. If you see tiny holes, drop down one hook size. Tight fabric also helps the hat hold its shape without any stiffener. Mini projects show every small mistake, so slow down on the magic ring and the first three rounds.
Use a Stitch Marker Every Round
Because you’re crocheting in a spiral, it’s easy to lose your place. Clip the marker into the first stitch of each round and move it up as you go. Want more help with the basics? Try our beginner amigurumi tips post.
Stuff Lightly (Or Not at All)
This hat doesn’t need much filling. If you want a rounder crown, add small pinches of fiberfill and push them in with the blunt end of your hook. However, overstuffing stretches the stitches and lets the stuffing show through the yarn. If the hat will sit on a plush, leave it hollow so it slips on neatly.
Check Your Counts
Count your stitches at the end of Rounds 3, 7, 9, and 10. It takes ten seconds, and it saves you from unraveling later.
Mini Crochet Cowboy Hat Customization Ideas
Try Different Colors
- Classic brown or tan for a true western feel
- Pink or lilac for a cowgirl party
- Black or white for a bold, stylish accent
- Two-tone: a dark crown with a light brim
Add Cute Accessories
- A tiny star charm or button on the band
- A small feather tucked into the side
- A mini sheriff badge made from yellow felt
- A strip of braided yarn as a chin cord
Play With Size
- Extra tiny: use thin cotton thread and a 1.25 mm hook for charms and earrings
- Bigger: use worsted yarn and a 3.5 mm hook to fit larger toys
- Chunky: use bulky yarn for a hat that fits a teddy bear
Looking for more small projects like this? Browse our easy crochet patterns for more quick makes.
How to Care for Your Mini Cowboy Hat
A small hat doesn’t need much care, but a few habits keep it looking neat. If it gets dusty or marked, spot clean it gently with a damp cloth rather than soaking it. Let it dry flat, and reshape the brim curl with your fingers while it’s still slightly damp. Also, check the label on your yarn first, since washing advice differs between cotton, acrylic, and blends. If you stiffened the brim with fabric stiffener or glue, skip washing altogether and just brush off any dust.
Frequently Asked Questions
What is the best yarn for amigurumi?
Cotton is the top choice for small amigurumi because it’s sturdy, doesn’t fuzz much, and shows stitches clearly. A smooth acrylic or a cotton blend also works well. Just pick something with a firm twist, and avoid very fluffy yarns, since they hide your stitches.
How do I make a crochet cowboy hat firm?
Use a smaller hook than the label recommends and keep your tension snug. For a really firm hat, brush on a little fabric stiffener or diluted craft glue and let it dry over a small bowl or round object. A firmer shape keeps its curl longer.
How long does this project take?
Most beginners finish in about 45-90 minutes. Once you’ve made one, the second goes much faster, sometimes in under 30 minutes.
Can I make the hat bigger or smaller?
Yes. The size depends only on your yarn and hook, and the stitch counts stay the same. Thicker yarn makes a bigger hat, and thread makes a micro one.
Turn Your Mini Crochet Cowboy Hat Into a Gift Topper
Here’s a sweet way to use the hat when you don’t have a plush to put it on. Tie a ribbon or a strand of twine around a small gift box, then stitch or glue the hat onto the knot. It looks adorable on birthday presents, western party favors, and holiday gifts. Better still, the receiver gets two gifts in one, because the hat can be unpicked later and used as a keychain or a bag charm. Make a few in different colors, and you’ll have a ready-made set of toppers for the whole party table.
Happy Stitching, Cowpoke
That’s your mini crochet cowboy hat, finished and ready to ride. It’s small, it’s quick, and it’s hard to stop at just one. If your first try looks a little wonky, don’t worry. Every handmade piece has its own charm, and your stitches will get neater with each round.
Now it’s your turn. Grab your scrap yarn, pick a color, and try this pattern over the weekend. When you finish, share a photo or tag us, because we’d love to see your version. And if you enjoyed this one, keep exploring the blog for more easy crochet projects.