Free Crochet Tank Top Pattern for Summer Wear
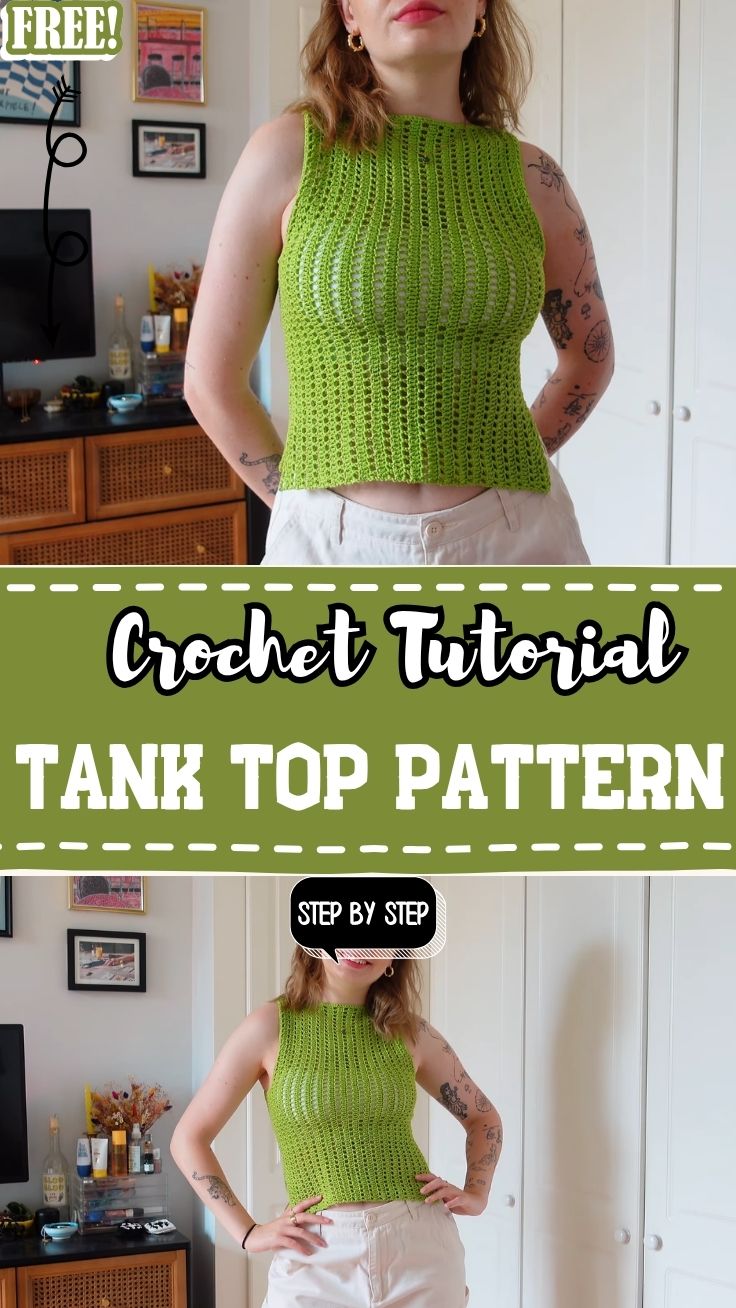
Two simply shaped panels come together into a breezy, wearable piece with this Free Crochet Tank Top Pattern for Summer Wear, giving warm-weather wardrobes an easy handmade upgrade. Bright lime green yarn and gently curved armhole shaping turn a basic rectangle-based construction into a genuinely flattering crochet summer tank top worth reaching for all season long.
Dense rows of single crochet build sturdy front and back panels, each shaped with a subtly marked cutout along the upper sides to create comfortable, well-fitted armholes. This shaping detail sets the design apart from a plain rectangular crochet top, giving the finished piece a more tailored silhouette without adding real construction complexity. Anyone looking for a lightweight, breathable summer tank top for beach days or relaxed summer outings will appreciate how quickly these two panels come together, while its comfortable fit makes it especially well-suited for beach outings, summer walks, and everyday casual wear.
About This Crochet Pattern
Two nearly identical panels form the entire body of this Crochet Tank Top Pattern, each worked in straight rows of single crochet before a shaped notch gets worked along the upper side edges to form the armholes. Simple straps connect the front and back panels at the shoulders, completing the garment with minimal additional shaping required.
Skill level sits in beginner-to-intermediate territory, mainly because garment sizing and armhole shaping take more planning than a typical accessory pattern. The stitch work itself stays straightforward throughout, relying on basic rows rather than any complex textured stitch Crochet Tank Top Pattern pattern.
Project Details
- Skill Level: Beginner to Intermediate
- Finished Size: Customizable (recommend measuring bust, torso length, and shoulder width before starting)
- Estimated Time Required: 5 to 7 hours
- Recommended Yarn Weight: DK or worsted weight cotton yarn
- Crochet Hook Size: 4.0mm to 4.5mm
Materials Needed
- Yarn in your chosen main color (cotton or cotton-blend recommended for breathability)
- Crochet hook (4.0mm–4.5mm)
- Tapestry needle
- Stitch markers
- Scissors
- Measuring tape
Crochet Stitches and Techniques
- Chain Stitch (ch): Forms the foundation row for each panel.
- Single Crochet (sc): Builds the dense main body of both panels.
- Half Double Crochet (hdc): Adds height efficiently in certain rows if a looser drape is preferred.
- Armhole Shaping: Uses short-row or decrease techniques to notch the upper side edges.
- Fastening Off: Secures each finished panel and strap piece.
- Sewing Pieces Together: Joins the front and back panels at the sides and shoulders.
Only these core techniques appear throughout the pattern, keeping the project approachable for makers who haven’t tackled fitted garments before.
Pattern Instructions
Chaining the Foundation Row
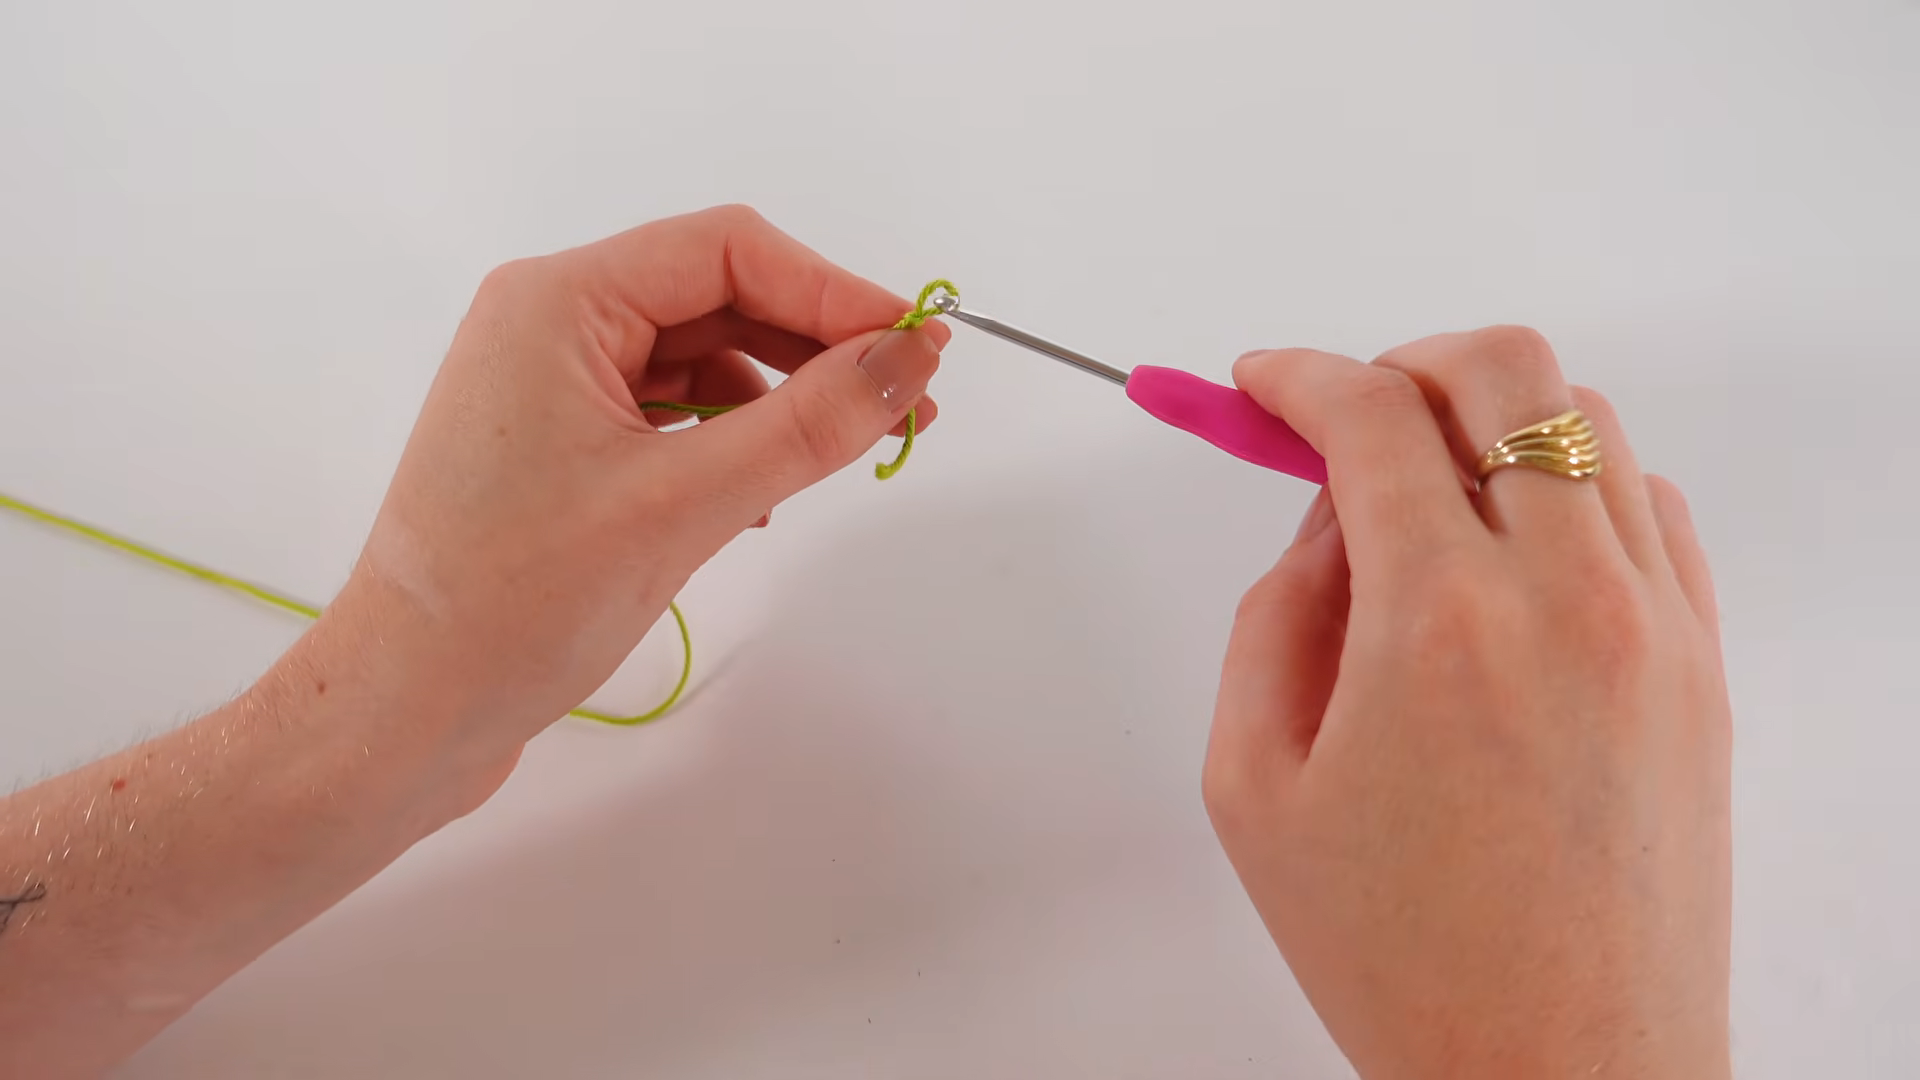
Chain a length matching your desired panel width, checking the count against your bust measurement before moving forward. Getting this starting measurement right saves considerable rework later, since a finished panel is far harder to resize than an initial chain.
Building the Main Panel Rows
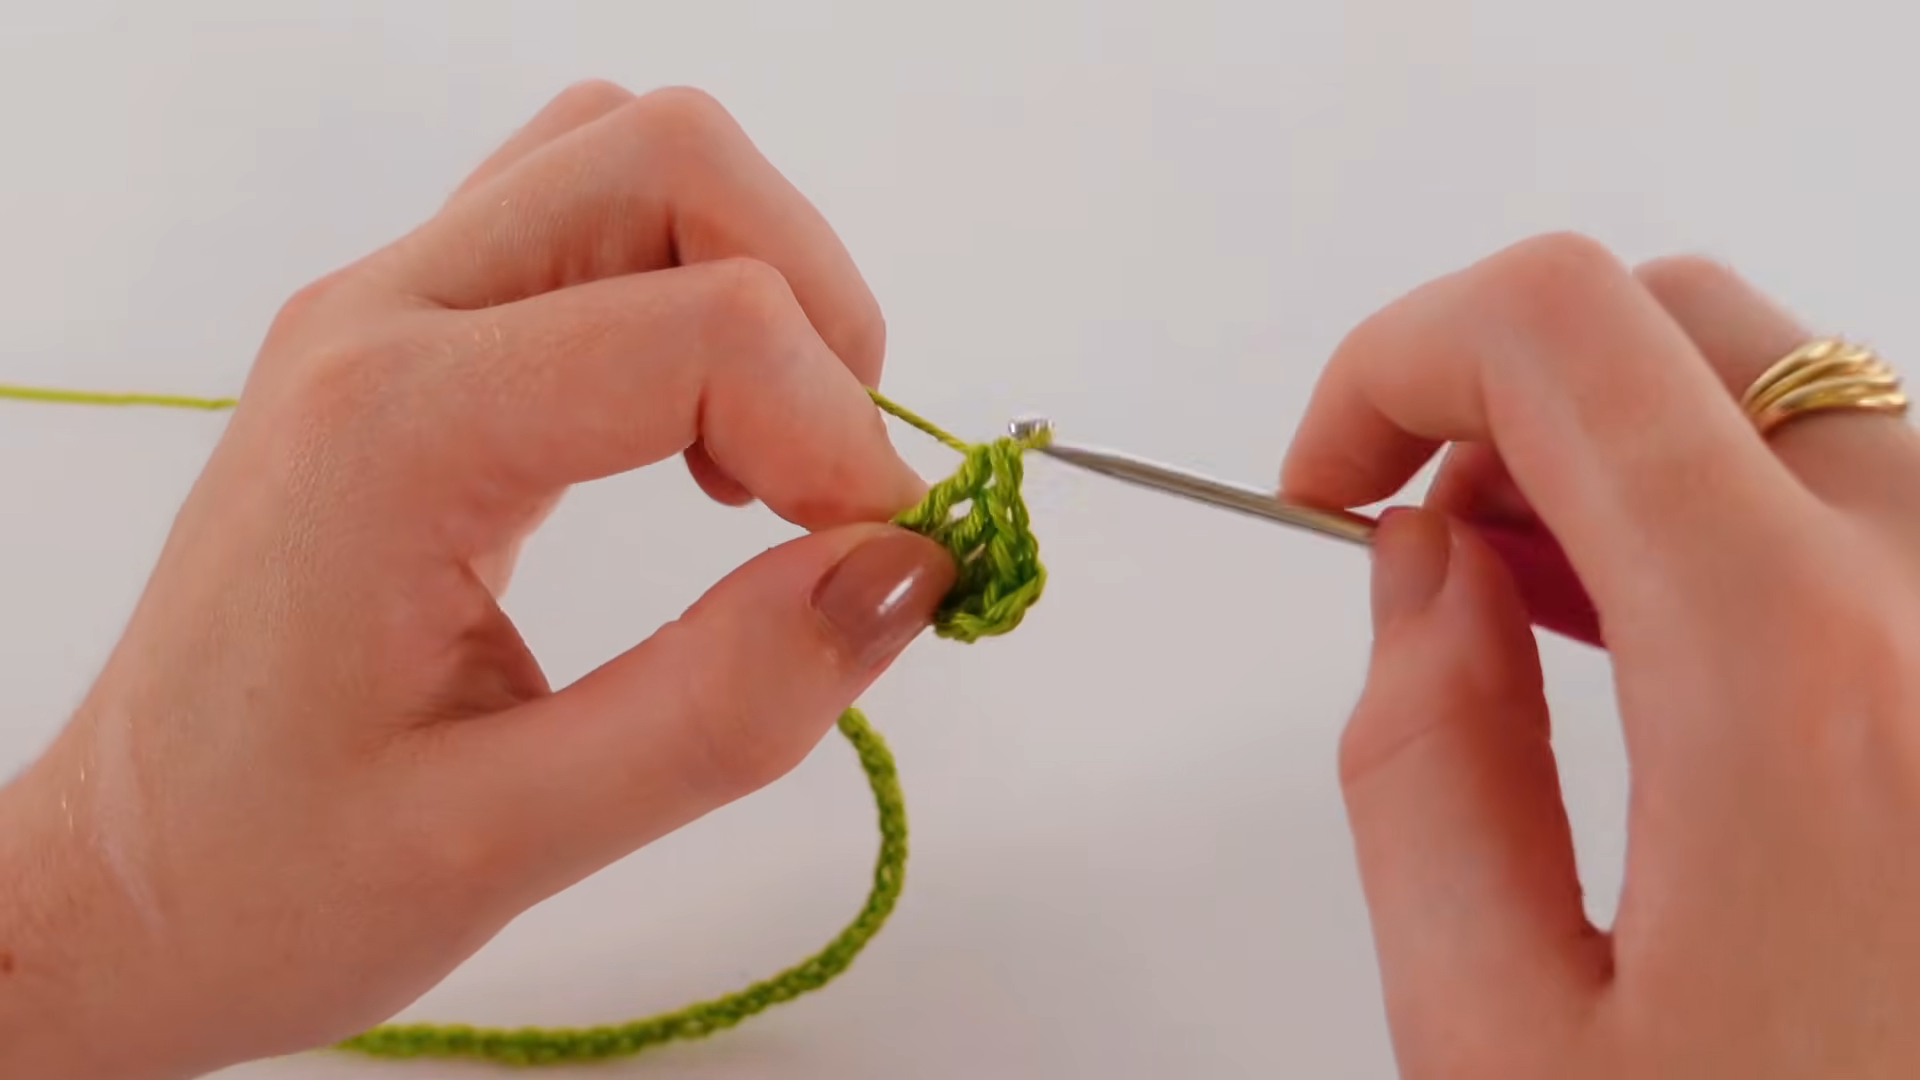
Work straight rows of single crochet across the full width, continuing until the panel reaches the point just below where the armhole shaping needs to begin. Keeping tension consistent through this section helps the fabric hang evenly once the top is worn.
Shaping the Armhole Notch
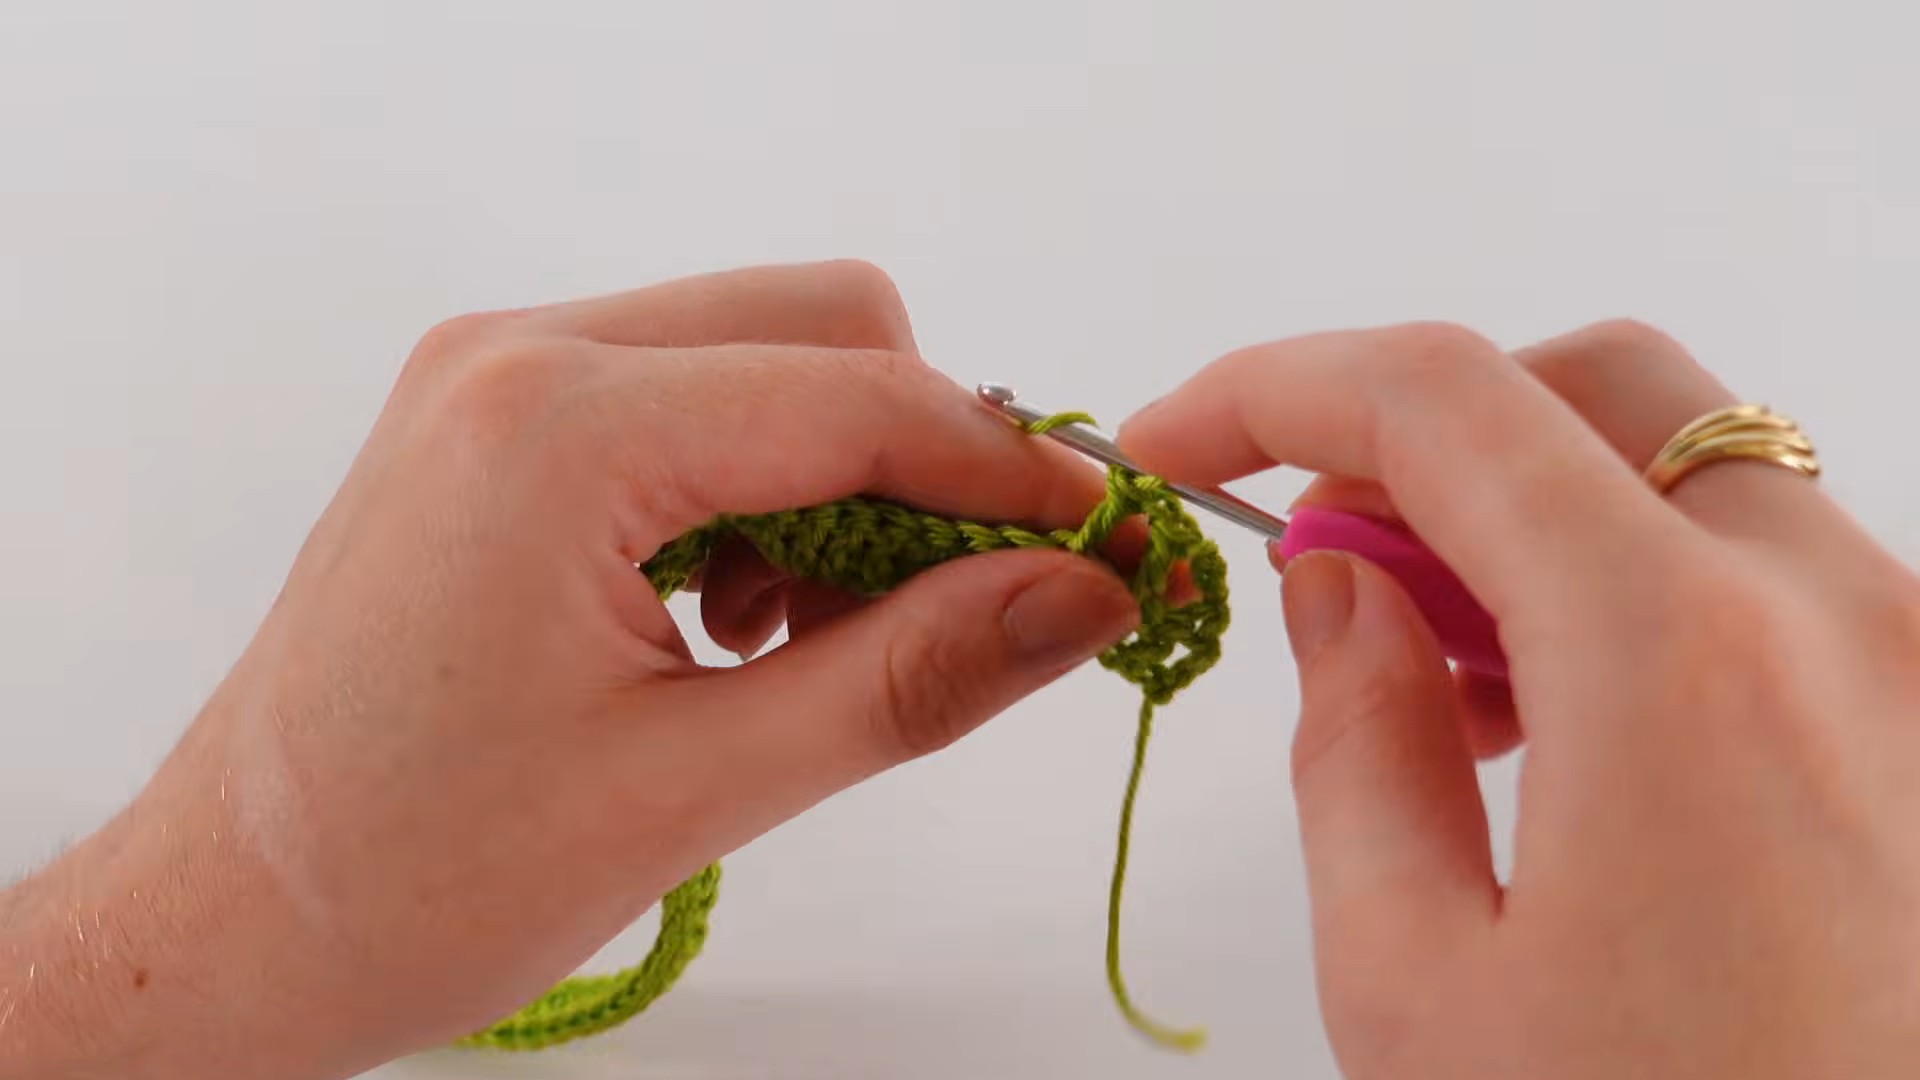
Decrease a small number of stitches at the start of the row where the armhole begins, then continue working straight rows at the narrower width until the shaping reaches the shoulder line. This notched shaping is what gives the panel its fitted, wearable silhouette rather than a plain rectangular shape.
Joining the Side Seams
Lay both panels together and single crochet or whip stitch along the side edges below the armhole shaping, leaving the shaped notches open for the arms. Keep the seam tension even so the finished top doesn’t pull or twist to one side once worn.
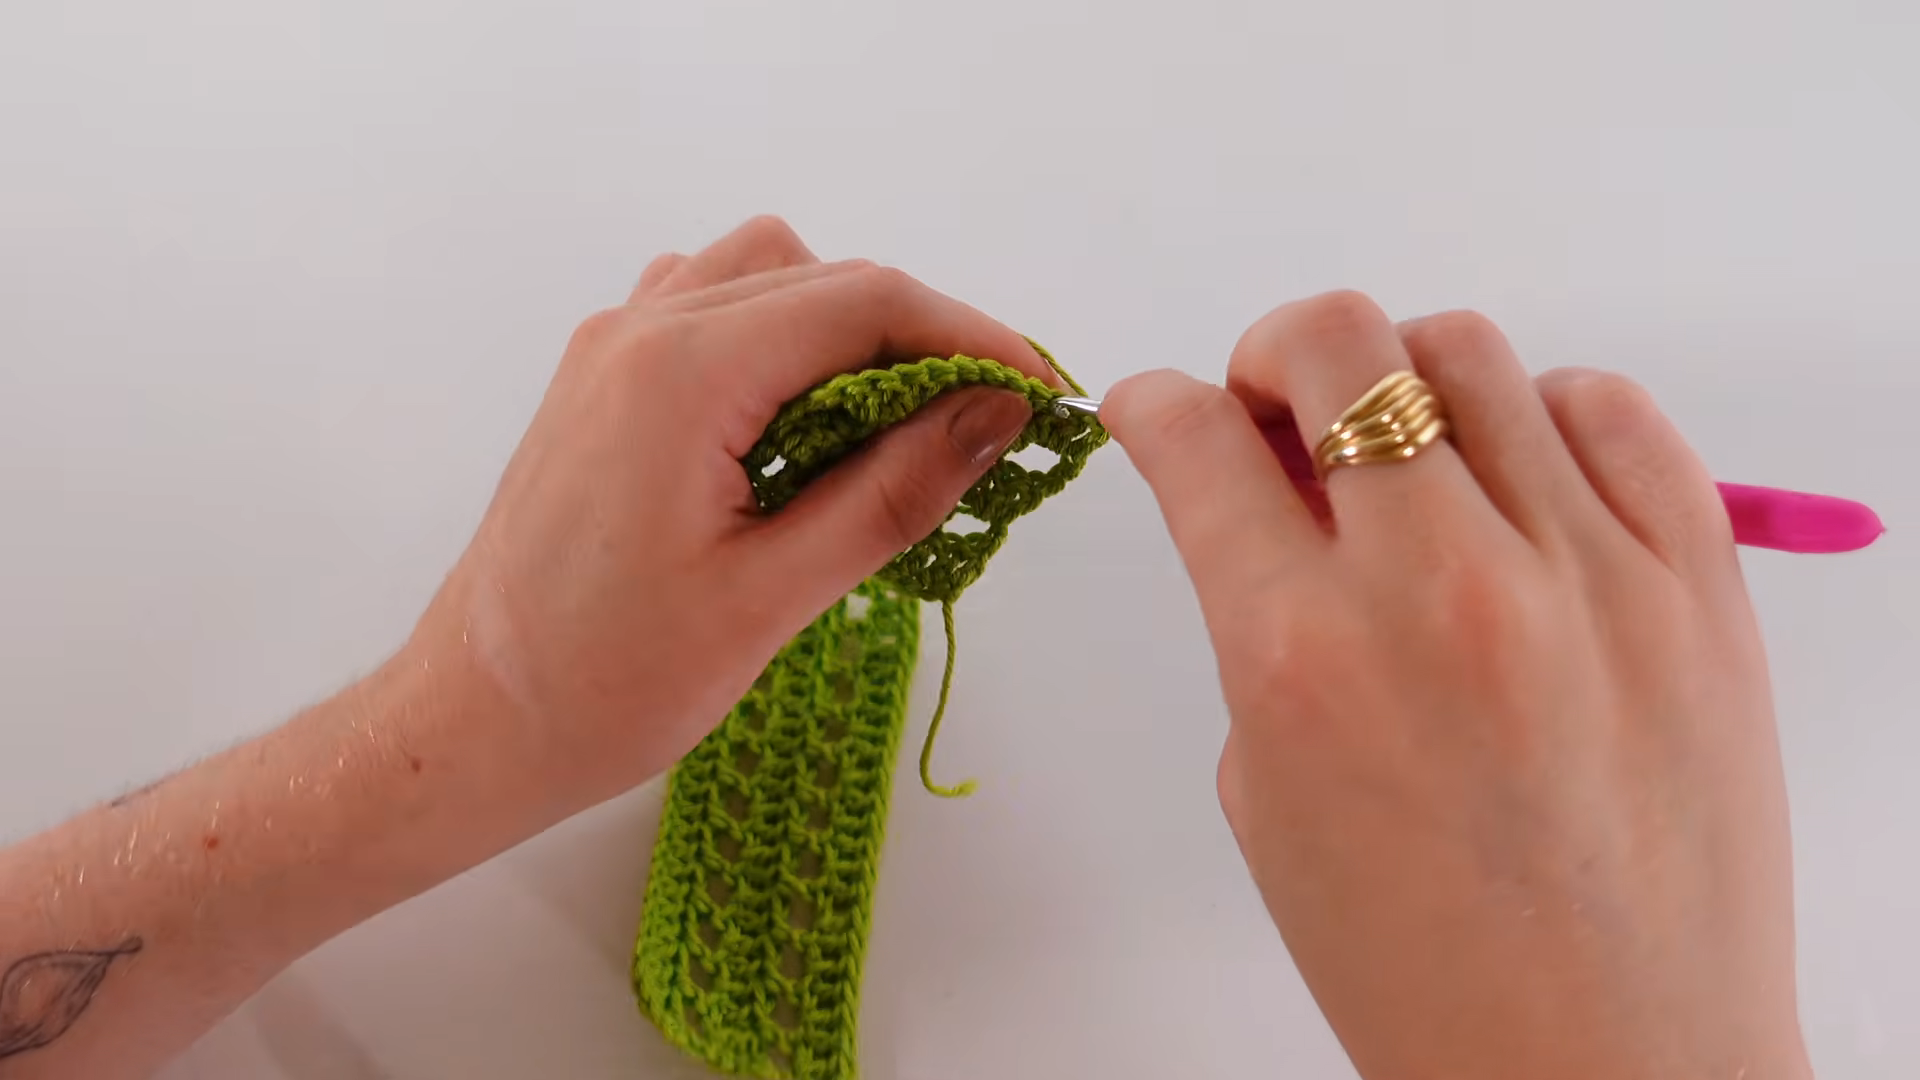
Making the Straps
Chain a length sized to comfortably span from the front panel’s shoulder edge to the back panel’s shoulder edge, then single crochet back along the chain for added strength. Repeat for the second strap, checking that both match in length before attaching.
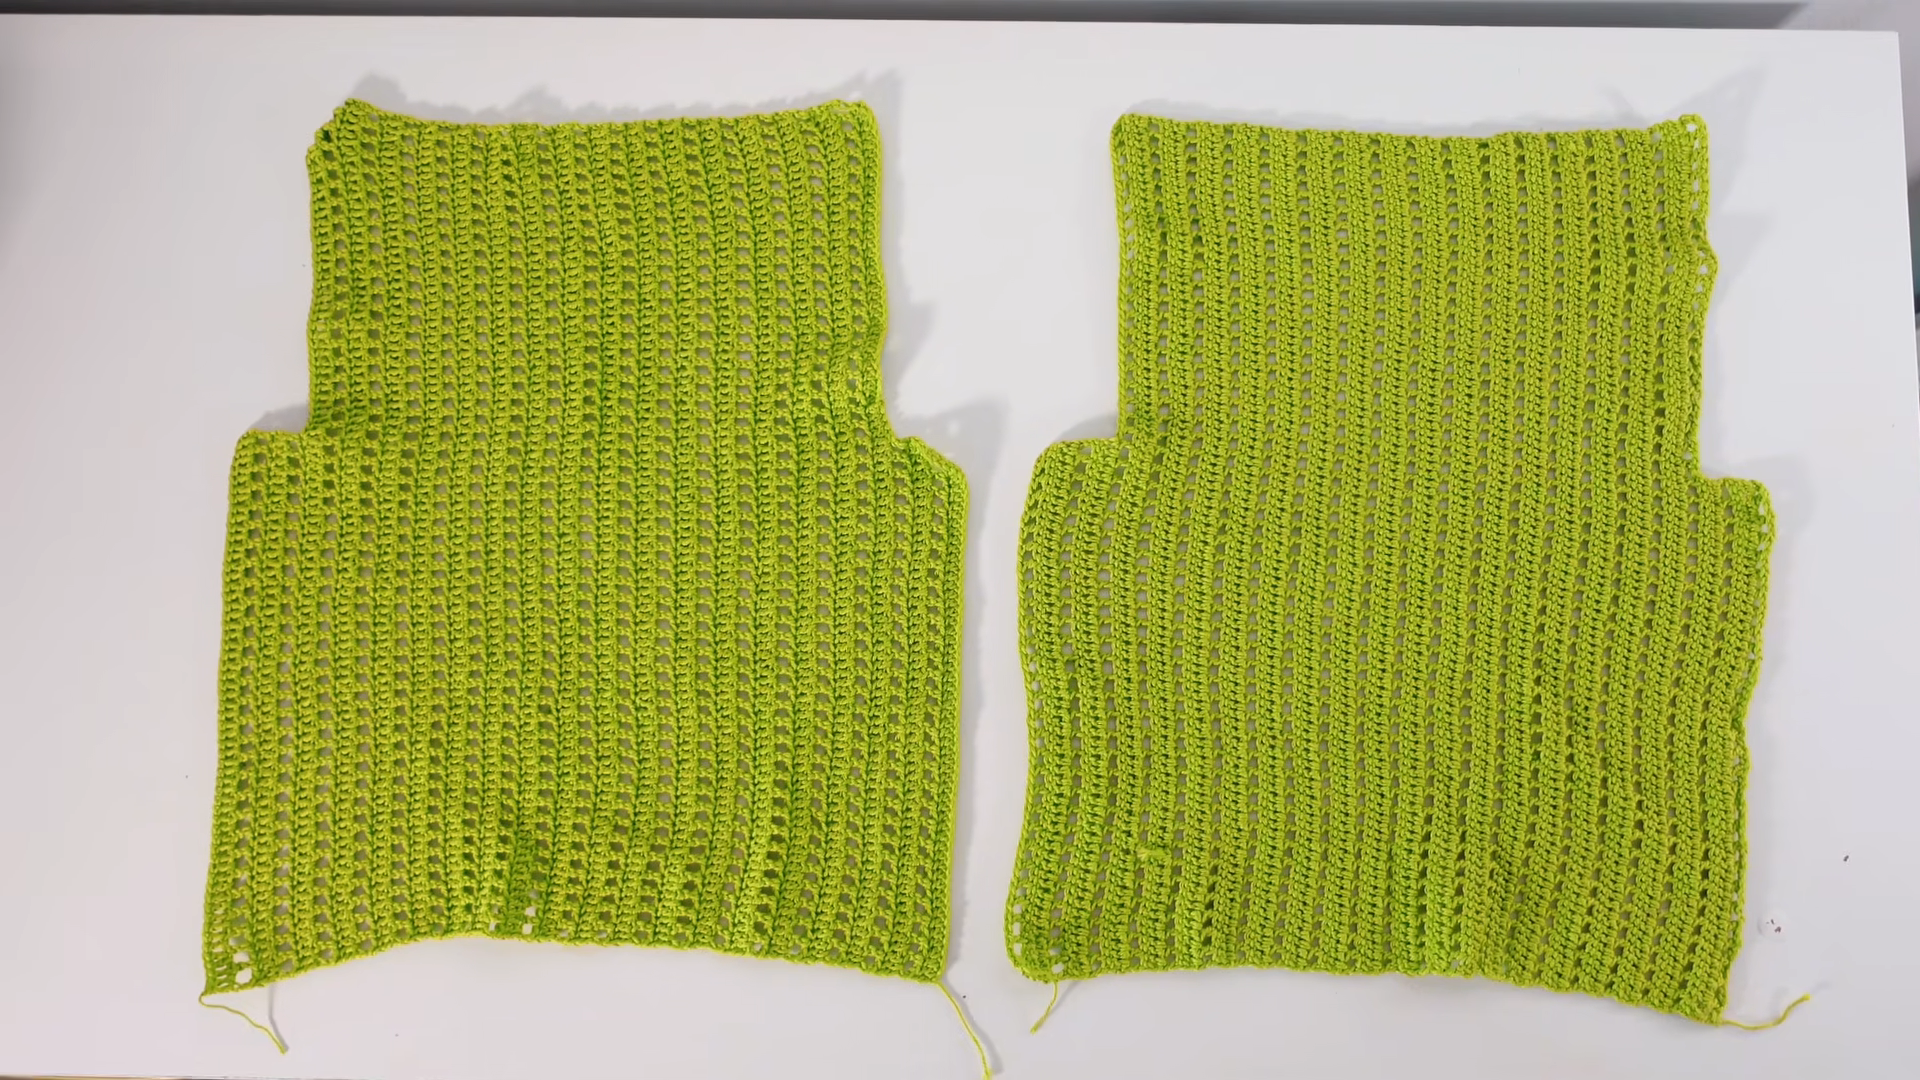
Attaching the Straps
Sew both straps securely to the top edges of the front and back panels, checking fit before fully securing them in place. Try the top on partway through this step if possible, adjusting strap placement for the most comfortable, even fit across both shoulders.
Final Assembly
Weave in every loose end using a tapestry needle, checking each seam and strap attachment point for stray tails before considering the top finished. Give the finished piece a light steam or block if any panel edges look uneven after assembly.
Tips for Success
- Measure bust, torso length, and shoulder width before chaining the foundation row.
- Match armhole shaping exactly between both panels for a symmetrical, professional finish.
- Keep tension consistent across both panels to avoid one side hanging differently than the other.
- Try the top on partway through assembly to catch fit issues while they’re easy to adjust.
- Block finished panels before joining them for straighter, cleaner side seams.
Personalization Ideas
Color Variations
Striping the panels with two or three coordinating shades adds visual interest without changing the core construction.
Length Adjustments
Adding extra rows before the armhole shaping easily extends this pattern into a longer, tunic-style top.
Neckline Styles
Adjusting the shoulder strap width and spacing creates a wider or narrower neckline depending on personal preference.
Trim Details
Adding a contrasting border round along the hem and armholes gives the finished top a more polished, tailored look.
Common Mistakes to Avoid
Skipping the initial measurement step often leads to a top that fits too tight or too loose across the bust, so checking dimensions before starting saves considerable rework later. Mismatched armhole shaping between the two panels creates a lopsided fit once everything gets joined together, so counting rows and shaping placement carefully on both pieces keeps the silhouette even. Rushing the side seams sometimes causes the top to twist when worn, so pinning both panels together before sewing helps keep everything properly aligned.
Frequently Asked Questions
What yarn works best for a summer tank top like this?
Cotton or a cotton-linen blend keeps the finished piece breathable and comfortable in warm weather, unlike wool blends that trap more heat.
How do I make sure both panels match exactly?
Counting rows and stitches carefully on the first panel, then repeating that exact count and shaping on the second, keeps both pieces consistent.
Is this pattern suitable for beginners?
The straight rows stay simple enough for beginners, though the armhole shaping benefits from a bit of prior garment-making experience.
Can I adjust the length after finishing?
Adding a few extra rows to the bottom hem works well if the top ends up shorter than expected, as long as yarn color matches closely.
What’s the best way to prevent the top from stretching out of shape?
Choosing a sturdier yarn like cotton and avoiding overly loose tension helps the finished piece hold its shape through regular wear.
How much yarn do I typically need for this project?
Amount varies by size and yarn weight, but most versions use a moderate amount, similar to a lightweight summer cardigan.
Can I make the straps wider for more coverage?
Yes, working the strap rows a bit wider before attaching them easily adjusts the neckline for more coverage and support.