Crocheting a Sweet Orange Amigurumi is a joyful and simple project for anyone who loves vibrant, handmade toys. To start, use a 3.5 mm crochet hook, along with basic stitches like single crochet and slip stitch. For a smooth, round shape, work in continuous rounds, increasing and decreasing as needed. Include leaves and a stem by crocheting small green pieces and attaching them securely. For extra charm, add small eyes, a tiny smile, or other simple embellishments. Patterns are available in various sizes to suit any preference, making it easy to create a delightful orange of any size.
Sweet orange Amigurumi is a delightful and easy project for crochet enthusiasts. This charming piece requires a 3.5 mm crochet hook and uses basic crochet stitches such as single crochet and slip stitch. Start by working in continuous rounds to achieve the smooth, round shape of the orange. You can enhance the look by adding small, crocheted green leaves and a stem, attached securely at the top. Adding facial features like simple eyes and a tiny smile can bring the orange to life and add a touch of personality. Patterns for Sweet Orange Amigurumi are available in various sizes, allowing for customization to suit your needs. This project is perfect for anyone looking to add a splash of vibrant color and whimsy to their collection or as a thoughtful handmade gift.
Cotton thread in orange, brown, green, and nude colors. (a minimal amount of ecru, white and yellow for details)
Crochet N° 2.00 mm.
Safety eyes No. 8 mm.
Point marker
Go to work
Scissors
Glue (optional)
Cotton to fill
Abbreviations
am magic ring
cad – chain
slipped stitch
ps slip stitch
chain
sc – single crochet
low point
pa – high point
half high point
double high-point pad
puma medium high point
high point
dis decrease
double double crochet
•0+
increase
BLO weaves in the back strands
Tissue development
Difficulty level: Basic/Intermediate. The project begins at the bottom, that is, at the legs, it is worked in a spiral, and there is no sewing of the legs or head since they are joined by crocheting.
Arms
Make two, in brown:
V1. 6 pm and am (6)
V2. (1aum, 1pb) x 3 (9)
V3-5. 9pb (9)
V6. 1dis, 7pb (8)
V7-12. 8pb (8)
Flatten the piece and make 3 single crochets, taking the stitches on each edge at the same time. Short thread leaves your arms waiting.
Legs
You must do two. When you finish the first leg, cut the thread and leave it waiting. When you finish the second, do not cut the thread, since you will start with the union of the legs, and then shape the body.
In orange:
(6) V2. 6aum (12) (12) V3. BLO 12pb V4. (1pb, 1aum) x 6 (18) V5-6. 18pb (18) Now we will begin joining the legs and the beginning of the body.
Union of legs and beginning of the body
To start with the first round, you must hook the crochet in any point of the first leg (preferably in the final points) and in that place make the first sc (leave it marked, since it will be the first stitch of the round), try apply tension in this first point to prevent a hole from forming, the same when you turn around and have to knit again the sc that joins the second leg in front (remember that the leg union always corresponds to the back of the doll ).
V1. 18 sc (from the 1st leg), 18 single crochet (from the (36) 2nd leg)
V2. (5pb, 1aum) x 6(42)
V3-9. 42pb (42)
Fill the piece as you progress in the weaving.
V10. (5pb, 1dis) x 6(36)
V11.(4pb, 1dis) x 6(30)
V12.30pb(30)
V13.(3pb, 1dis) x 6(24)
V14. 24pb(24)
V15.(2pb, 1dis) x 6(18)
V16. 18pb(18)
V17.(1pb, 1dis) x 6(12)
At this moment we will begin to form the neck and head of our amigurumi, make sure to fill the piece well.
Change to nude color:
V18-19. 12pb (12)
V20.(1pb, 1aum) x 6(18)
V21.(2pb, 1aum) x 6(24)
V22.(3pb, 1aum) x 6(30)
V23. (4pb, 1aum) x 6(36)
V24.(5pb, 1aum) x 6(42)
V25-34.42pb(42)
Fill the piece as you progress in the weaving.
You must insert the safety eyes, between rounds 26 and 27, with 8 points of separation from each other.
V35. (5pb, 1dis) x 6(36)
V36.(4pb, 1dis) x 6(30)
V37.(3pb, 1dis) x 6
V38.(2pb, 1dis) x 6(24)(18)
V39.(1pb, 1dis) x 6(12)
V40. 6 dis(6)
With your wool needle, take the front threads of each stitch, pull, finish off and hide the thread in the fabric.
Now we will start making the hat that simulates half an orange, we will also make a green leaf and a brown stem.
Beanie In orange:
V1. 6pm and am(6)
V2.6aum(12)
V3.(1pb, 1aum) x 6(18)
V4.(2pb, 1aum) x 6(24)
V5.(3pb, 1aum) x 6(30)
V6.(4pb, 1aum) x 6(36)
V7.(5pb, 1aum) x 6(42)
V8-16. 42pb(42)
V17. make a st and repeat the following sequence (2ch, skip 1st, 1st) x 18 times.
Cut the thread and hide it in the fabric.
Leaf and stem
To form the leaf, we are going to work on a base of chains.
In green:
Crochet 11ch, in the second ch from the crochet crochet, 1sc, 1sc. 1 hdc, 1 dc, 2 pad, 1 hdc, 2 hdc, triple inc (to turn and be able to work the other half of the sheet) 2 hdc, 1 dc, 2 pad. 1pa, 1pma, 1pb, 2pd.
Make a line down the center of the sheet using pd. Cut the thread and hide it in the fabric.
Make the stem brown, as follows:
V1. 6pm and am(6)(6)
V2-9. 6pb
Leave thread to sew to the head.
orange blossom
As a last detail we will make a little flower, which will be fixed on a strip of chains, like a necklace.
In raw color:
Weave the following sequence inside a magic ring:
(4ch, 1dc) x 5 times
Close the ring and finish.
With your wool needle, embroider a small yellow dot in the center of the flower.
In green Sweet Orange Amigurumi:
Make 4 chains, in the fourth ch from the crochet make 3dc unfinished and close them together, crochet 38ch and in the fourth chain from the crochet, make 3dc again without finishing closed together.
Finish with a dc, cut yarn.
Final details and assembly of parts
Place the arms on the sides of the doll, sew them to the last lap of the body in orange. With orange thread we will embroider the eyebrows and with white thread we will give light with a stitch around
the eyes In nude color we will embroider the nose. Place the hat on the head, so that 4 turns are visible from the eyes upwards that will correspond to the doll’s forehead, glue it or sew it according to your preference (the same with the
other parts). At the top, you must leave the stem and the leaf together. Finally, tie the chain strip around the neck, glue the flower to one side, put a little color on the cheeks for an extra dose of tenderness 🙂
Congratulations!
You now have your Dulce Naranja finished, I hope you enjoyed this pattern, if you have any questions, don’t hesitate to contact me.
Dulce Naranja is a free amigurumi pattern by @franlanitas created and designed by Carolina Ortiz Cossio, remember to mention me as the author when you publish your creations, I will be happy to share them.
Few things are more heartwarming than crafting a fluffy friend with your own hands and when that friend is a lovable Shiba Inu the joy multiplies! Known for their spirited personality fox-like charm and endless cuteness, Shiba Inus make the perfect inspiration for crochet creations. Whether you’re a seasoned amigurumi maker or a total beginner…
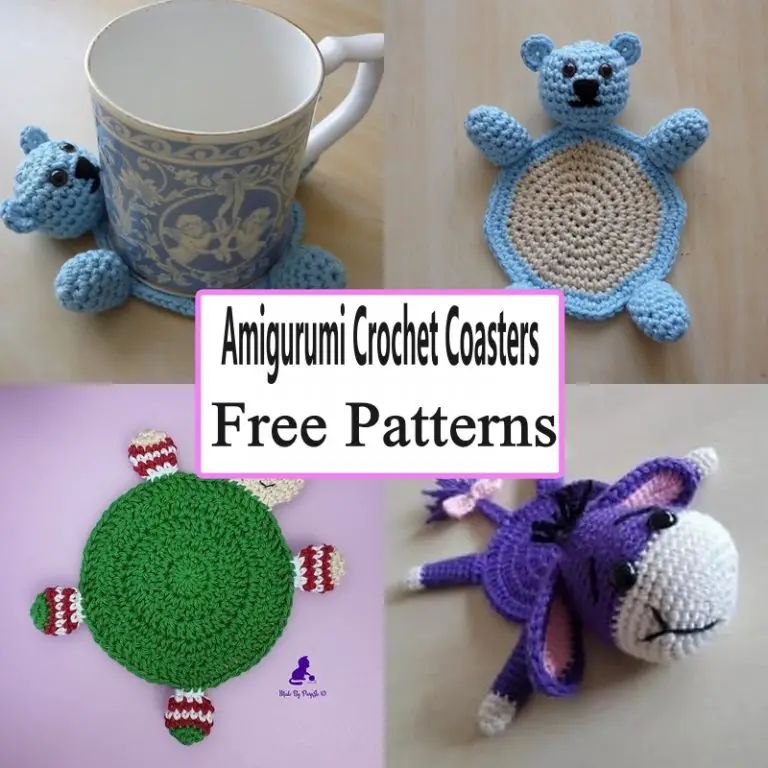
The Super Easy Amigurumi Crochet Coasters Free Patterns are a wonderful way to add a touch of whimsy to your home decor. These adorable coasters are quick and easy to make and are perfect for beginners and seasoned crocheters alike. With their playful designs and vibrant colors, these coasters will liven up any coffee table…
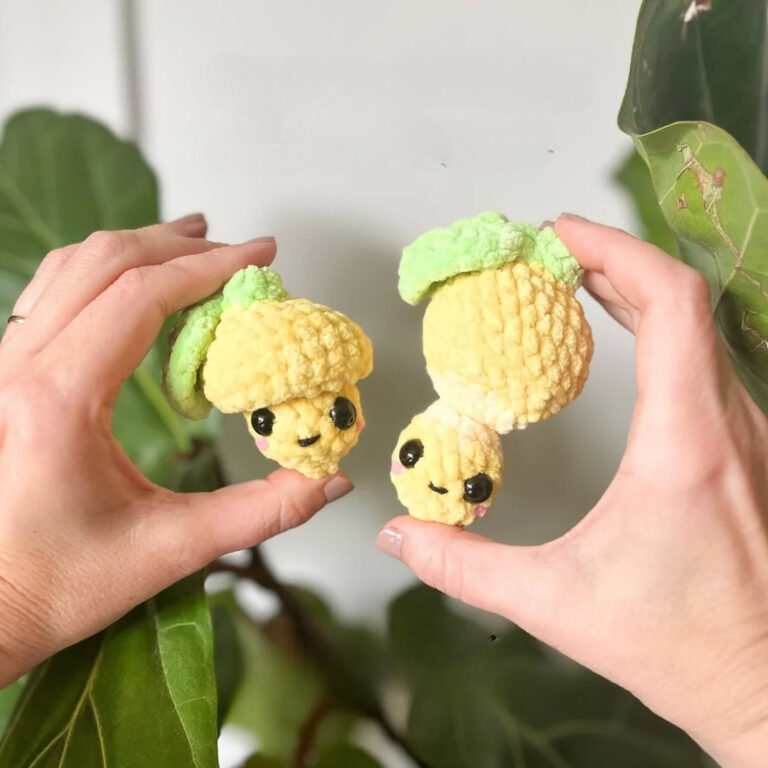
I picked up this pattern on a whim one evening, thinking it would be a quick little project, and three hours later, I was still completely absorbed, genuinely delighted, and already planning my next color variation before I had even finished the first one. Lottie the Lemon is a kawaii fruit amigurumi with a seriously…
Ready to crochet personality? Meet a delightfully moody bird. As your hook finds rhythm, stress fades and creativity soars. Moreover, portable projects satisfy quickly. Naturally, Crochet Grumpy Crow Sylus’s turns each stitch into a story. Furthermore, the shapes stay approachable, so beginners learn confidently while experienced makers customize details. Add bold brows, perky wings, and…
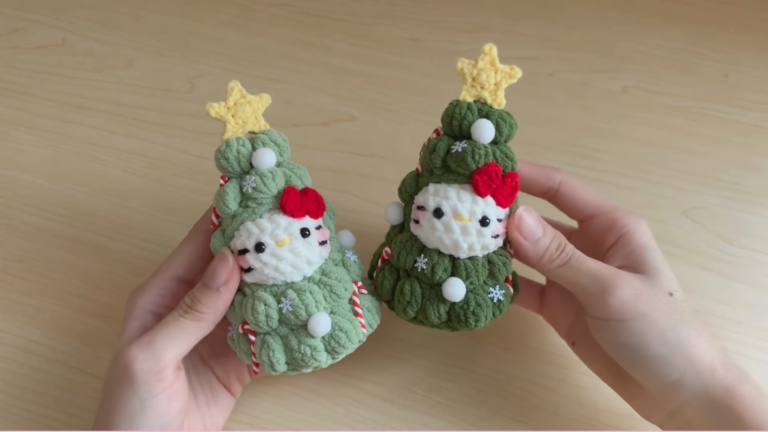
Holiday amigurumi always feels extra cozy, especially when cute characters meet classic Christmas shapes. First, this Crochet Hello Kitty Christmas Tree idea brings instant festive charm, and next, it turns into a soft decoration that looks adorable on a shelf or desk. Even better, this Amigurumi project is beginner-friendly. After that, simple stitches quickly build…
Dive into the festive spirit by crafting your very own Thanksgiving Wreath Amigurumi. With a comfortable size G hook and a selection of warm-toned worsted yarns, the pattern leads you through, making the turkey’s cosy head, bright eyes, cute beak, and distinctive snood. As a final touch, whimsical feathers add a playful sway to your…