Crochet Leopard Doll Amigurumi Pattern with Jungle Charms

Skill Level
Beginner to intermediate crocheters can comfortably complete this project. Basic single crochet, increases, decreases, and color changes are the core skills needed, plus a few embroidered details for character.
Gathering Your Supplies
Before diving into the rounds, it helps to lay out everything within reach. Working with organized materials keeps the process relaxed instead of stop-and-start.
Yarn:
- Worsted weight (4) cotton or acrylic yarn in golden yellow or tan (main body color)
- Small amounts of black or dark brown yarn (for spots and facial features)
- Cream or ivory yarn (for the muzzle, belly patch, and inner ears)
Hook size:
- 3.0mm–3.5mm crochet hook (a smaller hook keeps stitches tight enough to hide stuffing)
Extra tools:
- Stitch markers for tracking rounds
- Yarn needle for weaving in ends and assembling pieces
- Polyester fiberfill stuffing
- Small black safety eyes (or embroidery thread for eyes)
- Embroidery needle for facial details
- Scissors
Cotton yarn gives the doll a firmer, more defined shape, while acrylic yarn offers a softer, plush feel; either works well depending on personal preference.
Stitches and Abbreviations Used
- ch – chain
- sc – single crochet
- inc – increase (2 sc in same stitch)
- dec – invisible decrease
- sl st – slip stitch
- st(s) – stitch(es)
- rnd – round
- BLO – back loop only
- FO – fasten off
Amigurumi projects rely heavily on rounds worked in a continuous spiral, so a stitch marker is essential for keeping track of where each round begins.
Step-by-Step Crochet Instructions
Making the Head
Begin with a magic ring and work six single crochets into it.
Increase evenly across the next few rounds until the head reaches its widest point, usually around thirty stitches.
Work several rounds even, without increasing, to build height.
Then start decreasing gradually to round off the top of the head.
Stuff firmly before closing the final round.
A well-stuffed head holds its shape far better than a loosely filled one.
Shaping the Muzzle
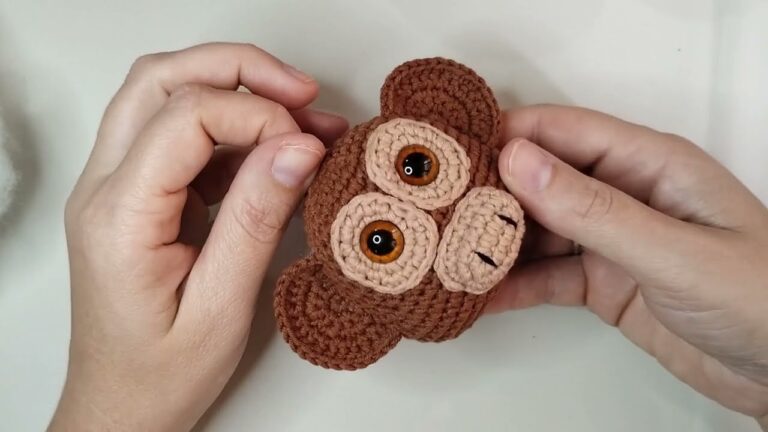
Using cream yarn, crochet a small oval-shaped piece worked flat or in rounds, depending on preference.
Attach it to the lower front of the head once both pieces are complete.
Safety eyes typically get placed just above the muzzle, spaced evenly for a balanced expression.
Crocheting the Ears
Two small rounded pieces, worked in the main body color with a cream inner layer, form the ears.
Fold each piece slightly before sewing it onto the head.
This gives it natural dimension rather than a flat, pasted-on look.
Building the Body
Start the body the same way as the head, with a magic ring and gradual increases.
Widen the body until it reaches a comfortable size relative to the head.
Work even rounds to create length, then decrease slightly near the top to prepare it for attachment.
Stuff evenly as you go rather than waiting until the very end.
This prevents lumps and gaps.
Crocheting the Legs and Arms
Four small limb pieces, worked in matching color, attach to the lower body.
Keep them slightly smaller than the body’s circumference so the proportions stay balanced.
Light stuffing works best here, since overly firm limbs can make the doll harder to pose.
Adding the Tail
A long, slightly curved piece worked in a spiral gives the leopard its signature tail.
Leave it lightly stuffed so it curves naturally rather than sitting stiff and straight.
Assembling the Doll
Once all pieces are finished, arrange them before sewing to check proportions.
Attach the head to the body first, followed by the limbs, ears, and tail.
A yarn needle and matching thread make the seams nearly invisible when stitched carefully.
Adding the Spots
Using a small embroidery needle and black or dark brown yarn, stitch small rounded spots across the head, body, and tail.
Random spacing looks more natural than a perfectly even pattern.
Real leopard markings vary in size and placement.
Helpful Beginner Tips
- Count stitches after every round during the increase and decrease sections to avoid a lopsided shape.
- Use locking stitch markers rather than scrap yarn, since they’re easier to move as rounds progress.
- Stuff a little at a time instead of all at once for smoother, lump-free shaping.
- Practice the invisible decrease separately before starting the pattern if it’s a new technique.
- Keep tension consistent throughout, since looser stitches can let stuffing peek through.
Common Mistakes and How to Fix Them
Uneven stitch counts: This usually happens when a stitch marker slips or a round gets miscounted. Recount after every few rounds to catch errors early.
Visible gaps between stitches: Switching to a slightly smaller hook often solves this, since tighter stitches hide stuffing more effectively.
Lopsided head or body shape: Uneven stuffing is the usual cause. Redistributing fiberfill with a chopstick or knitting needle can correct minor shape issues even after assembly.
Ears or limbs sewn crooked: Pinning pieces in place before sewing, rather than attaching them freehand, makes a noticeable difference in the final look.
Ways to Customize This Pattern
- Swap the golden-tan yarn for gray or white to create a snow leopard variation.
- Add a small bow, bandana, or tiny hat for extra personality.
- Use safety eyes in different sizes to change the doll’s expression from playful to sleepy.
- Adjust the stuffing firmness for a squishier, huggable version aimed at younger children.
- Add a small keychain loop or bag charm attachment for a mini gift-sized version.
Size and Color Suggestions
A standard finished leopard using worsted weight yarn and a 3.0mm hook typically measures around six to eight inches tall, though gauge and stuffing firmness can shift this slightly. For a larger cuddly version, bulkier yarn paired with a bigger hook works well, while thinner yarn and a smaller hook create a mini collectible-sized doll.
Classic golden-tan with black spots gives the most recognizable leopard look, but plenty of fun alternatives exist. Soft pastels work beautifully for nursery decor, while deeper jewel tones create a bolder, more decorative piece for shelf display.
Frequently Asked Questions
Is this pattern good for someone who has never made amigurumi before?
Yes, though a little practice with basic increases and decreases beforehand makes the process smoother.
What yarn weight works best for this Crochet Leopard Doll Amigurumi project?
Worsted weight (4) yarn is ideal for balancing stitch definition with a soft, huggable finish.
Can I use embroidery instead of safety eyes?
Absolutely. Embroidered eyes are a safer option for toys meant for very young children.
How much yarn do I need in total?
Most crocheters use around 100–150 yards of main color yarn, with smaller amounts of contrast colors for spots and details.
Can this Crochet Leopard Doll Amigurumi pattern be turned into a keychain or bag charm?
Yes, a smaller-scale version using thinner yarn and a smaller hook works perfectly for that purpose.
Wrapping Up
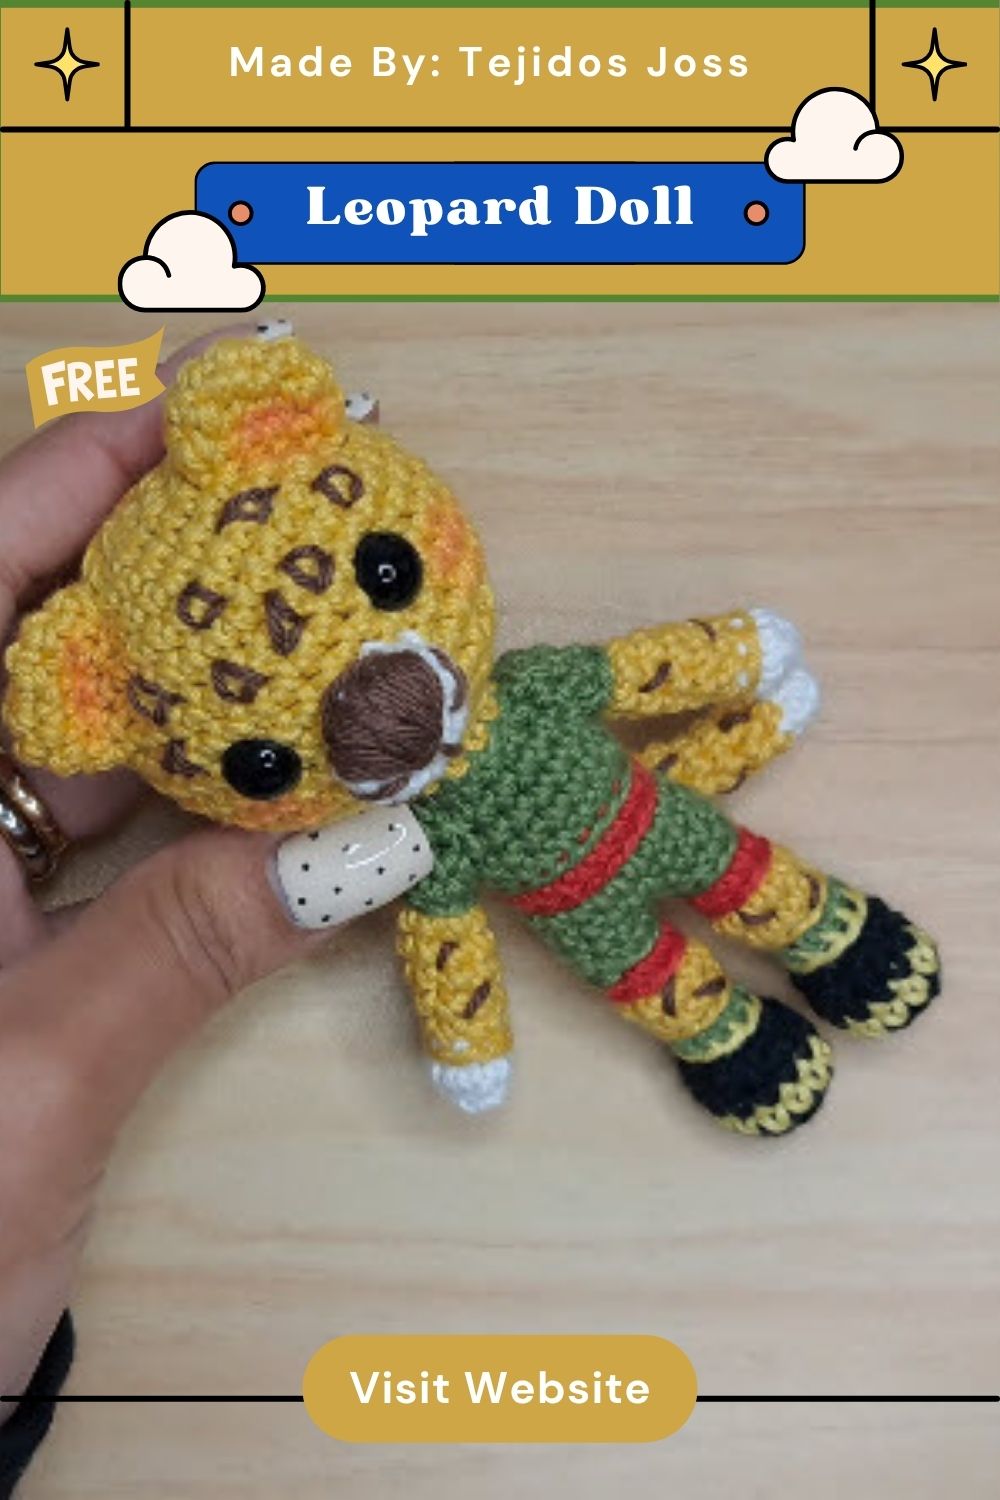
Few amigurumi projects capture personality quite like a Crochet Leopard Doll Amigurumi. Between the shaping, color changes, and small embroidered spots, the pattern offers a truly satisfying mix of technique and creativity. The finished piece makes a heartfelt handmade gift or a charming shelf companion. Grab a hook, pick jungle-inspired colors, and let this leopard come to life stitch by stitch.