Free Crochet Bee in Honey Pot Keychain Amigurumi Pattern
Bees have a way of making everyone smile, and tucking one inside a tiny honey pot only adds to the charm. This adorable amigurumi keychain combines two beloved crochet themes into one project, giving beginners a fun and rewarding make that fits right in the palm of your hand.
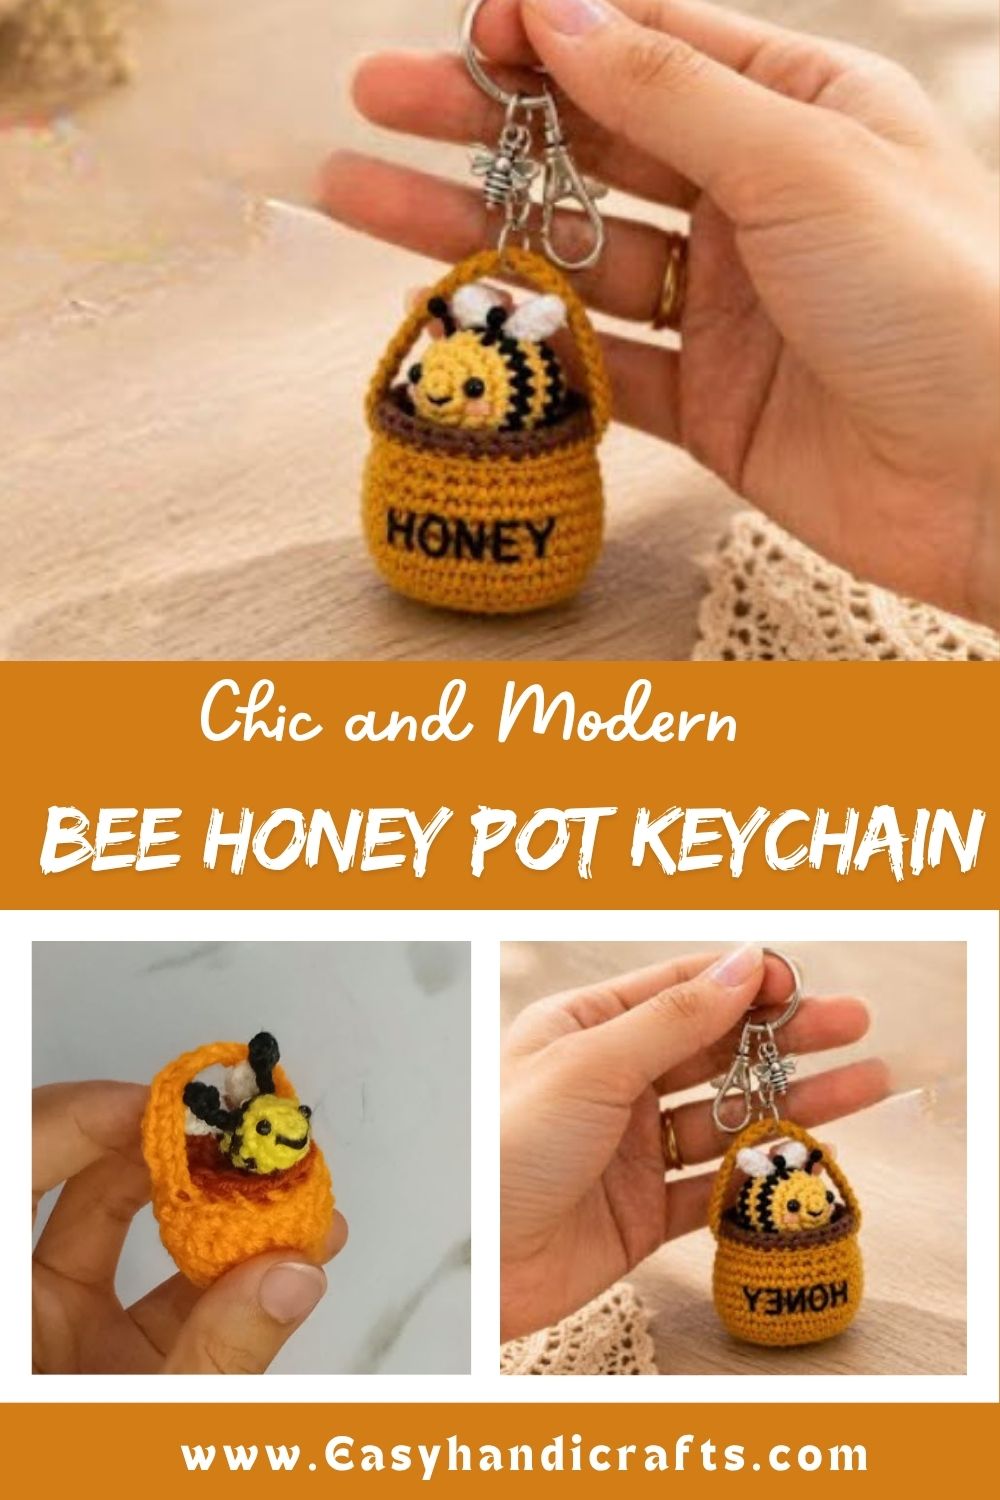
This honey pot keychain pairs a round golden basket with a plump little bee peeking out from inside. Made using basic amigurumi shapes and simple color changes, the finished piece works beautifully as a bag charm, keychain, or shelf decoration. Every stitch stays compact, giving the toy a firm, huggable shape that holds up well with daily use.
Crocheters of nearly any experience level can complete this project in a single sitting. The pattern relies on repeatable rounds rather than complicated shaping, so once the rhythm clicks, the rest comes together quickly.
Skill Level
This pattern suits beginner and confident beginner crocheters. It uses single crochet, magic rings, and basic increases and decreases, without any advanced techniques. Anyone comfortable with a hook and yarn can follow along, and first-timers will find each round manageable with a little patience.
Materials and Supplies List
Gathering the right supplies ahead of time makes the process smoother and more enjoyable.
Yarn Colors
- Golden yellow or mustard (honey pot and bee body)
- Brown (pot rim and honey drip detail)
- Black (bee stripes and facial outline)
- White or light cream (bee wings)
- Soft pink (cheek blush, optional)
Hook Size
- A 2.5mm to 3.5mm crochet hook, depending on yarn weight, to keep stitches tight and prevent stuffing from showing through
Safety Eyes
- 6mm to 8mm black safety eyes, or small beads/embroidery thread for a child-safe alternative
Stuffing
- Polyester fiberfill for a soft yet firm finish
Needle and Scissors
- A yarn needle for sewing pieces together
- Sharp scissors for trimming yarn ends
Keychain Ring or Accessories
- A metal keyring or lobster clasp
- Optional small jump ring or bee charm for extra detail
Crochet Techniques Used
This project relies on a handful of core amigurumi skills, making it an excellent practice piece for newer crocheters.
- Magic ring: Forms a tight, adjustable starting loop for each piece
- Single crochet: The main stitch used throughout the pattern
- Increase and decrease: Shapes the rounded pot and bee body
- Sewing parts together: Joins the bee to the pot and attaches wings and details
Step-by-Step Crochet Pattern Instructions
Creating the Head
Start the bee’s head with a magic ring, working single crochet stitches in the round. Increase evenly across the first few rounds to build a rounded shape, then work several rounds even before decreasing back down toward the top. Leave a small opening for stuffing before closing.
Making the Body
Begin the honey pot base with a magic ring, increasing outward to form a wide, flat bottom. Switch to working even rounds without increasing to build the sides of the pot upward, giving it that classic honey jar silhouette. For the bee’s body, follow a similar approach on a smaller scale, alternating yellow and black yarn to create the signature striped pattern.
Ears, Accessories, and Tail
Bees do not need ears, but this project calls for a few signature accessories instead. Small teardrop-shaped wings are worked flat in white yarn and sewn onto the back of the bee. A tiny black antenna pair, formed from short crocheted or embroidered lines, sits above the eyes for extra personality.
Facial Details
Attach the safety eyes a few rounds down from the top of the head, spacing them evenly apart before stuffing. Add a small embroidered smile beneath the eyes using black yarn, and stitch soft pink blush circles on each cheek for a warm, friendly expression.
Assembly Process
Once all pieces are complete, stuff the bee body and head firmly, then sew the head onto the body using a whip stitch. Attach the wings just behind the head, followed by the antennae. Next, nestle the finished bee inside the top of the crocheted honey pot, securing it in place with a few discreet stitches around the base.
Finishing Touches
Add a brown rim around the top edge of the pot to mimic a honey jar lid, and embroider the word “Honey” across the front if desired. Attach a small crocheted handle across the top of the pot, then thread the keyring through the handle to complete the keychain.
Helpful Beginner Tips
A few small adjustments can make a big difference in the final result.
- Keep stitches tight: Use a hook slightly smaller than recommended for your yarn weight so stuffing stays hidden and the shape holds firm
- Use stitch markers: Since amigurumi works in continuous rounds, a stitch marker helps track where each round begins and ends
- Stuff a little at a time: Add small amounts of stuffing as you go rather than filling everything at the end, which helps avoid lumps and keeps the shape even
Design Customization Ideas
This pattern leaves plenty of room for creative variations.
- Different colors: Swap the classic yellow and black for pastel shades, or try a lavender bee with a matching flower-themed pot
- Cute accessories: Add a tiny flower, leaf, or bow to the handle for extra charm
- Mini size variations: Use a smaller hook and thinner yarn to create a miniature version perfect for earrings or bag charms
Frequently Asked Questions
What is the best yarn for amigurumi projects?
Cotton or acrylic yarn in a worsted or DK weight works best for amigurumi, since both hold their shape well and come in a wide range of colors. Cotton yarn in particular gives stitches extra definition and a slightly firmer finish.
How do I make my crochet plush firm and sturdy?
Firmness comes down to two things: using a smaller hook than the yarn label suggests, and stuffing generously in small amounts. Tight stitches paired with even stuffing prevent sagging and keep the toy looking neat over time.
How long does this project take to finish?
Most beginners can complete the honey pot and bee in two to three hours, depending on crochet speed and experience. Taking breaks between the pot, bee, and assembly steps makes the process feel light and manageable.

Final Thoughts
This Crochet Bee in Honey Pot keychain brings together two charming amigurumi ideas into one delightful little make. It works up quickly, uses only basic stitches, and results in a piece that is just as fun to gift as it is to keep. Grab your hook and favorite yarn colors, give this pattern a try, and share how your honey pot bee turns out.