Brilliant Crochet Mushroom Chick Amigurumi Pattern Cute & Fluffy
Tiny, fluffy, and ridiculously cute this crochet mushroom chick amigurumi wears a sweet little flower hat. It works up fast, suits beginners, and is honestly impossible not to smile at.
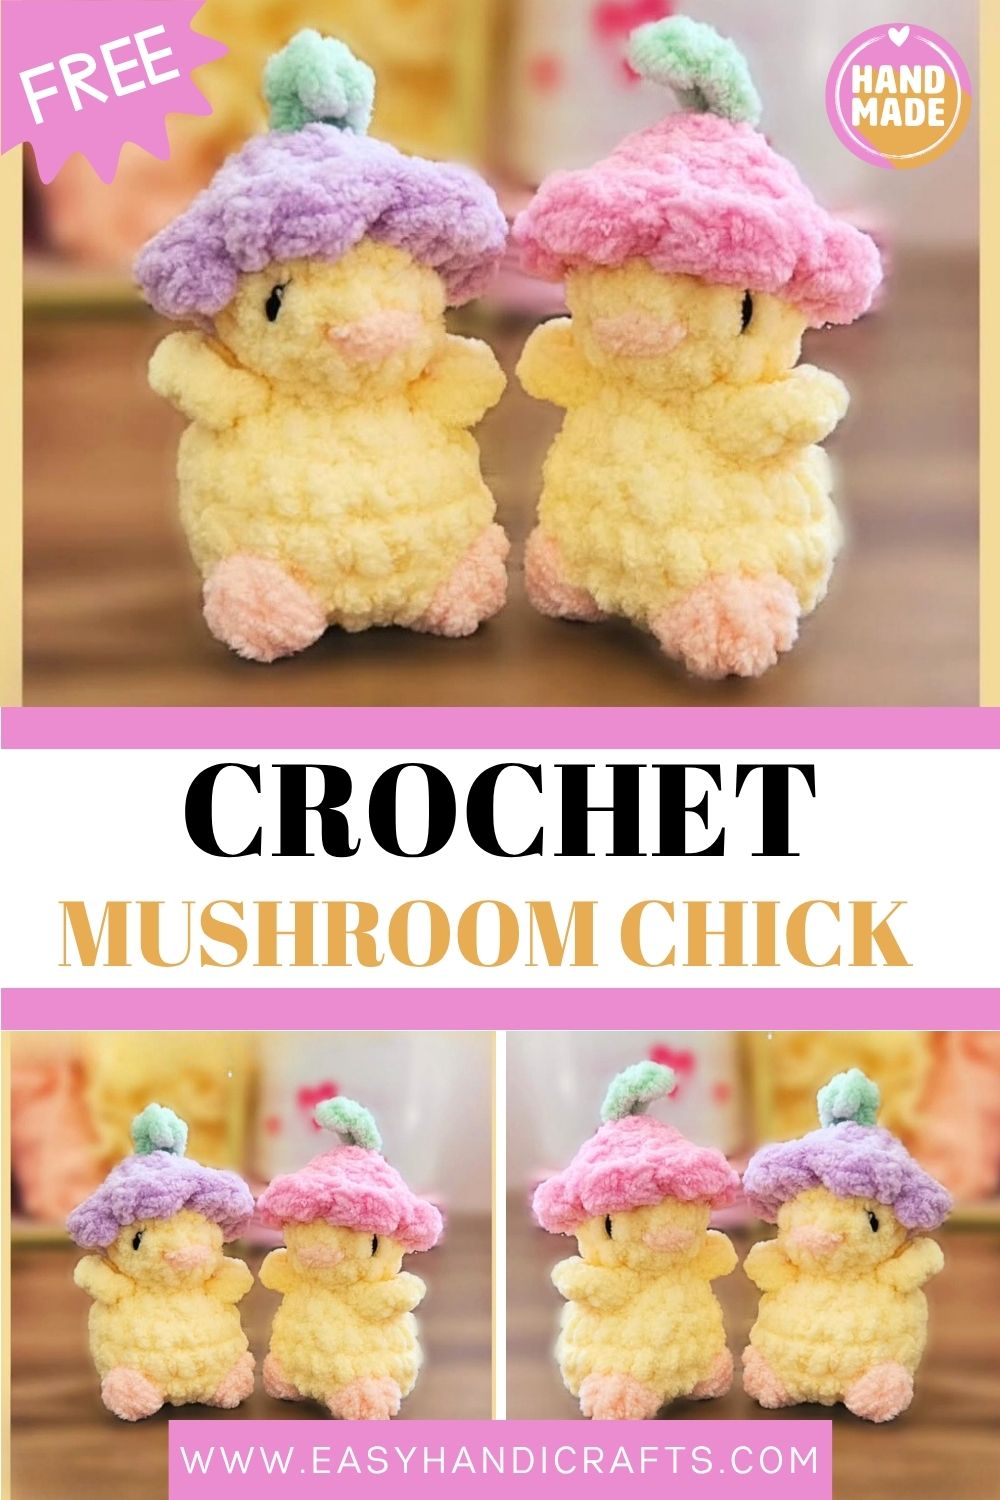
This free crochet mushroom chick amigurumi pattern turns a few scraps of chenille yarn into the softest handmade plushie. With a chunky little body, bobble feet, and a cosy flower hat on top, it works up fast. Grab your hook, and let’s make something genuinely adorable together today.
Skill Level
This amigurumi sits comfortably at advanced-beginner. If you can work a magic ring, single crochet in the round, increase, and decrease, you are ready. The bobble stitch is the only slightly tricky part here.
Pattern Overview
Before you start, here is the quick rundown of what you are actually making and why people love this little guy so much.
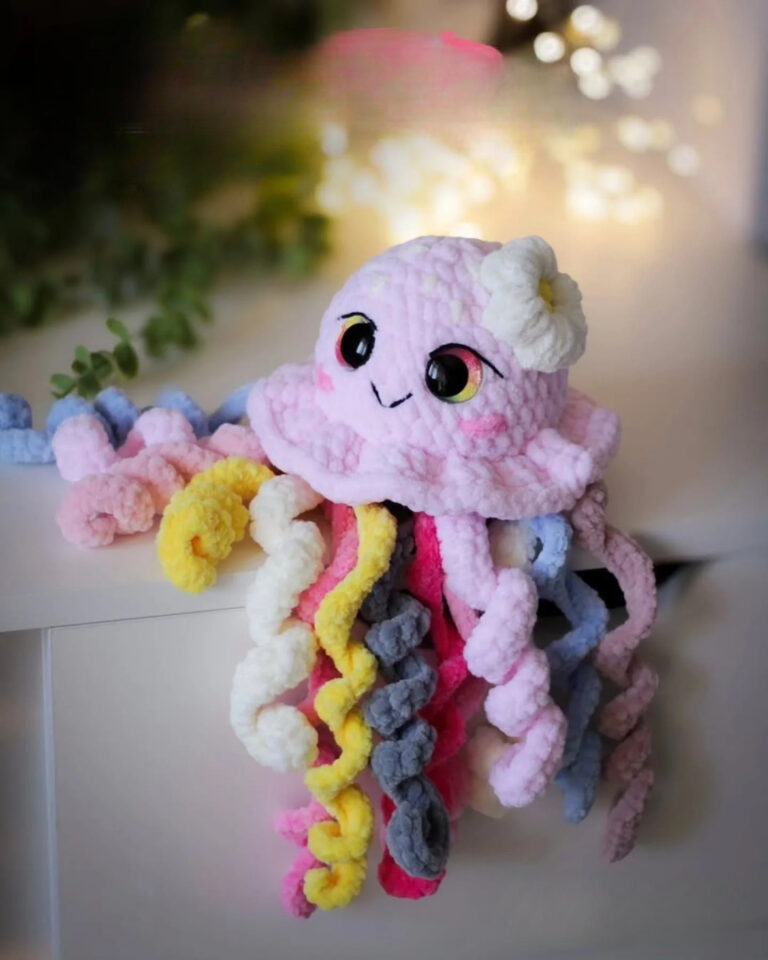
- What it is: A small chick-style amigurumi with a rounded head, a stuffed body, two tiny wings, and a removable-looking flower hat with a green stem.
- Designer credit: This pattern is designed by The Teddy Kingdom. You may not copy or resell this pattern as your own. You are welcome to make plushies from this free pattern, but please credit the original designer. Thank you!
- Time to finish: Most makers wrap this up in one cosy evening, give or take.
- Size: Small and palm-sized, so it is perfect for keychains, shelf decor, or a quick handmade gift.
- Best for: Stash-busting, gifting, craft fairs, or simply something cute to keep on your desk.
- Yarn vibe: Chenille makes it extra soft and fluffy, but any yarn of your choice works too.
Materials and Supplies
You really do not need much for this one, which is part of the charm. Here is the full list:
- Chenille yarn, or your yarn of choice the designer used Aldi baby yarn in yellow, orange, green, and one colour of choice for the hat (pink was used here)
- Black acrylic yarn for the eye details
- A crochet hook to suit your yarn a 4mm was used for this project
- Scissors
- A tapestry needle for sewing the pieces together
- A stitch marker to track your rounds
- Toy stuffing to give your chick that squishy body
A small tip before you dive in: if this is your first amigurumi, swap the chenille for a smooth cotton or acrylic. Chenille is gorgeous, but it hides your stitches, and that makes counting harder when you are still learning.
Abbreviations Used
Crochet patterns lean on shorthand, so keep this little key nearby while you work:
- Mr – Magic ring
- Sc – Single crochet
- Hdc – Half double crochet
- Inc – Increase
- Dec – Decrease
- Flo – Front loop only
- Bbl – Bobble stitch (made using 4 Hdc)
- Rnd – Round
- Fo – Fasten off
Step-by-Step Crochet Instructions
Head and Body (start in yellow)
Work everything in continuous rounds and pop in your stitch marker so you do not lose your place.
- Rnd 1: Mr, 6 Sc (6)
- Rnd 2: (Inc) x6 (12)
- Rnd 3–4: 12 Sc (work for 2 rounds)
Quick note here: the bobble stitches later on become the little feet, and they are done in orange. So change your yarn colour right after you finish the stitch before the bobble. Plan and it stays neat.
Lightly stuff the head now, before it closes up too much.
- Rnd 5: (Dec) x6 (6)
- Rnd 6: Flo (Inc) x6 (12)
- Rnd 7: (1 Sc, Inc) x6 (18)
- Rnd 8–9: 18 Sc (work for 2 rounds)
- Rnd 10: 6 Sc, Bbl, 4 Sc, Bbl, 6 Sc (18)
Stuff the body — but go easy, not too firm.
- Rnd 11: (Dec) x9 (9)
Fasten off and leave a long yarn tail. You will use it to close up the plushie.
Wings (make 2)
- Rnd 1: Mr, 4 Sc
Pull the ring closed, but not super tight, so you get a little semicircle wing shape. Fasten off and leave a long tail for sewing. Attach one wing to each side of the body, somewhere between rounds 6 and 7.
Stem (in green)
- Rnd 1: Chain 3. Skip the chain closest to your hook, then work 2 Sc back down the chain. Fasten off and leave a tail for sewing to the hat.
Flower Hat (your colour of choice — pink was used)
- Rnd 1: Mr, 6 Sc (6)
- Rnd 2: (Inc) x6 (12)
- Rnd 3: (1 Sc, Inc) x6 (18)
- Rnd 4: (Sl St, [Hdc x2], Sl St) x6 (18)
Fasten off and leave a long tail for sewing to the head. Once the hat is made, sew the stem on at the very top, then tie both yarn tails on the inside of the hat to keep that little stem secure.
Assembly
This is where your chick finally comes to life. Take your time with the face — that is the part everyone notices.
- Using your orange yarn, stitch a small beak at the front of the head, around rounds 3–4, roughly 2 stitches wide.
- With your black acrylic thread, add two little eyes, one on each side of the beak, sitting about 1 stitch high.
- Place the flower hat on top of the head, angling it so the eyes and beak still peek out nicely.
- Using the hat’s yarn tail, sew it down behind the last round of the hat. Keep these stitches loose rather than pulled tight, so the hat sits soft and natural.
Special Techniques
A Crochet Mushroom Chick Amigurumi of stitches in this pattern do the heavy lifting, so it helps to understand them before you start.
The bobble stitch (Bbl) is the star here. You make it with four half double crochets worked into the same stitch, then closed together so they pop out as a little bump. In this design, those bumps become the chick’s feet, which is a clever and tidy trick.
The front loop only (Flo) round in the head shaping creates a subtle ridge. That ridge gives the head and body a defined separation instead of one smooth blob — a small detail that makes a big difference.
And the magic ring keeps your starting holes closed. If yours leaves a gap, just tug the tail firmly once everything is done.
Common Mistakes and How to Fix Them
Even a small make like this has a few easy traps. Here is what to watch for.
- Overstuffing the body. The pattern says stuff it, but not too much, for a reason. Too much filling stretches the stitches and lets stuffing show through. Add a little, squish, then decide.
- Forgetting to switch to orange in time. The bobble feet need the colour change to happen on the stitch before the bobble. Miss it, and your feet end up yellow.
- Losing your round. Continuous rounds blur together fast. A stitch marker in the first stitch of each round saves you real frustration.
- Sewing the hat too tightly. Keep those final stitches loose so the hat looks soft and slightly perched, not flattened against the head.
- Wonky eyes. Pin or hold the eyes in place first and look from a distance before you sew them down. A tiny shift changes the whole expression.
Important Remarks
A few honest reminders before you publish, sell, or gift your finished chick.
- Always credit the designer. This pattern belongs to The Teddy Kingdom. Selling finished plushies made from a free pattern is usually fine, but reselling or reposting the pattern itself is not.
- Stitch counts matter most. If your numbers stay correct, small tension differences will not ruin the shape.
- Chenille hides mistakes and stitches. Lovely for softness, less forgiving for counting, so go slow on those rounds.
- Customise freely. Swap the hat colour, try a different yarn, or change the eye placement. The pattern is a base, not a cage.
- Safety first for kids. If this is for a baby or young child, use embroidered eyes (as the pattern does) instead of plastic safety eyes, and stitch everything on firmly.
Conclusion
And that is your little Crochet Mushroom Chick Amigurumichick, done. It is small, it is soft, and it has way more personality than something this quick has any right to have. Your first one might look a bit lopsided, mine usually does and that is completely fine. So pick your colours, pull up the pattern, and just start. Once you make one, you will probably want a whole flock.