Inspiring Crochet Stingray Amigurumi Pattern Sea Creature Toy
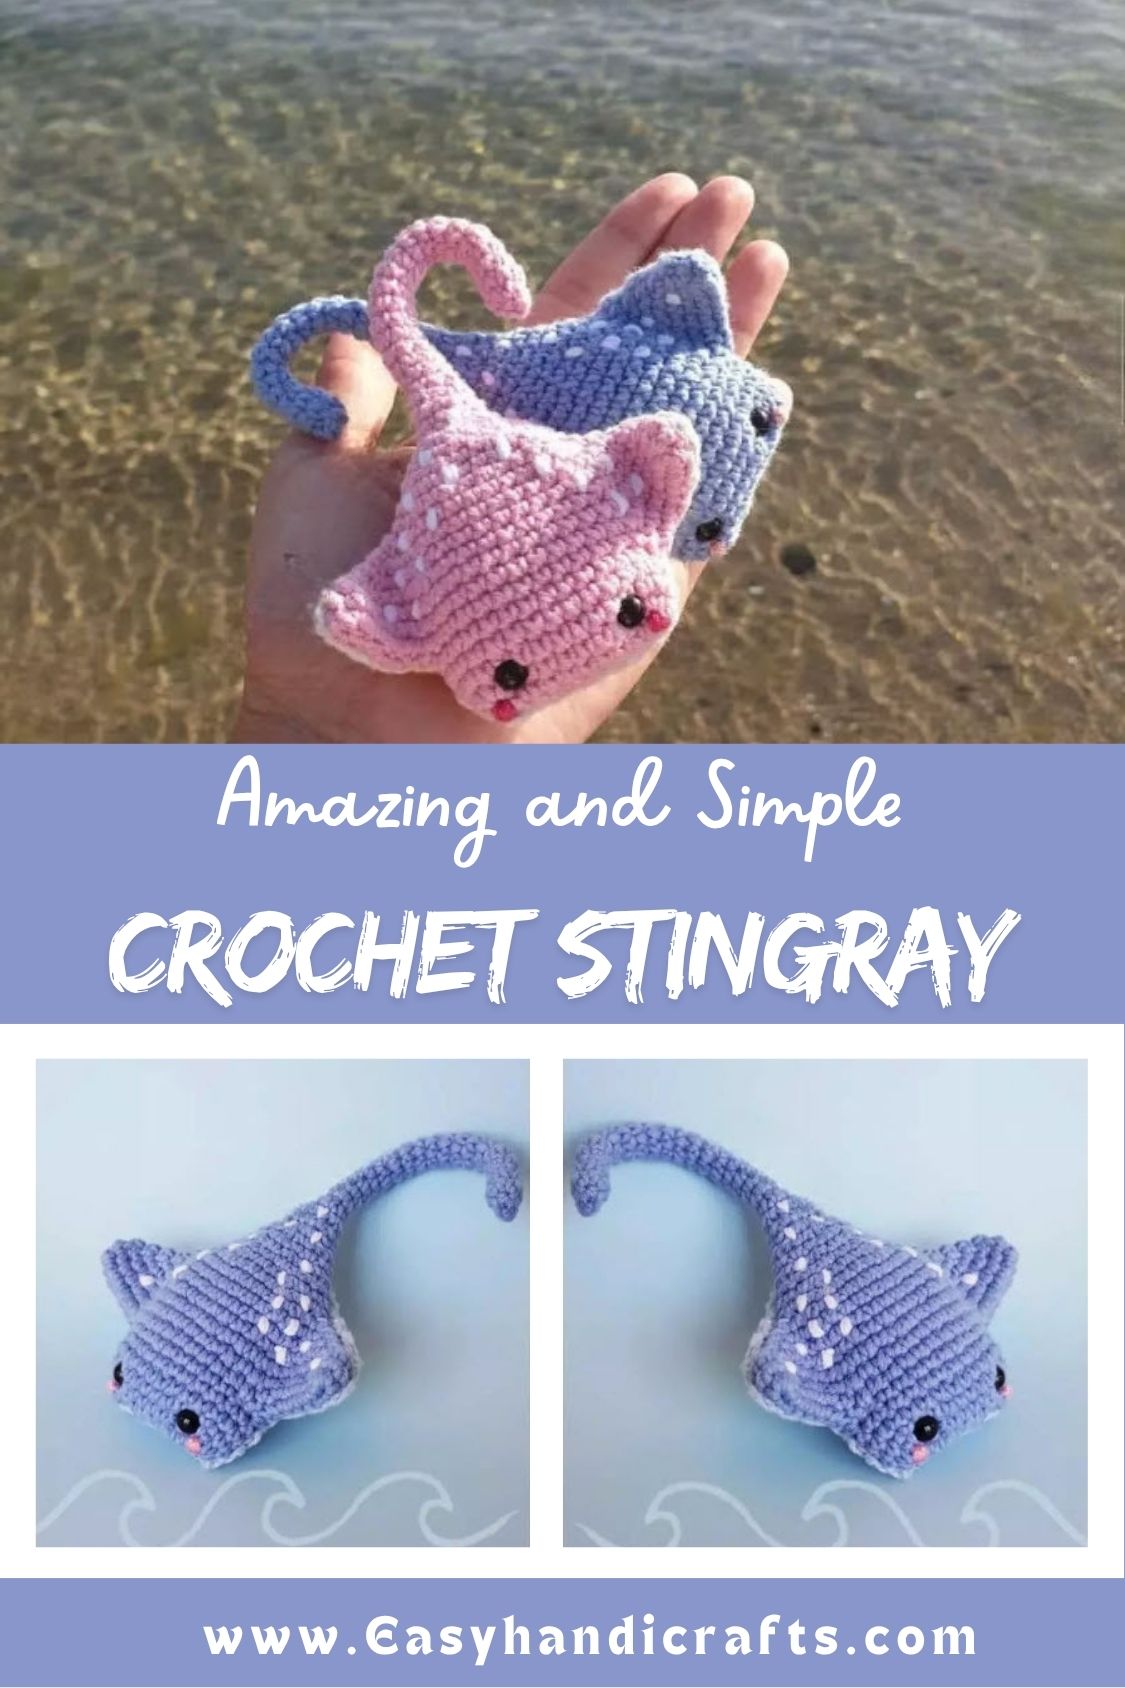
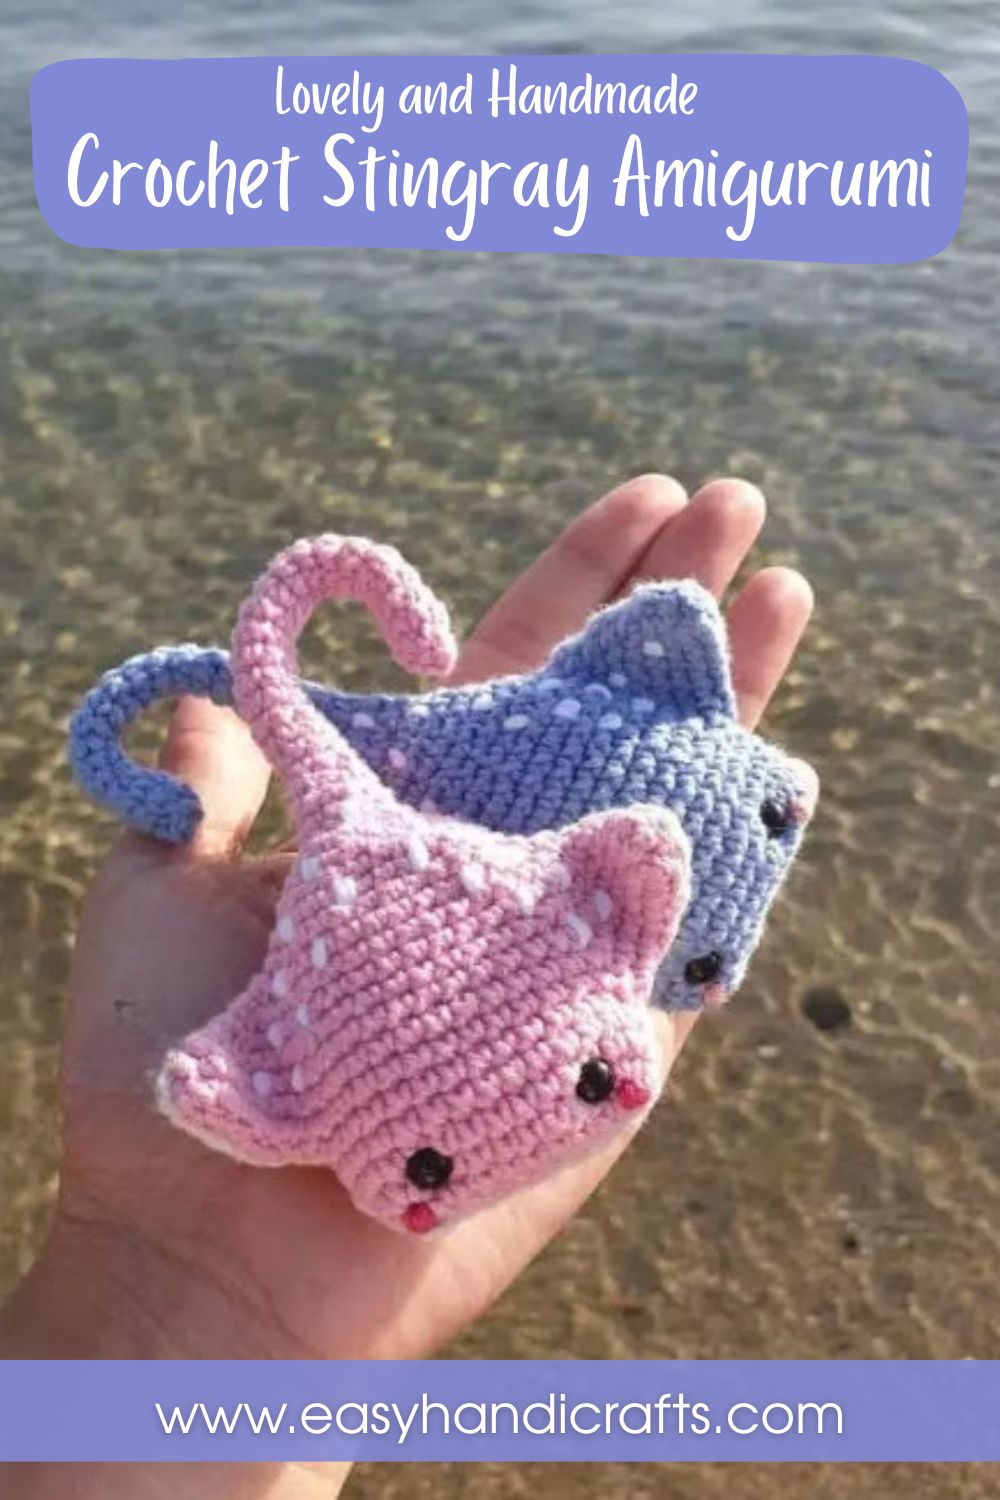
If you love crochet projects inspired by sea creatures, this Crochet Stingray Amigurumi Pattern is sure to be a hit. With its graceful, flowing fins and soft, charming shape, this little stingray captures the calm, serene feel of the ocean. Made with a 2.00mm hook and YarnArt Jeans yarn, this amigurumi comes together quickly, making it a perfect choice for your next cozy craft session, handmade gift, or ocean-themed decor.
Sea creature patterns bring instant charm to any crochet collection, and this stingray design proves it. Its rounded body pairs with a textured, ridged tail that curves upward for realistic movement. Beginners can complete the shape in a single evening, while safety eyes and a pipe cleaner add personality and structure. Honestly, this project works wonderfully as a nursery decoration, a bath-time toy, or a handmade gift for ocean lovers.
Skill Level
This stingray pattern suits confident beginners familiar with basic single crochet, increases, and decreases. The color changes and shaping rounds add gentle challenge without requiring prior advanced finishing skills.
Pattern Overview
- A rounded stingray body worked in continuous single crochet rounds, shaping the front and tail taper together.
- A separate flat piece (Part Two) worked in turned rows, forming the ridged tail and fin extension.
- Two chain loops added mid-body create the winged fin edges typical of a stingray’s silhouette.
- Three shades of Yarnart Jeans yarn allow a soft color-blocked finish across the body and fins.
- 6 mm safety eyes placed early in the body rounds give the stingray its friendly expression.
- A pipe cleaner threaded through the tail piece keeps the finished shape posable and sturdy.
Materials
This Crochet Stingray Amigurumi Pattern uses budget-friendly supplies you likely already keep in your crochet stash.
- Yarn: Yarnart Jeans in colors 01, 47, and 15
- Hook: 2.00 mm crochet hook
- 6 mm black safety eyes
- Toy filling (polyester fiberfill)
- Pipe cleaner
- Yarn needle and stitch marker
Abbreviations
Ch – Chain
Dec – Decrease
Inc – Increase (2 stitches into the same stitch)
Sc – Single Crochet
Tog – Together
FO – Finish Off
Special Techniques
- Chain-loop fin extensions: Certain rounds add a 7-chain loop, then work 6sc back into that chain to build outward-flaring fin edges.
- Triple decrease (dec 3 tog): Pull three stitches together in one motion to taper the tail quickly without leaving gaps.
- Turned rows with 1ch turn: Part Two builds as a flat panel using standard turned single crochet rows rather than continuous rounds.
- Pipe cleaner reinforcement: Inserting a pipe cleaner into the finished tail panel lets the stingray hold a gentle curve after assembly.
Common Mistakes
- Miscounting the 7-chain fin loops causes uneven wings; recount each loop before working the 6sc return.
- Attaching safety eyes after stuffing makes placement difficult, so secure them between rounds 2 and 3 first.
- Losing track of the round start without a stitch marker leads to spiral drift in the body shaping.
- Overstuffing before the tapering decrease rounds creates a lumpy, uneven tail line instead of a smooth curve.
Instructions
Body
- Round 1: 11 ch, 9sc, 3sc in 1 stitch, 8sc, 3sc in 1 stitch (23)
- Round 2: Inc, 8sc, inc, sc, inc, 9sc, inc, 1sc (27)
- Round 3: 27sc
- Round 4: 27sc, 7ch, (6sc in chain) (40)
- Round 5: 13sc, 7ch, (6sc in chain), 14sc, (6sc in chain), 3sc in 1 stitch, 5sc (54)
- Round 6: 13sc, (6sc in chain), 3sc in 1 stitch, 33sc (55)
- Round 7: 55sc
- Round 8: 19sc, dec 3 tog, 25sc, dec 3 tog, 5sc (51)
- Round 9: Dec, 10sc, dec, 4sc, dec 3 tog, 4sc, dec, 11sc, dec, 4sc, dec 3 tog, 4sc (43)
- Round 10: 15sc, dec 3 tog, 19sc, dec 3 tog, 3sc (39)
- Round 11: 14sc, dec 3 tog, 17sc, dec 3 tog, 2sc (35)
- Round 12: 13sc, dec 3 tog, 15sc, dec 3 tog, 1sc (31)
- Round 13: 1 dec, 9sc, 1 dec, 1sc, 1 dec, 10sc, 1 dec, 1sc, 1 dec (26)
- Rounds 14–15: 26sc
Attach the safety eyes between round 2 and round 3, spacing them 6 stitches apart.
Part Two (Tail and Fin Panel)
- Row 1: 11 ch
- Row 2: 10sc, 1ch turn
- Row 3: 1 inc, 8sc, 1 inc, 1ch turn (12)
- Row 4: 12sc, 9ch turn
- Row 5: 20sc, 9ch turn
- Row 6: 28sc, 1ch turn
- Row 7: Dec, 24sc, dec, 1ch turn
- Row 8: Dec, 22sc, dec, 1ch turn
- Row 9: Dec, 20sc, dec, 1ch turn
- Row 10: Dec, 18sc, dec, 1ch turn
- Row 11: 2 dec, 12sc, 2 dec, 1ch turn
- Row 12: 2 dec, 8sc, 2 dec, 1ch turn
- Row 13: 12sc, 1ch turn
- Row 14: Dec, 8sc, dec, 1ch turn
- Row 15: Dec, 6sc, dec, 1ch turn
- Row 16: 8sc, 1ch turn
- Row 17: 4 dec, 1ch turn
- Row 18: 2 dec, 1ch turn
- Row 19: 2sc, FO
Assembly
- Stuff the body firmly, leaving the final two rounds slightly looser for a flat, closeable edge.
- Slide the pipe cleaner along the length of the Part Two panel before folding it in half.
- Fold Part Two lengthwise and sew the open edges closed to form the ridged tail shape.
- Attach the finished tail panel to the underside point of the body, stitching around the seam.
- Weave in every loose end, then gently curve the pipe cleaner tail into a natural pose.
Important Remarks
This stingray amigurumi is shared as a free pattern for personal crafting use. No designer name or watermark accompanied the source pattern, so no additional credit line applies here. Feel free to adjust yarn colors, body size, or tail length to suit your own creative vision, and always double-check stitch counts after each round to keep the shaping accurate.
Conclusion
This Crochet Stingray Amigurumi Pattern turns a handful of simple stitches into a genuinely charming sea creature toy. The chain-loop fins and pipe cleaner tail give it real character without demanding expert-level skill. Whether it becomes a nursery accent or a gift for a young ocean fan, this pattern rewards patience with a truly memorable finished piece.