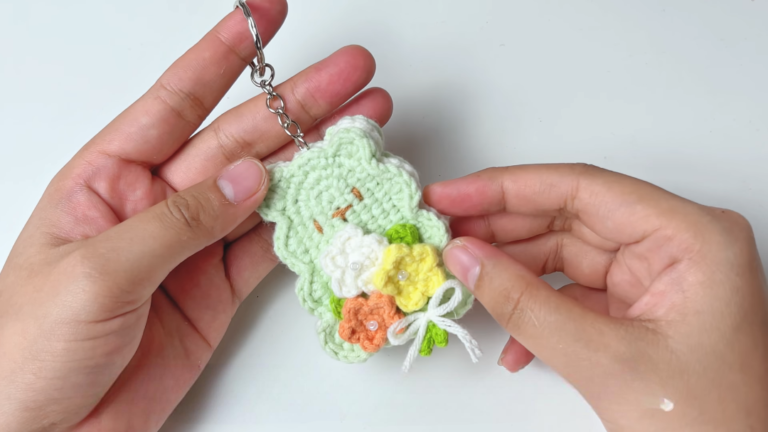
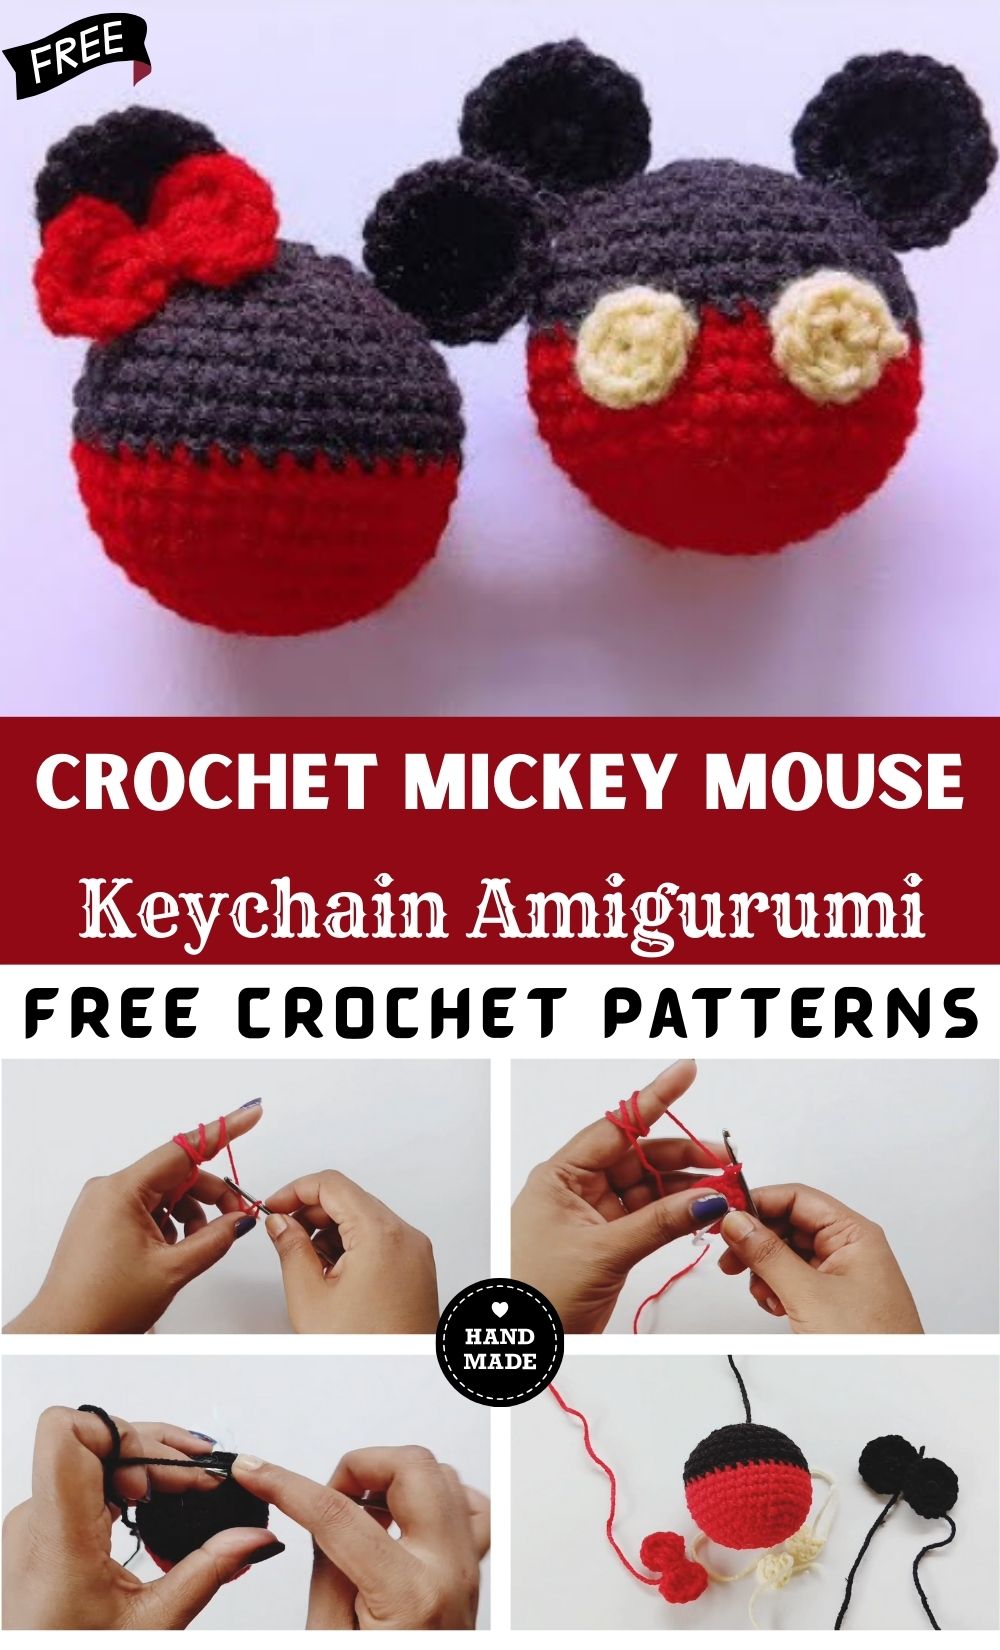
Free Crochet Mickey Mouse Keychain Amigurumi Pattern
A little black, red, and skin-tone yarn is all it takes to start this free crochet Mickey Mouse keychain amigurumi pattern. Sweet, quick, and perfect as a handmade keychain, it’s the kind of project that turns a lazy afternoon into something worth showing off.
Something about a tiny mouse cradling a heart works, doesn’t it? This Love Mickey Mouse keychain amigurumi pattern pairs the classic round-eared silhouette with a bright heart accent, and it stitches up faster than most amigurumi projects. Clip it onto a bag, tuck it into a Valentine’s gift box, or hand it over as a small crochet gift idea; either way, it’s the kind of project that gets requested twice.
About This Crochet Pattern
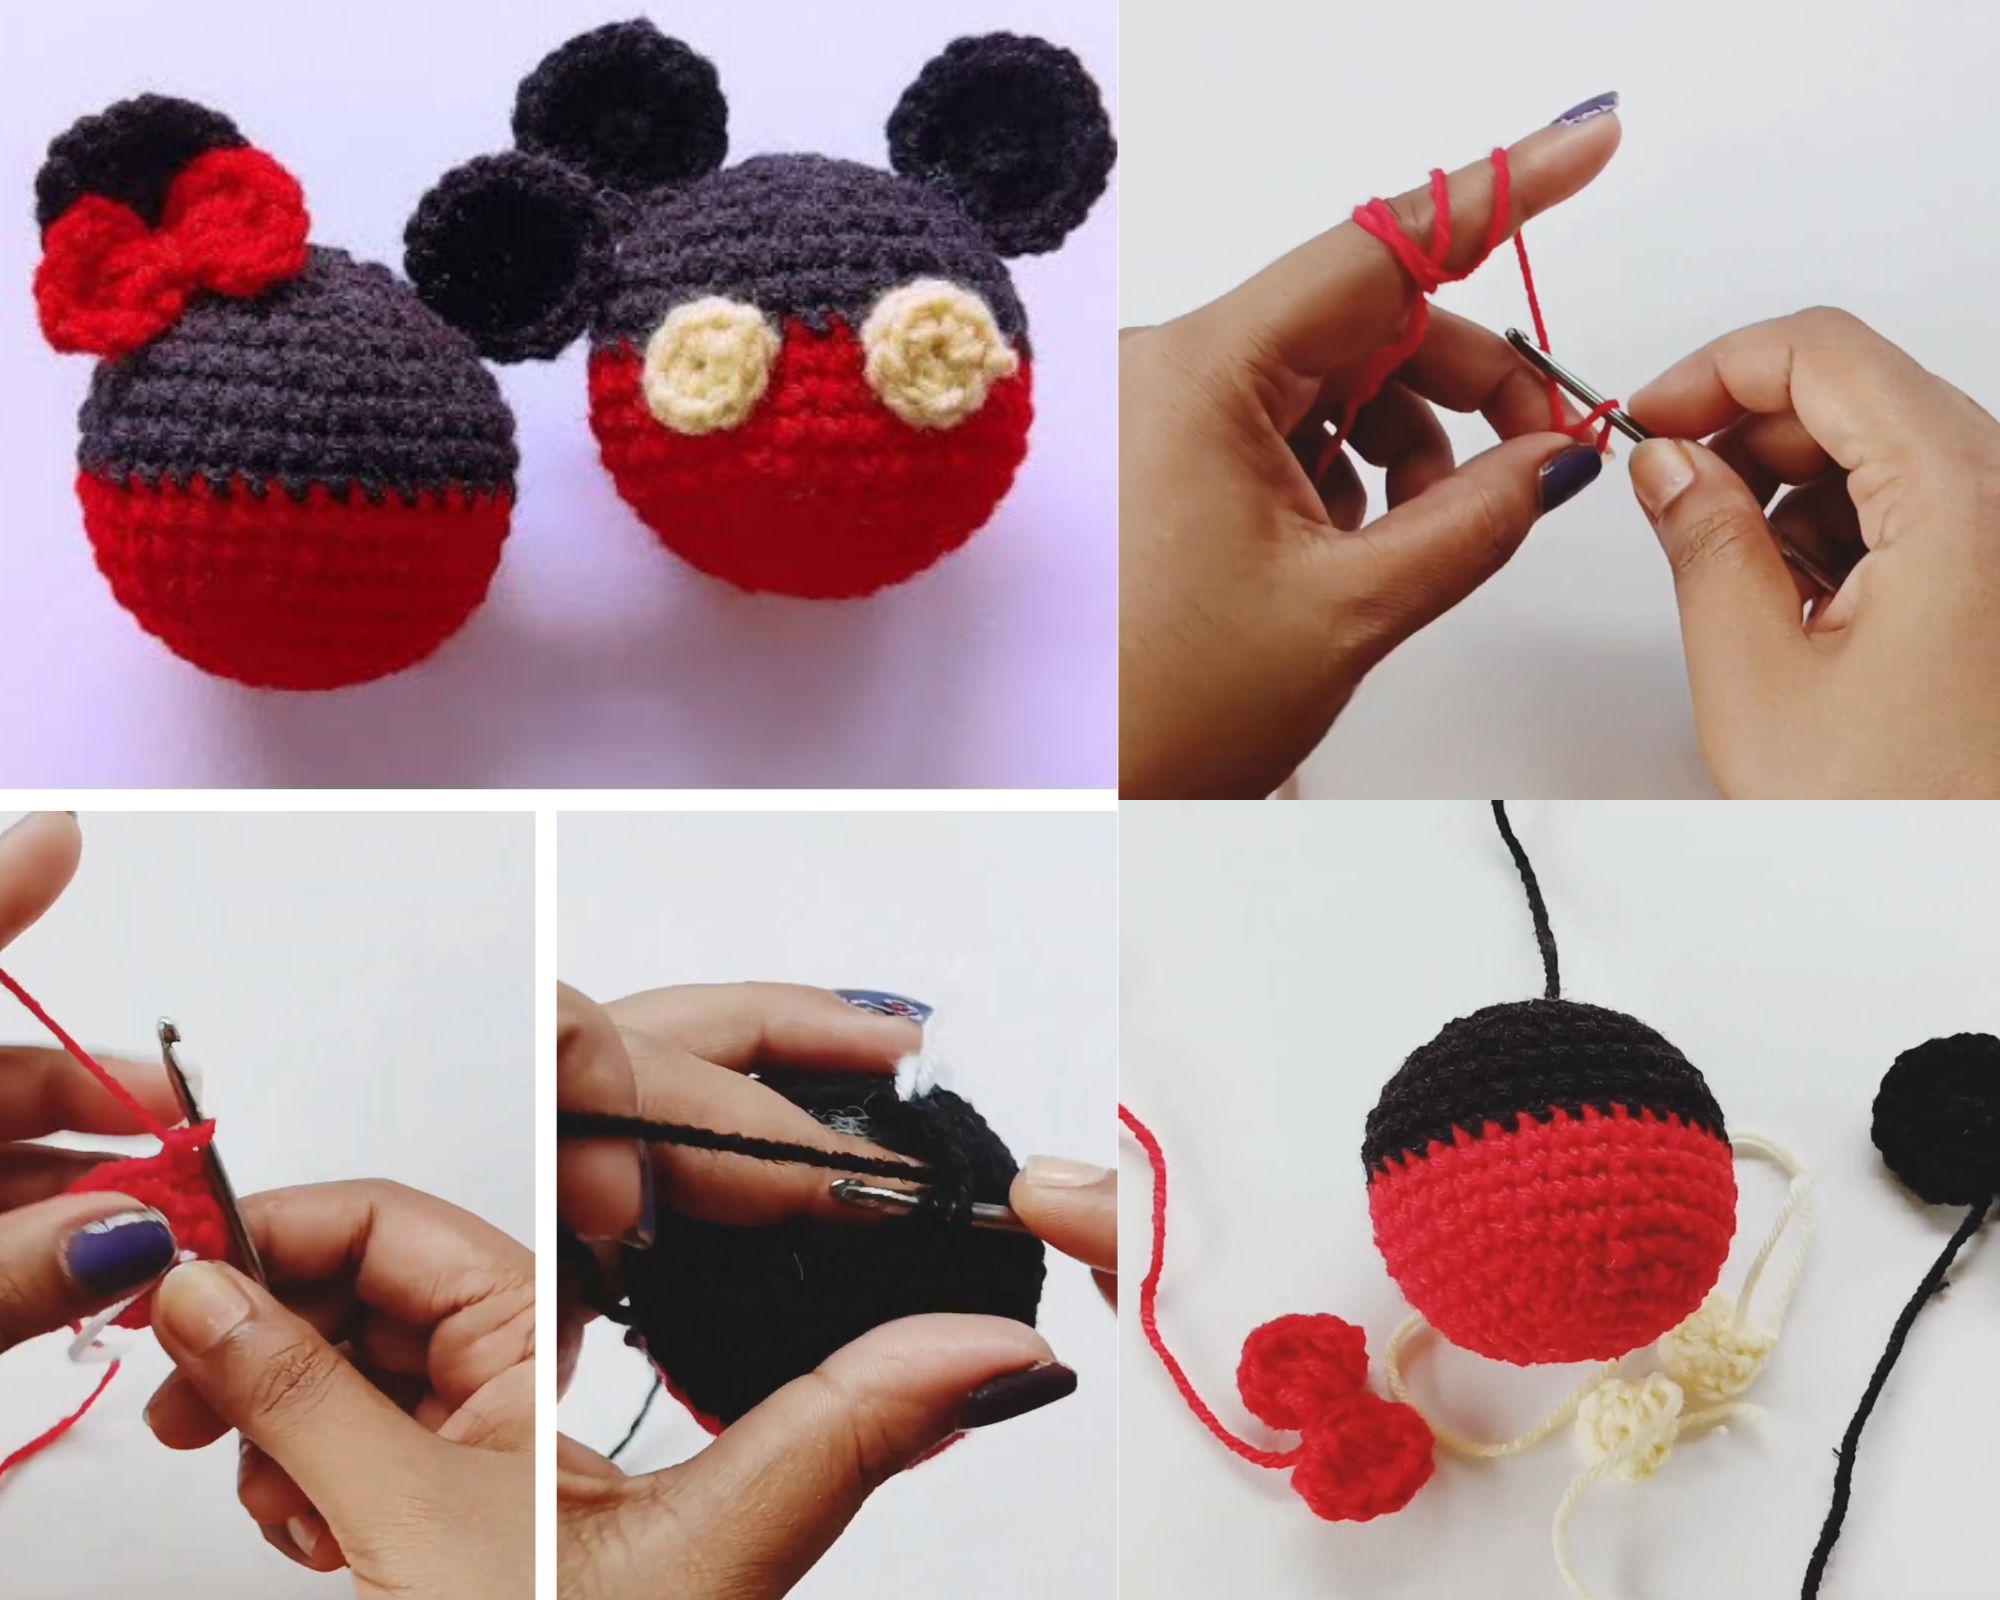
Round ears, a rosy little face, and a bright red heart clutched between tiny paws that combination gives this Crochet Mickey Mouse Keychain its instant charm. Crocheters recognize the silhouette immediately, yet the pattern itself stays simple enough that nobody needs advanced shaping skills to pull it off.
Soft acrylic or cotton yarn works beautifully here, and the finished piece stays compact enough to clip onto a bag, backpack, or keyring without adding bulk. Color changes between black, red, and skin-tone yarn give the project just enough variety to keep things interesting without overwhelming a first-timer.
Project Details
- Skill Level: Beginner to Intermediate
- Finished Size: Approximately 3–4 inches tall
- Estimated Time Required: 3–4 hours
- Recommended Yarn Weight: DK or Worsted Weight (Yarn Weight 3–4)
- Crochet Hook Size: 2.5mm–3mm (adjust based on yarn thickness for a tight, stuffing-proof fabric)
Materials Needed
- Black yarn (main color for head and ears)
- Skin-tone or peach yarn (for the face)
- Red yarn (for the heart and bow, if included)
- White yarn (small amount, for eye highlights)
- 2.5mm–3mm crochet hook
- Small black safety eyes (4–5mm) or embroidery floss for eyes
- Fiberfill stuffing
- Tapestry needle
- Stitch markers
- Scissors
- Keyring clasp and jump ring
Crochet Stitches & Techniques
- Magic Ring (MR)
- Chain Stitch (ch)
- Single Crochet (sc)
- Increase (inc)
- Invisible Decrease (dec)
- Color Changes
- Fastening Off (FO)
- Sewing Pieces Together
Beginners already comfortable with single crochet and basic increases will pick up the shaping here without much trouble.
Pattern Instructions
Creating the Head
Six single crochets into a magic ring form the foundation round, and from there, the head grows through a standard amigurumi increase pattern. Doubling every stitch in round two brings the count to twelve, then alternating increases across rounds three and four builds a rounded shape reaching eighteen to twenty-four stitches. Working even rounds without increasing keeps the head spherical before decreases begin to close it off later, once stuffing goes in.
Making the Ears
Two identical ear pieces give this pattern its signature look. Starting each ear with a magic ring of six stitches, increase evenly for two rounds until reaching eighteen stitches, then fasten off, leaving a long tail for sewing. Flattening each ear slightly before attaching helps replicate that iconic rounded silhouette rather than a bulky, overstuffed look.
Crocheting the Body
A slightly smaller version of the head technique applies to the body. Starting from a magic ring, increase over two rounds to reach roughly sixteen stitches, then work even rounds until the body reaches a comfortable proportion next to the head. Decreasing gradually near the top allows for a snug, stuffed connection point where the head will attach.
Shaping the Arms and Paws
Small tubular pieces make up the arms, worked in skin-tone yarn from a magic ring of five or six stitches. Keeping these pieces short and lightly stuffed (or entirely unstuffed for a flatter look) makes them easier to position around the heart later. Each arm gets fastened off with a long tail for attaching to the body.
Crafting the Heart Accent
Two matching heart-shaped pieces, worked flat in red yarn using rows of single crochet with a center dip and pointed base, create the accent this pattern is named for. Whip-stitching the two pieces together with a bit of stuffing between them gives the heart enough dimension to stand out against the black and skin-tone palette.
Facial Features
Positioning safety eyes about four to five stitches apart on the face, roughly at the widest point of the head, creates that recognizable expression. Embroidering a small nose and a gentle smile beneath the eyes finishes the look, while a few strategically placed stitches can add subtle cheek shading for extra charm.
Joining All Pieces
Attaching the ears to the top of the head first establishes the overall proportions before anything else goes on. Sewing the arms onto the upper body, angled slightly forward, allows them to cradle the heart naturally once everything comes together. The head attaches directly to the body using the tail left after fastening off, with extra stuffing added through the neck opening before closing it completely.
Final Assembly
Threading a keyring clasp through a loop at the top of the head, reinforced with a few extra stitches, keeps the finished piece secure for everyday use. A quick check for loose stuffing or visible yarn ends at this stage saves frustration later, once the keychain is already in someone’s hands.
Tips for Success
- Count stitches at the end of every round to catch mistakes early
- Use stitch markers on the first stitch of each round to avoid losing track
- Stuff firmly but evenly, adding small amounts at a time rather than all at once
- Weave in yarn ends through several stitches rather than tying knots
- Block or lightly steam pieces before assembly for cleaner shaping
Personalization Ideas
- Swap red for pink, gold, or seasonal colors for different holiday versions
- Add a tiny bow instead of the heart for a non-Valentine variation
- Create a mini version using thread-weight yarn for a delicate charm
- Try a jumbo size with bulky yarn for a plush keepsake instead of a keychain
- Change the facial expression to a wink or open-mouth smile for variety
Common Mistakes to Avoid
Loose tension often causes stuffing to peek through the fabric, so working slightly tighter stitches than usual for amigurumi projects avoids that problem entirely. Skipping stitch counts leads to lopsided heads and ears more often than crocheters expect, so a quick count every round genuinely saves time overall. Attaching safety eyes before finalizing placement occasionally results in an odd expression, so pinning eyes in place and checking from a distance before securing them permanently works far better.
Frequently Asked Questions
Can I use cotton yarn instead of acrylic?
Cotton yarn works well and creates crisp stitch definition, though it tends to be slightly less stretchy than acrylic during stuffing.
Do I need safety eyes, or can I embroider them instead?
Embroidered eyes work fine and are actually safer for gifts intended for young children.
How much yarn do I need for one Crochet Mickey Mouse Keychain?
A single skein of each color typically covers several keychains, since this project uses relatively small amounts.
Can this pattern be turned into an ornament instead of a keychain?
Replacing the keyring clasp with a simple loop of yarn or ribbon converts it into a hanging ornament easily.
Why does my heart shape look uneven?
Uneven tension in the increase rows usually causes this, so working the two heart pieces in the same sitting helps maintain consistent gauge.
What size hook works best for a tighter stitch?
Sizing down half a millimeter from the recommended hook size creates denser fabric that holds stuffing more securely.
Can beginners really finish this project in one sitting?
Most beginners comfortable with basic amigurumi shaping finish within three to four hours, often across two shorter sessions.
Conclusion
Few amigurumi projects pack this much personality into such a small finished size. Working through the head, ears, and that signature heart accent offers plenty of practice with shaping and color changes, all while building toward a genuinely giftable result. Sharing a finished photo or trying a personalized color variation only adds to the fun of a Crochet Mickey Mouse Keychain pattern this charming.