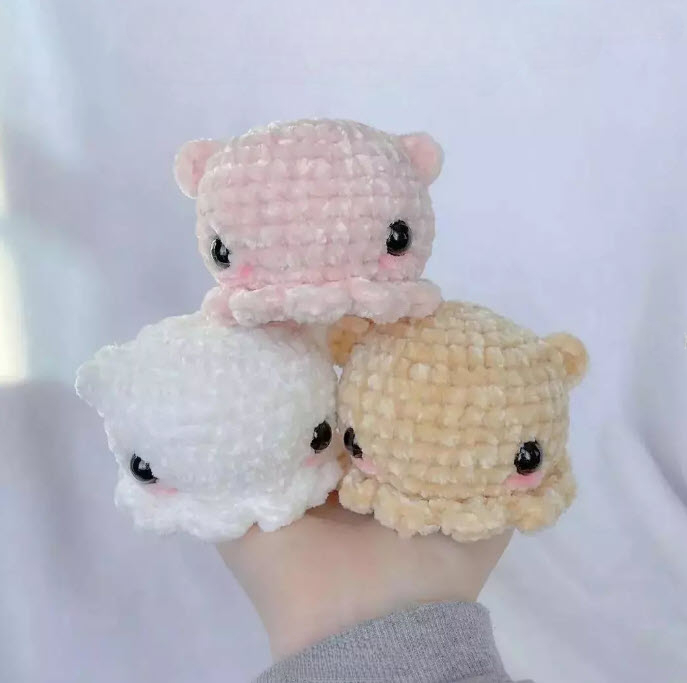
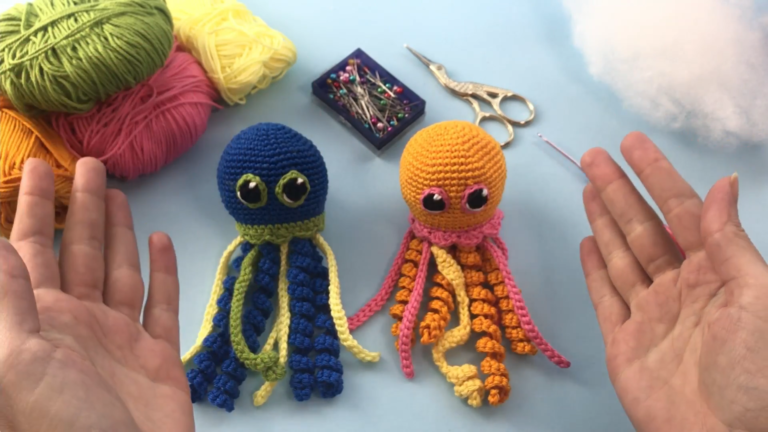
Crochet Jellyfish Keychain Amigurumi Pattern Toy
Tiny amigurumi keychains make wonderful little projects, and this crochet jellyfish keychain amigurumi pattern is no exception. With its round, fluffy body and playful charm, this jellyfish keychain is a quick and satisfying project that turns simple stitches into an adorable accessory for your bag, keys, or backpack.
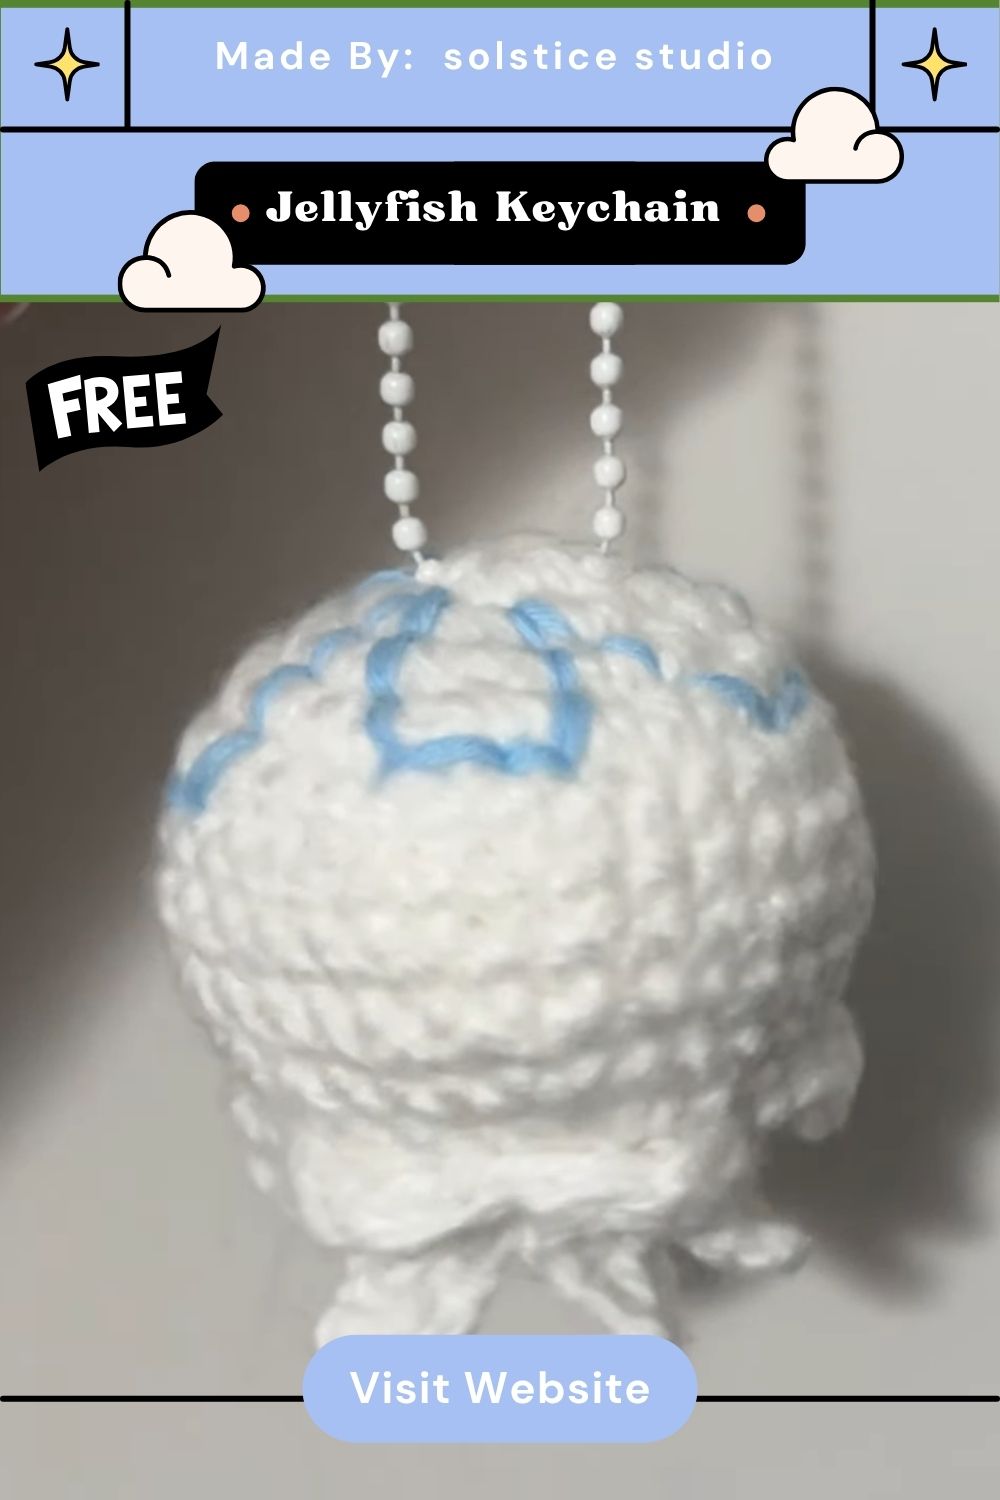
This crochet jellyfish keychain amigurumi pattern begins with a small magic ring, then builds into a soft, rounded bell shape that forms the jellyfish body. A few simple embroidered details add a face, giving this little toy plenty of personality in a small package.
The finished piece is lightweight and compact, making it perfect for gifting, clipping onto bags, or simply displaying on a shelf.
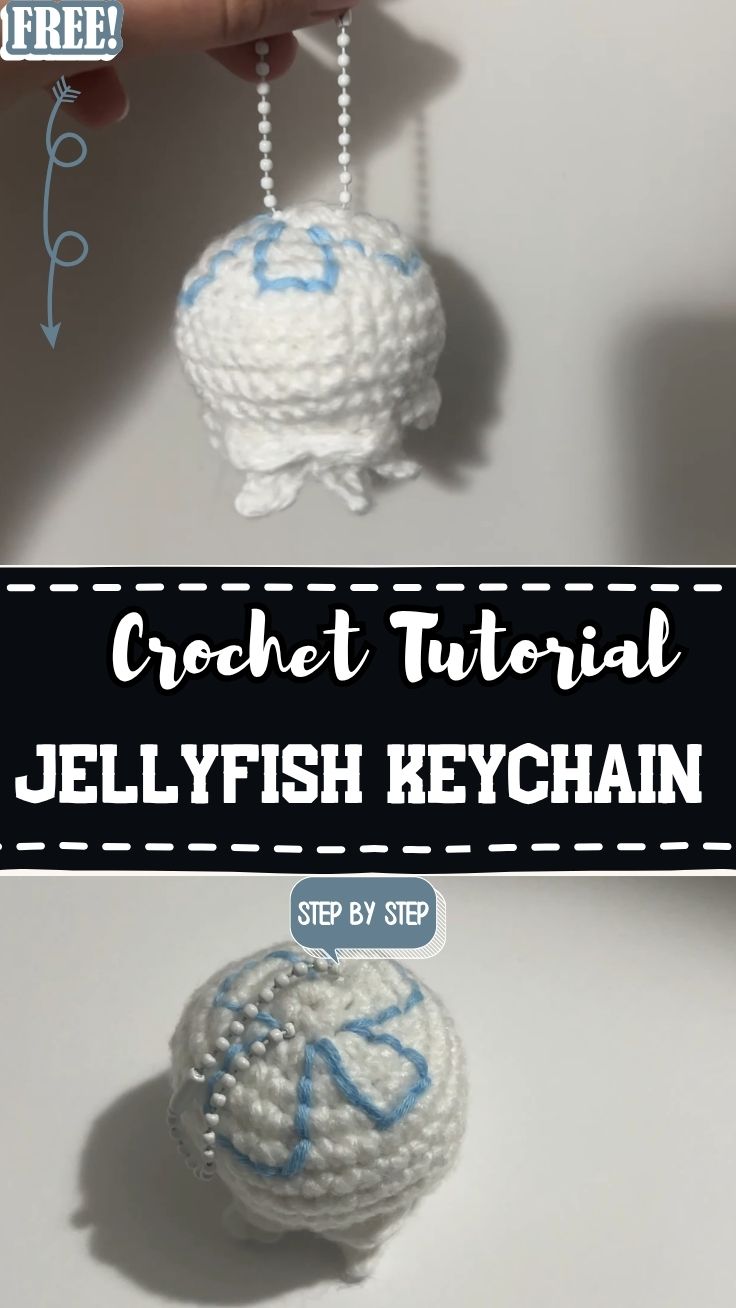
Skill Level
This pattern is rated Beginner Friendly. If you know how to start a magic ring, work single crochet stitches in continuous rounds, and add basic embroidery, this quick project is well within reach.
Materials You Will Need
- A small amount of worsted weight yarn in white or your chosen main color for the body
- A small amount of contrast color yarn (such as blue) for embroidered details or tentacles
- A small crochet hook sized to match your yarn (3mm or 3.5mm is a common choice)
- A yarn needle for weaving in ends and embroidering the face
- Small amount of stuffing (fiberfill)
- Scissors
- A keychain ring or clip attachment
- Stitch markers to track your rounds
Key Features and Techniques
Understanding these techniques will help your jellyfish keychain come together smoothly:
Magic Ring
The project starts with a magic ring, creating a tight, secure center for the very first round of stitches.
Amigurumi Rounds
Continuous rounds of single crochet stitches build the rounded bell shape of the jellyfish body without a visible seam.
Increasing and Decreasing
Careful increases in the early rounds and decreases toward the end shape the body into a soft, dome-like form.
Embroidered Face Details
Simple stitches in a contrast color are added directly onto the finished body to create a sweet, expressive face.
Tentacle Details
Short lengths of yarn or simple chain stitches are added at the base to mimic the flowing tentacles of a jellyfish.
Step-by-Step Instructions
Step 1: Start Your Magic Ring
Begin by wrapping your yarn around your fingers to form a magic ring, then insert your hook and pull through a loop to secure your starting stitch. Work your first round of stitches into this ring, keeping everything snug so the center can be pulled tight once the round is finished.
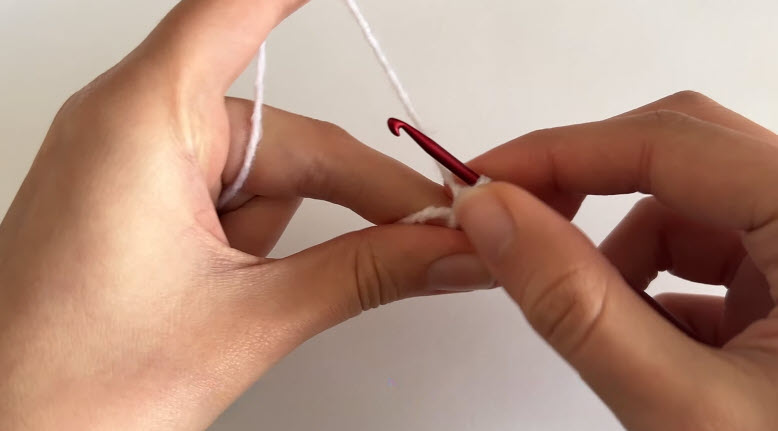
Step 2: Secure the First Round
Continue working your stitches evenly around the ring, then gently pull the starting tail to close any gap at the center. At this point, your piece will look like a very small, tightly gathered circle, forming the base of the jellyfish body.
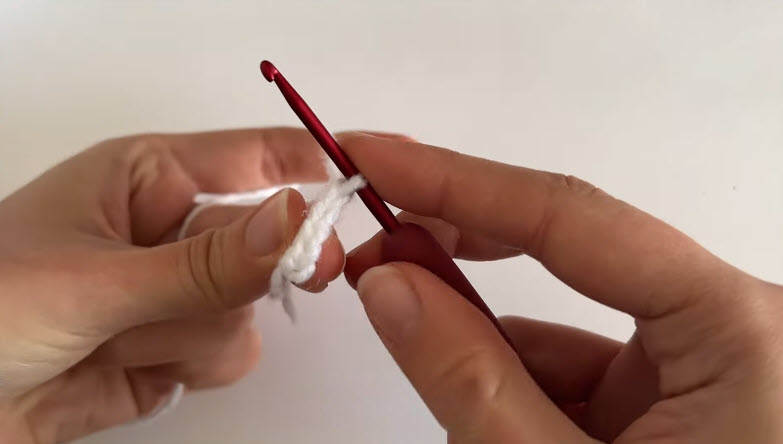
Step 3: Build the Rounded Body
Keep working rounds outward, increasing stitches evenly to grow the circle into a wider, rounded shape. As the rounds build up, the piece will start to look like a soft little dome, forming the main bell shape of the jellyfish. Keep your stitch count even in each round to maintain a smooth, balanced shape.
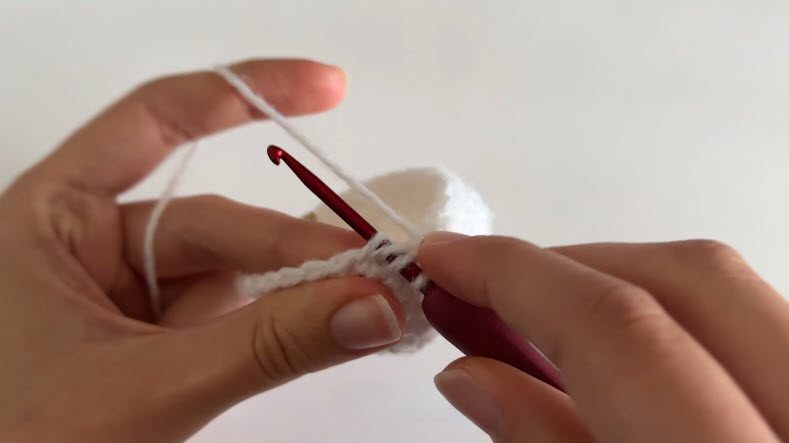
Step 4: Shape and Stuff the Body
Once your body reaches the right size, begin working decrease rounds to gently close the shape into a rounded ball. Add a small amount of stuffing evenly as you go, making sure the shape stays soft and full without becoming too firm or lumpy.
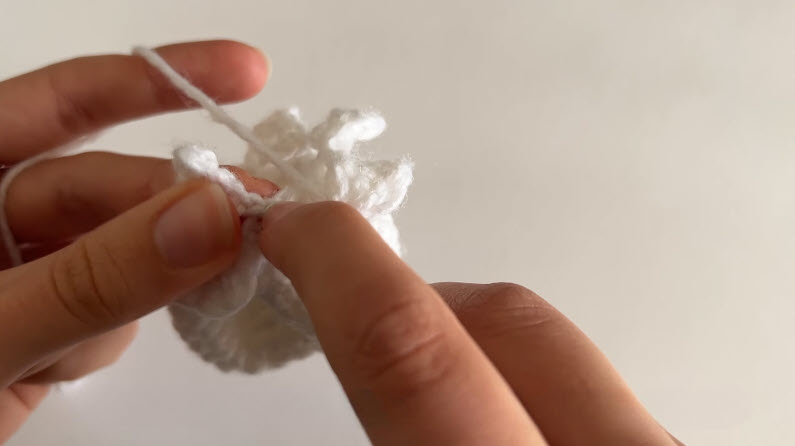
Step 5: Add the Face and Tentacle Details
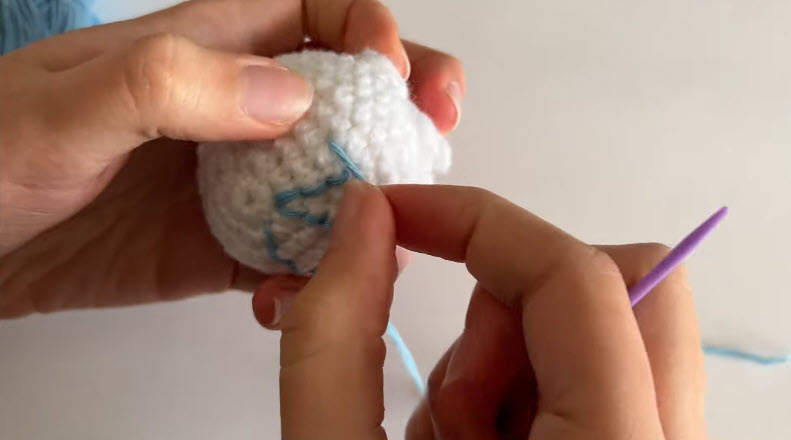
Using your contrast color yarn and a yarn needle, embroider a simple face directly onto the front of the body, such as small eyes and a gentle smile. Then add a few short tentacle strands or chain lengths along the bottom edge to complete the classic jellyfish look.
Step 6: Attach the Keychain Ring
Secure a small loop of yarn or a metal keychain ring at the top of the jellyfish body, stitching it firmly in place so it can hold the weight of keys or a bag clip.
Step 7: Finish and Weave In Ends
Weave in all remaining yarn tails carefully with your yarn needle, trimming the excess close to the fabric. Give the finished jellyfish a gentle shape check to make sure the body is smooth and rounded before it is ready to use.
Helpful Tips for Beginners
- Use a hook one size smaller than usual for your yarn to keep stitches tight and prevent stuffing from peeking through.
- Count your stitches at the end of every round to keep the shape even.
- Use a stitch marker to track where each round begins.
- Keep your stuffing light so the finished jellyfish stays soft and huggable.
- Practice your embroidered face on a scrap piece first if you are new to adding details.
Common Mistakes to Avoid
- Overstuffing the body, which can cause the shape to look stretched or misshapen.
- Losing track of stitch counts, which leads to an uneven, lopsided body.
- Placing the tentacles unevenly, which affects the overall balance of the design.
- Attaching the keychain ring loosely, which can cause it to come apart with regular use.
- Rushing the embroidery step, resulting in a face that looks off-center.
Customization Ideas
- Change the main color to make jellyfish in pastel shades, bright colors, or even glow-in-the-dark yarn.
- Add tiny beads or sequins along the tentacles for extra sparkle.
- Make a mini version for earrings or a larger size as a plush toy instead of a keychain.
- Try an ombre yarn for a color-changing tentacle effect.
- Add a small bow or flower accent at the top for a cute finishing touch.
Frequently Asked Questions
Is this pattern suitable for a first amigurumi project?
Yes, this pattern uses simple rounds and basic shaping, making it a great starting point for anyone new to amigurumi.
How much yarn do I need for this project?
This is a very small project, so a partial skein of your main color and a tiny amount of contrast yarn is usually enough.
Do I need to stuff the jellyfish body?
Yes, a small amount of stuffing helps the body hold its round shape, though you can adjust the amount for a softer or firmer feel.
What size hook works best for this pattern?
A 3mm to 3.5mm hook typically works well with amigurumi weight yarn for tight, even stitches.
Can I skip the tentacles and make a simple round toy instead?
Absolutely. You can leave off the tentacle details for a simple round keychain if you prefer a more minimal look.
How do I attach the Crochet Jellyfish Keychain ring securely?
Stitching the ring through several layers of the body with strong yarn or thread helps it hold up well with everyday use.
Conclusion
This crochet jellyfish keychain amigurumi pattern is a charming little project that turns a handful of simple stitches into a sweet, portable accessory. From the very first magic ring to the finishing tentacle details, every step builds toward a toy that is quick to make and fun to carry around. With simple materials and a beginner-friendly process, this pattern is perfect for a quick gift or a relaxing weekend project. Give it a try, mix in your favorite colors, and enjoy clipping your handmade jellyfish keychain onto your favorite bag.