Crochet Waist Skirt Bow Tie Pattern for stylish Outfits
Waistbands are an easy way to add personality to a plain skirt, and this Crochet Waist Skirt Bow Tie Pattern for Stylish Outfits brings a fun, feminine detail that instantly elevates a simple design. Its soft, ribbed waistband and playful bow tie accent make it a quick add-on project for any wardrobe. This pattern has become a favorite for anyone wanting to give a handmade skirt a little extra charm.
This crochet waist skirt bow tie pattern is especially useful for adding a stretchy, comfortable waistband to a plain skirt while giving it a playful, finished look for everyday or dressed-up outfits, thanks to its simple ribbed knit construction. With its soft texture and cheerful tie detail, this waist skirt pattern pairs beautifully with any bow tie accent design, making it a fun, quick addition to a handmade wardrobe.
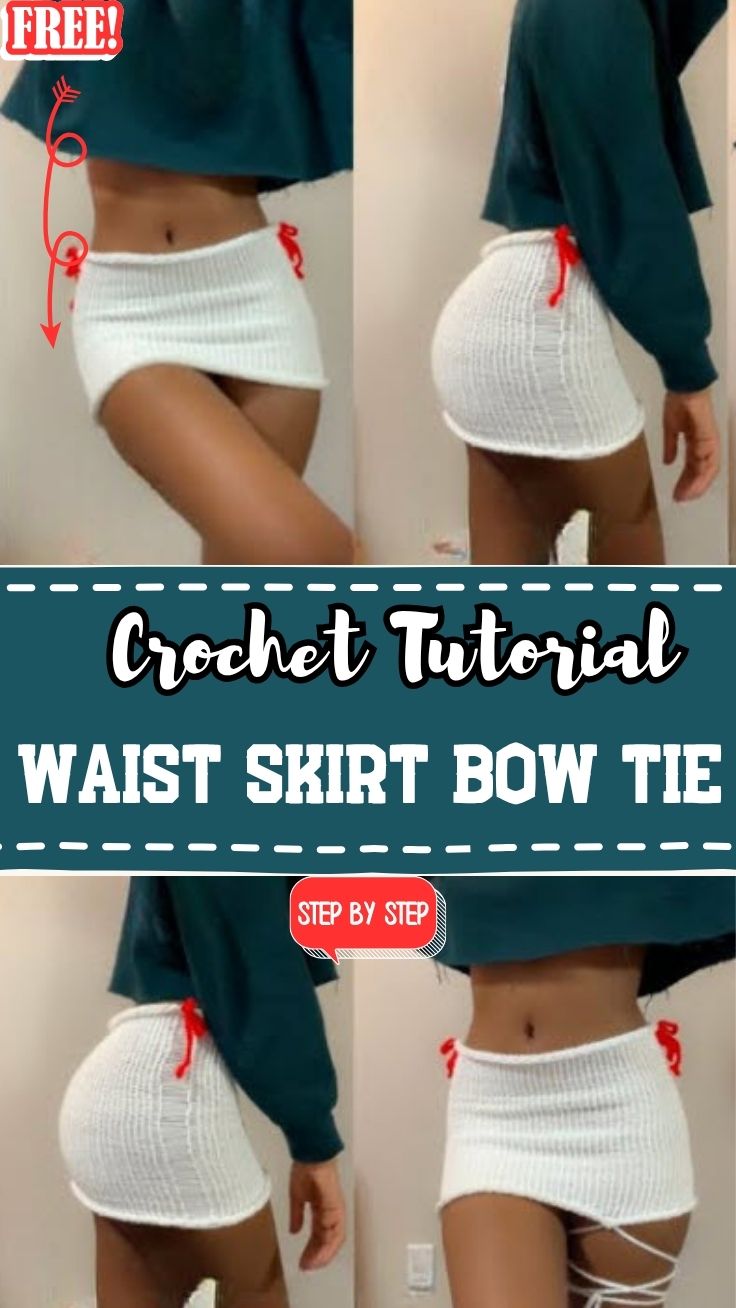
What Is a Crochet Waist Skirt with a Bow Tie Detail?
A crochet waist skirt with a bow tie detail is a skirt topped with a stretchy, ribbed waistband, often made using a circular knitting loom for speed and even tension, then finished with a crochet or knotted bow tie accent at the front or side. The ribbed texture gives a comfortable, close fit around the waist.
The bow tie piece is typically worked separately in a contrasting color, then attached once the waistband and skirt body are complete, adding a playful finishing touch.
Skill Level: Beginner to Intermediate
This pattern is best suited for beginner to intermediate crafters. The ribbed waistband itself comes together quickly and evenly on a knitting loom, while shaping the bow tie accent and attaching it neatly takes a bit more care and hand finishing.
Materials and Tools Needed
Before starting, gather the following supplies:
- A circular knitting loom sized to your waist measurement
- Worsted weight yarn in your main color (white or cream works well)
- A small amount of contrasting yarn for the bow tie accent (red gives a bold pop)
- A loom knitting tool or hook for lifting stitches
- A crochet hook for finishing edges and joining pieces
- Yarn needle
- Fabric scissors
- Stitch markers, if your loom doesn’t have marked pegs
A circular knitting loom is the fastest way to get an even, stretchy ribbed texture for the waistband, though a crochet hook still comes in handy for finishing touches and attaching the bow.
Key Features and Techniques of This Pattern
A few core techniques make this waist skirt pattern come together nicely:
- Loom-knit ribbing – working around the pegs creates a stretchy, even ribbed texture perfect for a waistband.
- Seamless tube construction – the waistband is worked as one continuous tube, avoiding extra seams around the waist.
- Contrast color bow tie accent – a separate small piece worked in a bold color for visual interest.
- Attaching the waistband to the skirt body – joining the finished ribbed piece neatly to your skirt fabric or base.
Getting comfortable with these four techniques makes the rest of the project quick and satisfying to complete.
Step-by-Step Guide to Making the Waist Skirt with Bow Tie
Step 1: Prepare Your Knitting Loom
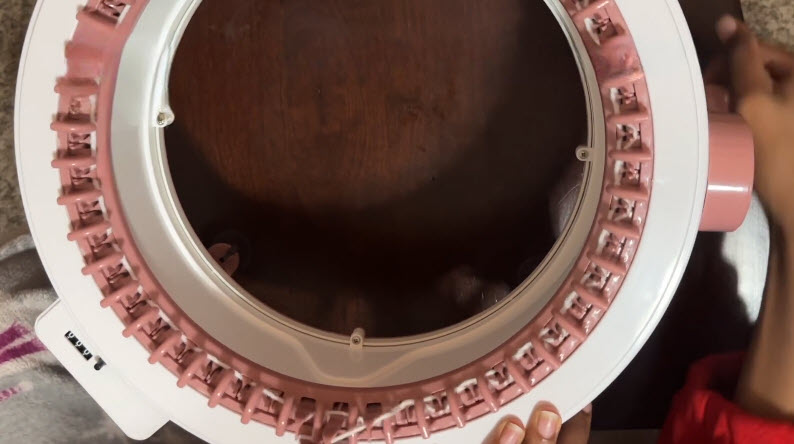
Start by checking that your circular knitting loom’s pegs are clean and evenly spaced, ready for your first cast-on round. Taking a moment here to get familiar with the peg layout makes the next steps much smoother.
Step 2: Anchor Your Starting Yarn
Tie your main color yarn onto the loom to anchor your first stitches before you begin working your cast-on round. Keep your starting tail long enough to weave in neatly later on.

Step 3: Knit the Waistband Tube
Begin working your stitches around the pegs, building your ribbed tube round by round. You’ll see the fabric start forming inside the loom as you go, so keep your tension even to avoid any loose or tight sections in the ribbing.

Step 4: Continue Until the Waistband Reaches Your Desired Length
Keep working steadily around the loom until your ribbed tube reaches the length you need for a comfortable waistband. Check the fit periodically by holding the growing tube against your waist if possible.

Step 5: Remove the Piece and Add the Bow Tie Detail
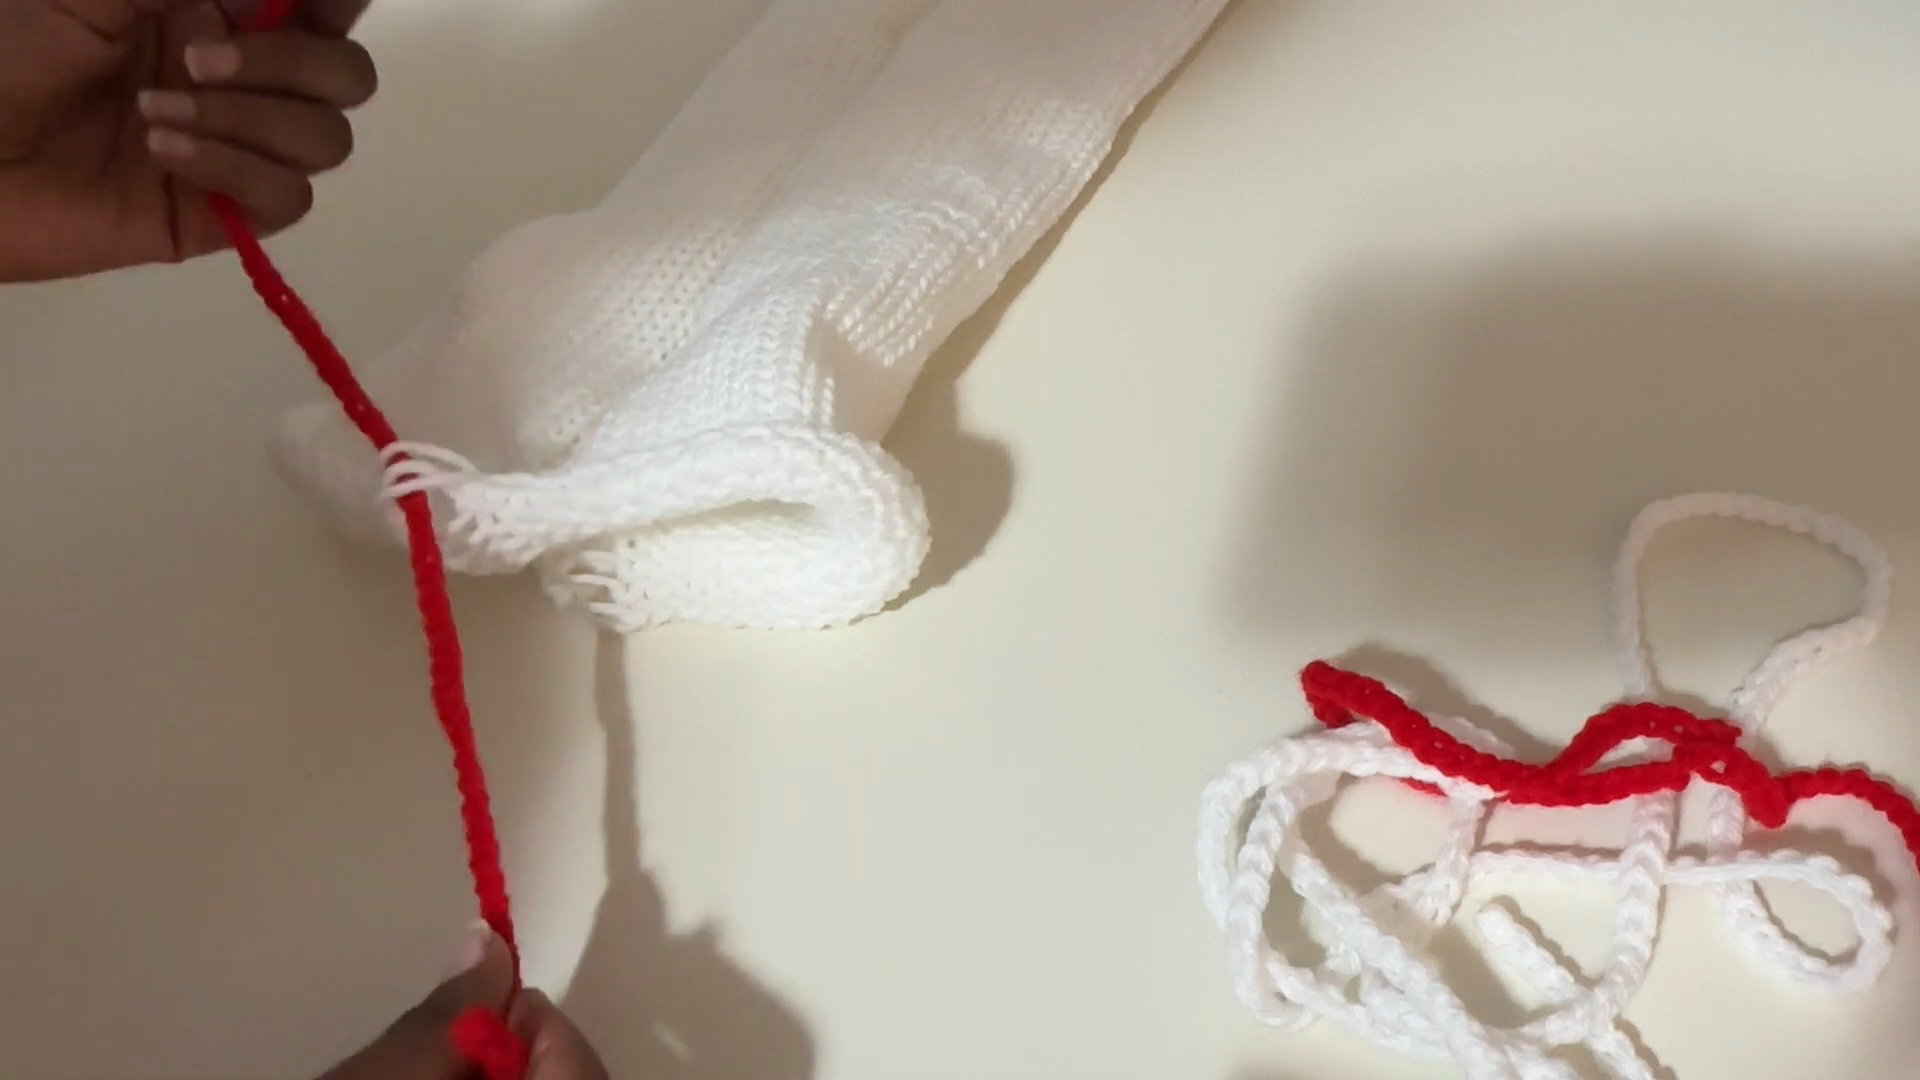
Once your waistband tube is finished, carefully remove it from the loom and secure the last stitches. Using your contrast yarn, work a small chained or knotted bow tie piece, then attach it securely to the front or side of the finished waistband for the final playful touch.
Helpful Tips for Beginners
- Keep your tension consistent throughout the ribbing to avoid any uneven, baggy sections.
- Measure your waist beforehand so your finished tube fits comfortably without being too tight or loose.
- Weave in your starting tail early so it doesn’t get lost once the ribbing builds up.
- Practice the bow tie shape on a small swatch before attaching it to the final waistband.
- Try the waistband on periodically as you work to check both length and stretch.
Common Mistakes to Avoid
- Uneven tension, which creates a lumpy or inconsistent ribbed texture.
- Skipping the waist measurement, leading to a waistband that’s too tight or too loose once finished.
- Rushing the bow tie attachment, resulting in a piece that sits crooked or comes loose easily.
- Not securing the starting tail, which can cause the first few stitches to unravel over time.
- Using a stiff, non-stretch yarn, making the waistband feel restrictive rather than comfortable.
Customization Ideas and Variations
- Swap the red bow tie for a color that matches or contrasts with your skirt fabric.
- Add a second, smaller bow tie accent for a layered, playful look.
- Use a metallic or shimmer yarn for the bow tie to dress the waistband up for evening wear.
- Try a wider ribbed waistband for extra coverage and a more structured fit.
- Attach small charms or beads near the bow tie for additional detail.
Frequently Asked Questions
Is this waist skirt pattern beginner-friendly?
Yes, especially the ribbed waistband section, which comes together quickly on a knitting loom. The bow tie attachment takes a little more care but is still manageable for beginners.
Do I need a knitting loom, or can I crochet the waistband instead?
A loom gives the fastest, most even ribbed texture, but a crochet rib stitch can be used instead if you’d rather work the whole piece with a hook.
What yarn works best for this pattern?
A worsted weight cotton or cotton-blend yarn works well, giving the waistband enough stretch and structure to sit comfortably around the waist.
How long does this pattern take to finish?
Most crafters finish the ribbed waistband in one sitting, with the bow tie detail adding just a little extra time to complete.
Can I attach this waistband to a store-bought skirt?
Yes, the ribbed waistband and bow tie accent can be sewn onto an existing skirt base if you’d rather skip making the skirt body from scratch.
Is the bow tie detail removable?
It can be attached with a few secure stitches for a semi-permanent look, or with a small pin or clip if you’d prefer to swap it out later.

Final Thoughts
This crochet waist skirt bow tie pattern is a simple way to add a fresh, stylish detail to a handmade or existing skirt. Between the stretchy, loom-knit ribbing and the playful bow tie accent, it’s a quick project that makes a noticeable difference in the finished look. Take your time with the tension while knitting the waistband, then have fun choosing a bow tie color that fits your personal style. Once finished, you’ll have a comfortable, eye-catching waistband detail that’s perfect for dressing up any outfit.