The Nani Bird Amigurumi is a delightful project perfect for those new to crochet. Designed with simple stitches, it’s easy for beginners to create this adorable bird. To crochet this charming amigurumi, soft yarn like cotton or acrylic works best, providing a smooth texture and vibrant colors. The amount of yarn required is minimal, making it an economical choice for fun projects. While no special stitches are necessary, a basic understanding of crochet techniques ensures a smooth experience. Customizing the Nani Bird with different colors allows for a playful and unique creation, adding personality and charm. When making this amigurumi for young children, ensure all small parts are securely attached to prevent any potential hazards. Here are the materials typically needed:
Line of your choice (I used Balloon Amigo, color 0002 for the body, color 5240 for the wings and tail, and Amigurumi Soft, color 1317 for the beak).
Crochet hook (I used 2.5mm)
Tapestry needle
Filling
Black thread to embroider the eyes
Scissors
Abbreviations
sc – single crochet
an increase
dim – decrease
sl st – slip stitch
AM – magic ring
MPA – half double crochet
PA – double crochet chain stitch stitch
Body
1-AM 6 pb (6)
2-6 aum (12)
3-(1 pb, aum) x6 (18)
4-(2 pb, aum) x6 (24)
5-(3pb, aum) x6 (30)
6 a 12-30 pb (30)
13-(4 pb, aum) x6 (36)
14-aum, 9 pb, 8 dim, 9 pb, aum (30)
15
aum, 6 pb, 8 dim, 6 pb, aum (24)
Fill the body and close the last row by sewing the stitches through the outside loops.
Cauda
Leave a long thread for sewing at the beginning and end of the AM.
Do an AM, ch 5. 3 MPA in the third chain. from the needle, 2 sl sts.
7 ch. in the AM, 3 MPA in the third chain. from the needle, 4 sl sts.
5 ch. in the AM, 3 MPA in the third chain. from the needle, 2 sl sts.
Close AM. Join the first and third parts of the tail with 2 dots, making the largest part of the tail stay behind. (see images). Sew to the end of the body.
Basic
Make 2 pieces.
Leave a long thread at the beginning of the AM and at the end, both for sewing.
Using a tapestry needle, insert one of the threads between the PA that forms the wing’s beak.
Sew the wing tip between rows 8 and 9, and the other end of the wing between rows 10 and 11, leaving the wing diagonally as shown in the image alongside.
Beak and Eyes
1-AM 4 pb (4)
2- (1 pb, aum) x2 (6)
3-(2 pb, aum) x2 (8)
Sew between rows 7 and 9.
Embroider the eyes as you wish between rows 6 and 7.
Ready!
Your bird Nani is finished! It was approximately 6 cm tall.
This is a free recipe in celebration of International Amigurumi Day! You have the right to sell the piece made from it.
If you want to share this recipe with someone, please forward the link to this post. I don’t allow prints, even if they tag me.
If you have any questions, don’t hesitate to contact me. I will help whenever possible!
The delightful amigurumi avocado crochet pattern is perfect for creating a cute and cuddly addition to your collection. Ideal for both beginners and experienced crocheters, this pattern includes everything needed to make a cheerful avocado, complete with a smiling face and adorable details. The pattern is easy to follow and ensures a fun and rewarding…
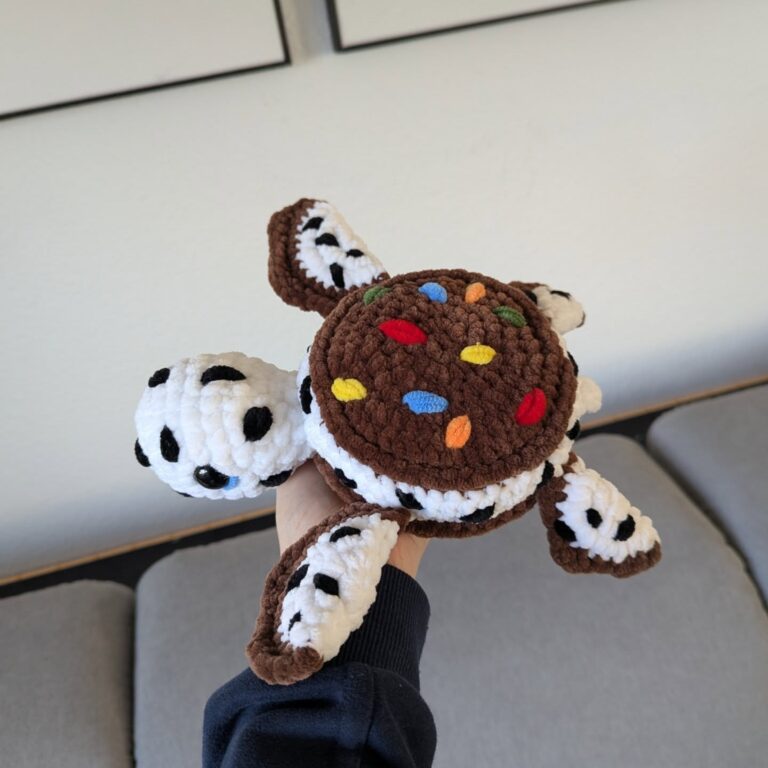
Here’s one of my most popular easy free patterns. I never thought a turtle and a chocolate cookie could make such an adorable combination but here’s the proof. This free crochet chocolate cookie turtle amigurumi pattern is beginner-friendly, incredibly charming, and honestly so fun to make that you won’t want to put it down. If…
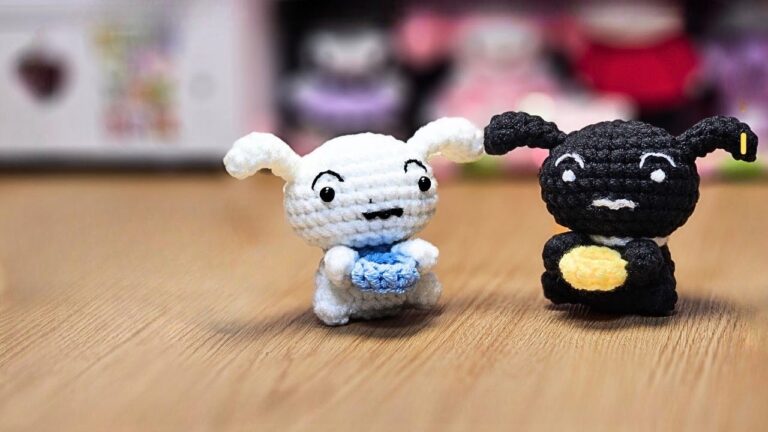
If you’ve ever wanted a small amigurumi project you can finish in an afternoon, this Shiro Shinchan’s Dog Keychain is such a fun place to start. It’s quick, cute, and doesn’t require complicated shaping—just simple rounds and a bit of sewing at the end. What makes this pattern extra special is that it’s designed to…
Crochet Bookmark Amigurumi has a way of turning yarn into joy, especially when you’re making small accessories that slip into everyday life. Whether you love toys or décor, these charming bookmarks add personality to your reading routine. Because they’re quick, portable, and relaxing, you can stitch one during a cozy evening and feel accomplished by…
Crochet Princess Bubblegum Discover the charm of creating your own adorable Mini Princess Bubblegum with our easy-to-follow, free crochet pattern, perfect for beginners. This delightful pattern guides you step-by-step, ensuring each stitch contributes to bringing your miniature royal friend to life, adorned with her signature bright pink hair. Ideal for beginner enthusiasts looking to dive…
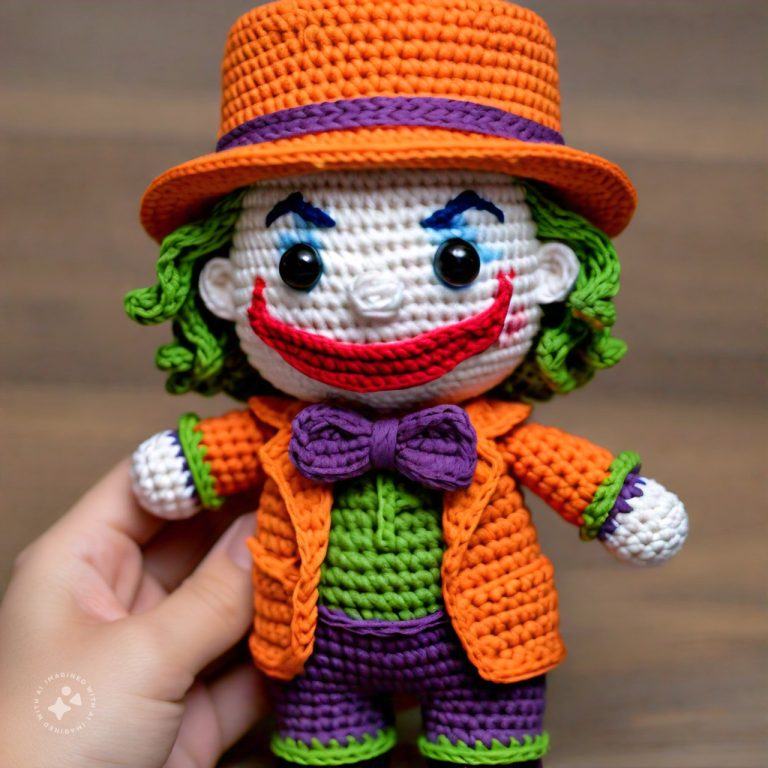
Crafting a Joker Crochet Amigurumi becomes a joyful adventure with easy-to-follow patterns that guide you in bringing Gotham’s fabled jester to life. Starting with selecting vibrant yarns, these amigurumi patterns ensure your project holds shape and withstands the loving enthusiasm of little ones. A trusty crochet hook, soft stuffing, and safe-for-children safety eyes are all…