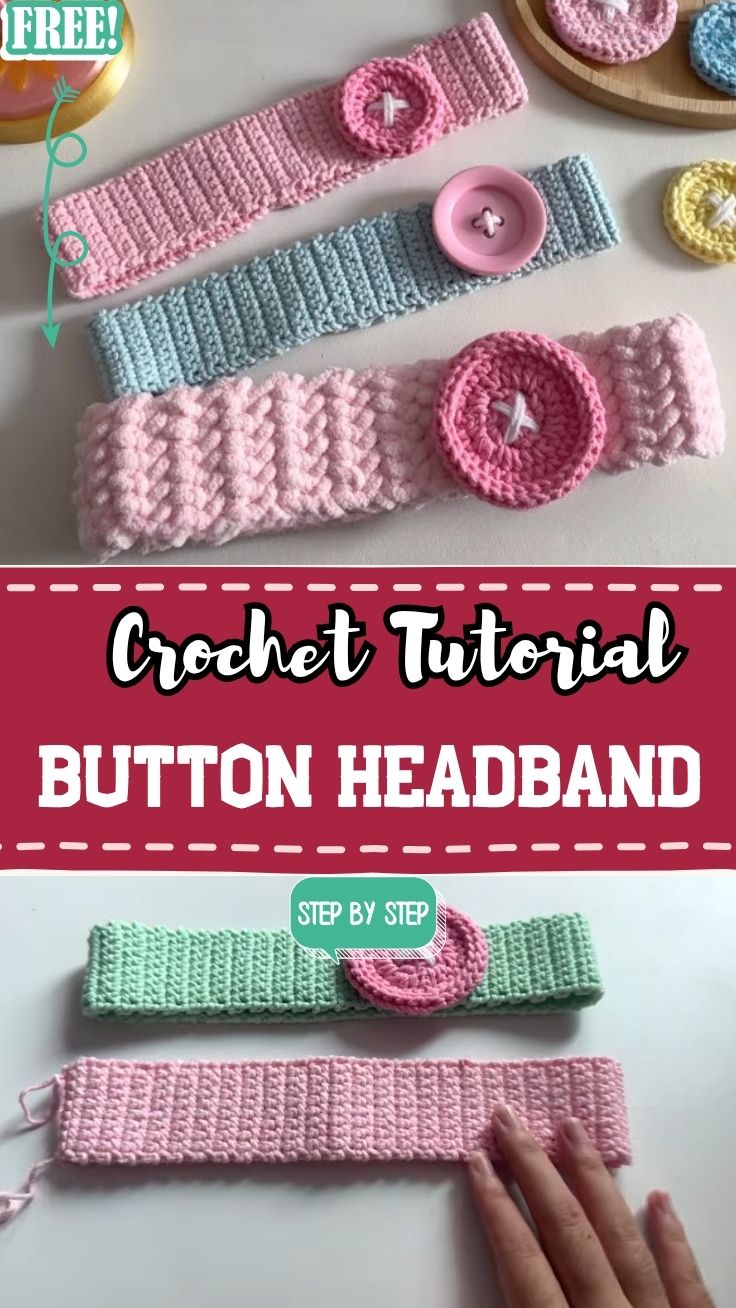
Free Crochet Button Headband Pattern for Starters
Grab a hook and a favorite skein of yarn, because today’s project is about crafting a comfortable, wearable accessory from scratch. Free Crochet Button Headband Pattern for Beginners turns a handful of simple single crochet rows into a stylish, practical headband, one you’ll love making again and again for everyday wear, casual weekend style, or a quick handmade project.
What sets this headband apart is its cleverly designed button closure, letting it fit comfortably without any complicated sizing math. Instead of relying on elastic or tricky shaping techniques, this design pairs a simple striped band with a hand-crocheted button. That single detail gives the headband a refined, boutique-style finish, while its straightforward construction keeps it easy to build start to finish, making it a great pick for newcomers too.
Pattern Overview
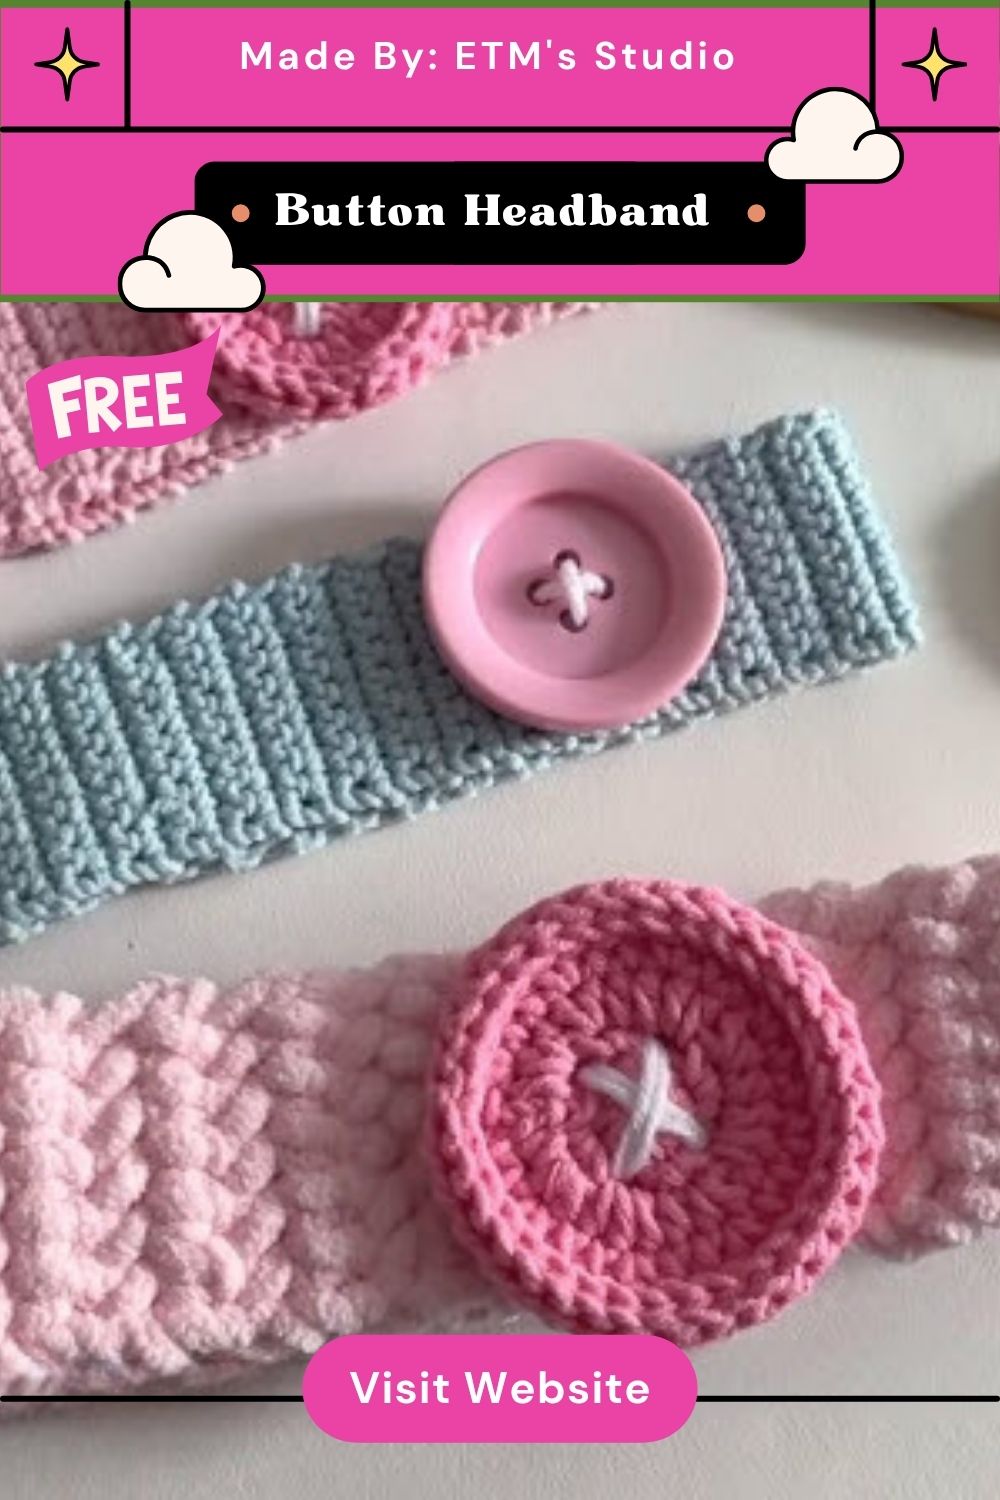
This headband is worked in two main pieces: the wide band that wraps around the head, and a small decorative circle that doubles as the button closure. The band is built entirely from single crochet stitches worked back and forth, which keeps the texture nice and even. The circle piece is crocheted in the round and then embroidered with a simple cross stitch before being sewn onto the band, giving the whole project a sweet, finished look that doesn’t require any fancy stitch combinations.
Materials Needed
- Worsted weight (Medium 4) yarn in your main headband color
- Small amount of contrasting yarn for the button circle
- 4.0mm–4.5mm crochet hook (adjust based on your yarn weight)
- Yarn needle for weaving in ends and embroidering the button
- Scissors
- Stitch marker (optional, helpful for tracking rounds on the button circle)
Special Techniques
- Foundation slip knot and chain – setting up your starting loop correctly keeps your row count accurate from the very first stitch.
- Working single crochet in rows – the entire band relies on this one stitch, making it ideal for practicing consistent tension.
- Crocheting in the round – the button circle is built using increases worked into a small ring, a great intro to circular crochet.
- Cross stitch embroidery – a basic embroidery stitch is added on top of the crocheted circle to mimic a real button front.
Skill Level
This pattern is perfect for absolute beginners since it only uses single crochet and basic embroidery. If you can chain, single crochet, and thread a yarn needle, you already have every skill needed to finish this headband in one relaxed sitting.
Common Mistakes
- Pulling the foundation chain too tight, which makes the first row difficult to work into.
- Losing count of rows and ending up with a band that’s too narrow or too wide.
- Crocheting the button circle too loosely, causing it to lose its shape once stuffed or sewn on.
- Skipping the embroidery step, which leaves the button looking flat instead of dimensional.
- Attaching the button off-center, throwing off the overall symmetry of the finished headband.
Uses and Benefits
- Keep your tension relaxed but even so the band lies flat instead of curling.
- Measure around your head before finishing the band so the fit is accurate.
- Use a contrasting yarn color for the button circle to make it pop visually.
- Count your stitches at the end of every row to catch mistakes early.
Instructions
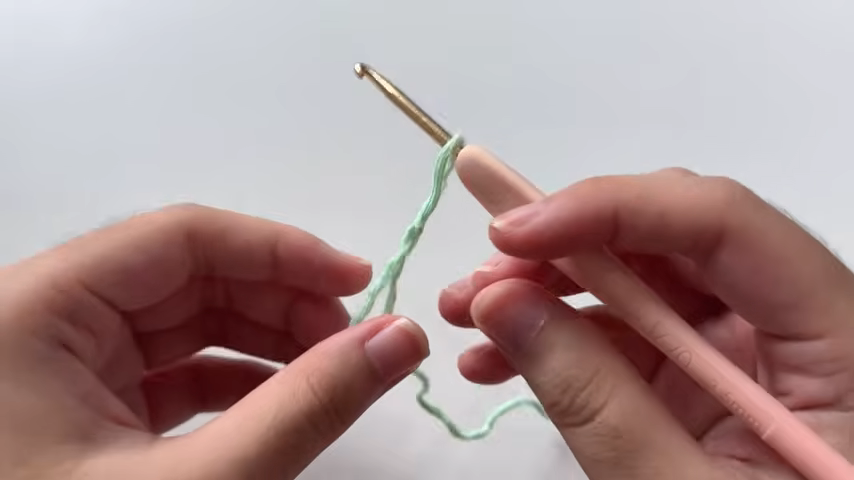
1: Start with a slip knot on your hook, then pull the yarn through to form your foundation chain, holding the working yarn firmly between your fingers for even tension.
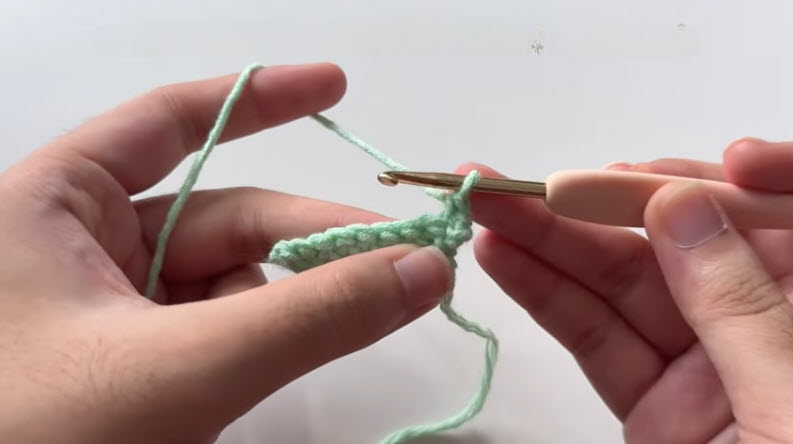
2: Work single crochet stitches across the chain, inserting your hook into each stitch and pulling through to build the first row of the headband band.
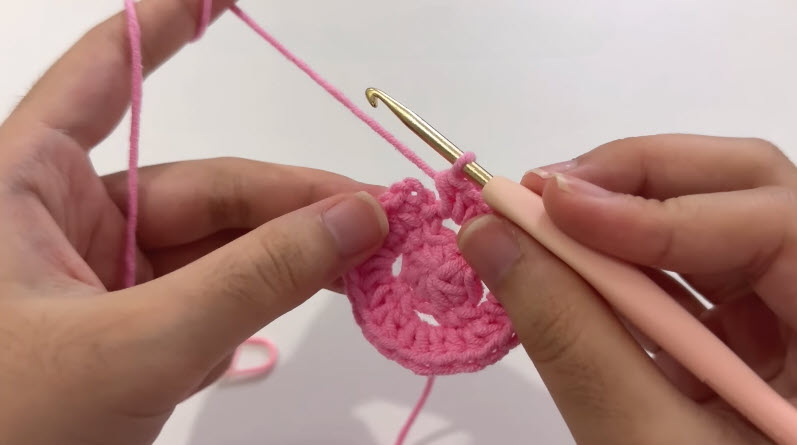
3: Once the band reaches your desired length, switch to a contrasting yarn color and crochet a small tight circle in the round to form the button piece.
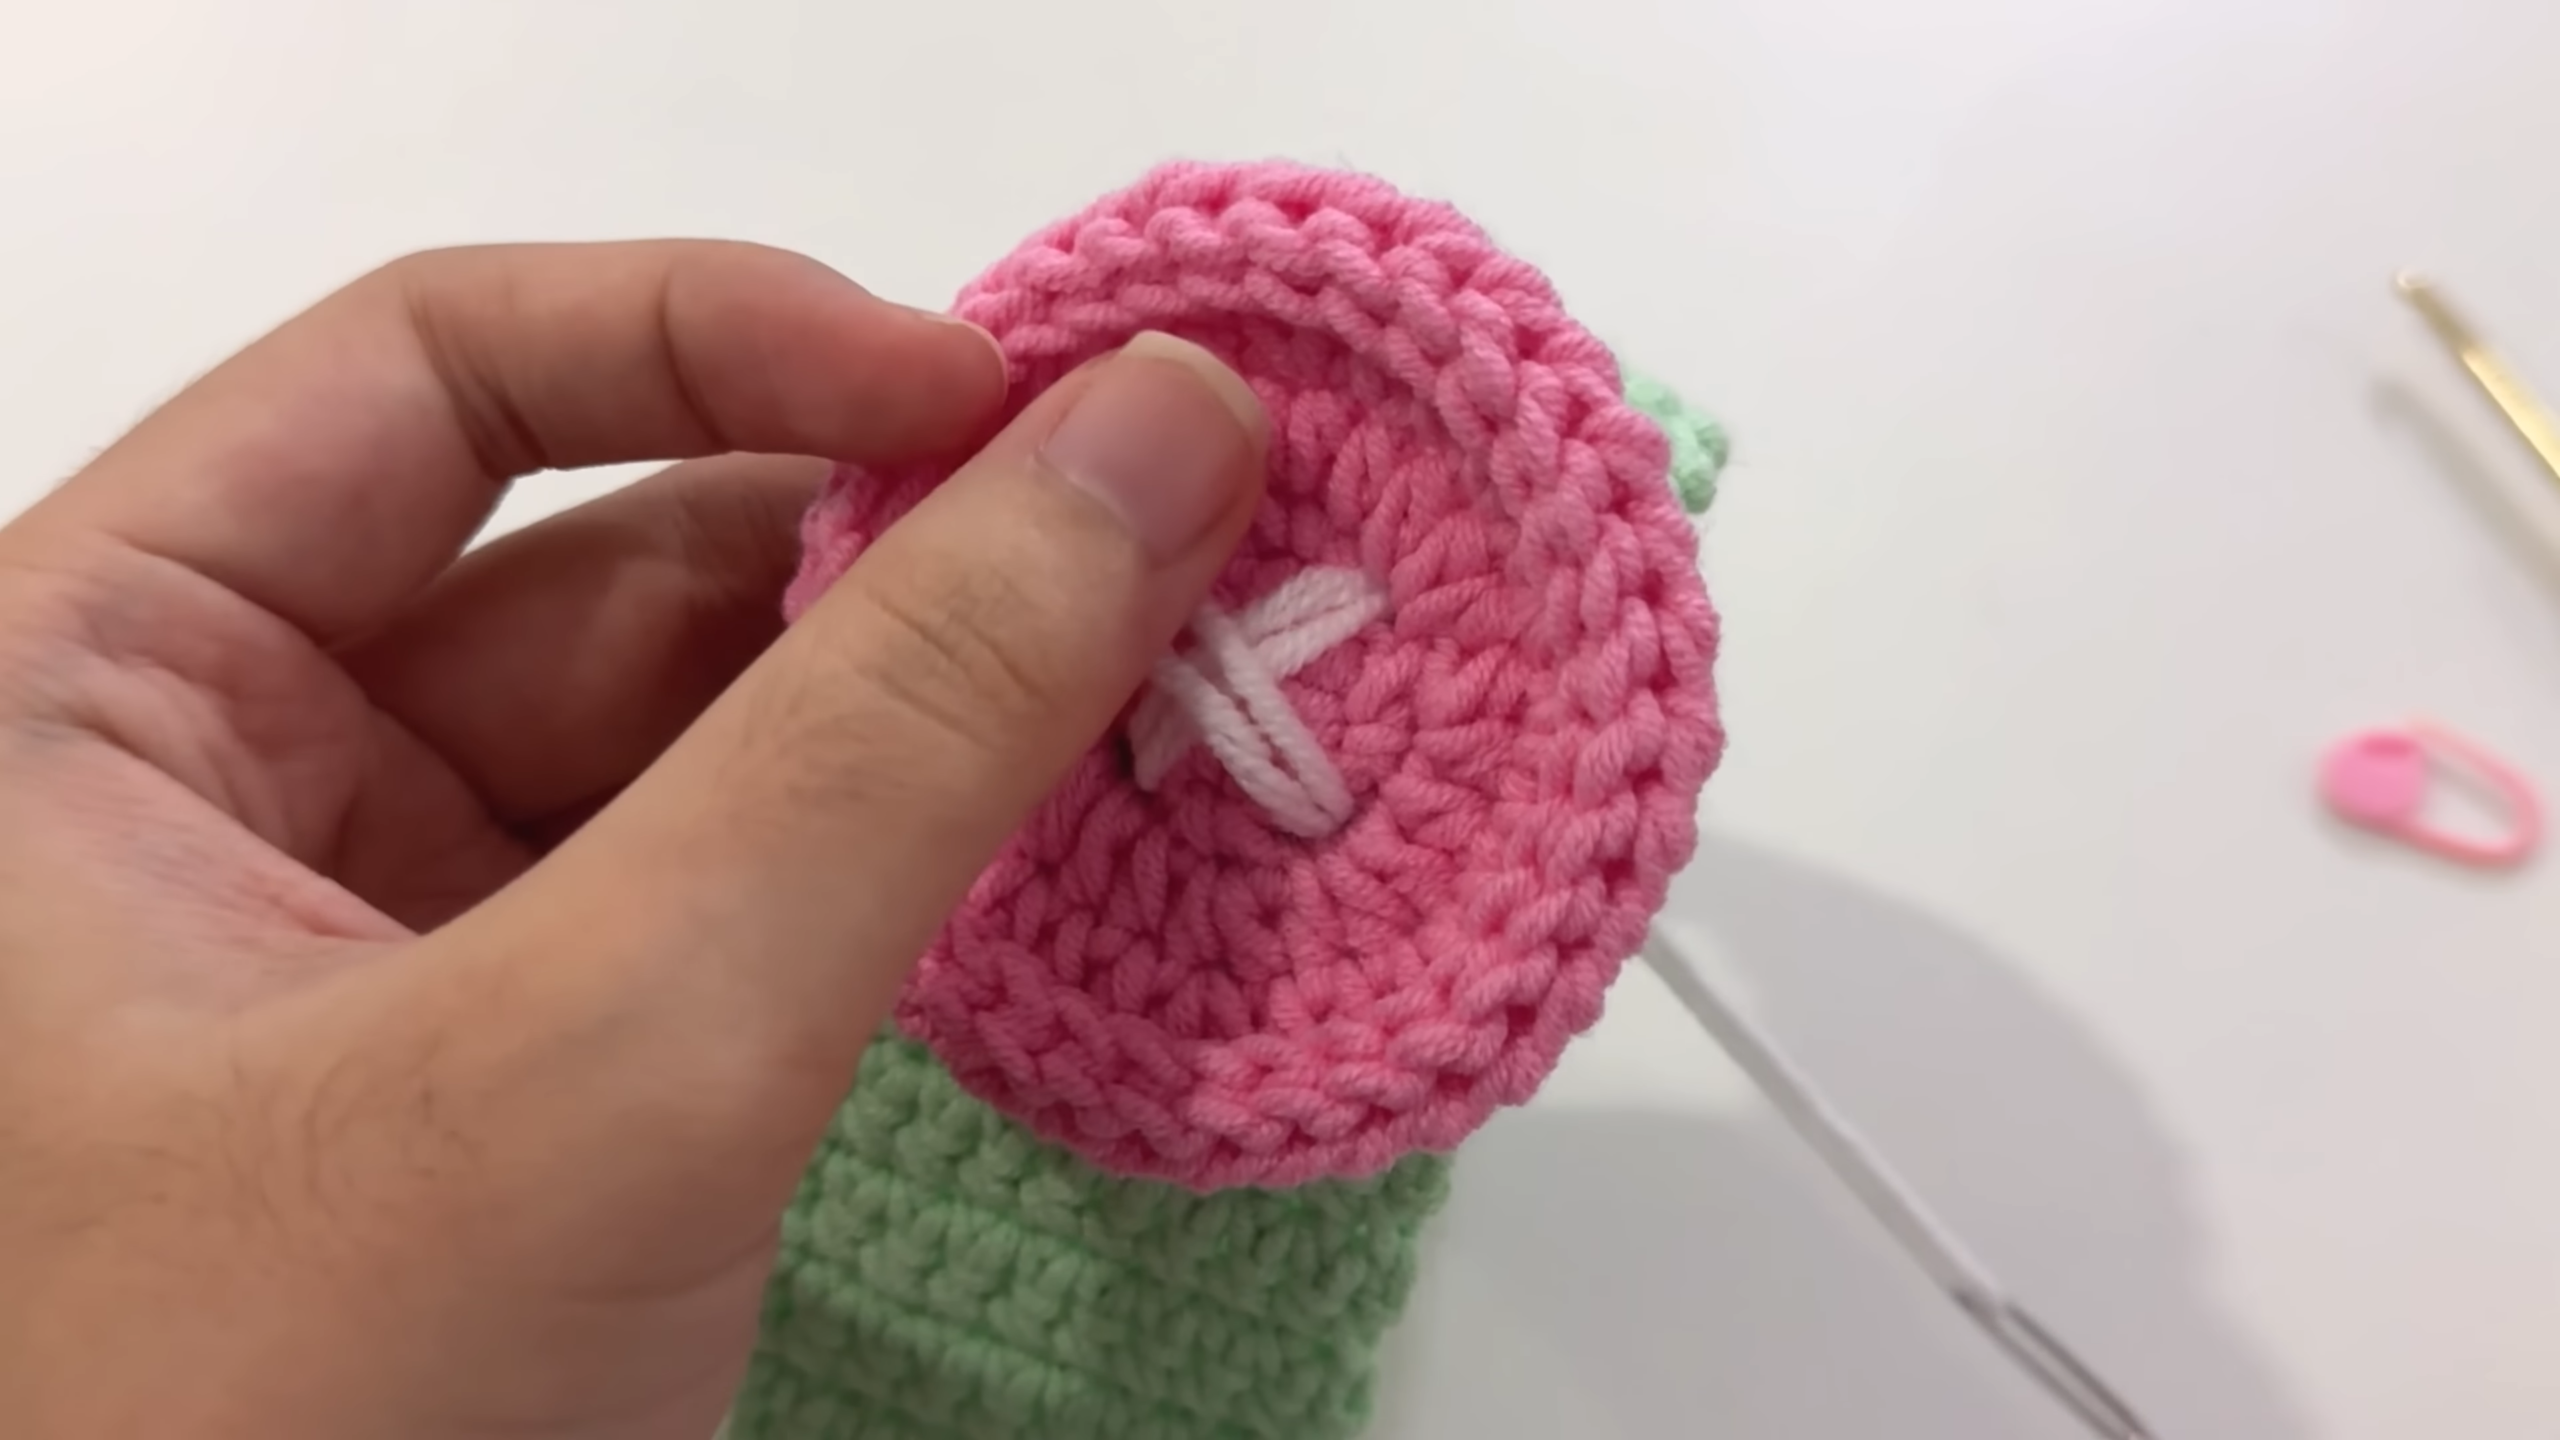
4: Thread a yarn needle and stitch a cross pattern into the center of the crocheted circle, then sew the finished button neatly onto the front of the headband band.
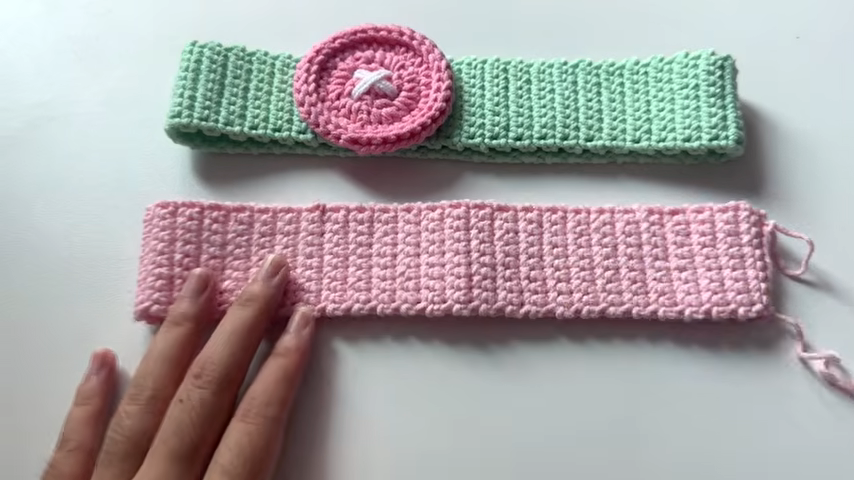
5: Repeat the same process to create a second headband in your chosen color, weave in all loose ends, and give both pieces a final shape before wearing.
Where Can You Use This
Because it only calls for single crochet and one small round piece, new crocheters get to build confidence without wrestling with complicated stitch patterns. The instant visual reward of a finished, wearable item also makes this a satisfying first accessory project.
Tips and Tricks
- Block the finished band lightly if it curls at the edges after washing.
- Try doubling up on yarn strands for a chunkier, cozier finished texture.
- Add a second smaller button circle for a layered, dimensional look.
- Sew the button on securely with a few extra reinforcing stitches for durability.
Why This Crochet Button Headband Pattern Is Trending
Simple, adjustable accessories like this headband have become popular for their blend of comfort and handmade style. The boutique-inspired look is also easy to recreate at home. The button closure is a favorite among crocheters. It adds a small design detail that instantly elevates a basic project.
FAQs
Can I make this headband in any yarn weight?
Yes, this pattern adapts well to worsted or bulky weight yarn, though your hook size should be adjusted to match for the best results.
How do I make the headband bigger or smaller?
Add or remove rows from the band length, then measure around your head, and attach the button to confirm the fit.
Do I need embroidery experience for the button detail?
No, the cross stitch used for the button front is a very basic embroidery technique that beginners can pick up in just a few tries.
Personalization Ideas
Add a Contrasting Trim
Work a single round of contrasting color single crochet around the band’s edges for a pop of color that frames the whole design.
Swap the Button for a Bow
Instead of a crocheted circle, stitch on a small crocheted bow for a softer, more feminine finishing touch.
Try a Two-Tone Band
Alternate two yarn colors every few rows to create a subtle striped effect across the band.