Crochet Fox Ring And Bracelet Pattern For New Learners
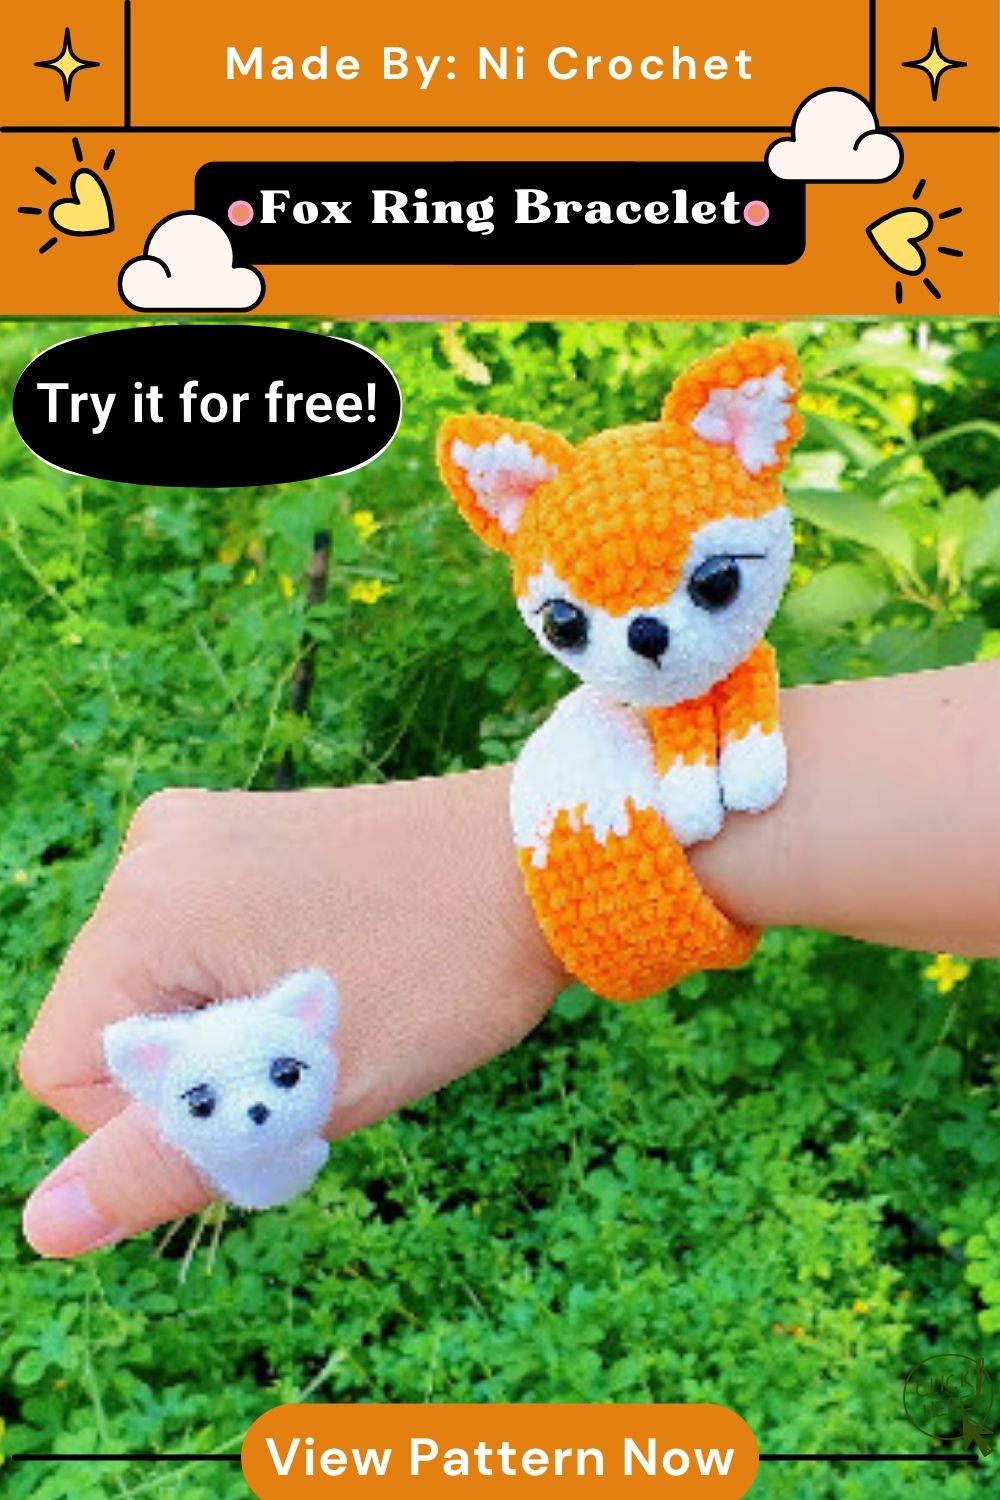
Something about a fox’s clever eyes and bushy tail makes it one of the most loved woodland creatures, and the Crochet Fox Ring And Bracelet Pattern turns that gentle charm into a tiny wearable keepsake worth gifting or keeping close.
Picture a fun, small-scale amigurumi project that shapes a fluffy little fox charm using simple rounds of single crochet, then joins it neatly to a soft adjustable ring band and a matching bracelet cord, giving beginners a sweet, wearable accessory they can proudly keep, gift, or sell at craft markets.
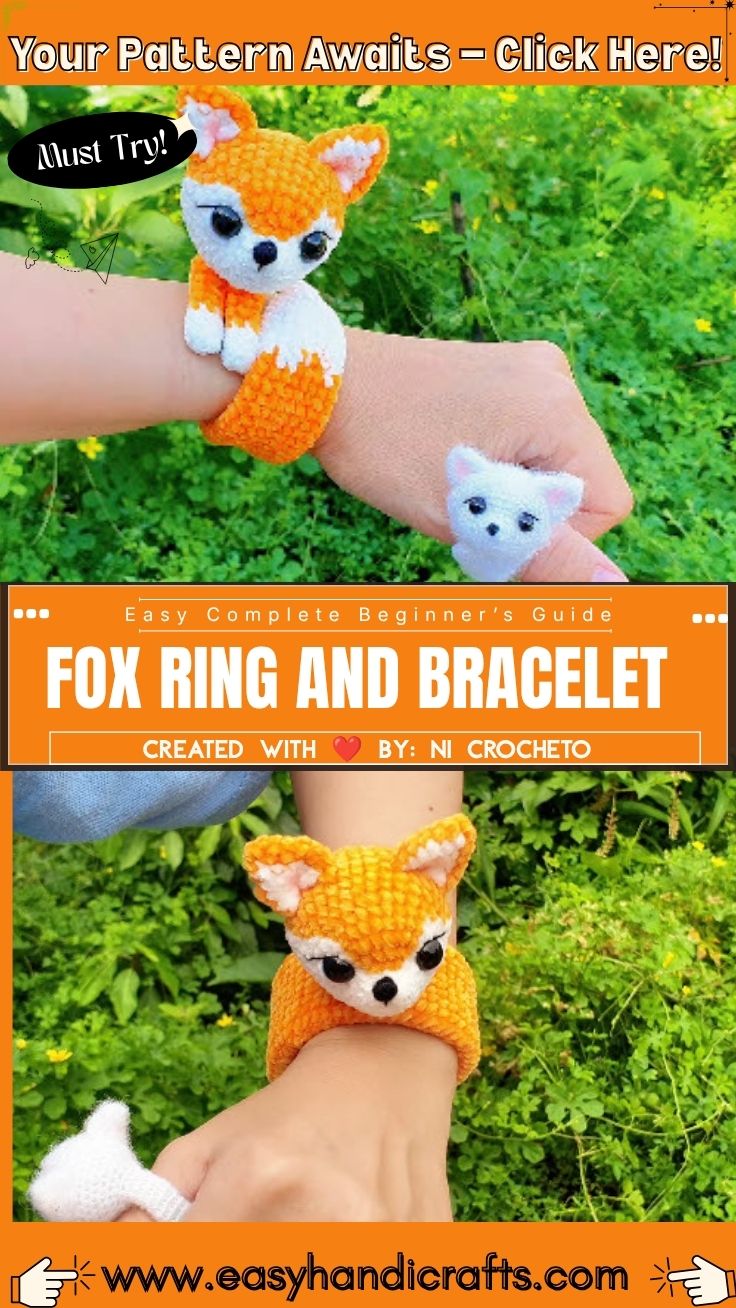
Every stage stays simple, quick, and friendly enough for a first mini amigurumi attempt, with clear stitch counts and gentle pacing so nothing feels rushed or confusing for new hands.
Skill Level
Beginner to beginner-intermediate. A crocheter who already knows how to work a magic ring and a basic single crochet stitch will move through the pattern with ease. Someone who has never picked up a hook before can still follow along, since every round stays short and every shaping step gets a clear explanation.
Materials and Supplies
Gathering supplies ahead of time keeps the whole project moving smoothly. Here is everything needed to finish both the ring charm and the bracelet version:
- Yarn colors: rust-orange (main fox body and head), white or cream (muzzle, chest patch, and tail tip), black (small amounts for nose and eye outlines) — a fingering-weight or sport-weight cotton yarn works best for a piece this small
- Crochet hook: a 2.0mm steel hook (a 2.5mm hook also works if the yarn feels a touch thick)
- Safety eyes: two 3mm black safety eyes, or small black seed beads as a lighter alternative
- Stuffing: a small amount of polyester fiberfill
- Needle and scissors: a blunt tapestry needle for sewing and weaving in ends, plus sharp embroidery scissors for trimming yarn
- Keychain ring or accessories: an adjustable ring blank (metal or wire), plus thin elastic cord or memory wire for the bracelet band
- Extra: a stitch marker or small safety pin, and a bit of craft glue for extra hold on the ring base
Crochet Techniques Used
Before starting, it helps to review the handful of techniques that shape this whole project:
- Magic ring – the adjustable loop that starts each rounded piece without leaving a hole at the center
- Single crochet (sc) – the main stitch used through nearly every round
- Increase and decrease – spreading stitches out to shape the head and muzzle, then pulling stitches together to close each piece
- Sewing parts together – using a tapestry needle to attach the ears, muzzle, and tail so the finished fox holds its shape
Step-by-Step Fox Ring and Bracelet Pattern
Making the Head
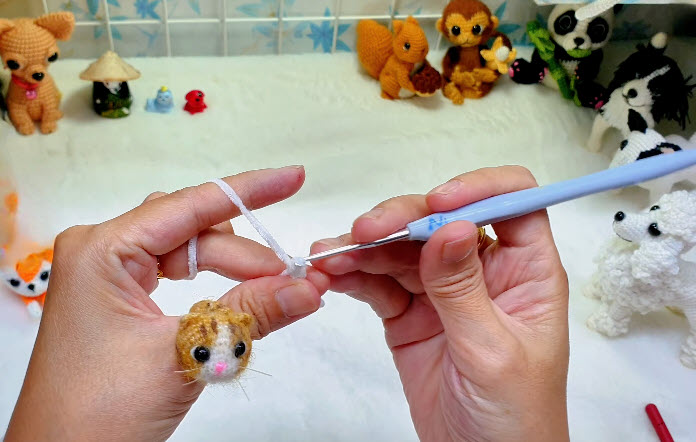
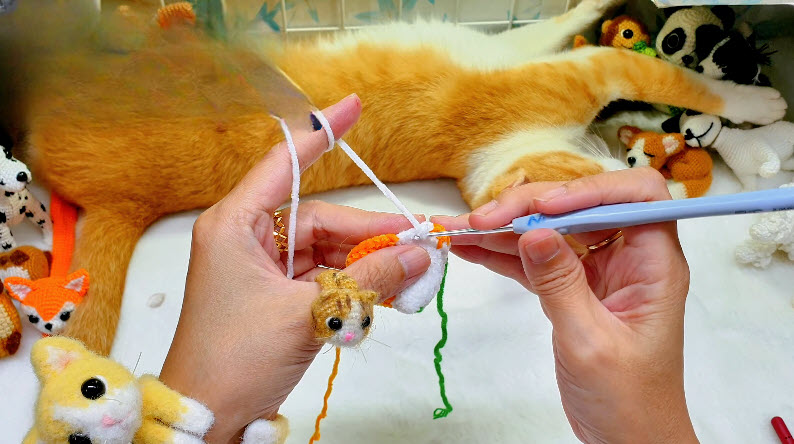
- Start with a magic ring and work 6 single crochet stitches into it, then pull the loop closed.
Round 2: increase in every stitch around (12 stitches total).
Shaping the Body
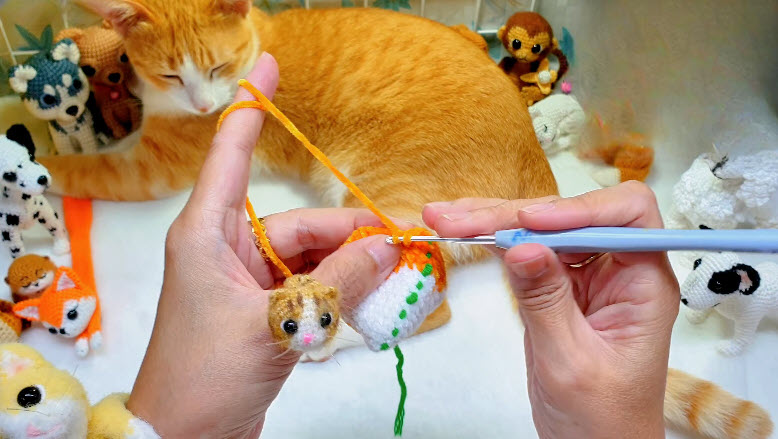
- Work a magic ring with 6 single crochet stitches, same as the head.
- Round 2: increase in every stitch around (12 stitches).
- Round 3: single crochet evenly around, no shaping.
- Round 4: decrease every third stitch around (8 stitches).
- Stuff lightly, since the body stays small on this design, then close the round.
Ears, Tail, and Little Accessories
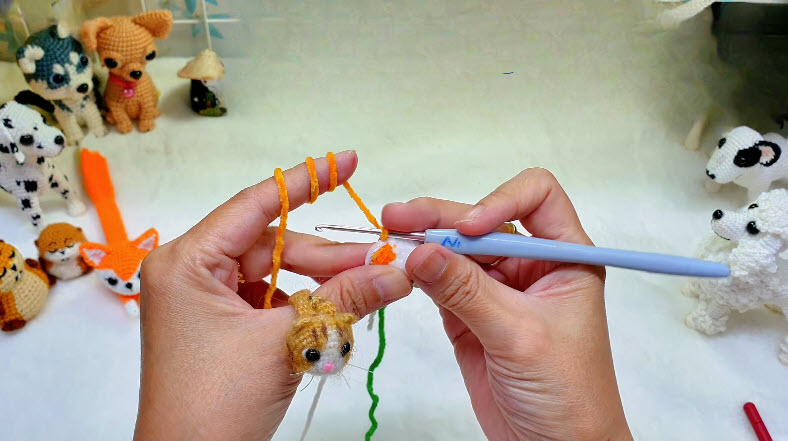
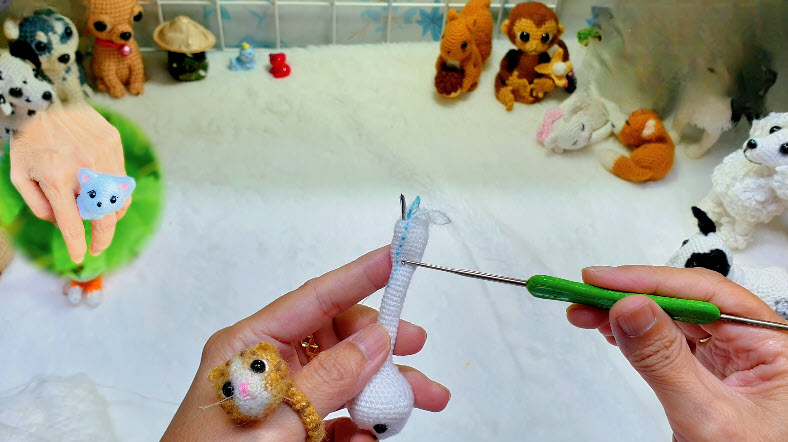
For the ears, make two tiny triangles: chain 3, then work 1 single crochet into the second chain from the hook and 1 single crochet into the last chain, leaving a short tail for sewing. Fold each triangle slightly before attaching so the ears sit upright.
For the tail, chain 8, then single crochet back across the chain, adding a wisp of white yarn at the very tip to mimic a fox’s signature tail marking. A light stuffing or a pipe cleaner inside the tail keeps it standing up instead of flopping.
Adding the Facial Details
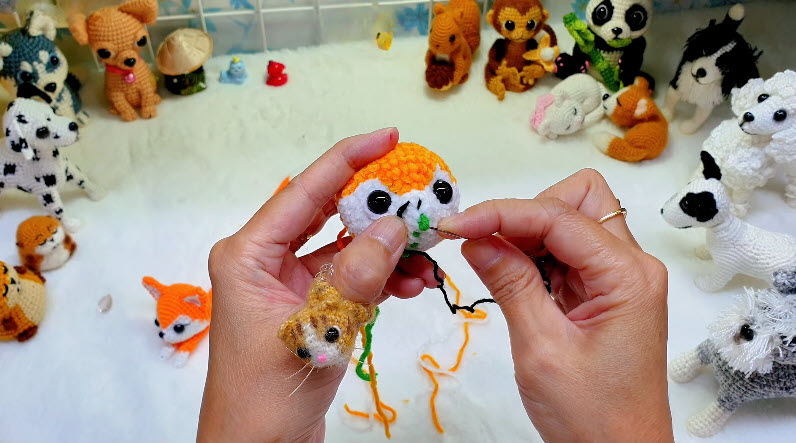
Attach the 3mm safety eyes before closing up the head completely, spacing them evenly across the widest round of the face. Use a small strand of black yarn to embroider a short vertical line and a tiny triangle for the nose. A single strand of white yarn can outline the muzzle patch for extra contrast against the rust-orange body.
7: alternate one single crochet, one decrease around (12 stitches total).
8: decrease in every stitch around (6 stitches total), then stuff firmly before closing.
Fasten off, leaving a long tail for sewing.
Pro tip: Stuff the head a little at a time as the rounds shrink, rather than cramming it all in at the end. It keeps the shape smooth and round instead of lumpy.
Assembly Process
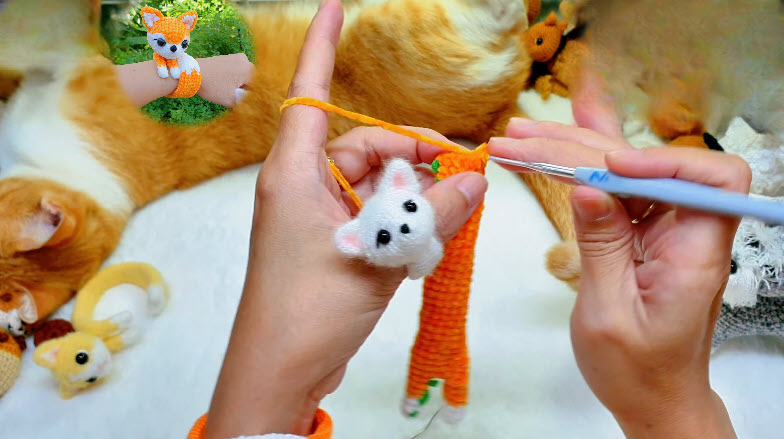
- Sew the head onto the body using the tapestry needle, tucking in any visible gaps with a few extra stitches.
- Attach both ears near the top of the head, angled slightly outward.
- Stitch the tail to the back of the body at a slight upward angle for a lively, alert look.
- For the ring version, sew or glue the finished fox charm onto the adjustable ring blank, reinforcing the base with a few extra passes of thread.
- For the bracelet version, thread the elastic cord or memory wire through a loop of yarn left at the base of the fox, then knot securely and trim the excess.
Finishing Touches
Weave in every loose end with the tapestry needle, checking that no yarn tails poke out around the ears or tail. Give the fox a gentle fluff with a pin or a soft brush if using a fuzzy yarn, and set the finished piece aside to relax into shape before wearing it.
Helpful Beginner Tips
- Keep stitches tight: amigurumi pieces need snug stitches so stuffing never peeks through; if stitches feel loose, dropping down to a half-size smaller hook helps.
- Use stitch markers: since amigurumi works in continuous rounds rather than joined rounds, a stitch marker on the first stitch of each round prevents lost placement.
- Stuff evenly and firmly: small pinches of fiberfill added gradually, then smoothed with a fingertip, give a rounder result than one large clump pushed in at the end.
- Count as you go: pausing after every round to count stitches catches mistakes early, long before they turn into a lopsided shape.
Design Customization Ideas
Try Different Colors
Swap the rust-orange body for silver-gray to make an arctic fox version, or use warm brown tones for a more realistic woodland look.
Add Cute Accessories
A tiny crocheted bow, a bead necklace, or a scrap of ribbon tied around the neck turns the plain fox charm into a themed gift for a birthday or holiday.
Mini Size Variations
Dropping down to a lace-weight thread and a 1.5mm hook shrinks the whole fox charm even further, perfect for a delicate necklace pendant instead of a ring.
Frequently Asked Questions
What is the best yarn for amigurumi?
A smooth cotton or cotton-blend yarn in fingering or sport weight gives the cleanest stitch definition and holds its shape well, which matters for a small, detailed piece like this fox charm.
How do I make my crochet plush firm?
Firmness comes from two things: snug stitches that leave no gaps, and stuffing added in small amounts throughout the piece rather than one big handful pushed in at the very end.
How long does this project take?
A confident beginner can usually finish the fox charm, ring band, and bracelet cord in a single relaxed afternoon, roughly two to three hours from magic ring to finished piece.
Caring for Your Crochet Fox Charm
A handmade fox charm stays looking fresh with a little routine care. Keep it away from standing water, since soaked stuffing takes a long time to dry and can leave the shape slightly flattened. Store the ring or bracelet in a small pouch or a soft-lined box when not worn, rather than tossed loose in a bag where the ears or tail might get crushed. If the yarn ever looks fuzzy or flat, a gentle steam from a distance (never direct heat) helps the stitches puff back up. Keeping curious pets away from the finished piece also protects those tiny safety eyes and delicate stitches from accidental tugging.
Conclusion
A tiny Crochet Fox Ring And Bracelet charm proves that big charm can come from small stitches, and this ring and bracelet pattern gives new crocheters a friendly, low-pressure way to practice shaping, sewing, and finishing an amigurumi piece from start to finish. Grab a hook, pick out a favorite shade of orange, and give this pattern a try this week then share a photo of the finished fox charm to inspire the next beginner ready to start stitching.