Free Crochet Seashell Bag Pattern for Beach Days
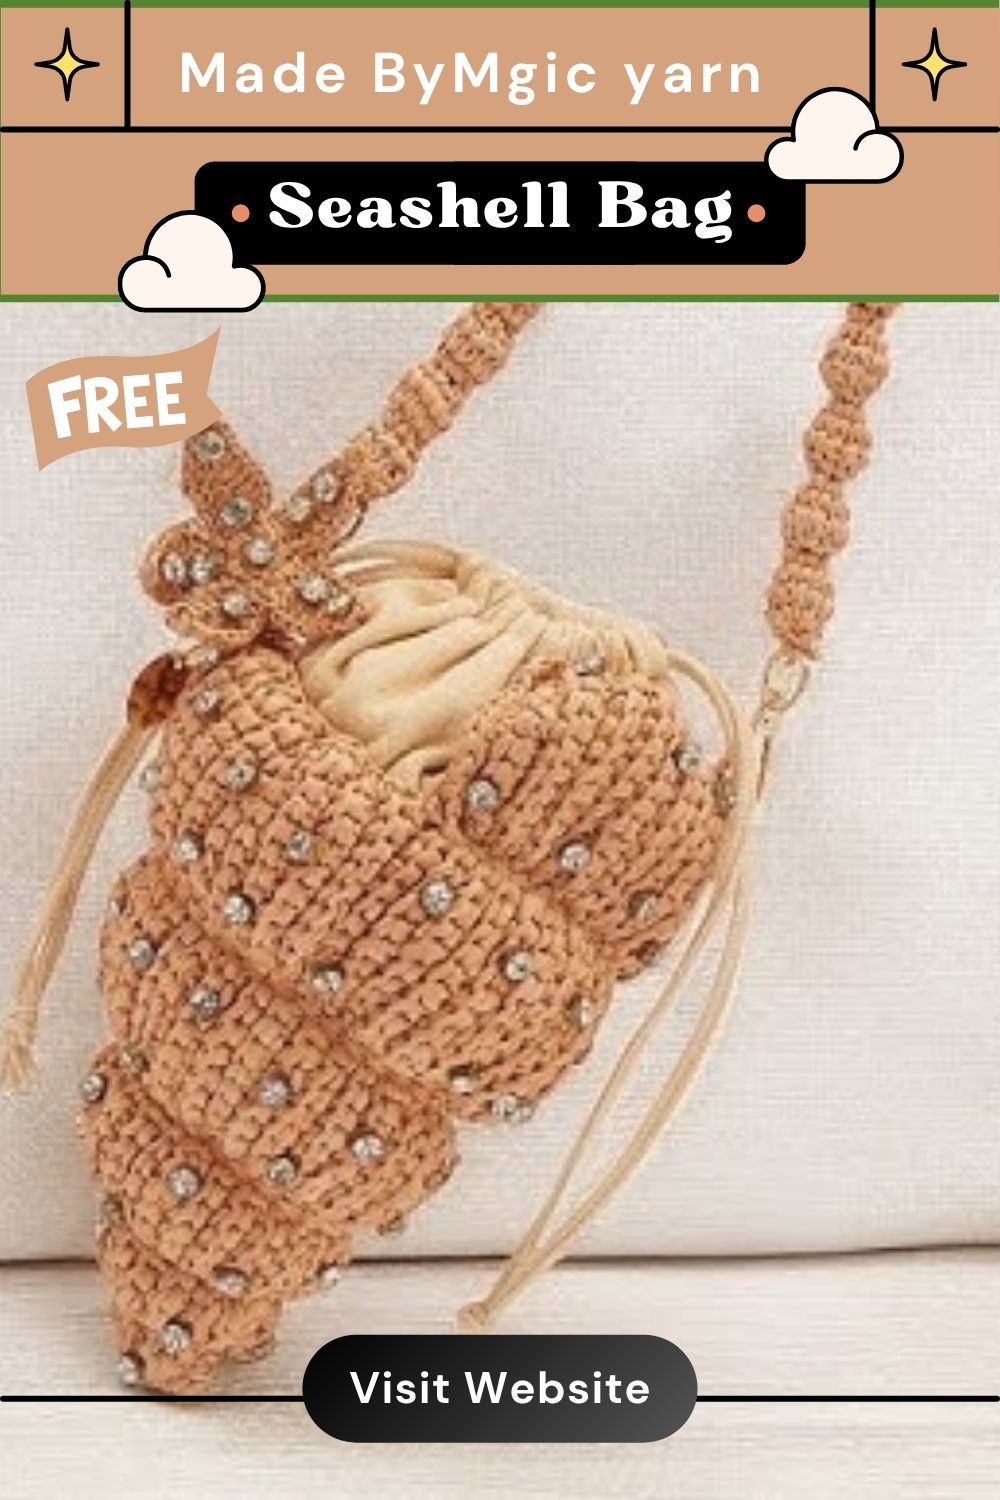
Sturdy cord yarn and a textured, rigid stitch pattern give this seashell-inspired bag a beachy, handcrafted look that feels right at home on summer outings. Anyone drawn to statement accessories with real durability will enjoy how quickly this Free Crochet Seashell Bag design comes together.
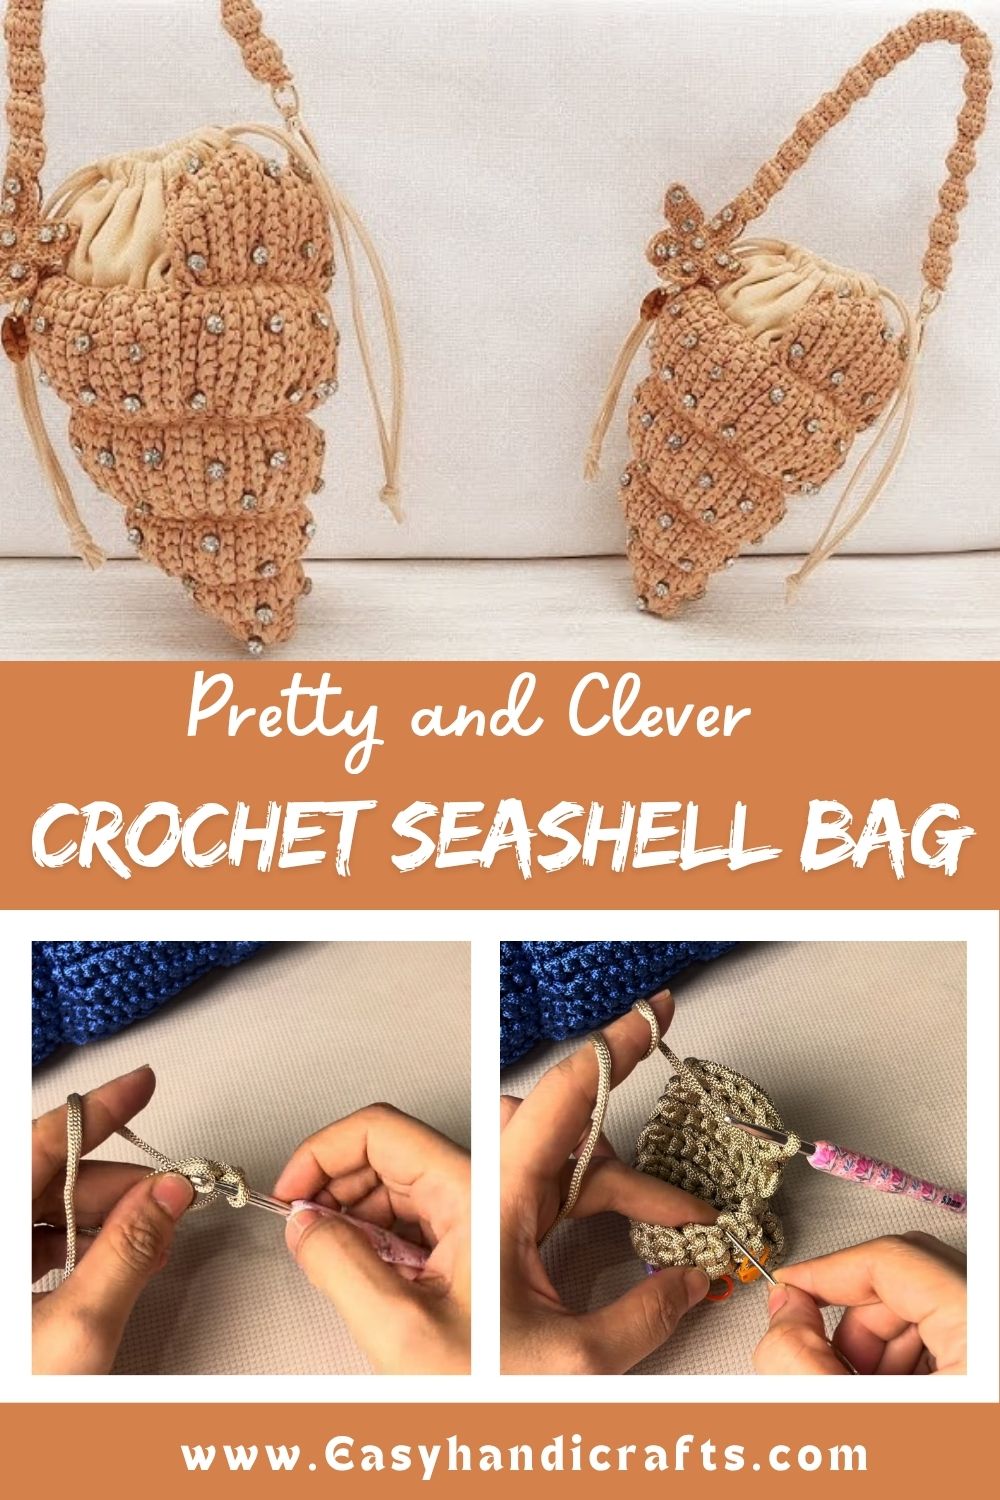
Despite its impressive finished size, the stitch work itself stays fairly repetitive and beginner-friendly, relying on consistent rounds worked in a sturdy yarn that holds its shape without stiffening or fraying. Crocheters comfortable with basic single crochet and simple color or texture changes should find this project entirely manageable, even as a first bag-making attempt.
Project Details
- Skill Level: Beginner to Easy-Intermediate
- Finished Size: Approximately 10–12 inches wide
- Estimated Time Required: 5–7 hours
- Recommended Yarn Weight: Cord yarn or bulky-weight cotton cord
- Crochet Hook Size: 5.0mm–6.0mm
Materials Needed
- Cord-style or bulky cotton yarn in a natural or neutral shade
- Crochet hook sized appropriately for cord yarn
- Multiple stitch markers for tracking pattern repeats
- Tapestry needle
- Scissors
- Optional lining fabric for the interior
Crochet Stitches and Techniques
These techniques form the backbone of this pattern:
- Slip Knot & Foundation Chain – establishes the starting base of the bag
- Single Crochet (sc) – works up the rigid body texture throughout
- Increase (inc) – widens the bag gradually toward the opening
- Ribbed or Textured Stitch – creates the raised, shell-like ridges across the surface
- Slip Stitch (sl st) – joins rounds and finishes edges neatly
- Fastening Off – secures the final round before weaving in ends
- Sewing or Weaving Ends – tidies up loose tails along seams
Pattern Instructions
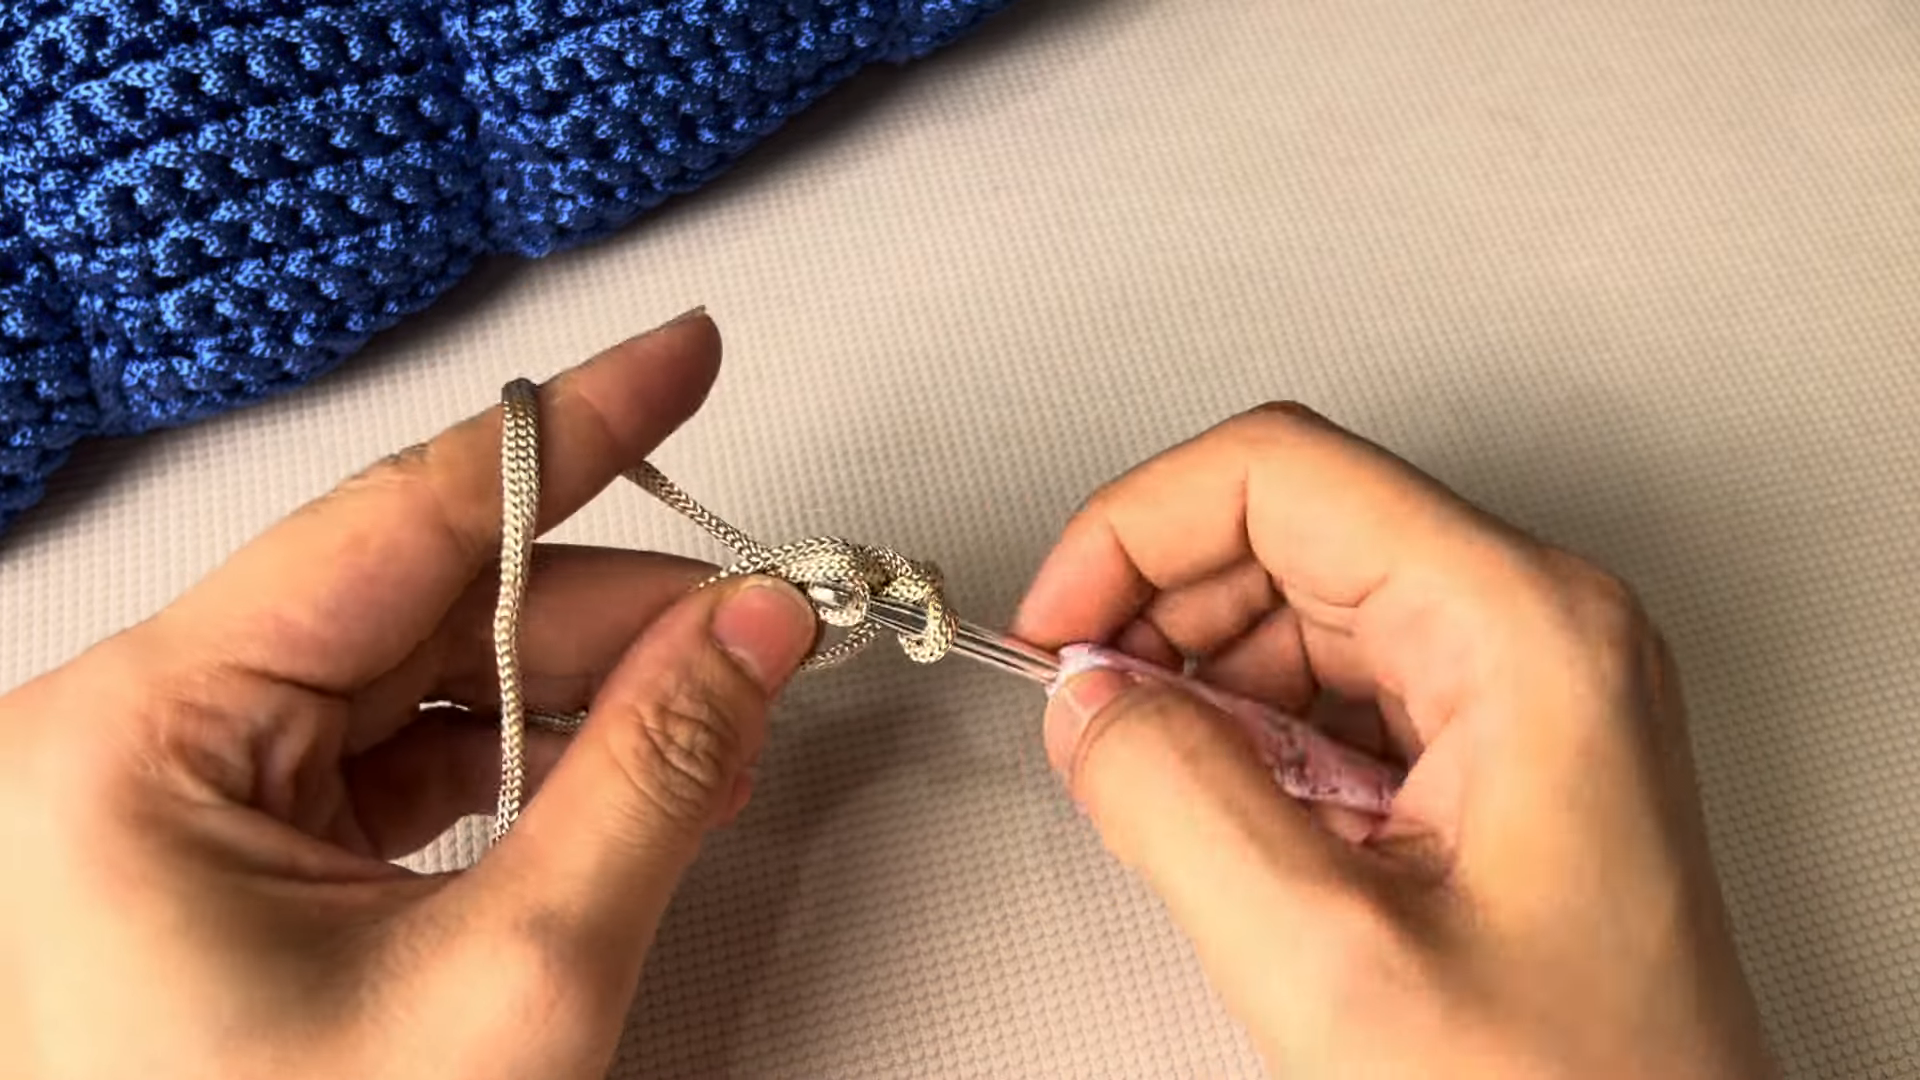
Step 1: Setting Up the Foundation
Cord yarn gets knotted and secured onto the hook first, forming the tight starting point that anchors every stitch that follows. Getting this initial knot snug matters, since a loose foundation can leave the base of the bag looking uneven later on.
Tie a secure slip knot, pull it snug against the hook, and work your first chain stitches to establish the foundation row.
Step 2: Building the Base Rounds
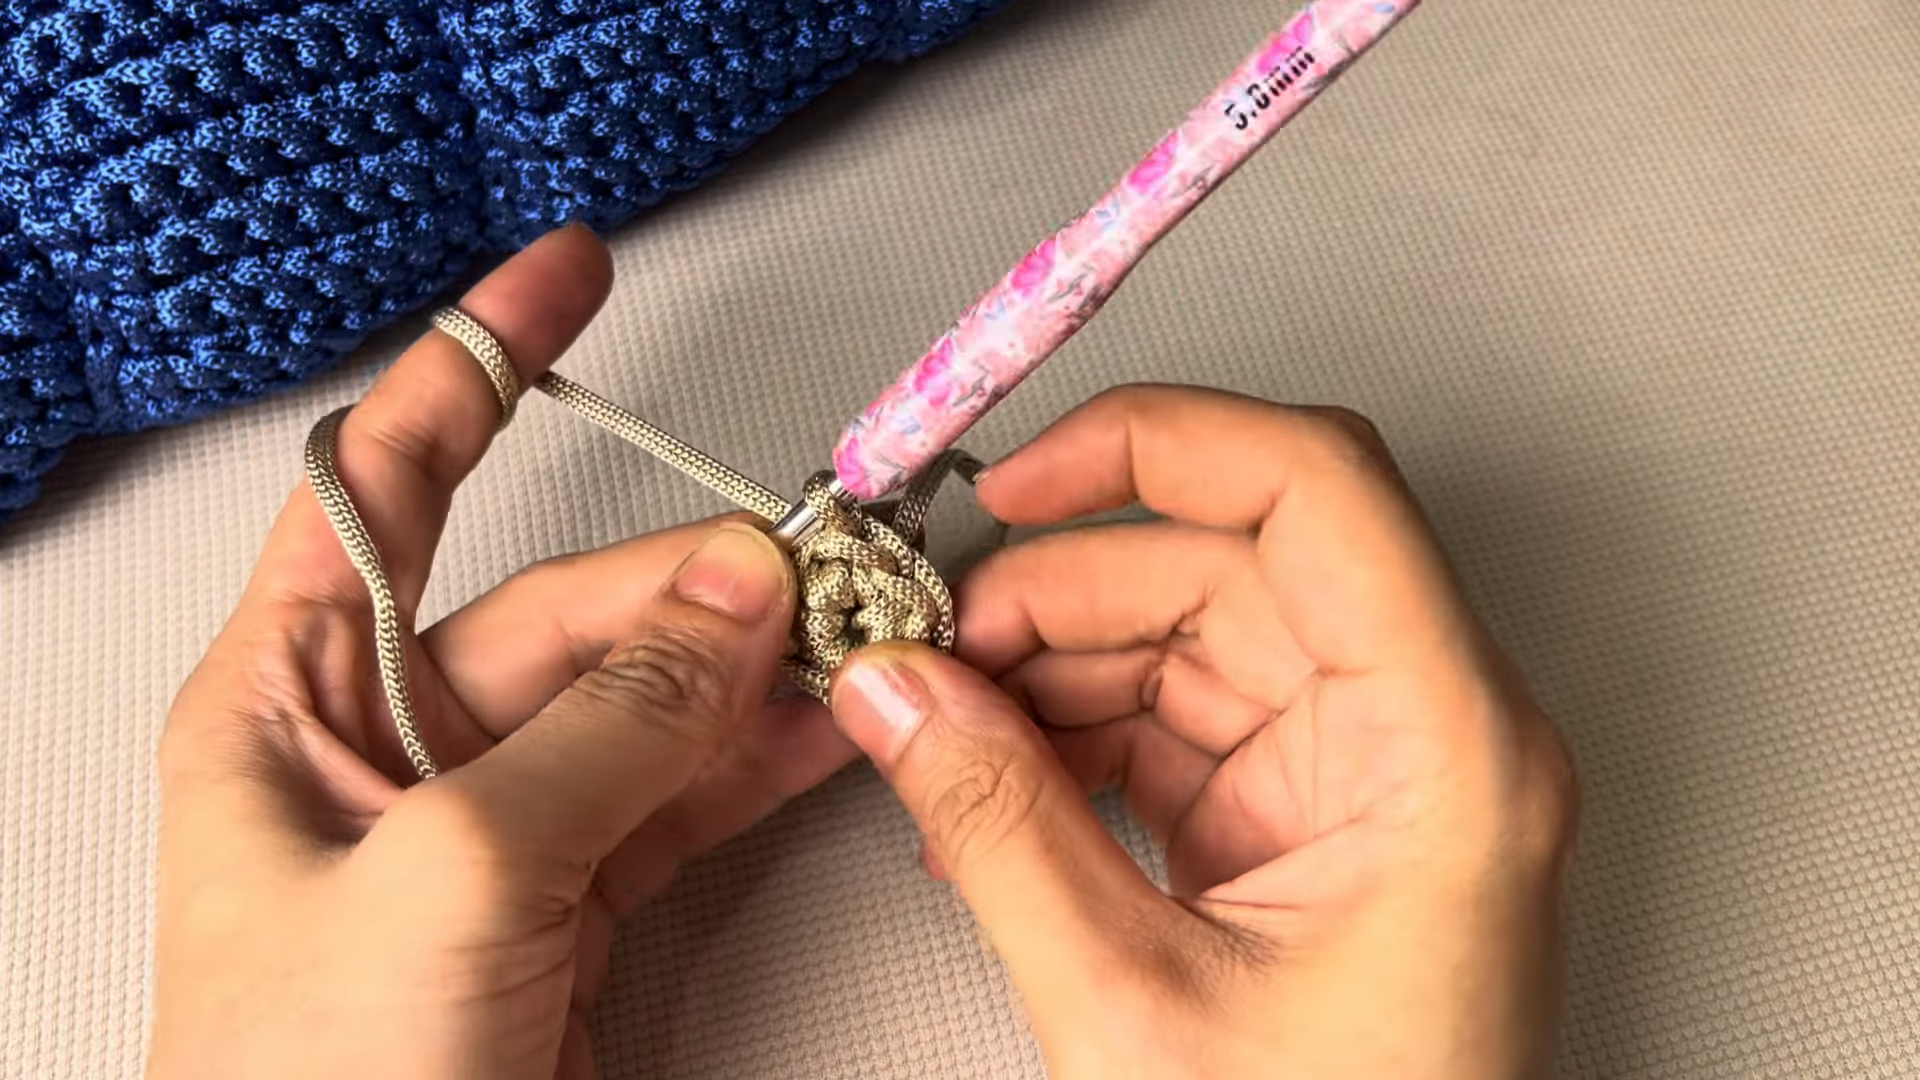
Stitches begin curving into a compact, textured base from this early stage, with the thicker cord yarn already showing its distinctive ridged surface. A second color or contrast strand often gets introduced here for detail work near the opening.
Work single crochet steadily around the foundation, increasing at set intervals to keep the base flat and evenly rounded.
Step 3: Shaping the Body and Adding Markers
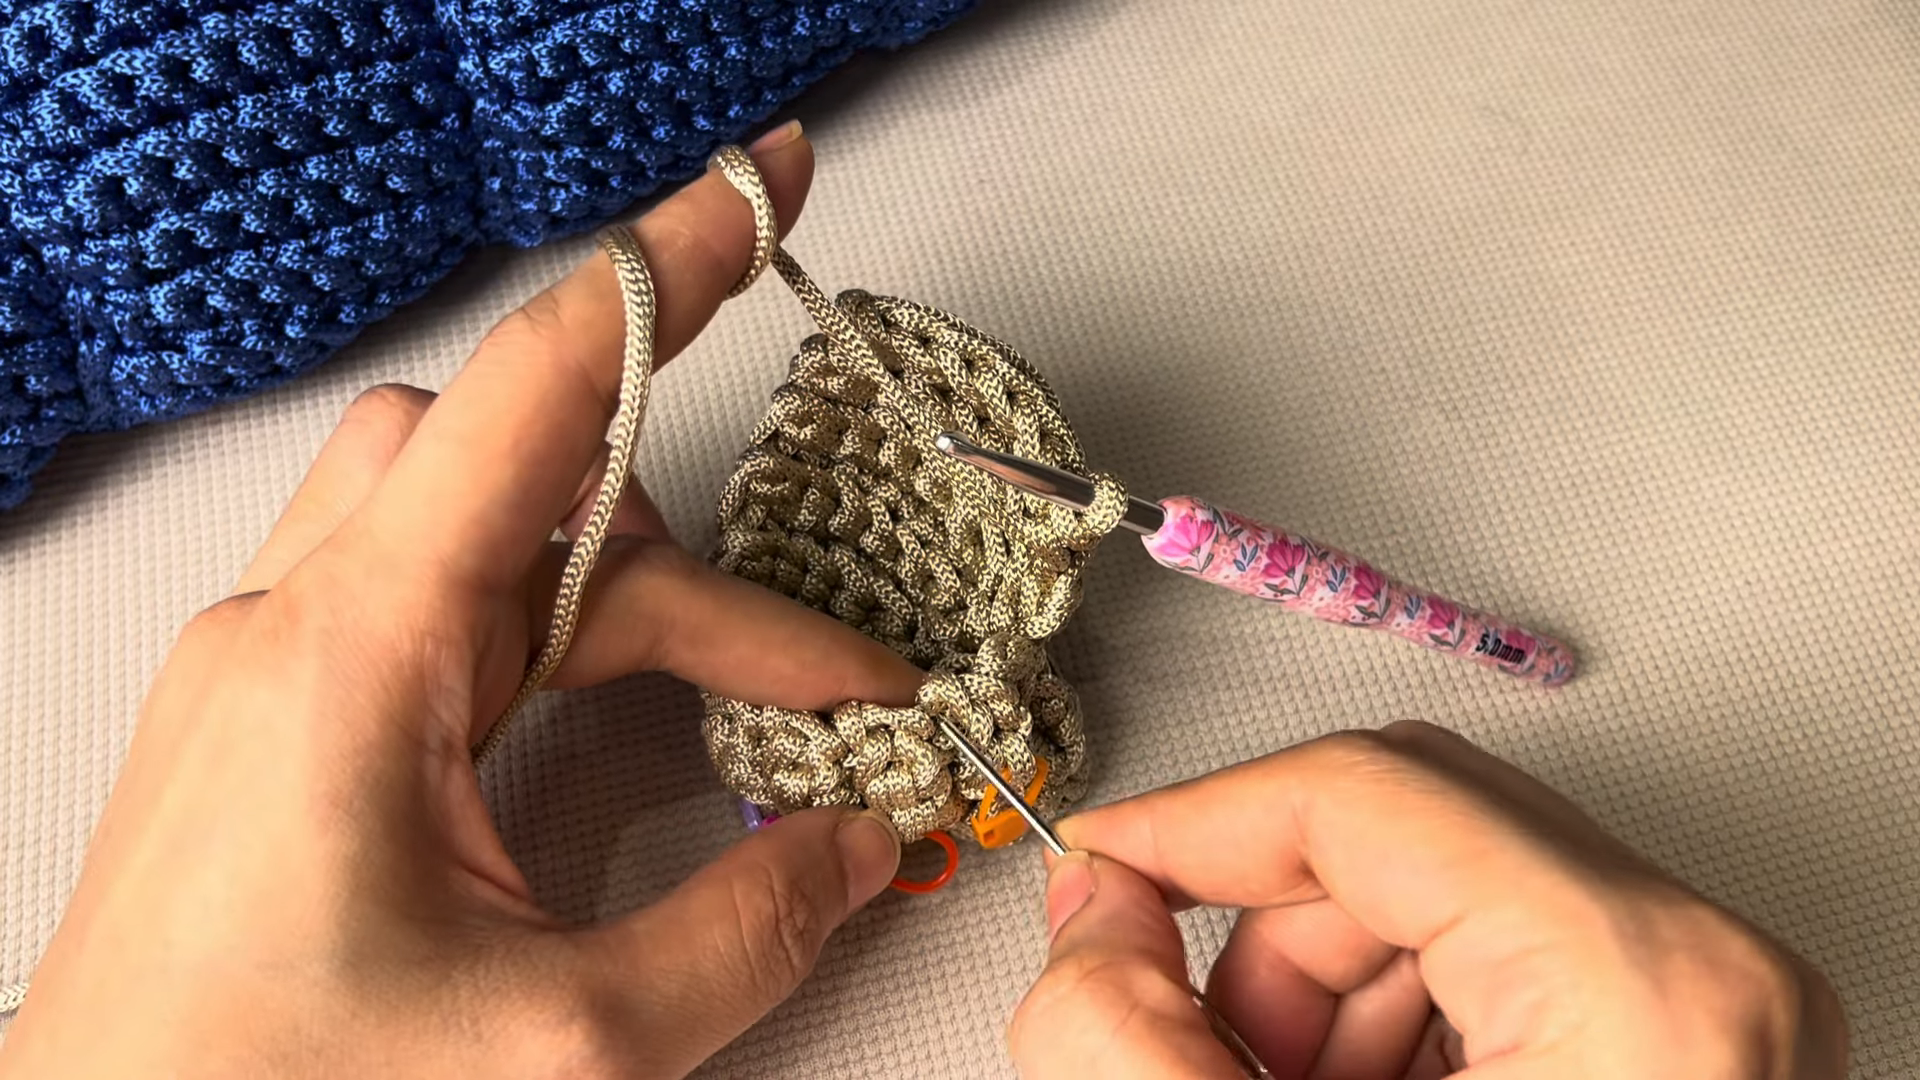
As the bag grows taller, stitch markers get placed at key points along the round to help track pattern repeats and keep the ridged texture aligned. The photo below shows several markers in bright colors dotted across the surface, each one flagging where a repeat begins or ends.
Continue working even rounds in the textured stitch pattern, placing a marker every set number of stitches to maintain consistent spacing across the growing body.
Step 4: Checking the Textured Surface
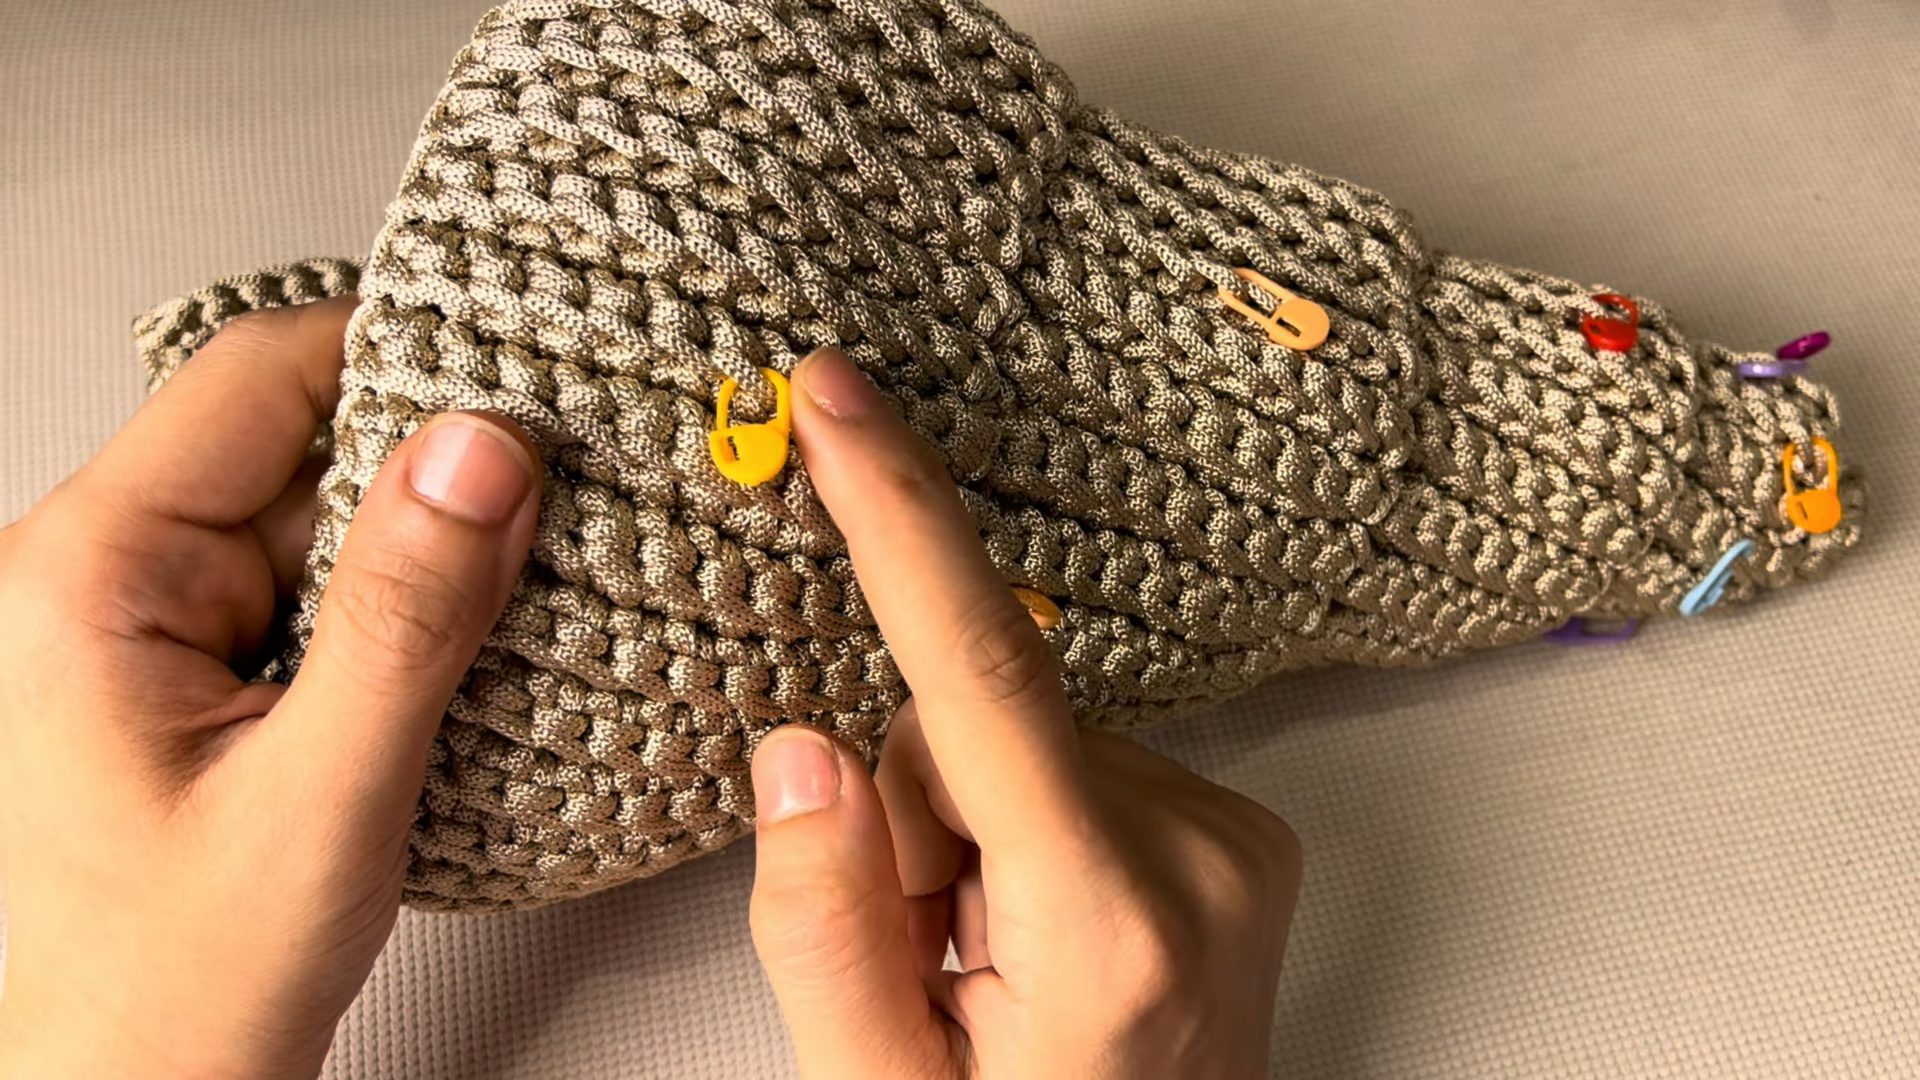
Once a good portion of the body is complete, the rigid, shell-like texture becomes clearly visible, running in consistent waves across the surface. The photo captures this stage well, with stitch markers still in place across the rows as a visual guide for the remaining rounds.
Run your fingers across the surface to check for consistency, adjust tension where needed, and continue repeating the pattern until the bag reaches your desired height.
Joining All Pieces
Weave in every yarn tail securely through nearby stitches using a tapestry needle, paying extra attention to areas where new yarn was joined mid-project.
Final Assembly
Attach handles or straps evenly on both sides, add a lining if desired, and give the finished bag a final shape check before it’s ready to carry.
Tips for Success
- Keep tension firm but not overly tight when working with thicker cord yarn
- Use plenty of stitch markers on large projects to avoid losing your place
- Count stitches every few rounds to catch sizing issues early
- Choose a hook size that lets the cord glide smoothly without splitting
- Block the finished bag gently to even out any texture irregularities
- Reinforce handle attachment points with extra stitching for durability
Personalization Ideas
- Add contrast stripes or color blocking for a bolder beach-ready look
- Attach a decorative shell or bead trim along the top edge
- Make a smaller version as a clutch for evening outings
- Line the interior with waterproof fabric for practical beach use
- Add a zipper closure for extra security when traveling
- Try a two-tone ombre effect by gradually shifting cord shades
Common Mistakes to Avoid
Working with cord yarn at too tight a tension often makes stitches difficult to work into on the following round, so keeping a relaxed grip helps maintain smooth progress. Skipping stitch markers on a project this large tends to cause pattern misalignment that only becomes obvious several rounds later, so placing them consistently from the start saves time. Handles attached without reinforcement can pull loose under the weight of everyday items, so extra stitching at these points makes a real difference in long-term durability.
Frequently Asked Questions
How long does this seashell bag typically take to complete?
Most crocheters finish the full bag within five to seven hours, depending on experience with cord yarn.
Can regular yarn be substituted for cord yarn?
Bulky-weight cotton yarn works as an alternative, though the texture will look slightly different.
Is a lining necessary for this bag?
Not required, though a fabric lining helps keep smaller items from slipping through the stitches.
What hook size works best with thick cord yarn?
A 5.0mm to 6.0mm hook typically glides smoothly without splitting the cord.
Can this Free Crochet Seashell Bag pattern be adjusted to make a smaller bag?
Yes, reducing the number of rounds before starting the handle section easily creates a smaller size.
How do I keep the textured ridges looking even throughout?
Consistent tension and regular stitch counting help maintain uniform ridges across every round.
Is this Free Crochet Seashell Bag pattern suitable for a first-time bag maker?
Yes, the repetitive stitch pattern makes it a great entry point into crocheting bags.