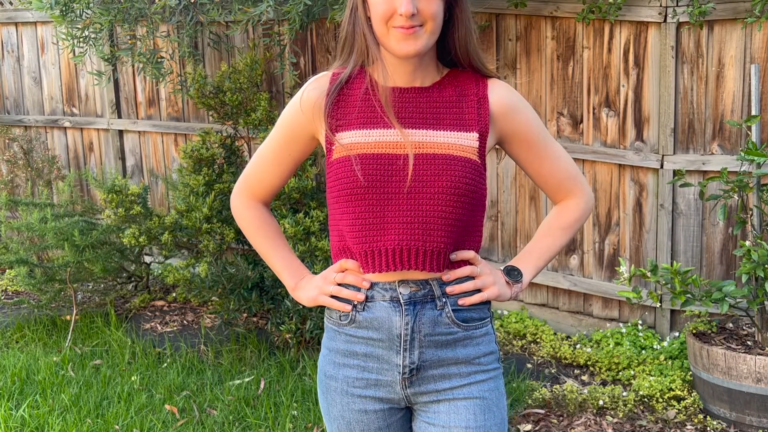
Crochet Argentina Sweater Pattern for Stylish Layers
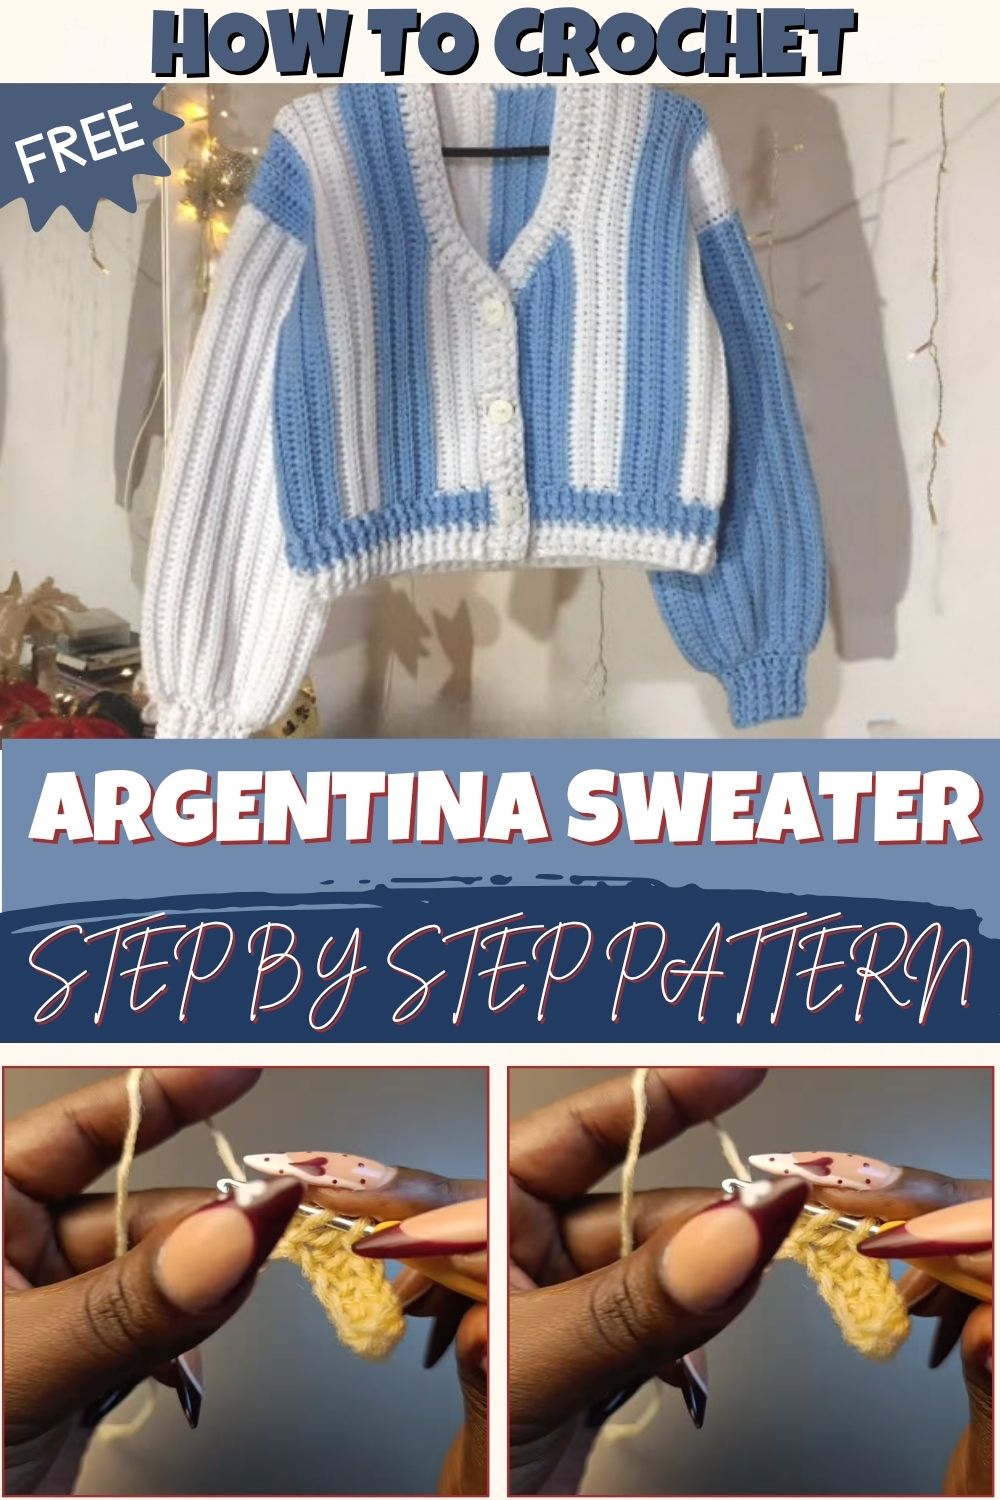
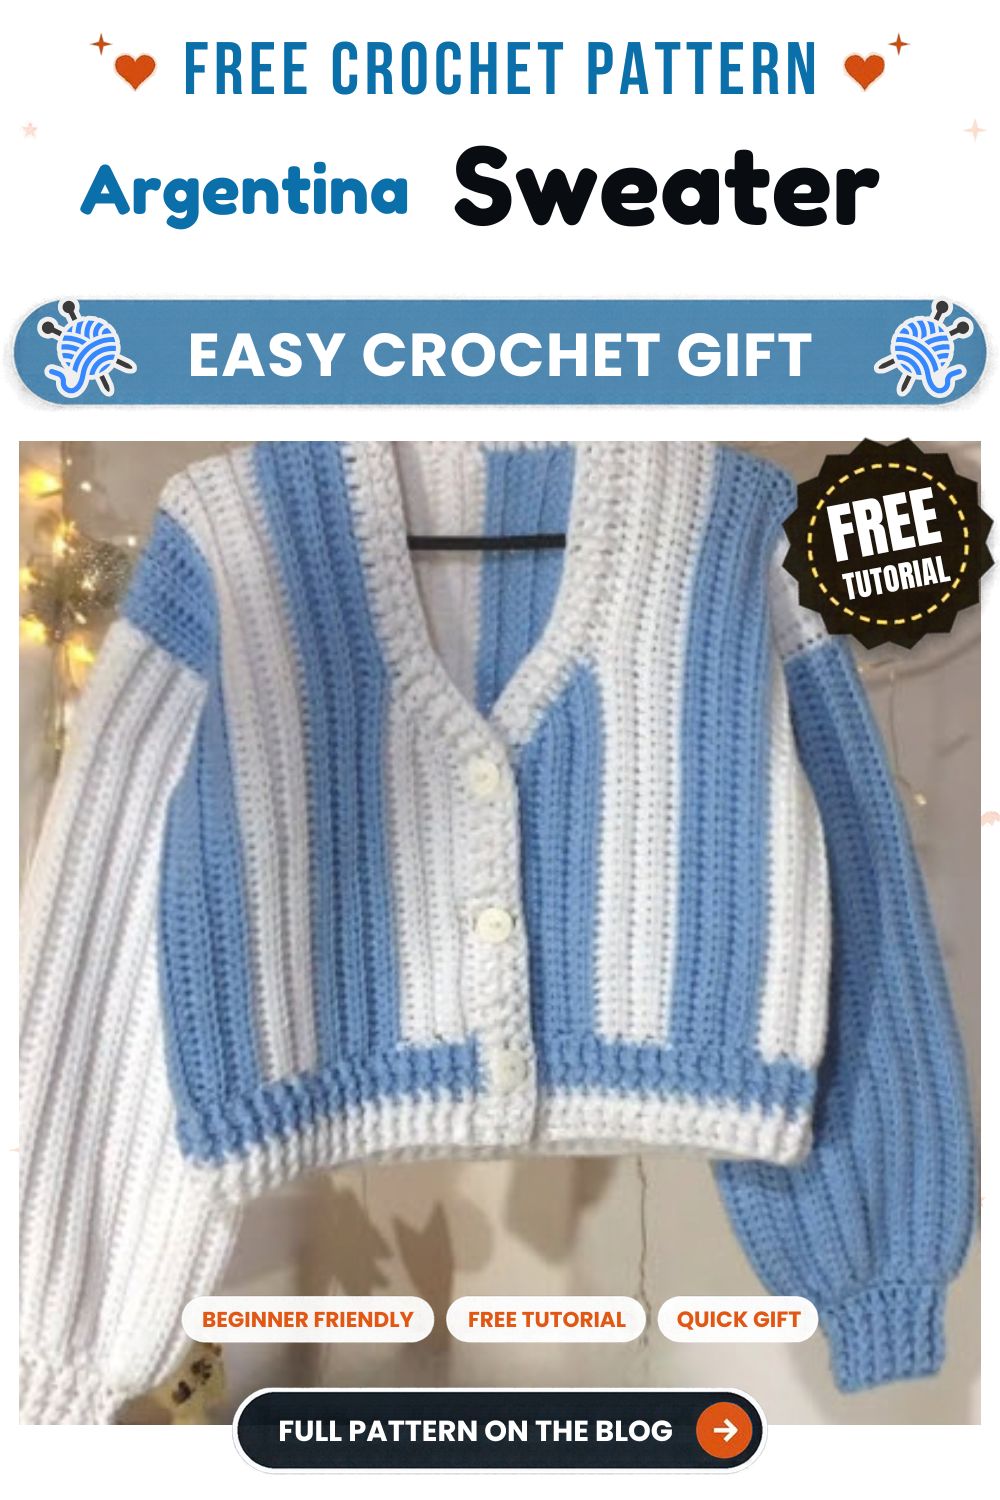
Light blue and white stripes have a way of making a plain sweater look like a statement piece. This crochet Argentina sweater pattern takes that classic color pairing and turns it into a cozy, wearable layer built from simple crochet panels.
The sweater is made in pieces, with striped sections that are joined at the end. There is no complicated shaping to memorize. Instead, the color work is clean, and the texture has a pleasant ribbed look. If you are comfortable with basic stitches and changing yarn colors, you can handle this one.
Why This Crochet Argentina Sweater Pattern Stands Out
The design relies on contrast. Wide bands of sky blue sit against crisp white, and the stripes run in different directions across the body and the sleeves. That small change in direction gives the sweater a tailored, deliberate look without any extra stitching.
The fabric is dense enough to feel warm but still has drape. As a result, it works over a tee in early autumn and over a long-sleeve top once the weather turns cold.
Materials for the Crochet Argentina Sweater Pattern
- Medium-weight (worsted) yarn in light blue
- Medium-weight (worsted) yarn in white
- Crochet hook in the size recommended on your yarn label
- Yarn needle for weaving in ends and seaming
- Scissors
- Measuring tape
- Stitch markers (optional, but handy for seaming)
Choose a soft, machine-washable yarn if you plan to wear this often, since acrylic and cotton blends hold stripe definition well and stand up to regular washing. Medium weight (worsted) is category 4 on the Craft Yarn Council yarn weight chart, which is handy if you want to substitute a different yarn.
Because yardage depends on the size you make, check your own panel measurements before buying. It also helps to buy a little extra of each color, so a dye lot never runs out halfway through a sleeve.
Stitches and Abbreviations (US Terms)
- ch – chain
- sl st – slip stitch
- sc – single crochet
- hdc – half double crochet
- st(s) – stitch(es)
- BLO – back loop only
Pick one main stitch, either sc or hdc, and use it for every panel so the fabric stays consistent. Working into the back loops gives the horizontal ridges you can see across the stripes. Hdc grows faster and drapes a little more, while sc is firmer and shows stripes more sharply.
Gauge and Sizing for the Crochet Argentina Sweater Pattern
Gauge matters more here than in a blanket or scarf, because the pieces must fit together and fit you.
First, work a swatch in your chosen stitch with the yarn and hook you plan to use, at least 4 inches square. Then measure how many stitches and rows fit in that space, and use those numbers to plan your panels.
The best way to size this sweater is to measure a sweater you already like:
- Measure the width across the chest, laid flat
- Measure the length from shoulder to hem
- Measure the sleeve length from underarm to cuff
- Measure the width of the sleeve at the top
Next, multiply your gauge by these measurements to find your starting chain and total row count for each piece. This approach gives you a custom fit instead of a guess.
How the Sweater Is Constructed
The sweater is made from flat rectangular pieces:
- A front panel
- A back panel
- Two sleeve panels
The body panels are worked with horizontal stripes, while the sleeves are worked so their stripes run lengthwise down the arm. Everything is then seamed together at the shoulders, sides, and sleeves.
Complete Crochet Argentina Sweater Pattern
Step 1: Make the Body Panels
Start with a foundation chain in light blue. The length of the chain depends on the width you worked out from your gauge.
Work your first row in your chosen stitch, then turn and continue in the same stitch for each following row. Keep a loose, steady tension so the edges stay straight.
Next, work several rows in light blue to create your first stripe. Make every stripe the same height by counting rows as you go, and write the count down so the front and back match.
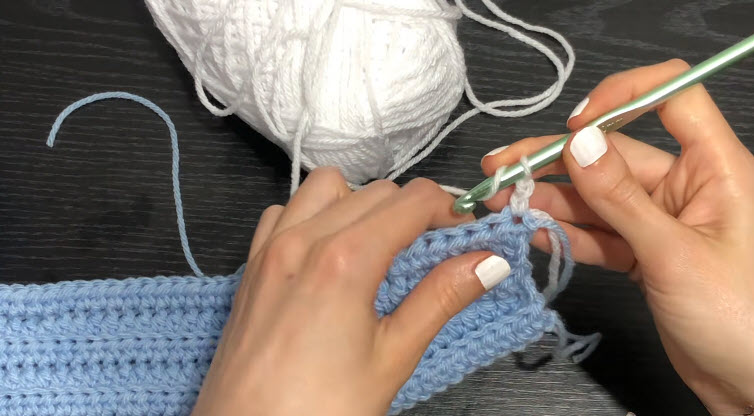
Step 2: Change Color for the Next Stripe
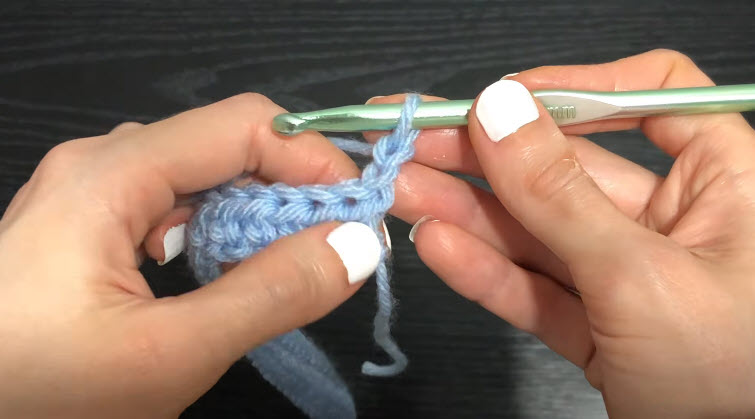
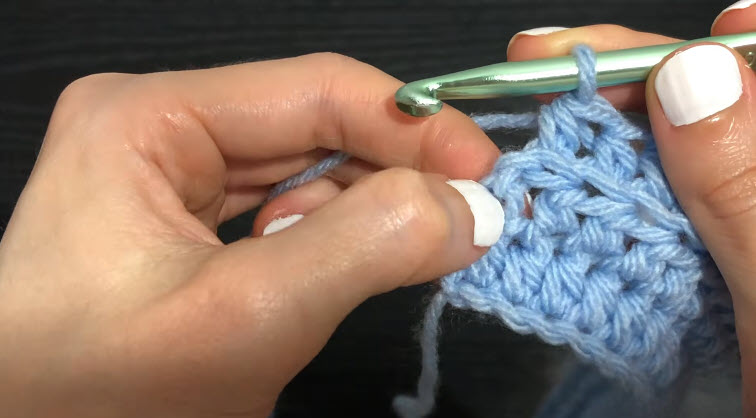
You change color at the end of a stripe.
- On the last stitch of your final blue row, work until two loops remain on the hook.
- Pull the white yarn through those two loops to finish the stitch.
- Drop the blue yarn and continue the next row with white.
This keeps the join neat and almost invisible. Leave the old yarn tail hanging at the edge for now, since you can weave it in later or tuck it into the seam.
If you cut the yarn at each color change, leave a tail of about 6 inches. Alternatively, you can carry the yarn up the side, but do it loosely so the edge does not pucker.
Step 3: Repeat the Stripes
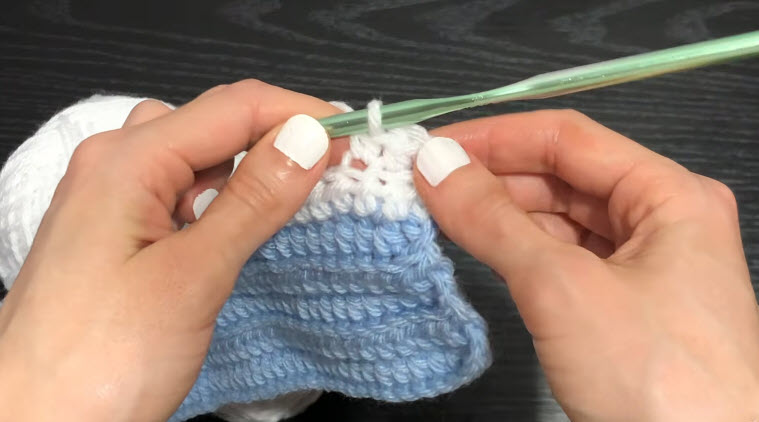
Alternate between light blue and white, keeping each stripe the same height. Continue until the panel reaches the length you measured earlier.
If you cut the yarn at each change, fasten off and weave in the ends when a stripe is finished. Doing this as you go saves a long job at the end.
Finally, work the back panel exactly like the front so the two pieces match.
Step 4: Make the Sleeves
The sleeves use the same stitch but turn the stripes the other way. To get lengthwise stripes, make your foundation chain as long as the full sleeve length, then work stripes across the width, changing color at the end of the row.
Work rows until the sleeve reaches the width you need at the top of the arm. A little extra width at the top gives more room across the shoulder.
Then make a second sleeve that matches in length and stripe count. Lay the two side by side once they are done to confirm they are the same size.
Step 5: Block the Pieces
Blocking makes seaming much easier. Lay each piece flat, shape it to the correct measurements, and let it dry completely. Acrylic yarn can be lightly steamed from a distance without touching the fabric.
Blocked pieces lie flat, so the stripes line up better when you pin them together.
Assembling the Sweater
Take your time with assembly, because this is where the sweater comes together.
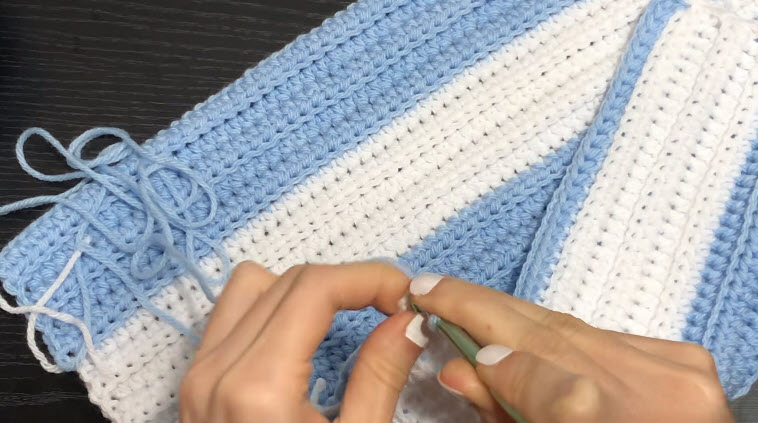
- Shoulders. Lay the front and back panels together with right sides facing. Seam the top edges, leaving the middle open for the neck.
- Sleeves. Pin the center of each sleeve’s top edge to the shoulder seam. Then work outward on both sides, easing the fabric to fit.
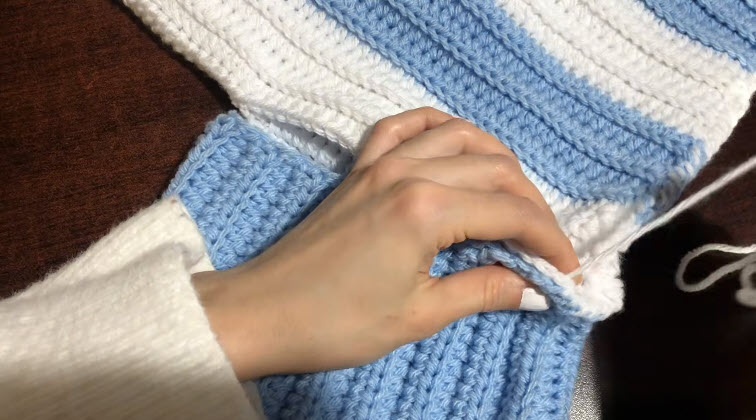
- Sides and underarms. Seam from the cuff up the underside of the sleeve and straight down the side of the body in one continuous line.
- Check the fit. Try the sweater on or lay it flat and compare it to your measurements before you weave in the last ends.
For seaming, a mattress stitch gives the flattest join, while a slip stitch seam is faster and slightly firmer. Use white yarn on white stripes and blue yarn on blue stripes so the seam disappears.
Also use stitch markers or pins to match stripe positions across the side seams. When the stripes meet exactly, the sweater looks far more polished.
Finishing Touches
Weave in all remaining yarn ends along the seams or inside stripes of the same color. Trim the tails close once they are secure.
You can leave the hem and cuffs as they are, or add a simple edging for a sturdier finish. A round of single crochet around the bottom edge and cuffs helps the fabric lie neatly.
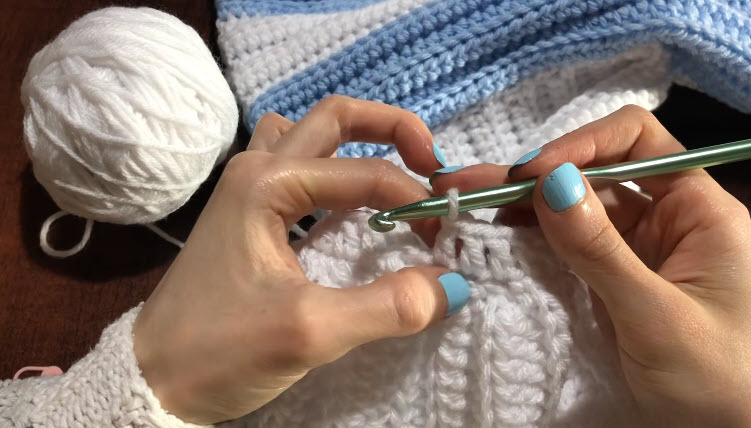
For a visual walkthrough, play the video below.
Crochet Argentina Sweater Pattern Tips
- Keep tension even. Uneven tension shows clearly in striped fabric, so check your gauge again partway through.
- Count your rows. Write down the number of rows in each stripe. This keeps the panels identical.
- Change colors at the same edge. Always switch at the end of a row on the same side, so the carried yarn stays on one edge and is easy to hide in the seam.
- Do not pull the join tight. A tight color change gathers the edge and makes it ripple.
- Match your hook to your stitch. If the fabric feels stiff, go up a hook size. If it looks loose and holey, go down.
Color and Size Variations
The light blue and white pairing is the signature look, but the same structure works in almost any two-color scheme. Navy and cream look sharp, while soft pink and gray feel gentler.
To change the size, adjust the starting chain and the number of rows rather than altering the stitch pattern. For a cropped version, shorten the body panels. For a longer, oversized fit, add extra rows and make the sleeves a little wider.
Bonus: Plan Your Stripe Sequence on Paper
Before you start, sketch the stripe order on a small card: how many rows of blue, how many rows of white, and where each color begins. Keep the card beside you and tick off each stripe as you finish it. That way the front, back, and sleeves repeat the same sequence, and you never have to guess where you stopped.
Bonus: Styling Ideas for Your Striped Sweater
Once the sweater is finished, there are plenty of ways to wear it.
- Pair it with straight-leg jeans and white sneakers for a relaxed everyday outfit.
- Wear it over a collared shirt so the collar peeks out at the neckline.
- Layer a denim jacket over it on cooler days.
- Match it with plain neutral bottoms so the stripes stay the focus.
Since the stripes are bold, simple accessories usually look best.
Crochet Argentina Sweater Pattern FAQs
Is this crochet Argentina sweater pattern beginner-friendly?
It suits confident beginners. The pieces are plain rectangles, and the main skills are working in rows, changing colors, and seaming.
Can I use a different yarn weight?
Yes, but your gauge will change. Make a new swatch and recalculate your chain and row counts before starting.
How do I keep the stripes straight at the edges?
Change colors at the end of the row, count your stitches carefully, and avoid pulling the carried yarn tight.
Do I have to block it?
It is not required, but it helps the pieces lie flat and makes the seams line up more neatly.
How should I wash it?
Follow the care label on your yarn. For most acrylic or cotton-blend yarns, a gentle cycle and flat drying will keep the shape.
Your Striped Layer Awaits
There is a lot to enjoy in a project like this. The stitches are easy, the stripes keep the work interesting, and the finished sweater looks far more complicated than it is. So take your time with the seams, and you will end up with a layer that feels truly handmade.