Crochet Granny Square Sweater Pattern for a Cozy Look
A granny square sweater comes together from a stack of small, repeatable motifs, so the hardest part isn’t any single stitch it’s the math and the joining. Get those two things right and the rest is just repetition.
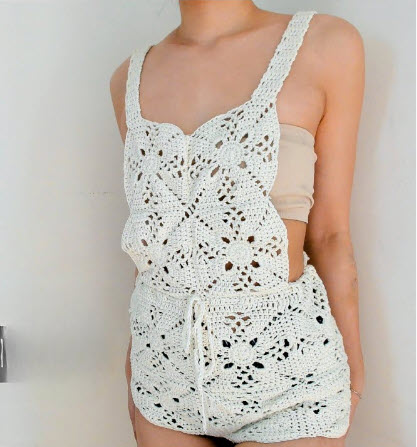
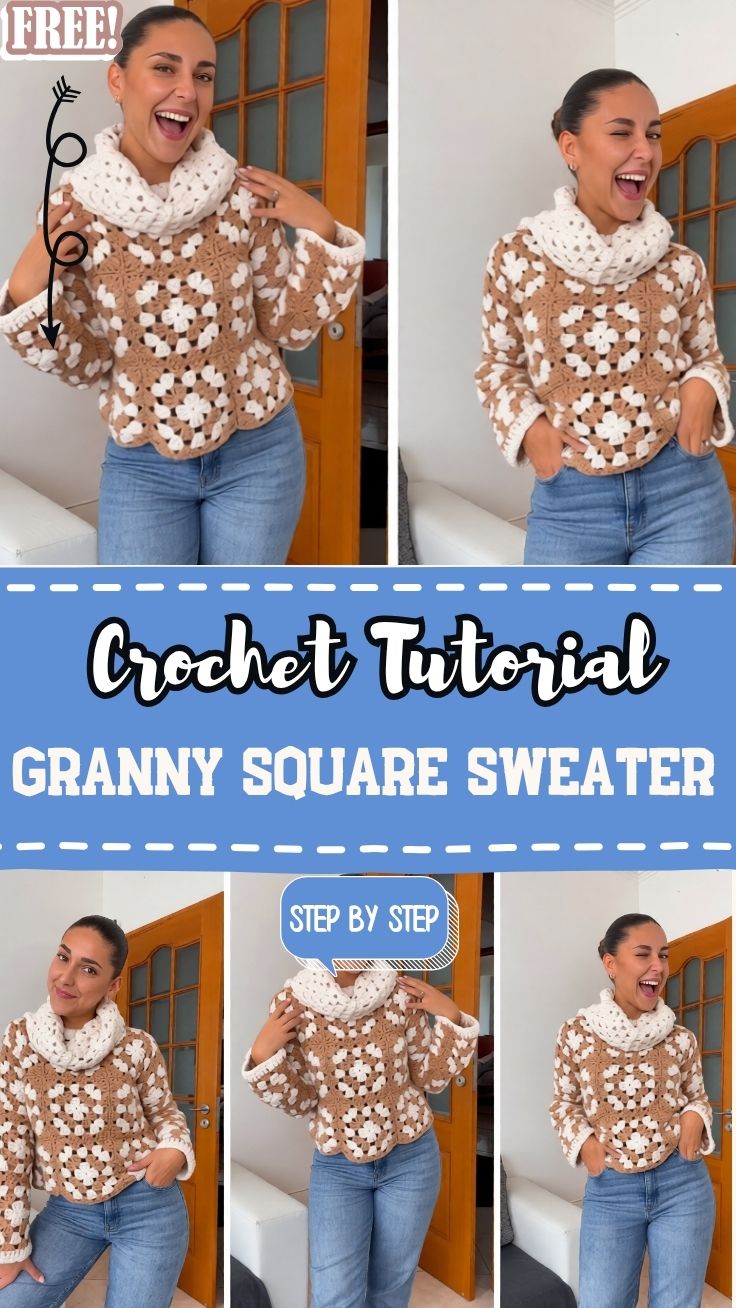
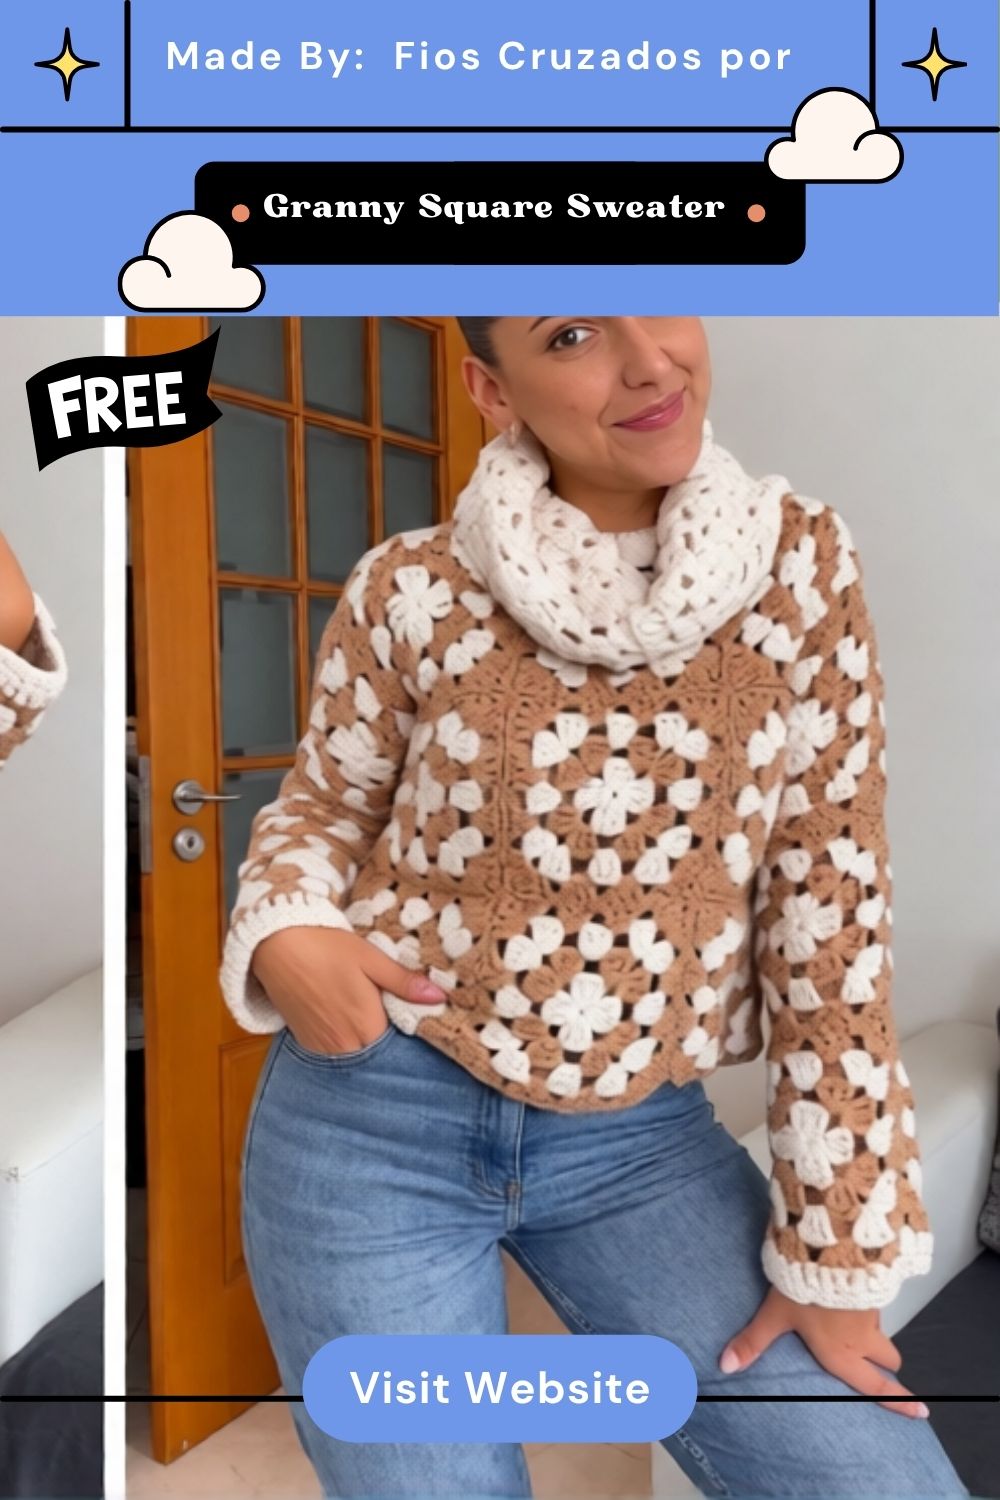
This granny square sweater pattern turns simple 3-round motifs into a full wearable garment, not just a blanket square. What makes it different from a typical granny throw is the shaping, armhole gaps, a neckline opening, and a join-as-you-go technique that keeps seams flat enough to move with your body. If you can make one motif, you can make this crochet sweater.
Materials
- Yarn: Worsted weight (medium, #4), acrylic or wool-blend for drape and washability. Estimate 4–6 skeins (approx. 800–1,000 yds) depending on size and color count.
- Hook: 5.5mm (I-9), adjusted up or down slightly to hit gauge.
- Notions: Yarn needle, stitch markers, scissors, blocking mat and pins.
Gauge / Motif Size
One completed motif (3 rounds) should measure approximately 4″ x 4″. Always block a test motif before committing to a full batch a single motif measured before blocking will read smaller and mislead your motif count.
Time Box
- Single motif: 10–15 minutes once you’re comfortable with the pattern
- Full front or back panel: 3–5 hours across several sittings
- Whole sweater (motifs + joining + finishing): plan for 15–25 hours spread over a couple of weeks
Important Stitches
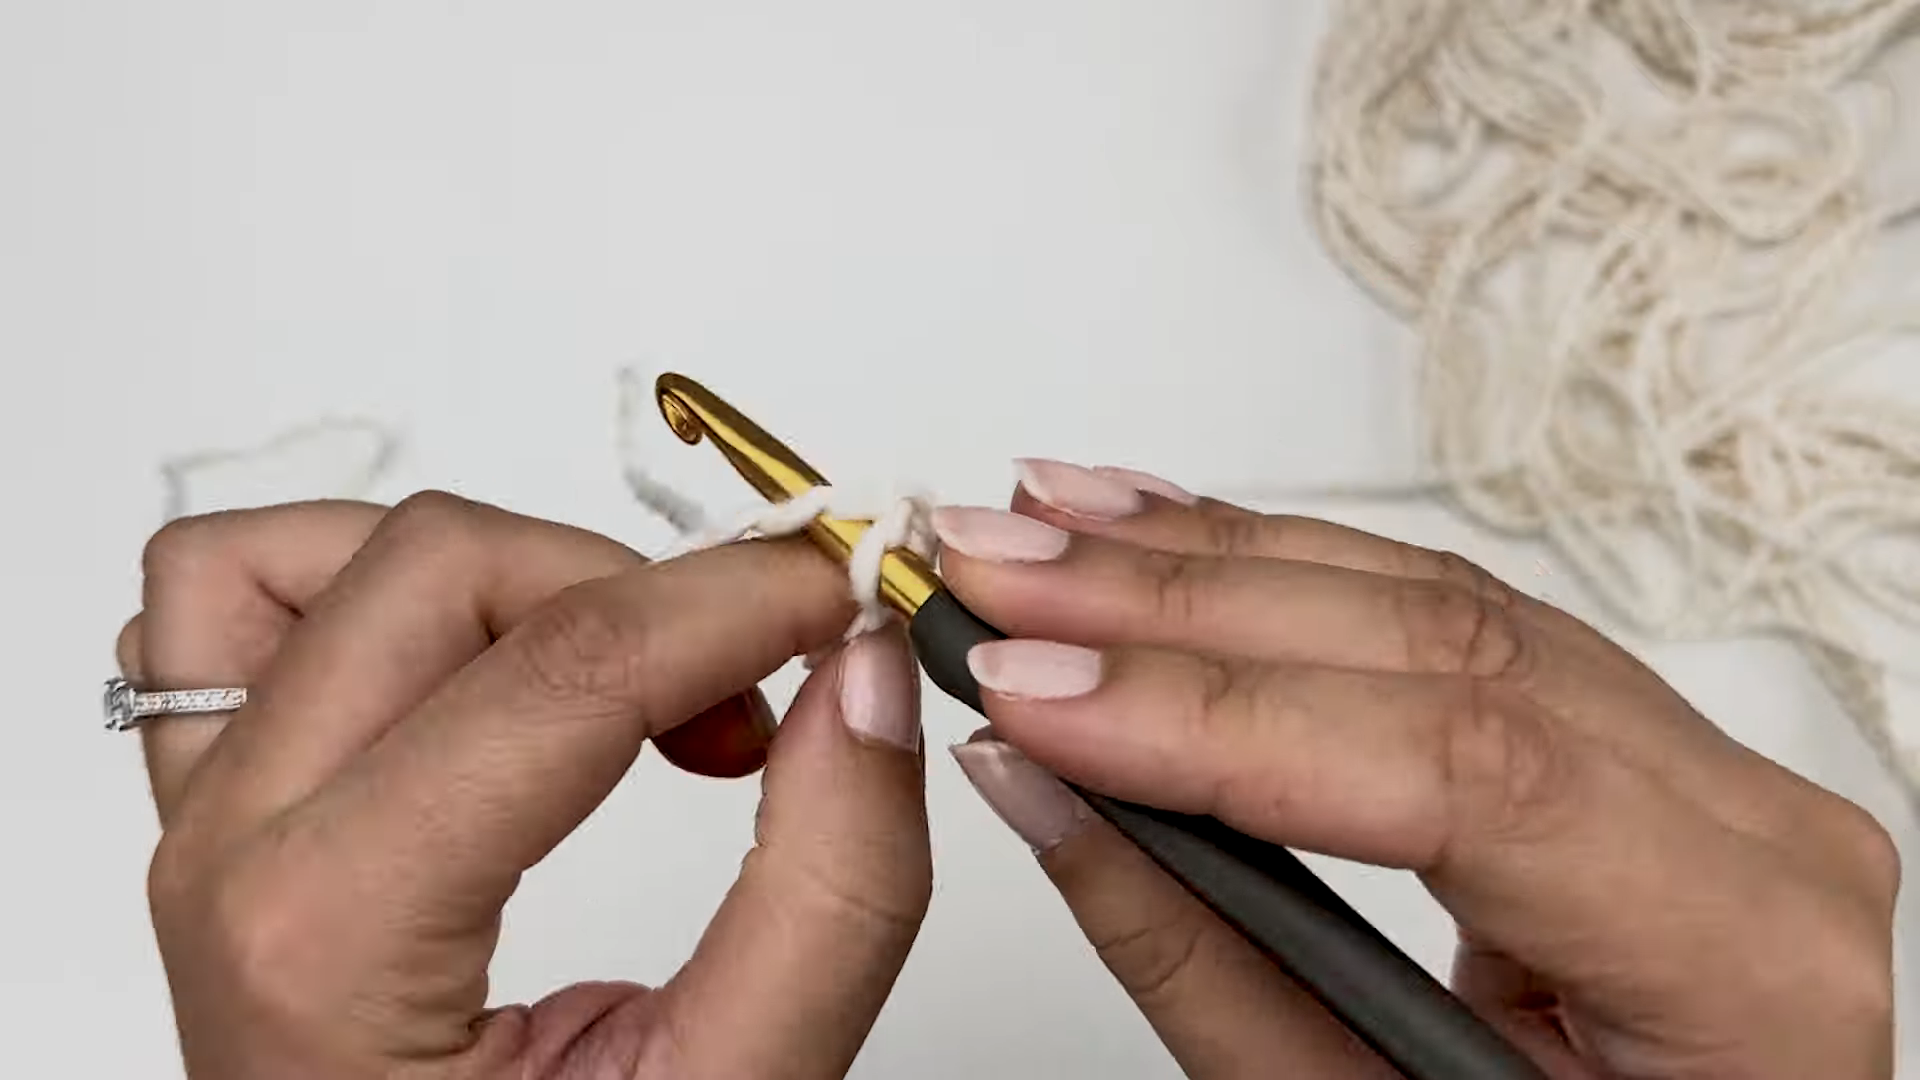
- Magic ring (adjustable ring): your motif’s foundation lets you cinch the center hole closed completely instead of leaving a gap.
- Chain (ch) and double crochet (dc): the two stitches every round is built from.
- Corner cluster: 3-dc group with a ch-2 space, worked into each corner to keep the square shape growing evenly.
- Join-as-you-go slip stitch: connects a new motif to a finished one on the final round, replacing separate sewing later.
Before You Start
Crochet and block one full motif before you touch the rest of your yarn. This single step catches tension problems, wrong hook size, and gauge mismatches while they only cost you one motif instead of forty.
Granny Square Motif Pattern
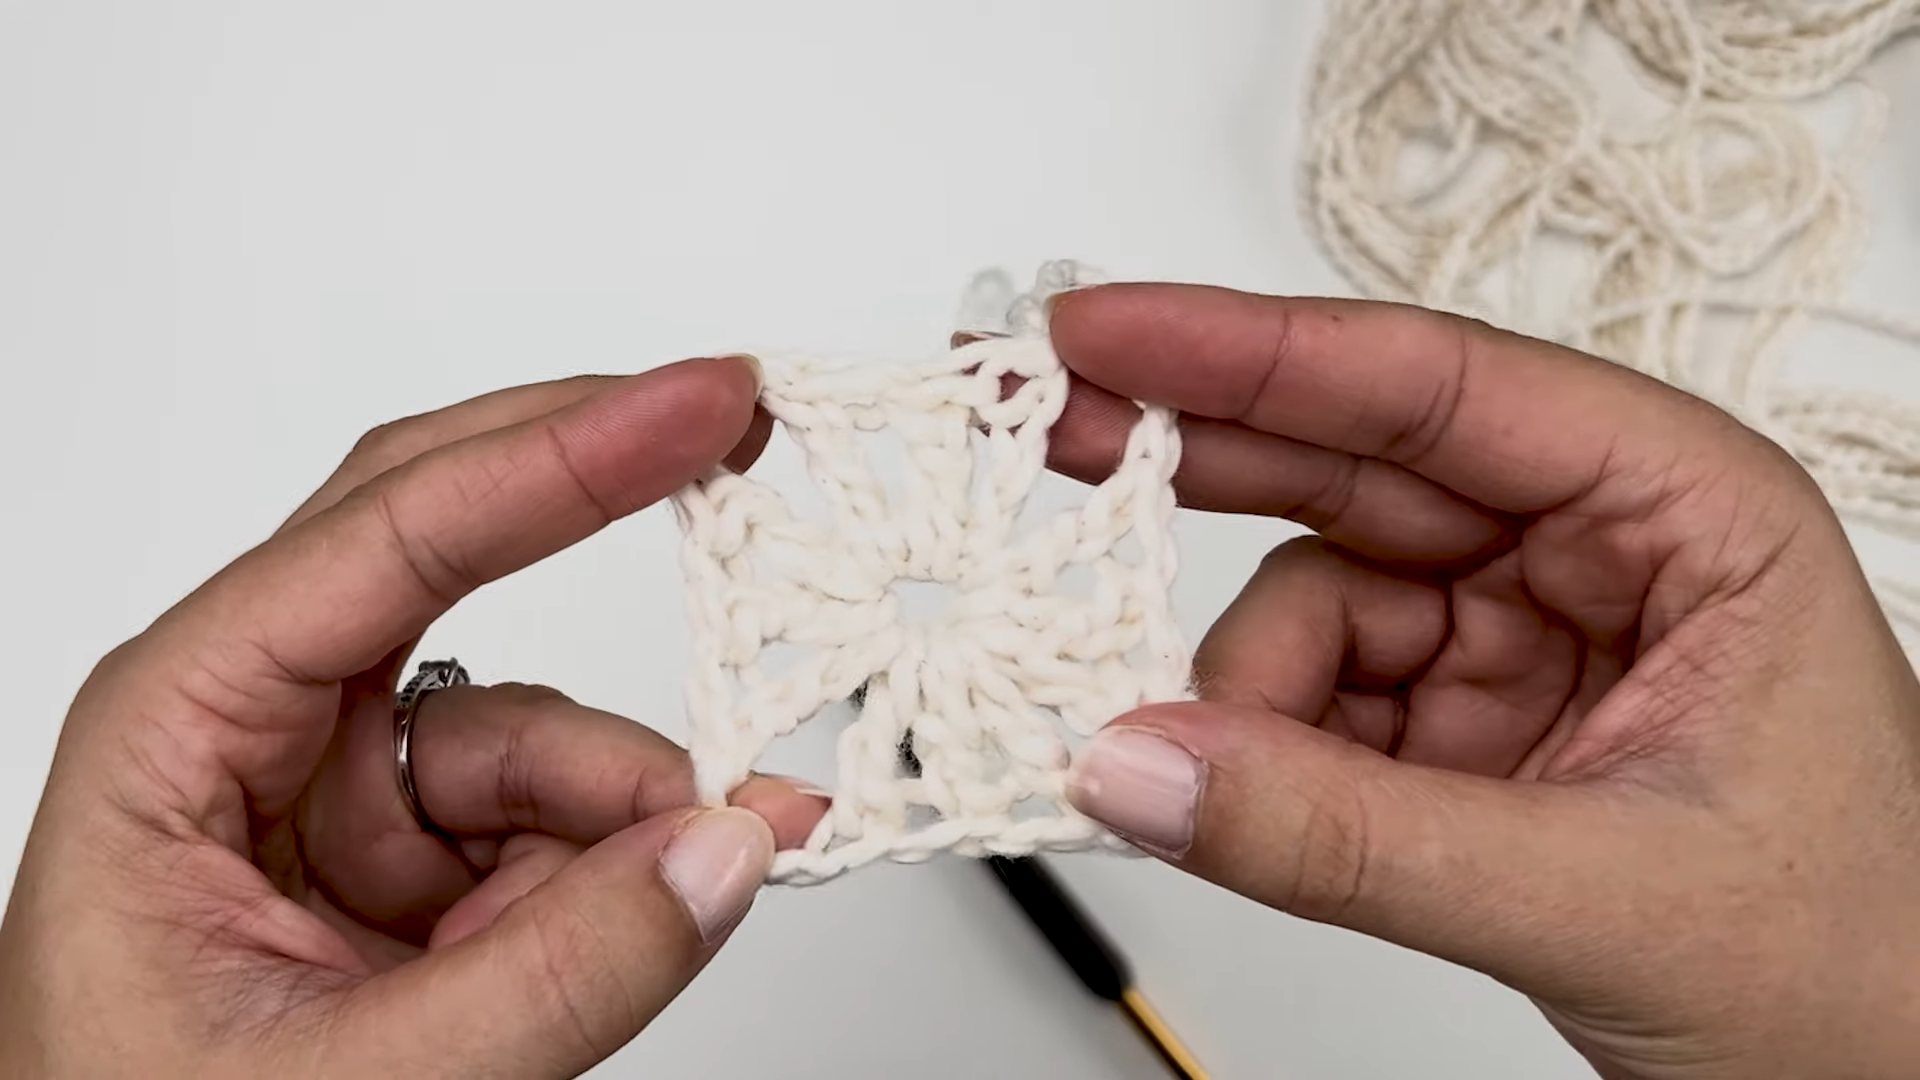
Round 1: Magic ring, ch 3 (counts as first dc), 2 dc into ring, ch 2, [3 dc, ch 2] three more times into the ring, join with a slip stitch to the top of the starting ch-3. You’ll have 4 corner groups of 3 dc separated by ch-2 spaces.
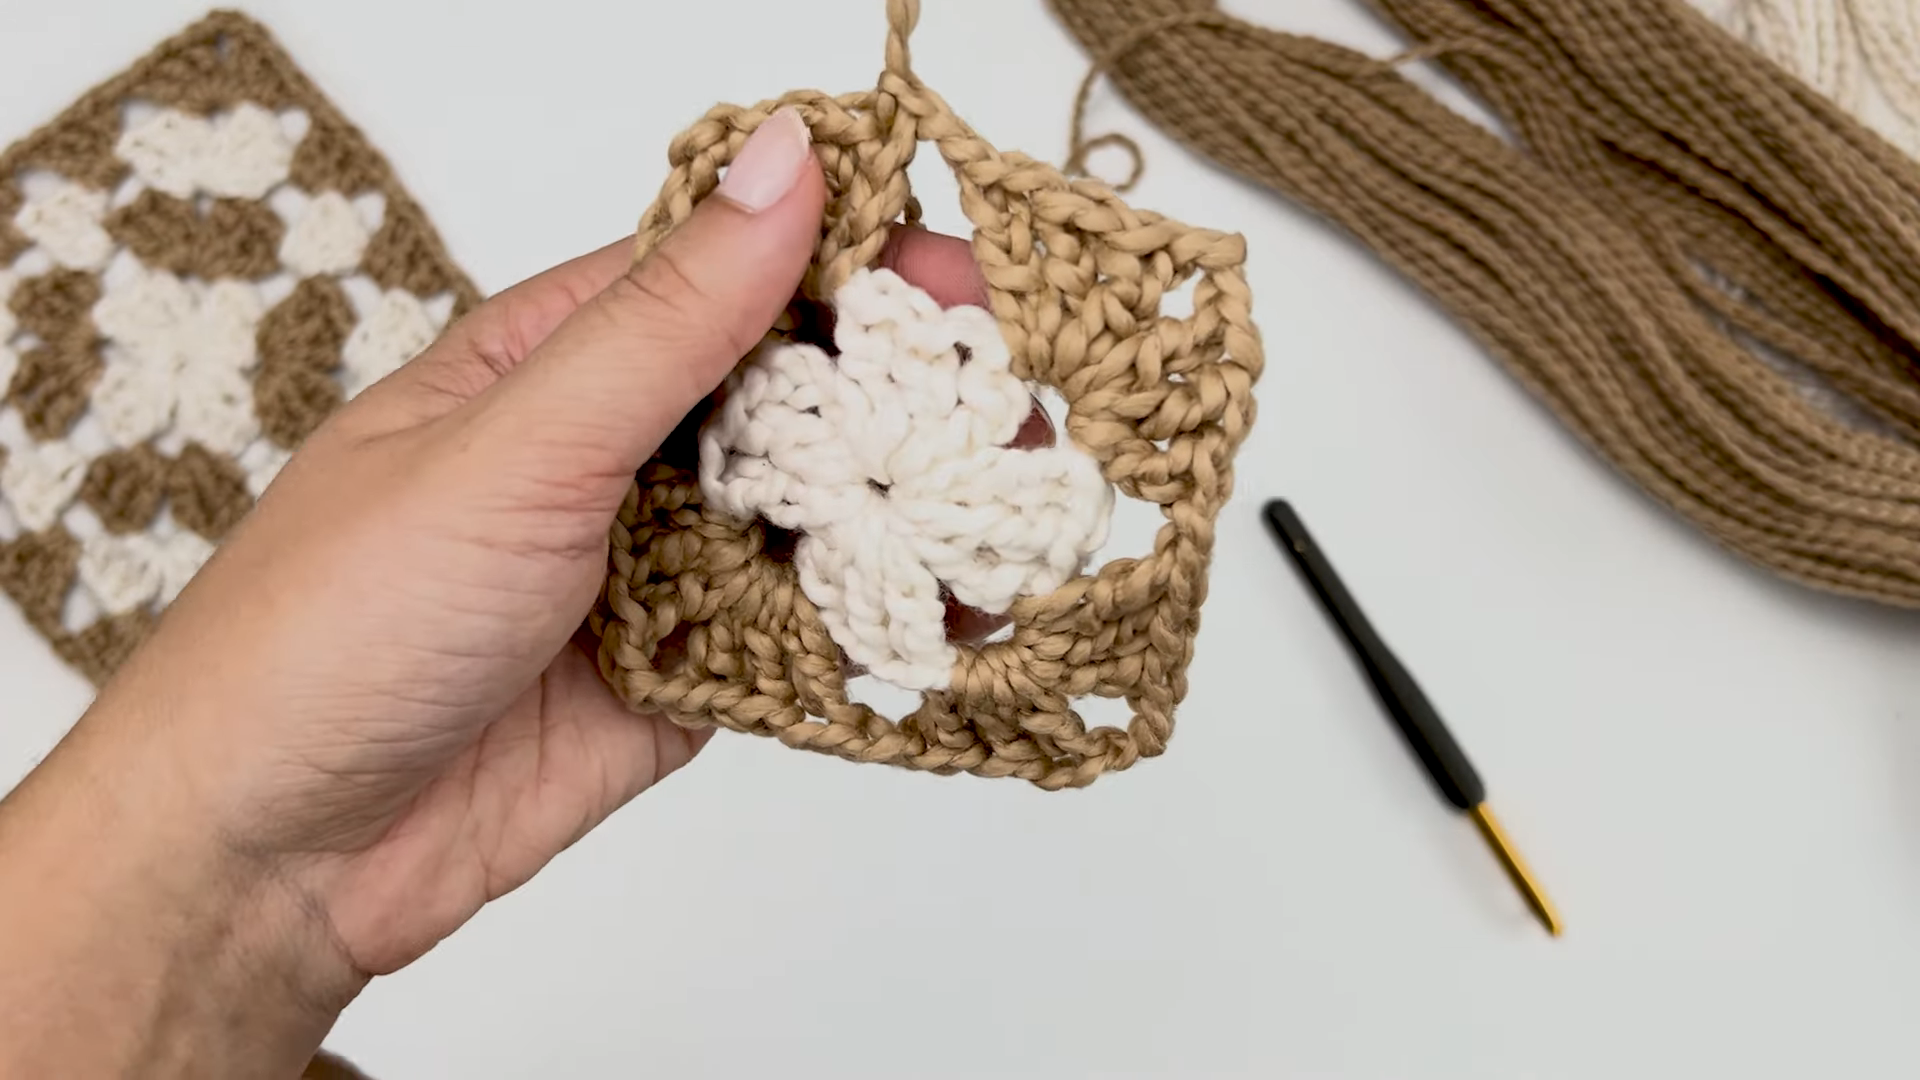
Round 2: Slip stitch into the next ch-2 corner space. Ch 3, (2 dc, ch 2, 3 dc) all in that same corner space; this is your first corner cluster. Ch 1, then 3 dc into the next ch-2 space (this becomes a side cluster). Repeat around: corner cluster in each corner, side cluster in between, joining at the top of the starting ch-3.
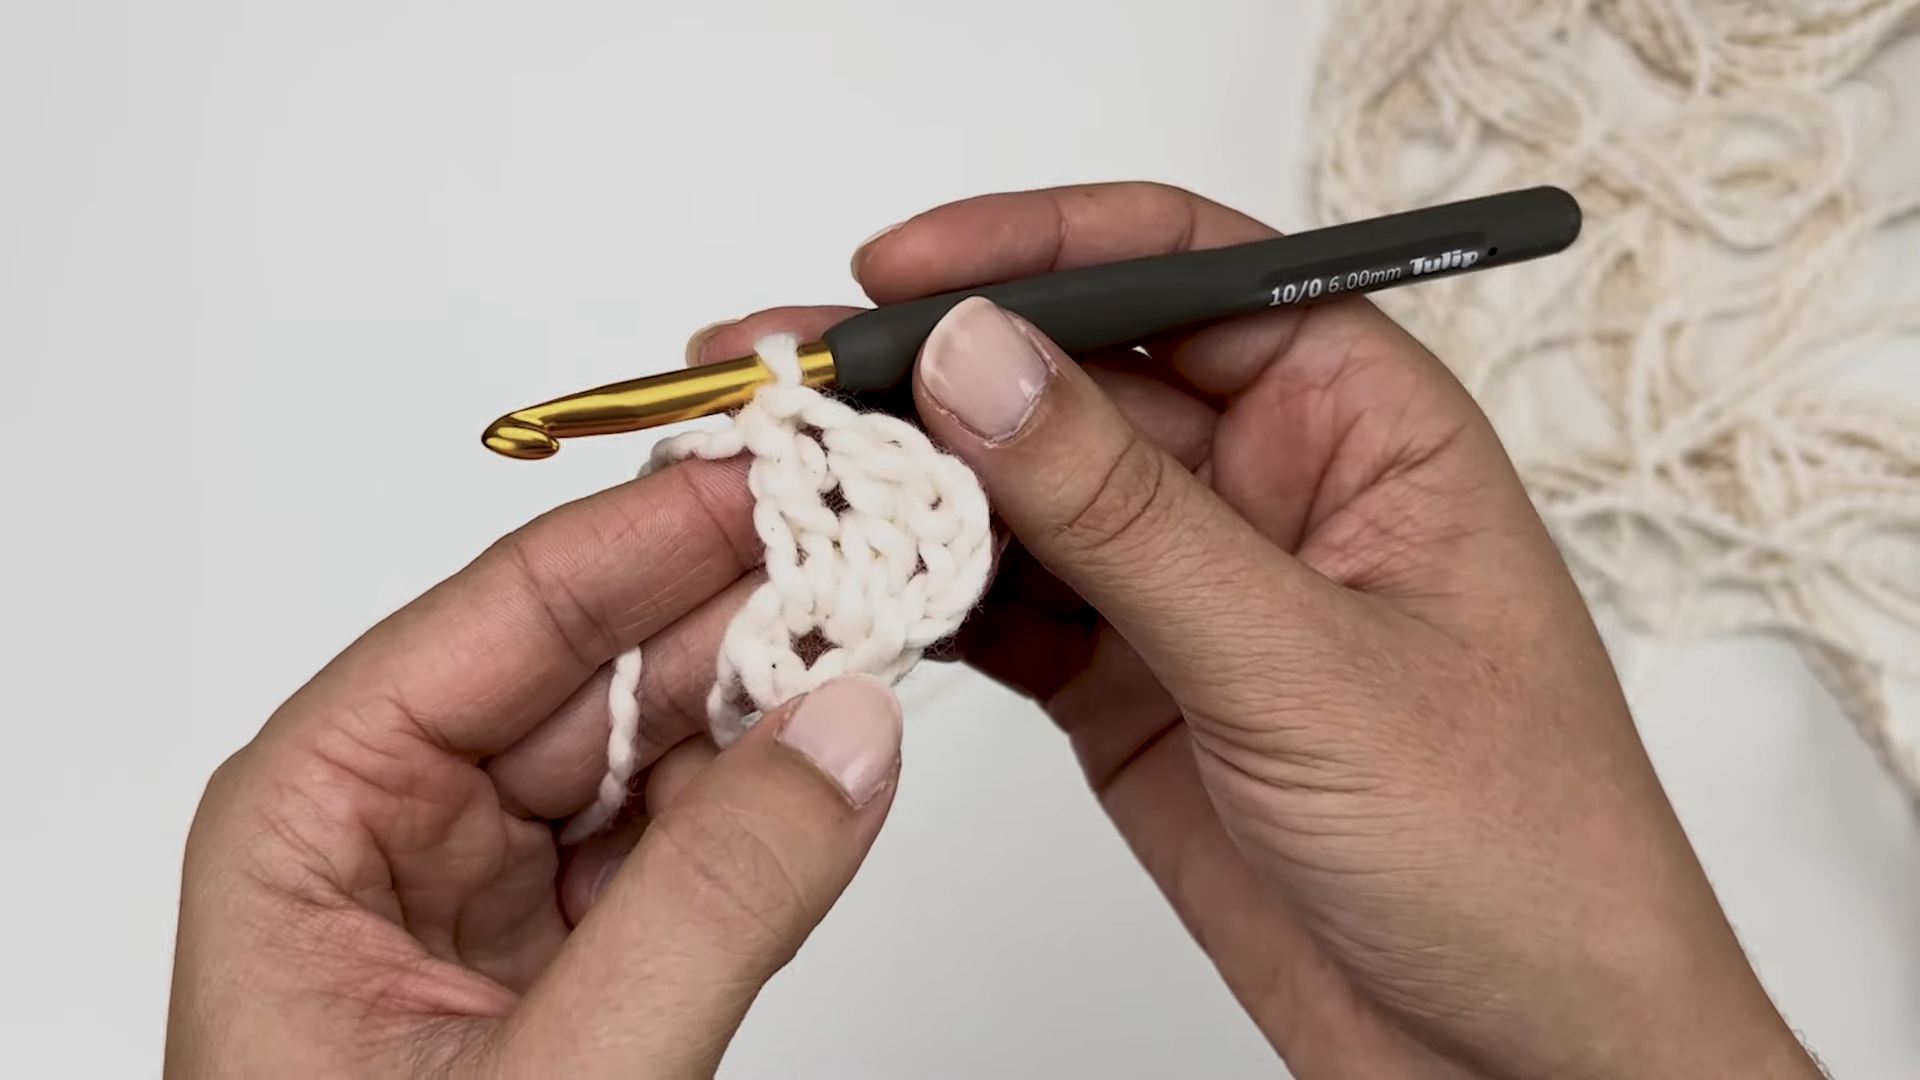
Round 3: Same logic, one more round out corner clusters in the ch-2 corner spaces, side clusters in each ch-1 space along the sides. By the end of Round 3 you’ll have 2 side clusters per edge instead of 1, which is what gets you to roughly 4″ square.
Finished Size / Sizing Options
This pattern is written to scale across S–XL by changing the number of motifs, not the motif size, which keeps your gauge and finished fabric consistent no matter which size you’re making. As a rough guide:
- Small (34–36″ bust): narrower panels, shorter motif rows
- Medium (38–40″ bust): standard panel width
- Large–XL (42–46″ bust): wider panels, may need an extra motif column per panel
If you’re following along with a video tutorial for the visual version of these three rounds, watch closely at the corners; that’s where beginners lose count fastest.
How Many Motifs You Need
Motif count is dependent on chest circumference and motif size. As a starting reference for a 4″ motif:
Common Mistakes
- Skipping the test motif and blocking step, then discovering a sizing mismatch late
- Crocheting some motifs tighter than others, creating a stiff patchwork instead of an even drape
- Sewing seams too tightly, which restricts stretch at the sides and underarms
- Miscounting side clusters, leaving one edge of a motif slightly shorter than the others
Troubleshooting
- Motifs coming out different sizes: check your tension is consistent and that you’re using the same hook throughout — swapping hooks mid-project is a common silent culprit.
- Visible gaps between joined motifs: switch to a join-as-you-go slip stitch through both loops rather than a loose whip stitch.
- Sweater feels stiff rather than drapey: try going up half a hook size, since garment tension should be looser than blanket tension.
Size Modification
To size up or down, add or remove a full column or row of motifs per panel rather than changing motif size this keeps your gauge consistent and avoids a mismatched look between body and sleeves.
FAQs
Can I use a self-striping yarn for this sweater?
Yes self-striping yarn is popular for granny square sweaters because it adds color variation without extra ends to weave in.
Do I need to know join-as-you-go before starting?
No. You can crochet all motifs first and sew them together instead, though JAYG gives a flatter, more flexible seam for a garment.
How do I know if my armhole gap is the right size?
Compare it against a well-fitting sweater you already own, laid flat, and match the motif count in the gap to that measurement.
Conclusion
A granny square sweater rewards patience more than skill the individual stitches are simple, and the project succeeds or fails on consistent tension, an accurate motif count, and a proper blocking session at the end. Get those three things right and the rest is just steady, satisfying repetition.