Crochet Leg Warmers Pattern for a Cozy Winter Look
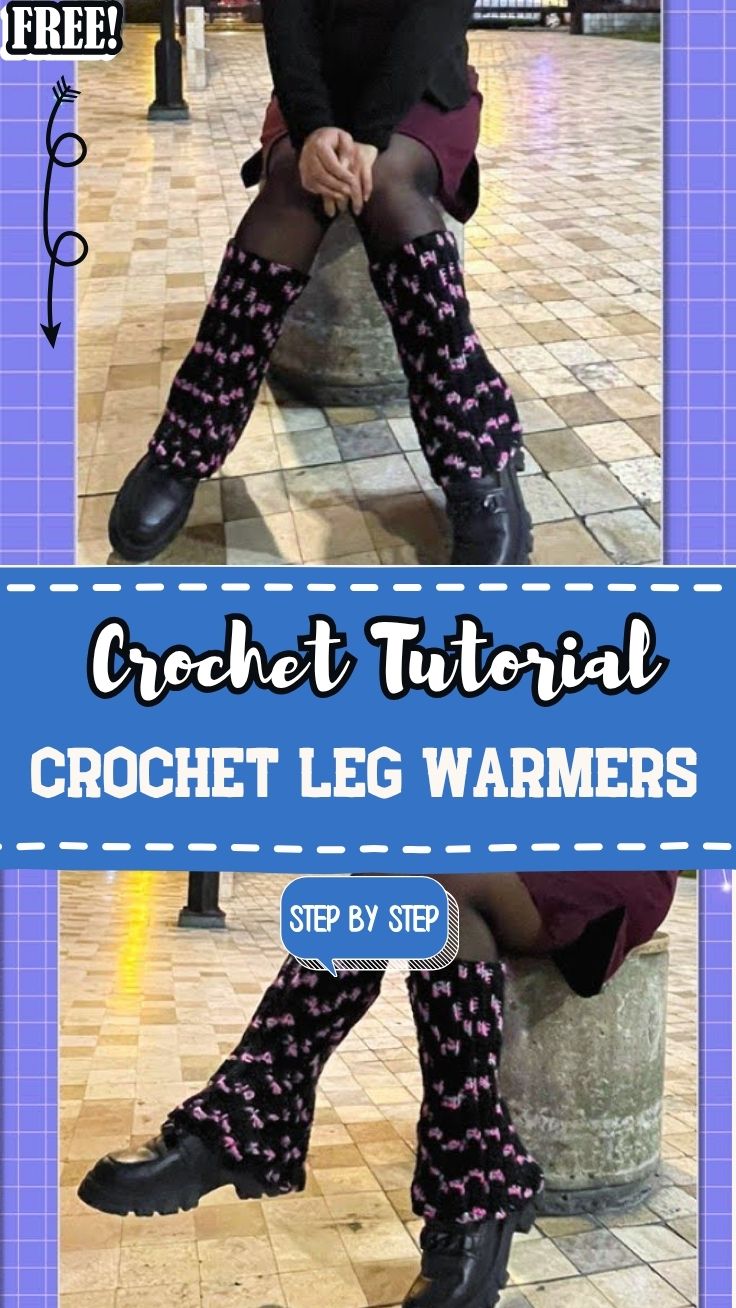
Warm, stylish accessories always carry special appeal during cold weather, and this Crochet Leg Warmers Pattern brings cozy warmth to legs through a soft, ribbed structure. Speckled yarn’s lovely look turns it into a charming handmade accessory for winter outfits.
Crochet Leg Covers Pattern starts from a simple foundation chain, then works up in rounds or rows into a fitted, stretchy tube shape. The textured stitch pattern doesn’t just build beautiful dimension it also adds extra warmth and stretch, keeping the leg warmers comfortably fitted around the legs. The design suits cozy layering on cold days, winter walks, and casual outfits especially well.
Once the main tube comes together, clean, even edging finishes off the top and bottom, giving the leg warmers a polished, ready-to-wear look. Simple construction paired with engaging texture makes them practical while also adding a lovely piece to any handmade winter accessory collection.
Time Box
This project takes around 3 to 5 hours per pair, depending on your crochet speed and desired length. Since the stitch pattern repeats steadily along the length of the leg warmer, most of the time goes into building the tube rather than complex shaping.
Materials You Will Need
- Medium weight yarn in a speckled or solid color of your choice
- A crochet hook sized to match your yarn (5mm is a common choice)
- A yarn needle for weaving in ends and seaming
- Scissors
- A tape measure for checking length and fit
- Stitch markers to track your rounds or rows
Key Features and Techniques
Understanding these techniques will help your leg warmers come together smoothly:
Foundation Chain
Each leg warmer begins with a starting chain, which sets the width before the piece is joined or shaped into a tube.
Textured Stitch Pattern
A repeating stitch combination builds a slightly raised, textured fabric that adds warmth and visual interest.
Continuous Rounds or Rows
Depending on your construction method, the tube shape is built either in continuous rounds or in rows that are later seamed together.
Clean Edge Finishing
A simple finishing round at the top and bottom keeps the edges neat and prevents curling.
Step-by-Step Instructions
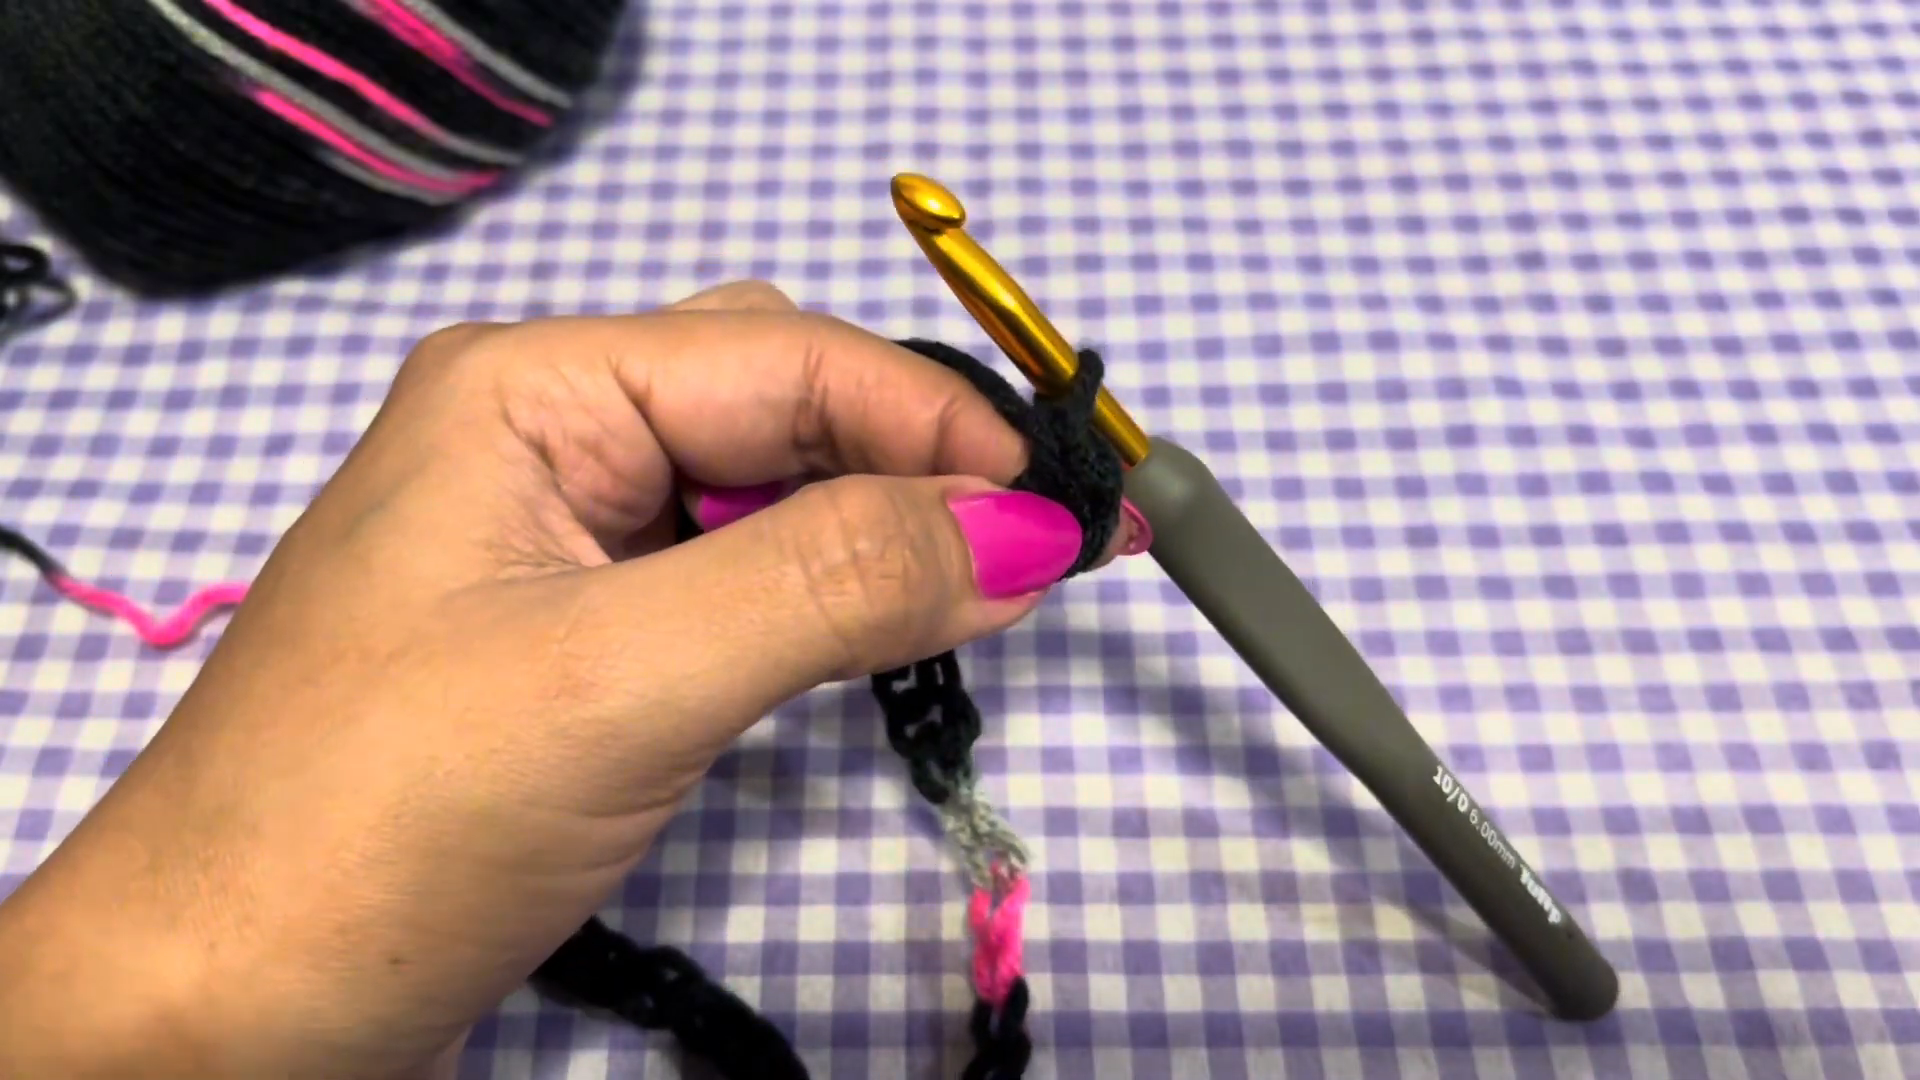
Step 1: Start Your Foundation Chain
Begin with a slip knot on your hook, then chain the number of stitches needed to reach around your leg comfortably. Keep your tension relaxed but even, since a tight starting chain can make the first row difficult to work into.
Step 2: Work Your First Row
Insert your hook into the chain and begin working your first row of stitches across the full length. This establishes the base row that every following row will build upon, so keep your stitch count consistent to maintain even edges.
Step 3: Build the Textured Pattern
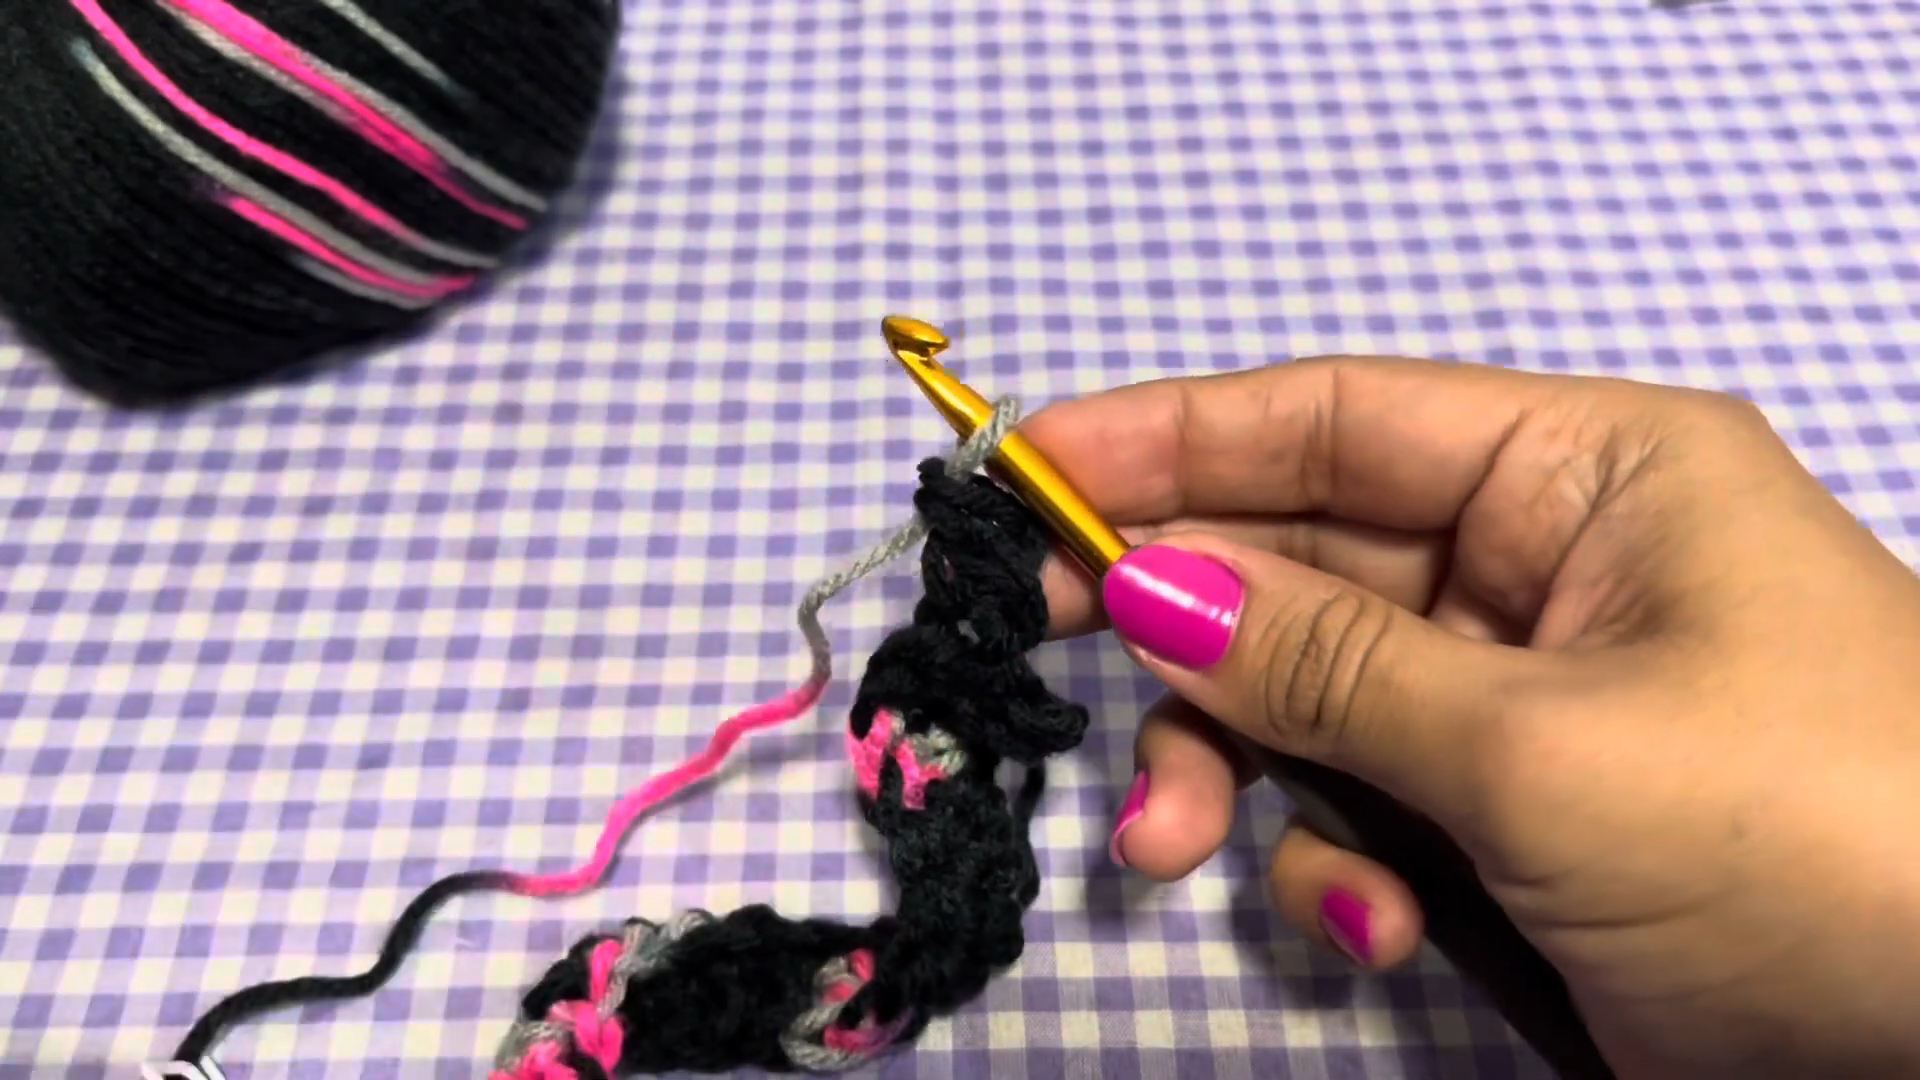
Continue working rows, following your chosen stitch pattern to create the textured fabric. As the rows stack up, you will see the raised, cozy texture forming steadily across the piece, giving it that classic warm winter look.
Step 4: Continue to Your Desired Length
Keep working rows or rounds until your piece reaches the length needed to comfortably cover from ankle to knee, or your preferred coverage area. Check the length against your leg periodically to make sure the fit feels right before moving on.
Step 5: Join and Shape the Tube
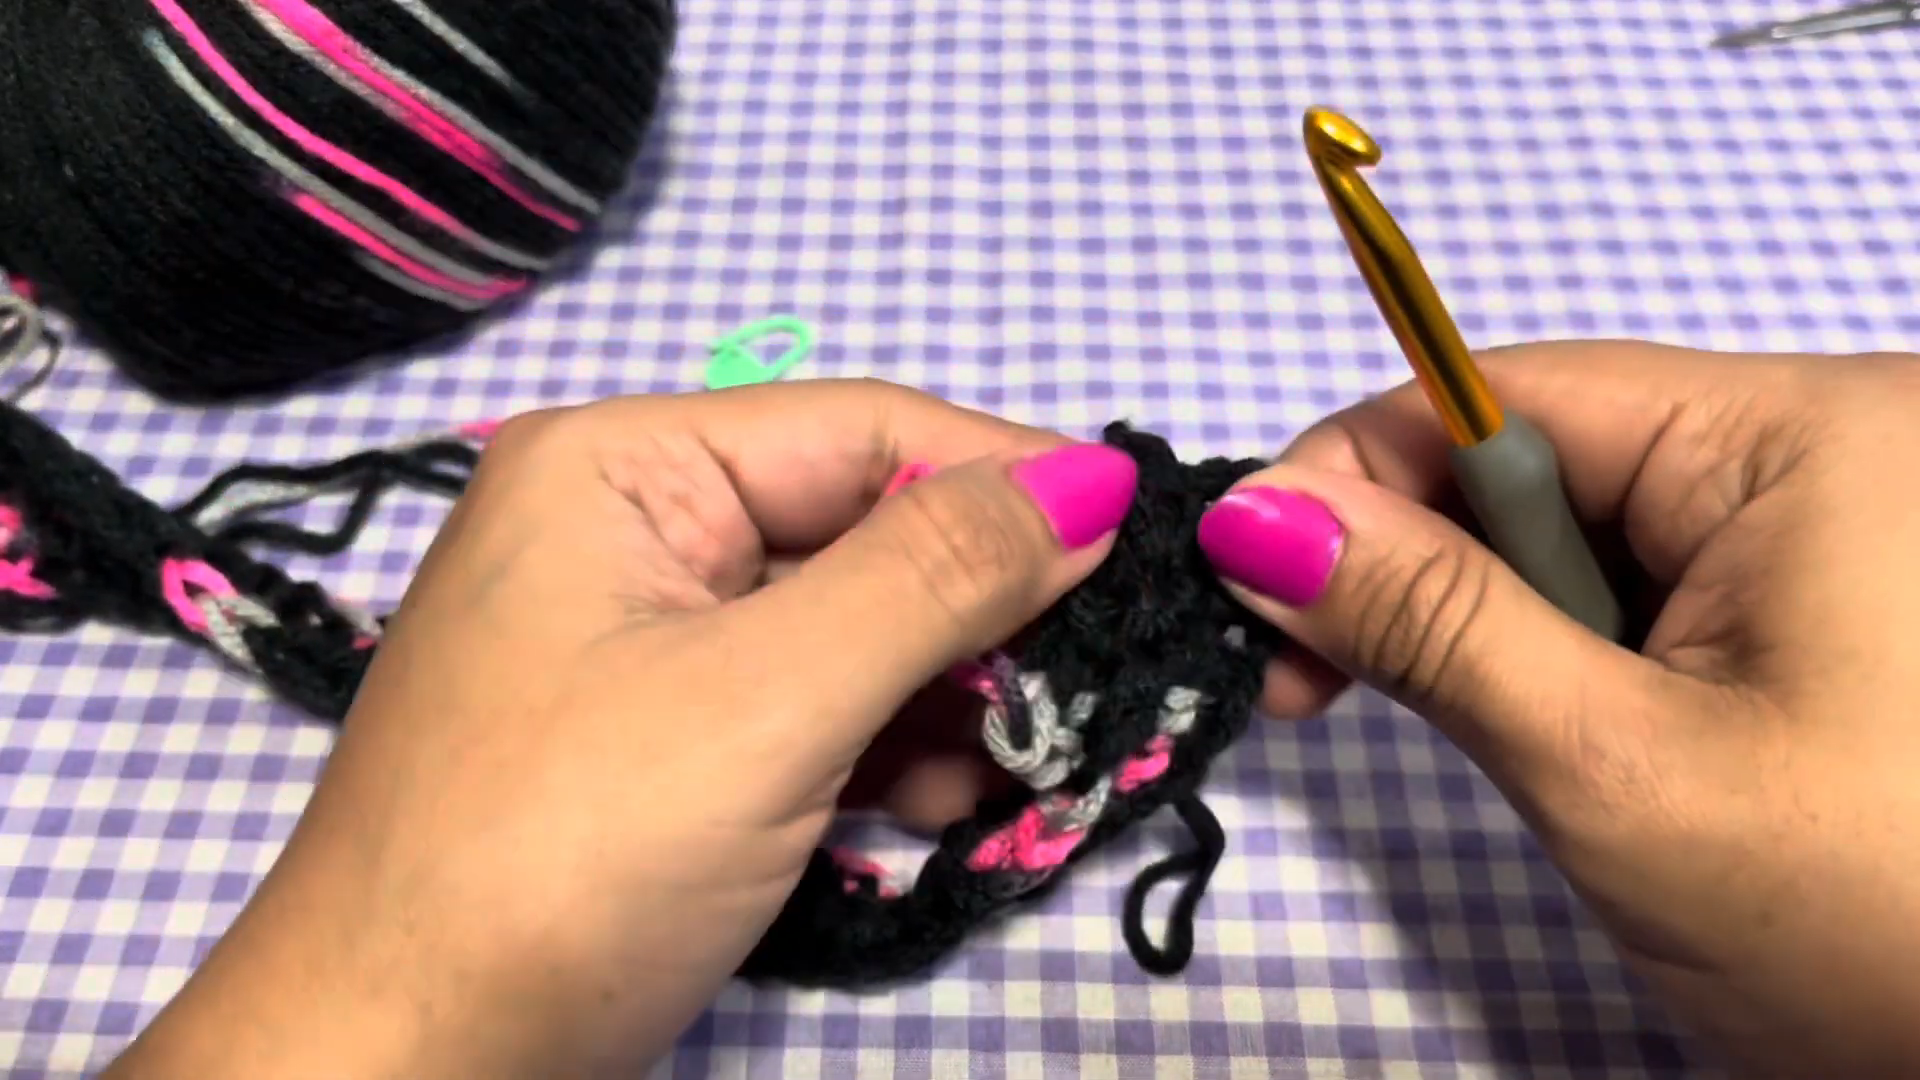
If working in rows, fold your finished panel and seam the long edge together to form a tube shape, leaving enough stretch for pulling the piece on and off comfortably. If working in continuous rounds, this step is already built into your construction.
Step 6: Finish the Top and Bottom Edges
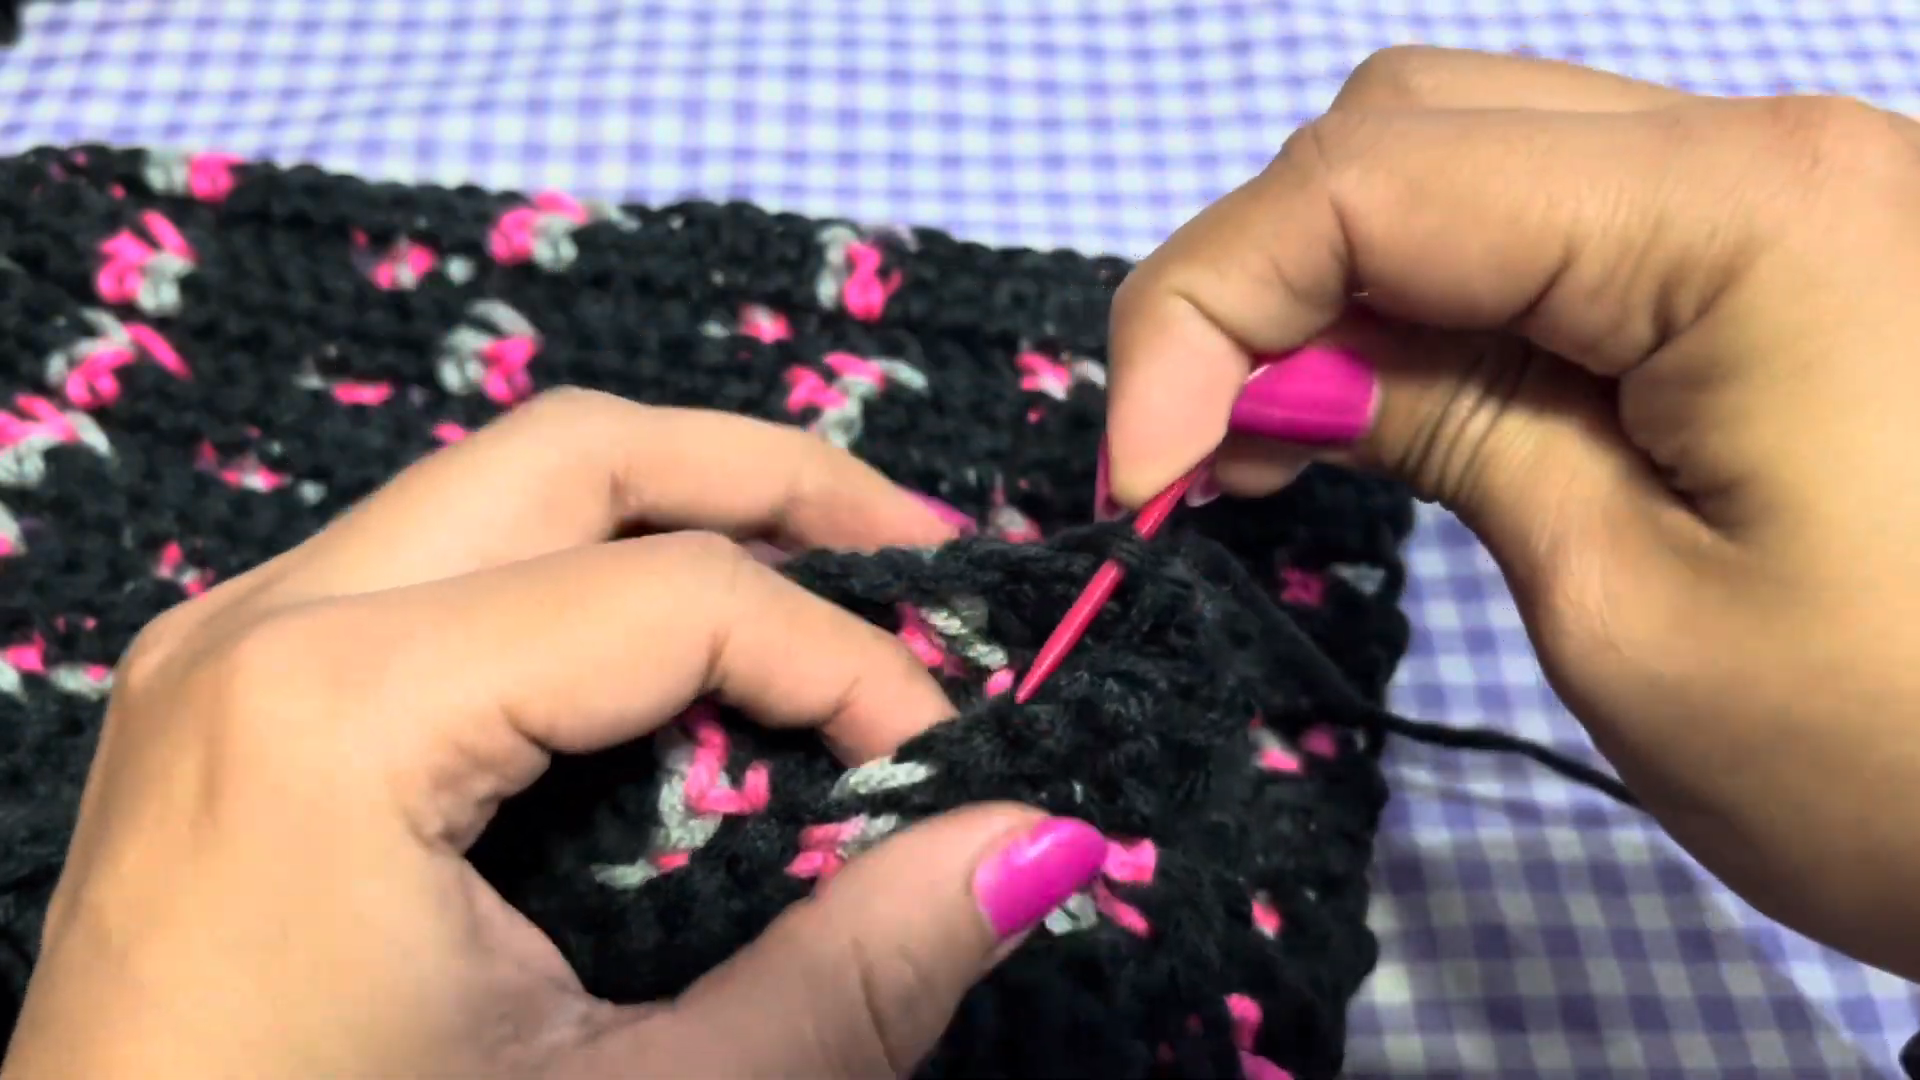
Work a clean finishing round or row along both the top and bottom edges to prevent curling and give the leg warmers a polished look. This step also helps the edges sit snugly without rolling during wear.
Step 7: Weave In Ends and Final Check
Weave in all remaining yarn tails securely with your yarn needle, trimming any excess close to the fabric. Try the finished leg warmers on to check the fit and comfort before giving them a final light steam if needed.
Helpful Tips for Beginners
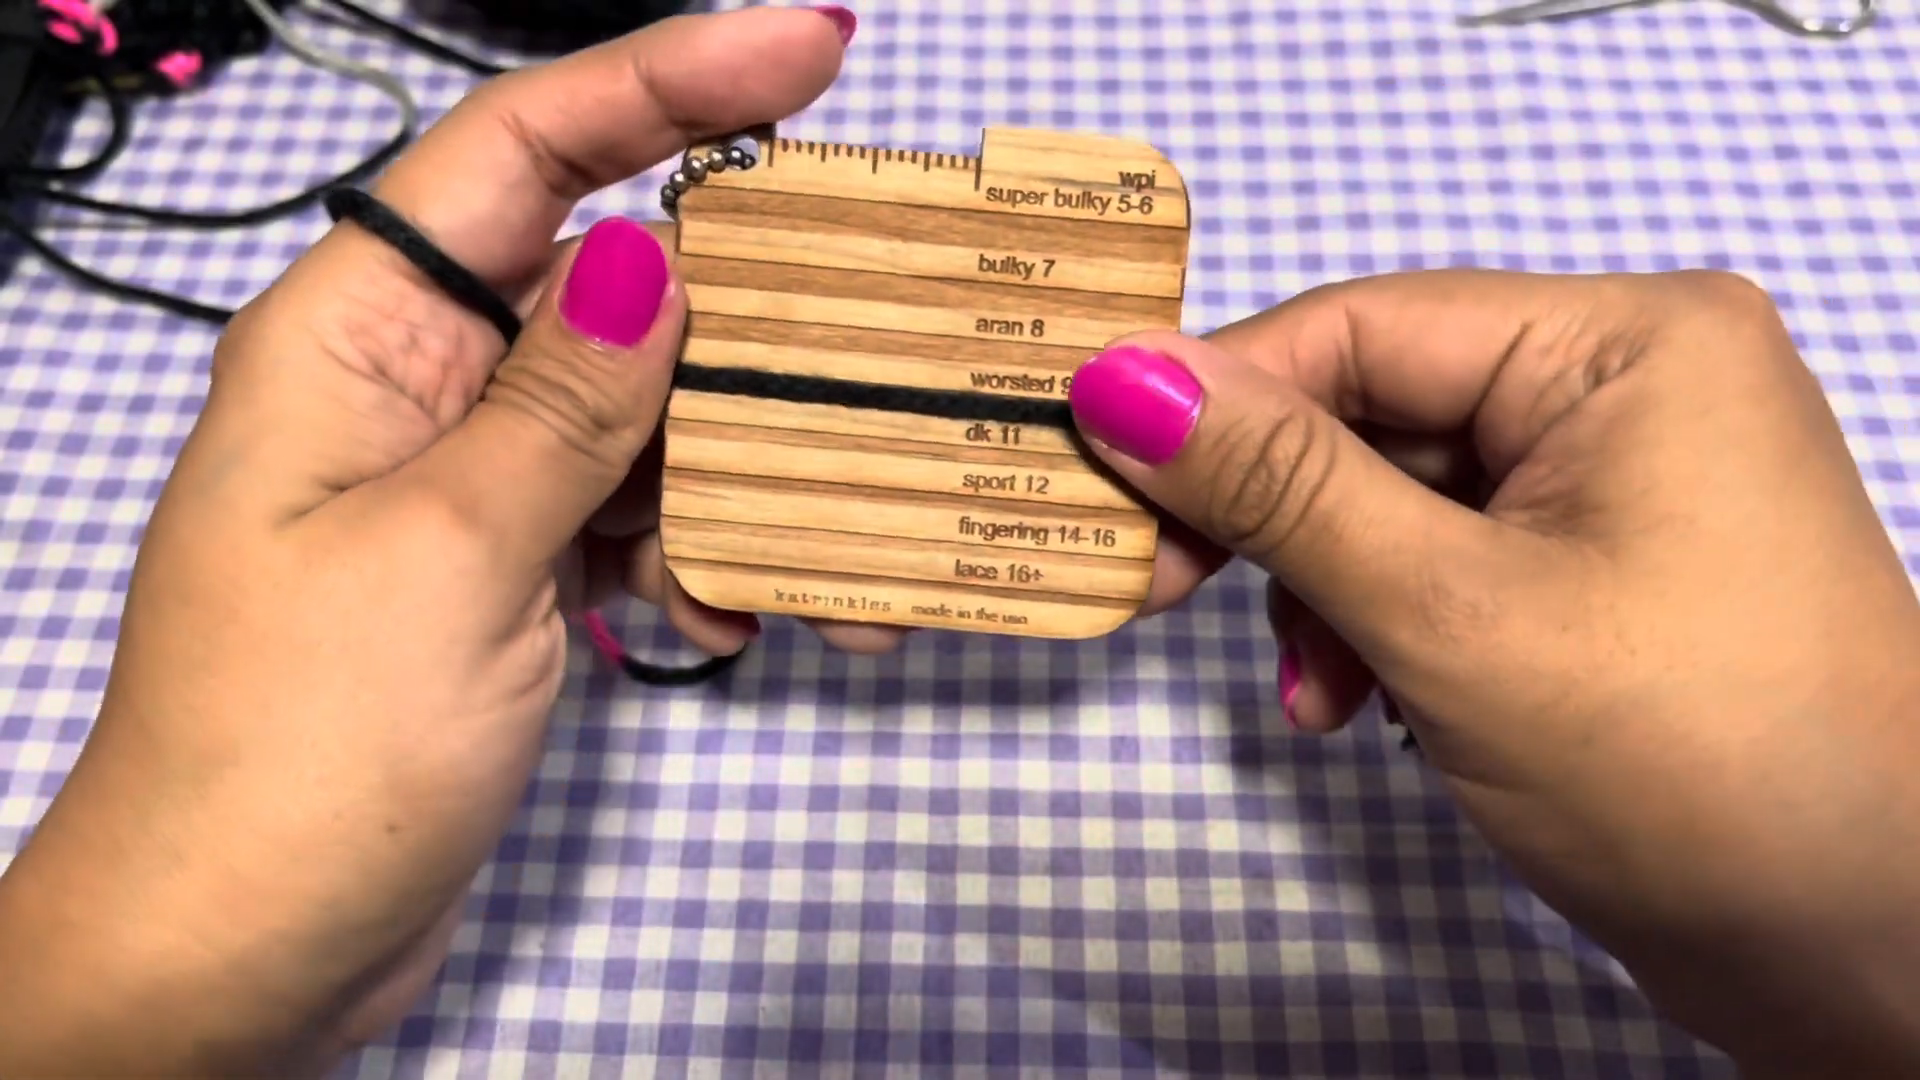
- Always check your gauge swatch first to make sure the finished tube fits comfortably around your leg.
- Choose a yarn with a bit of stretch for the best snug, comfortable fit.
- Count your stitches at the end of every row or round to keep the tube even.
- Use stitch markers if working in continuous rounds to track where each round begins.
- Try the piece on periodically as you work to check length and fit.
Common Mistakes to Avoid
- Skipping the gauge swatch, which can result in leg warmers that are too tight or too loose.
- Losing stitch count during the textured pattern, which creates visible irregularities in the fabric.
- Rushing the seaming step, leading to an uneven or twisted tube shape.
- Using yarn with no stretch at all, which can make the leg warmers uncomfortable to pull on.
- Forgetting to finish the top and bottom edges, which can cause the fabric to curl over time.
Customization Ideas
- Swap the yarn color or use a speckled or variegated yarn for extra visual interest.
- Add a contrast stripe or cuff at the top and bottom for a pop of color.
- Adjust the length to create ankle-length warmers or taller, over-the-knee styles.
- Add a small button or tie detail near the top for extra styling options.
- Try a chunkier yarn for an extra cozy, oversized look.
Frequently Asked Questions
Is this pattern suitable for a beginner?
Yes, this pattern uses simple rows or rounds and a repeating stitch pattern, making it approachable for beginners with basic crochet experience.
How much yarn do I need for one pair?
This depends on your length and yarn weight, but most adult sizes require one to two skeins of medium weight yarn per pair.
Can I make these leg warmers without a stretchy stitch pattern?
Yes, though adding a rib-style or textured stitch helps the leg warmers fit more snugly and comfortably.
What size hook works best for this pattern?
A 5mm hook typically works well with medium-weight yarn, but always check your gauge with a swatch first.
How do I keep the leg warmers from sliding down?
A snug, stretchy stitch pattern combined with a well-fitted finishing edge at the top helps keep the leg warmers securely in place.
Can I adjust the length for different heights?
Yes, you can add or remove rows to customize the length for ankle coverage, knee-length, or taller over-the-knee styles.
Conclusion
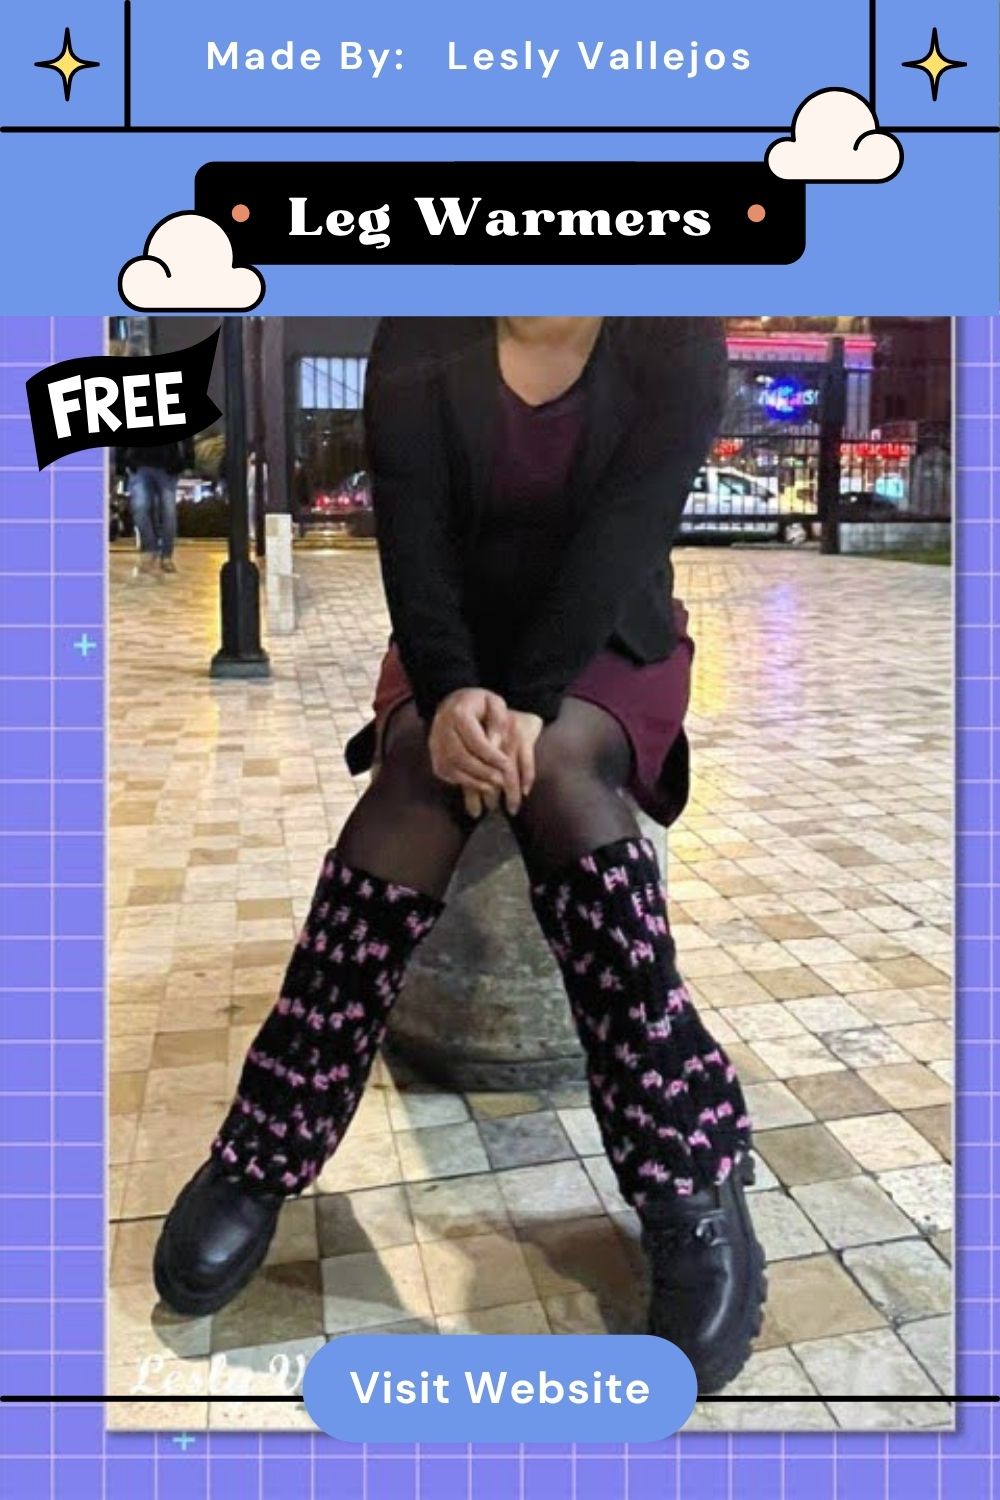
This crochet leg warmers pattern is cozy and simple to make. It also has plenty of handmade charm. Start with the foundation chain. Then, work through the pattern to shape the leg warmers. Finish with clean edges for a polished look. The result is warm, snug, and comfortable. The beginner-friendly stitch pattern keeps the project simple. The quick construction also makes it easy to finish. Choose your favorite yarn color and enjoy wearing your handmade leg warmers all winter.