Cute Daisy Crochet Doll Handmade Amigurumi Flower Plushie | Perfect Gift for Kids
Cute crochet daisy flower amigurumi with detailed step-by-step pattern, worked in continuous rounds using US terms. Perfect beginner-friendly project for handmade gifts, décor, and creative crafting fun.
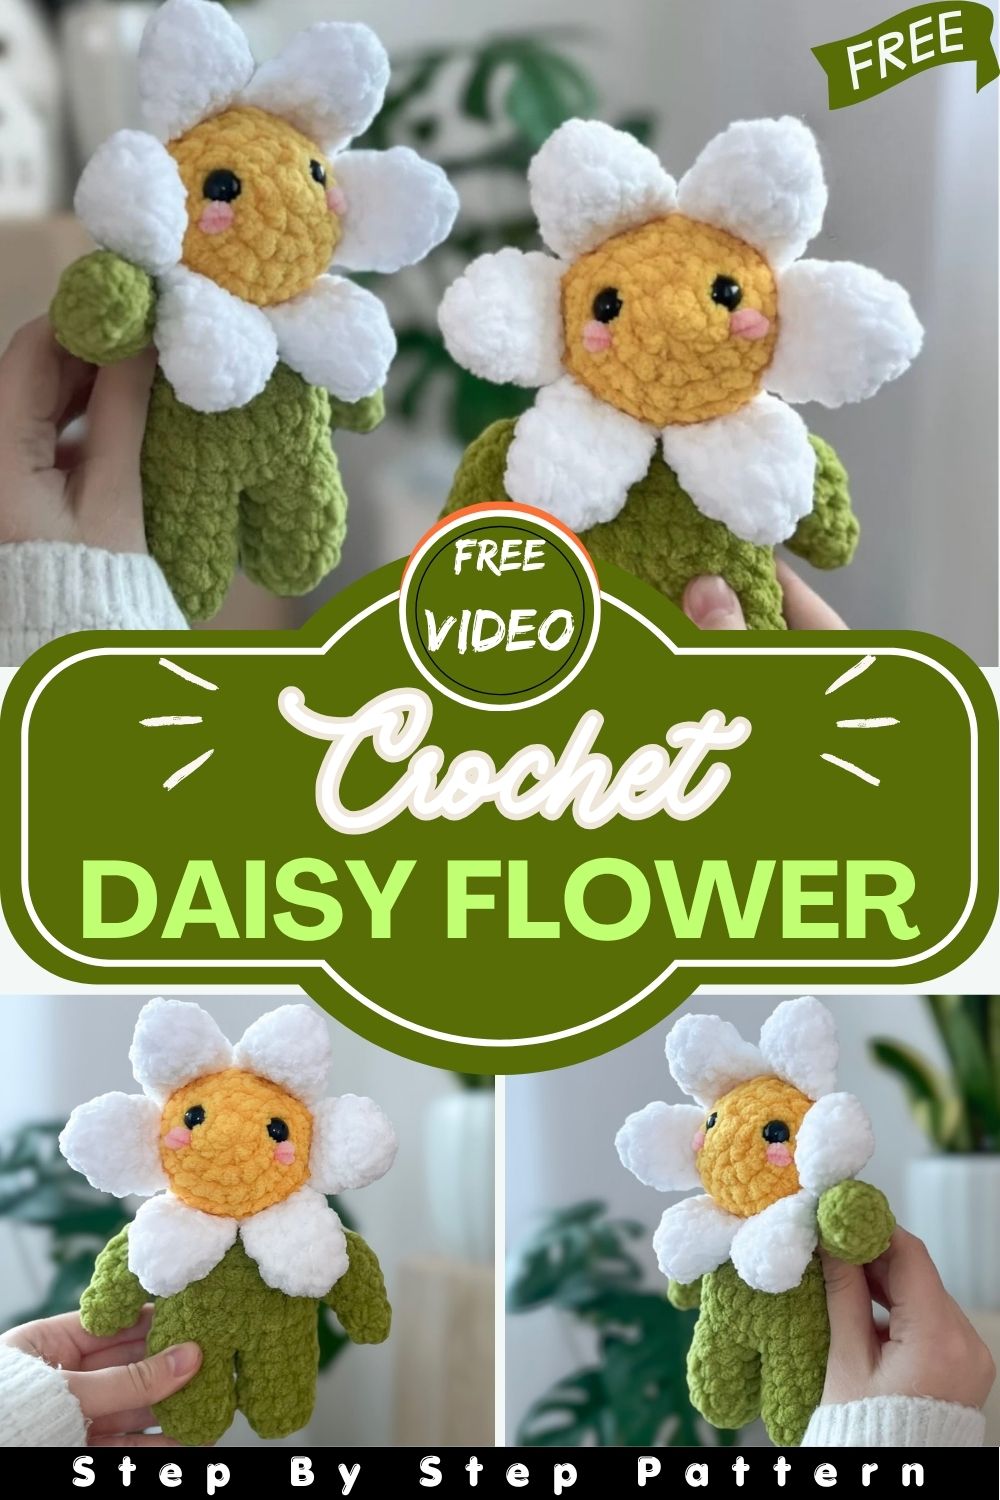
This crochet daisy flower pattern is a beautiful amigurumi project made with super bulky chenille yarn and US crochet terms. Worked in continuous rounds, it guides you step by step from petals to flower center assembly. The design is beginner-friendly yet enjoyable for experienced crocheters as well. Perfect for gifts, home décor, or handmade collections, this pattern helps you create a soft and adorable daisy flower with clear, easy-to-follow instructions.
SUPPLIES
- Hook: 5mm
- Super bulky chenille yarn (size 6):
- Alize Velluto Yellow #216
- Alize Velluto White #55
- Alize Velluto Green #11
- Safety eyes: 12mm
- Polyester stuffing
- Stitch markers
- Scissors
- Sewing needle
- Optional: Pink bulky yarn (for blush)
ABBREVIATIONS
- Ch = Chain
- Rnd = Round
- st = Stitch
- sts = Stitches
- MR = Magic Ring (or ch2 and work into 2nd ch from hook)
- Sc = Single crochet
- Inc = Increase (2 sc in the same stitch)
- Dec = Decrease (invisible decrease)
- Sl st = Slip stitch
- YO = Yarn over
- FO = Fasten off
Special Technique (Invisible Decrease)
Insert hook through the front loops only of the next two stitches.
Yarn over (YO), pull through both loops.
YO again and pull through the remaining two loops.
You will have one loop left on the hook. Continue crocheting normally.
ARMS (MAKE 2)
Crochet in Green Yarn
Rnd 1: 4 sc in MR (4)
Rnd 2: 4 sc (4)
Rnd 3: (1 sc, inc) × 2 (6)
Rnd 4: (2 sc, inc) × 2 (8)
Rnd 5–6: 8 sc (2 rounds) (8)
Finishing Arms:
Lightly stuff the arms.
Rnd 7: dec × 4 (4)
Fold the arm flat and work 2 sc through both layers to close the opening. Cut a short tail.
Arms will be attached to the body later.
LEGS (MAKE 2)
Crochet in Green Yarn
Rnd 1: 6 sc in MR (6)
Rnd 2: (1 sc, inc) × 3 (9)
Rnd 3–5: 9 sc (3 rounds) (9)
First Leg:
Second Leg:
Repeat Rnds 1–5 — do not fasten off.
Finishing Legs:
BODY
Connecting the Legs
Rnd 6:
Ch 1. Join first leg with 1 sc in stitch next to sl st,
8 sc around first leg,
1 sc in ch,
9 sc around second leg,
1 sc in ch (20)
Rnd 7–9: 20 sc (3 rounds) (20)
Rnd 10: (2 sc, dec) × 5 (15)
Stuffing:
Attaching Arms
In Rnd 11, you may need to adjust placement with 1–2 sc to align arms properly on each side.
Rnd 11:
2 sc, ARM (2 sc), 6 sc, ARM (2 sc), 3 sc (15)
Tie arm yarn ends securely inside the body.
Rnd 12: (1 sc, dec) × 5 (10)
Finishing Body:
Finish stuffing completely.
PETALS (MAKE 6)
Crochet in White Yarn
Rnd 1: 5 sc in MR (5)
Rnd 2: inc in every stitch (10)
Rnd 3: 10 sc (10)
Rnd 4: (2 sc, dec) × 2, 2 sc (8)
Finishing Petals:
Do NOT stuff
Fasten off (FO), leaving a short tail.
FLOWER CENTER
Crochet in Yellow Yarn
Rnd 1: 6 sc in MR (6)
Rnd 2: inc in every stitch (12)
Rnd 3: (1 sc, inc) × 6 (18)
Rnd 4: (2 sc, inc) × 6 (24)
Attaching Petals
Rnd 5:
Petal 1: 4 sc
Petal 2: 4 sc
Petal 3: 4 sc
Petal 4: 4 sc
Petal 5: 4 sc
Petal 6: 4 sc (24)
24 sc (2 rounds) (24)
(2 sc, dec) × 6 (18)
Face Placement
Insert safety eyes between Rnd 2–3, approx. 4 stitches apart.
Stitch marker should be centered below the eyes.
Optional: Sew blush under the eyes for extra cuteness.
Stuffing:
Stuff the flower center firmly.
Rnd 9: (1 sc, dec) × 6 (12)
Finish stuffing completely.
Finishing:
Slip stitch and sew the opening closed. Weave in all ends neatly.
Final Assembly:
Sew the flower center two rounds below the petals, stitching securely all around.
Make sure the center is firmly attached and does not move.
Conclusion
Your crochet daisy flower amigurumi is now complete and ready to enjoy! This handmade project brings a soft, cute, and creative touch to your crafting collection. Whether you use it as home décor, a gift, or part of a bigger project, it adds charm everywhere. Feel free to experiment with different yarn colors, sizes, and variations to make each daisy unique. Keep practicing and enjoy the relaxing art of crochet with every stitch you create.