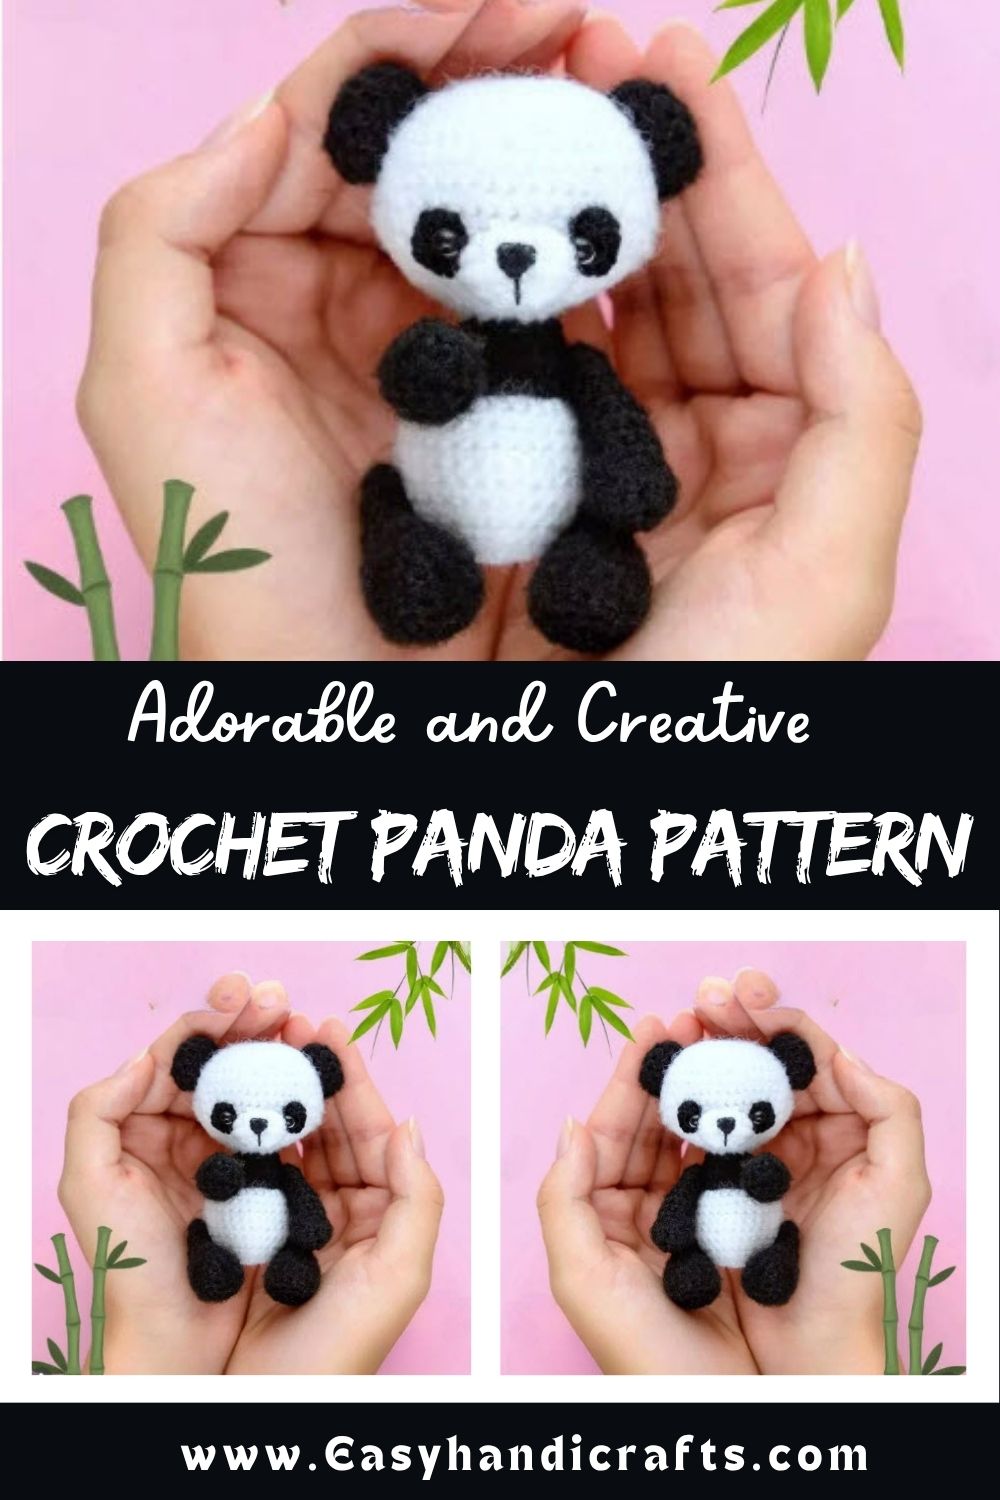
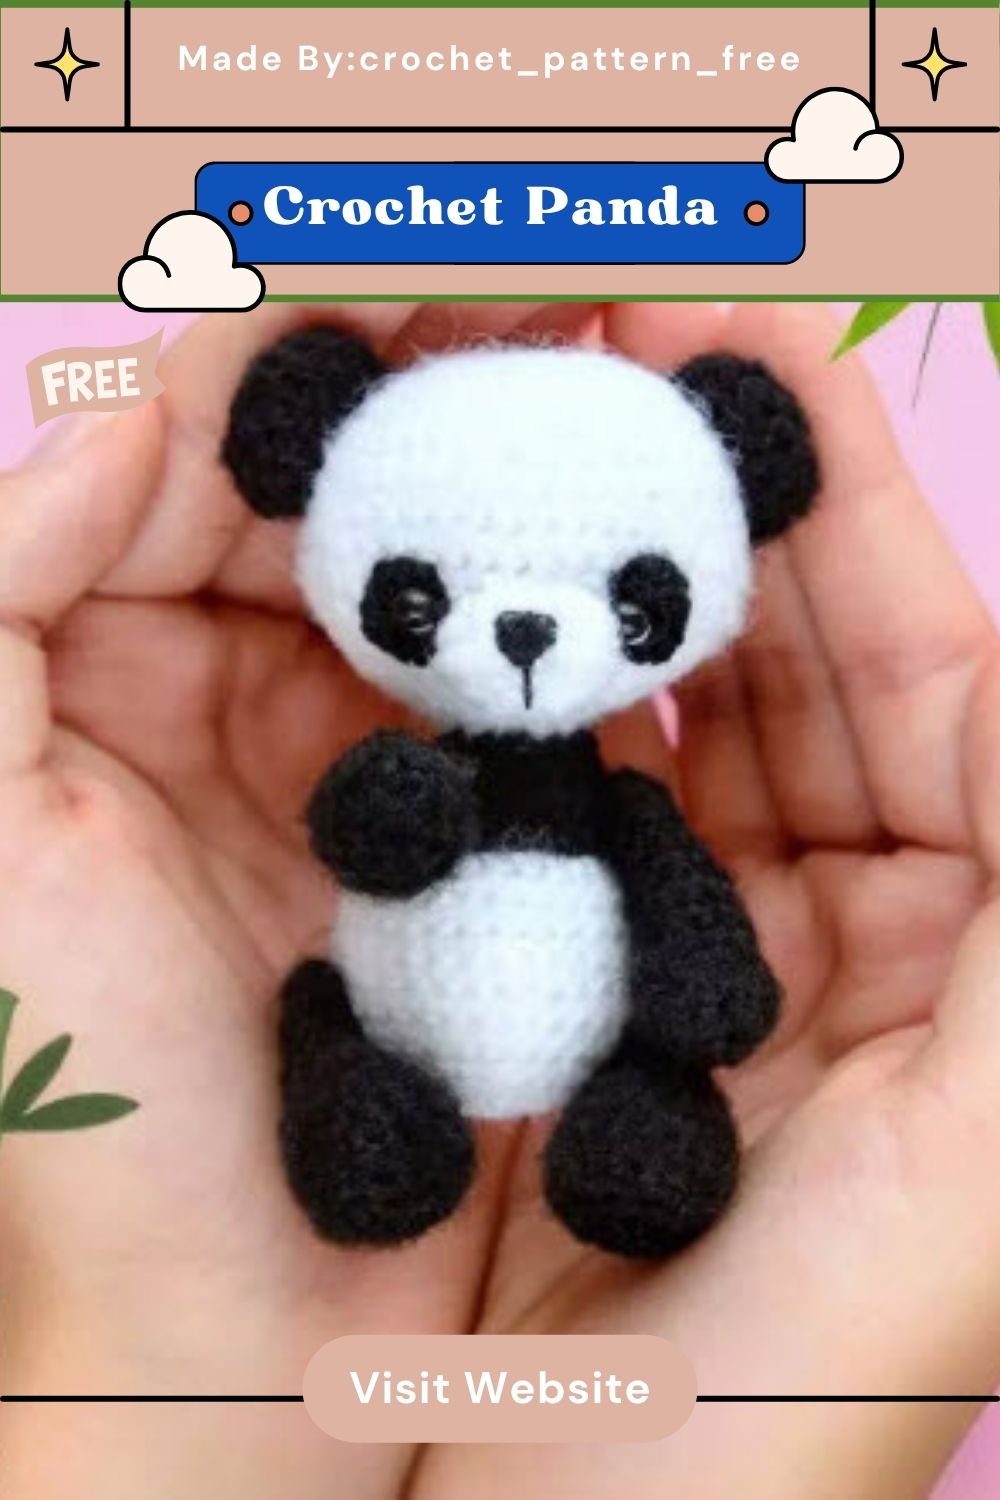
Free Crochet Panda Amigurumi Pattern for Animal Collections
Skill Level
Crocheters with basic amigurumi experience will manage this pattern comfortably. Increases, decreases, and color changes appear throughout, but nothing demands advanced technique. Patience during transitions leads to a polished result.
Materials You’ll Need
Gathering the right supplies before starting saves time later. This pattern calls for:
- 100% cotton yarn, 50g/220m, in black and white
- Wool-acrylic blend yarn (40% wool, 60% acrylic), 50g/300m, in black and white
- Holofiber stuffing
- Crochet hooks sized 1.00mm and 2.00mm
- Two black safety beads, 4mm, for the eyes
- Sewing needle
- Scissors
Every piece works up wrong side out, so keep that detail in mind as each section takes shape.
Pattern Overview
Separate pieces make up this panda: muzzle, eye patches, head and body worked as one continuous section, arms, legs, ears, and a small tail. Stuffing happens gradually as rows progress, which keeps the shape rounded rather than lumpy. Sewing and embroidery finish the face before the body gets completed.
Abbreviations Used
- ch – chain
- sl st – slip stitch
- sc – single crochet
- inc – increase
- dec – decrease
- ()*6 – number of repetitions
- (12) – total stitch count for that row
Special Techniques
No joke, the muzzle and eye patches use a clever oval-shaping method rather than a standard round. Starting with four chains, working two single crochets, then increasing three times into the last chain before continuing along the opposite side creates that classic teardrop shape amigurumi faces need. This same oval technique repeats for the black eye patches at a smaller scale.
Step-by-Step Guide
Muzzle
Work the muzzle using two strands held together (cotton plus wool-acrylic) with a 2.00mm hook, in white yarn.
- Chain 4.
- From the second loop, work 2 sc, then 3 sc increases in the last chain, followed by 1 sc along the opposite side and another 3 sc increase in the last chain.
- Work 2 sc, inc, 1 sc, inc, 2 sc, inc, 1 sc, inc.
- Complete 12 sc, then slip stitch to close.
Cut the yarn and leave a tail long enough for sewing later.
Black Eye Patches
Switch to a single strand of cotton yarn and the 1.00mm hook, working in black.
- Chain 4.
- Repeat the same oval start as the muzzle: 2 sc, 3 sc increase, 1 sc along the opposite side, 3 sc increase.
- Work 2 sc, inc, 1 sc, inc, 2 sc.
Fasten off, leaving a tail for sewing.
Head and Body
Hold two strands together (cotton plus wool-acrylic) with the 2.00mm hook, starting in white.
- 6 sc into a magic ring (6)
- 6 inc (12)
- (1 sc, inc) x6 (18)
- (2 sc, inc) x6 (24)
- (3 sc, inc) x6 (30)
- (4 sc, inc) x6 (36)
- (5 sc, inc) x6 (42) 8–12. Work 5 rounds even at 42 sc.
- (5 sc, dec) x6 (36)
- (4 sc, dec) x6 (30)
- (3 sc, dec) x6 (24)
- (2 sc, dec) x6 (18)
- (1 sc, dec) x6 (12)
- Work 12 sc even, then switch to black yarn without cutting the white strand.
- (1 sc, inc) x6 (18)
- Work 18 sc even.
- (2 sc, inc) x6 (24)
- Work 24 sc even, then stuff the head firmly.
Shape the head gently at this stage before attaching the face pieces. Sew the muzzle and black eye patches into place, then attach the beaded eyes. Embroider a small white sclera beneath each eye using cotton yarn, and stitch a black nose onto the muzzle for the finishing touch.
Continue the body by switching back to white yarn and cutting the black strand. Crochet round 23 into the front loops only for a defined color break.
- (3 sc, inc) x6 (30) 24–29. Work 6 rounds even at 30 sc.
- (3 sc, dec) x6 (24)
- (2 sc, dec) x6 (18), then stuff the body.
- (1 sc, dec) x6 (12)
- 6 dec, then fasten off and pull the tail through the remaining stitches. Weave in the end securely.
Arms
Hold two strands together (cotton plus wool-acrylic) with the 2.00mm hook, in black.
- 6 sc in a magic ring (6)
- 6 inc (12)
- Work 12 sc even.
- 2 dec, then 8 sc (giving 10 stitches total). 5–10. Work 6 rounds even at 10 sc.
- (3 sc, dec) x2 (8)
Stuff only the lower portion of the arm for a slightly floppy finish. Fasten off, pull the tail through the remaining stitches, and repeat for the second arm.
Legs
Using the same two-strand hold and 2.00mm hook in black:
- 6 sc in a magic ring (6)
- 6 inc (12)
- (1 sc, inc) x6 (18) 4–6. Work 3 rounds even at 18 sc.
- 3 sc, 3 dec, 9 sc (15)
- 2 sc, 3 dec, 7 sc (12) 9–11. Work 3 rounds even at 12 sc, then stuff the lower portion.
- (2 sc, dec) x3 (9)
Fasten off, pull through remaining stitches, and crochet a matching second leg.
Ears
Two strands held together, 2.00mm hook, black yarn:
- 6 sc in a magic ring (6)
- 6 inc (12) 3–4. Work 2 rounds even at 12 sc.
Cut the yarn with a tail left for sewing, then repeat for the second ear.
Tail
Two strands held together, 2.00mm hook, white yarn:
- 6 sc in a magic ring (6)
- 6 inc (12)
- Work 12 sc even.
Leave a tail for sewing once cut.
Assembly
Sewing every piece together brings the panda to life. Attach the ears to the top of the head first, spacing them evenly. Fluff each piece lightly with a needle or brush to soften the stitches before final placement. Connect the arms and legs using the thread-attachment method, which allows subtle movement once the panda is finished. Low-key, this jointing step makes the biggest difference in how professional the final toy looks.
Helpful Tips
- Hold both yarn strands with even tension so stitches stay uniform in size.
- Stuff gradually rather than all at once for smoother, rounder shaping.
- Trust me, pinning face pieces in place before sewing prevents crooked expressions.
- Keep extra yarn tails long enough for secure weaving and future adjustments.
Customization & Variations
Swapping the black and white placement creates entirely different panda personalities. Ngl, changing the muzzle size slightly can make the panda look younger or more mature. Adding a small bow or scarf personalizes the toy for gifting. Different eye colors or sizes shift the expression from sleepy to alert without any pattern changes.
Common Mistakes to Avoid
- Skipping stitch markers often leads to lost round counts, especially through color changes.
- Uneven tension between the two yarn strands creates a lumpy, inconsistent texture.
- Rushing the stuffing stage can leave the head looking flat instead of round.
- Forgetting to secure yarn tails risks the whole piece unraveling over time.
Finishing Tips
Weaving in every yarn tail twice adds durability, especially around the neck and limb joints. A light steam pressing on the finished panda smooths uneven stitches without flattening the stuffing. Checking the eye placement from multiple angles before final sewing avoids a lopsided face.
Gifting Ideas
A finished panda amigurumi makes a sweet gift for baby showers, birthdays, or animal lovers of any age. Attaching a small tag with the panda’s name adds a personal touch. Pairing it with a matching keychain-sized version creates a fun gift set for siblings or friends.
Frequently Asked Questions
Can beginners complete this free crochet panda amigurumi pattern?
Real talk, beginners with basic single crochet and increase/decrease knowledge can finish this pattern with some patience during color changes.
What size hook works best for tight stitches?
The 1.00mm and 2.00mm hooks listed keep stitches tight enough to prevent stuffing from showing through.
Can safety eyes replace the beaded eyes?
Standard safety eyes work as a substitute, though beads paired with embroidery give a softer, more traditional look.
How long does this pattern typically take to finish?
Most crocheters finish the full panda across a few sittings, depending on stuffing and sewing speed.
Conclusion
For real, this free crochet panda amigurumi pattern delivers a charming, well-shaped toy without overwhelming complexity. Clear stitch counts guide every section, from the oval muzzle to the jointed arms and legs. Careful stuffing and face placement give the panda its signature expressive look. Whether added to an existing animal collection or made as a gift, this pattern rewards patience with a genuinely adorable result. Grab the materials, pick a cozy afternoon, and let this panda take shape one round at a time.