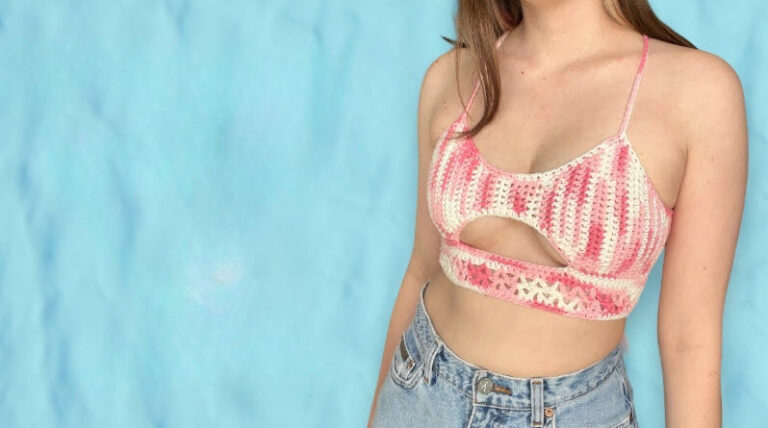
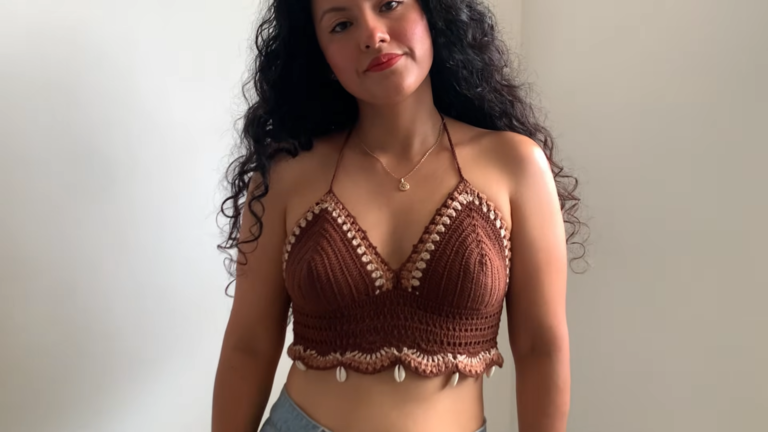
Crochet Cropped Top Pattern for Warm Days
Crochet Cropped Top Pattern for Warm Days brings together shaped triangle cups and a flowing shell-stitch hem, perfect for anyone chasing a breezy handmade summer top.
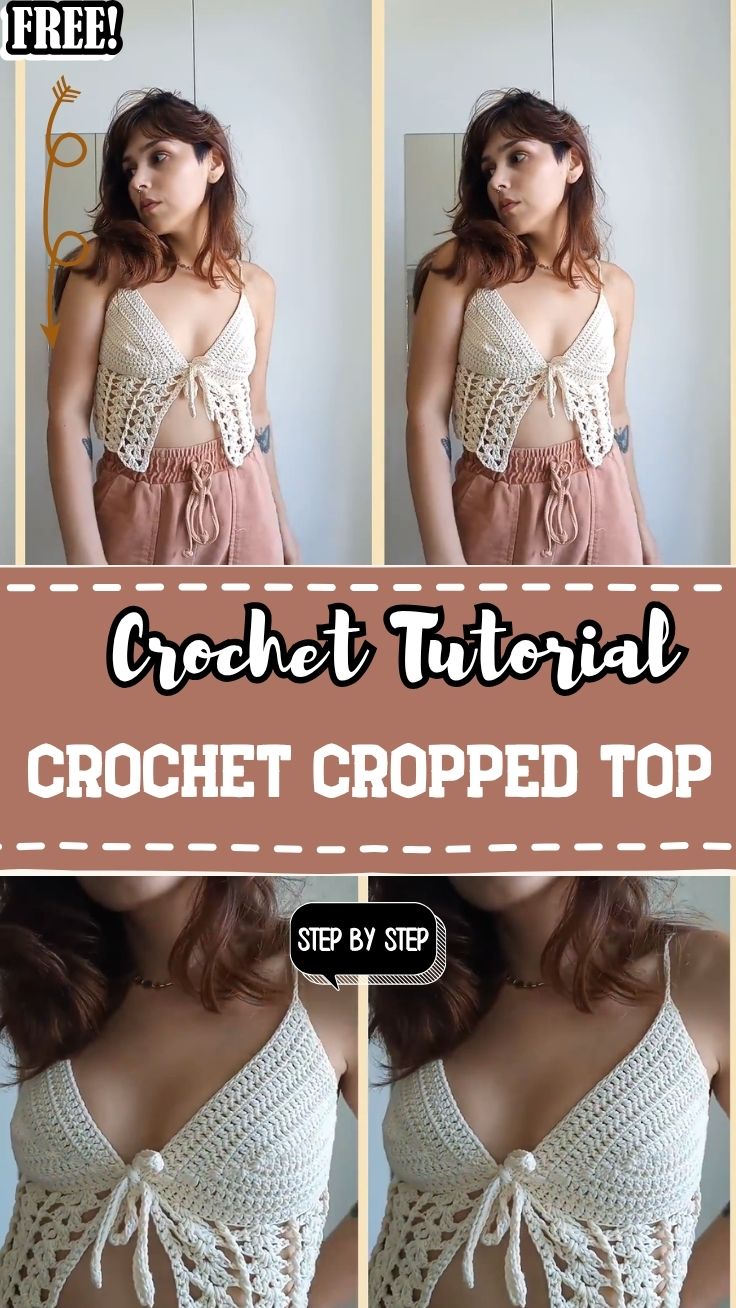
Two shaped triangle cups meet a flowing shell-stitch bottom in this crochet cropped top, creating a piece designed specifically for staying cool and stylish through warm-weather days. This pattern exists to give crocheters a flattering, breathable summer crochet garment that balances structure at the bust with airy, open texture below. Anyone chasing the perfect handmade summer staple will enjoy how this design combines solid stitches with movement.
About This Crochet Pattern
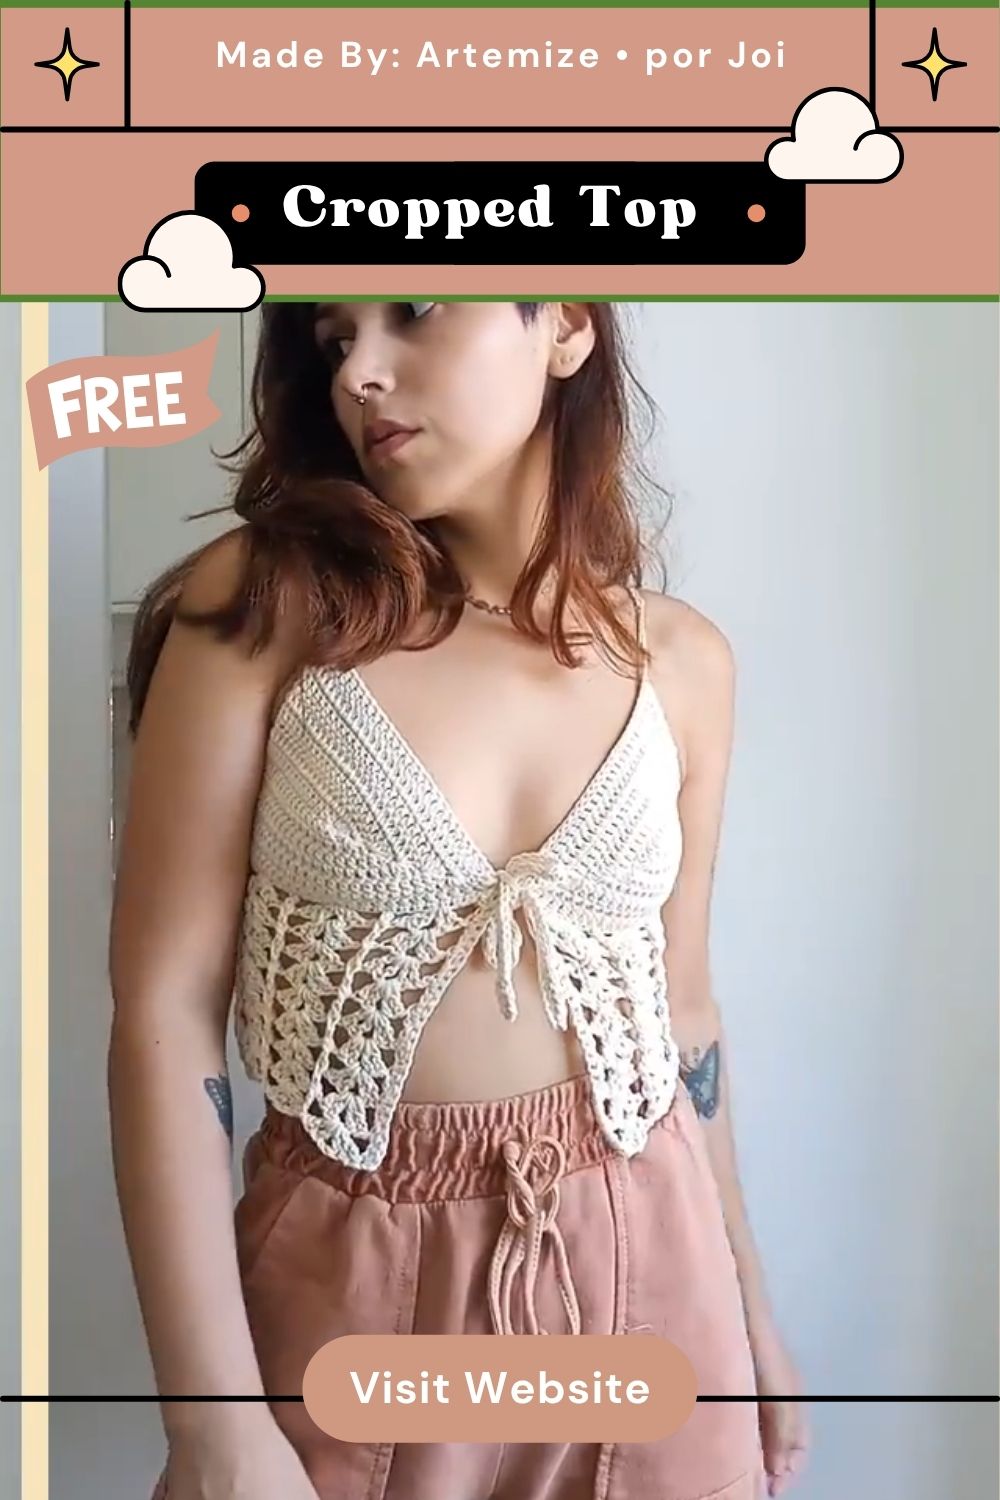
Built from two mirrored triangle panels that form the bust area, this top transitions into a lacy shell-stitch section that flows loosely down toward the hem. Thin crocheted straps tie behind the neck, giving the piece an adjustable, halter-style fit that works for a range of body shapes.
What makes this design especially clever is the contrast between the dense, structured triangle cups and the open, textured shell stitching below, since that combination gives the top both support where it’s needed and breathable movement everywhere else. Because the two panels are worked individually before joining, this top stays approachable even for someone tackling their first fitted garment, while the finished piece still reads as polished and intentional.
Project Details
- Time Box: 45 minutes shaping each triangle cup, 1.5 hours on the shell-stitch bottom section, 30 minutes joining and finishing straps
- Finished Size: Customizable, sized by triangle width and strap length
- Recommended Yarn Weight: DK or worsted weight cotton
- Crochet Hook Size: 4mm–4.5mm
Materials Needed
- Yarn in cream or off-white (or your preferred color)
- Crochet hook (4mm–4.5mm)
- Tapestry needle for seaming
- Measuring tape for sizing panels to fit
- Stitch markers
- Scissors
Crochet Stitches & Techniques
- Foundation Chain
- Single Crochet (sc)
- Shell Stitch
- Increase (inc)
- Decrease (dec)
- Fastening Off
- Sewing Pieces Together
Combining just these familiar stitches keeps the project manageable, letting the shaping and texture contrast do most of the visual work.
Pattern Instructions
This top builds from two triangle cup panels that shape the bust area, transitioning into an open shell-stitch section that flows down to the hem. Working through the stages below in order keeps both panels consistent and makes joining far smoother once the shaping is complete.
Step 1: Starting the First Triangle Cup
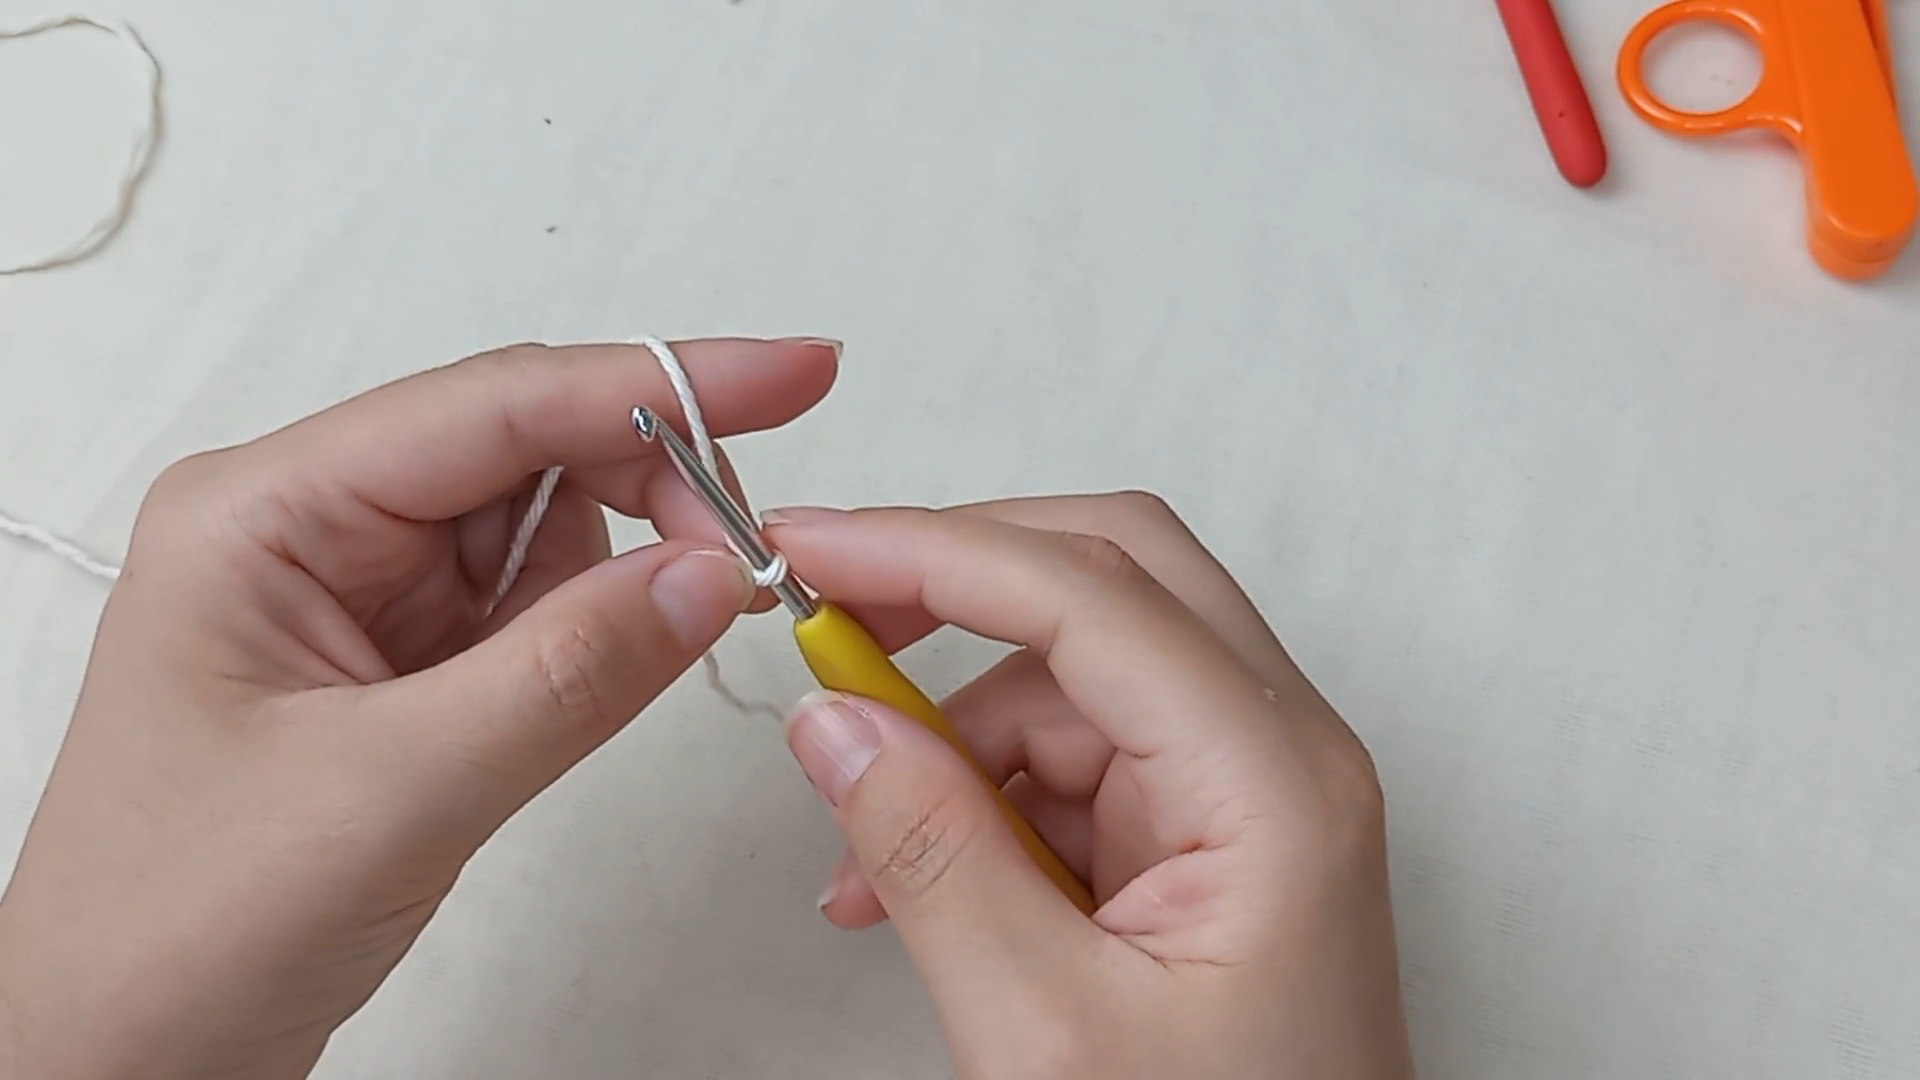
Begin with a small foundation chain in your main color, working the initial stitches to establish the narrow starting point of the first triangle cup. Keep tension snug here, since this small beginning determines how evenly the triangle grows outward in the rows that follow. This little starting edge becomes the tip that the entire cup shape builds from.
Step 2: Increasing to Shape the Triangle
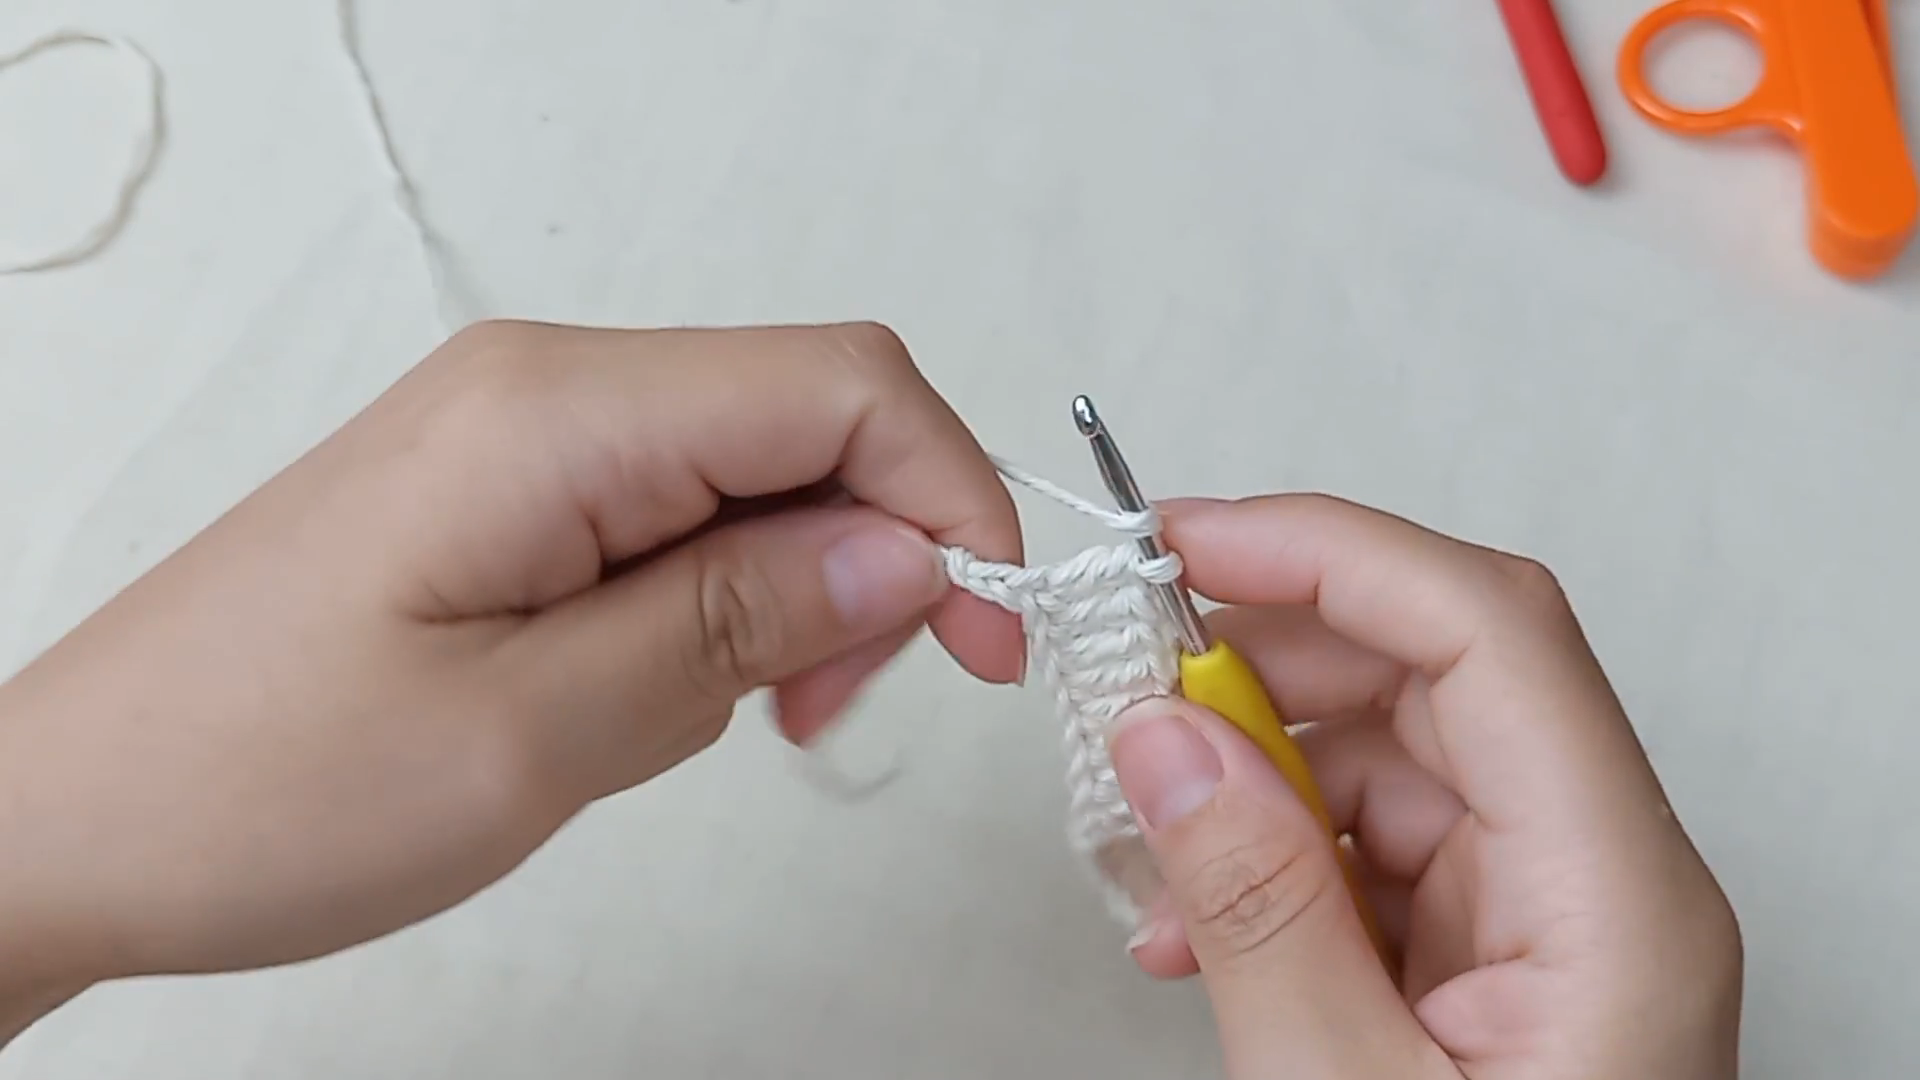
Continue working rows outward, increasing steadily on both sides to widen the shape into a proper triangular silhouette. Watch how the panel grows from that narrow point into the rounded, fitted shape that will sit naturally over the bust. Counting stitches at the end of each row helps keep both slanted edges growing at matching angles for a symmetrical finished cup.
Step 3: Measuring and Completing the Cup
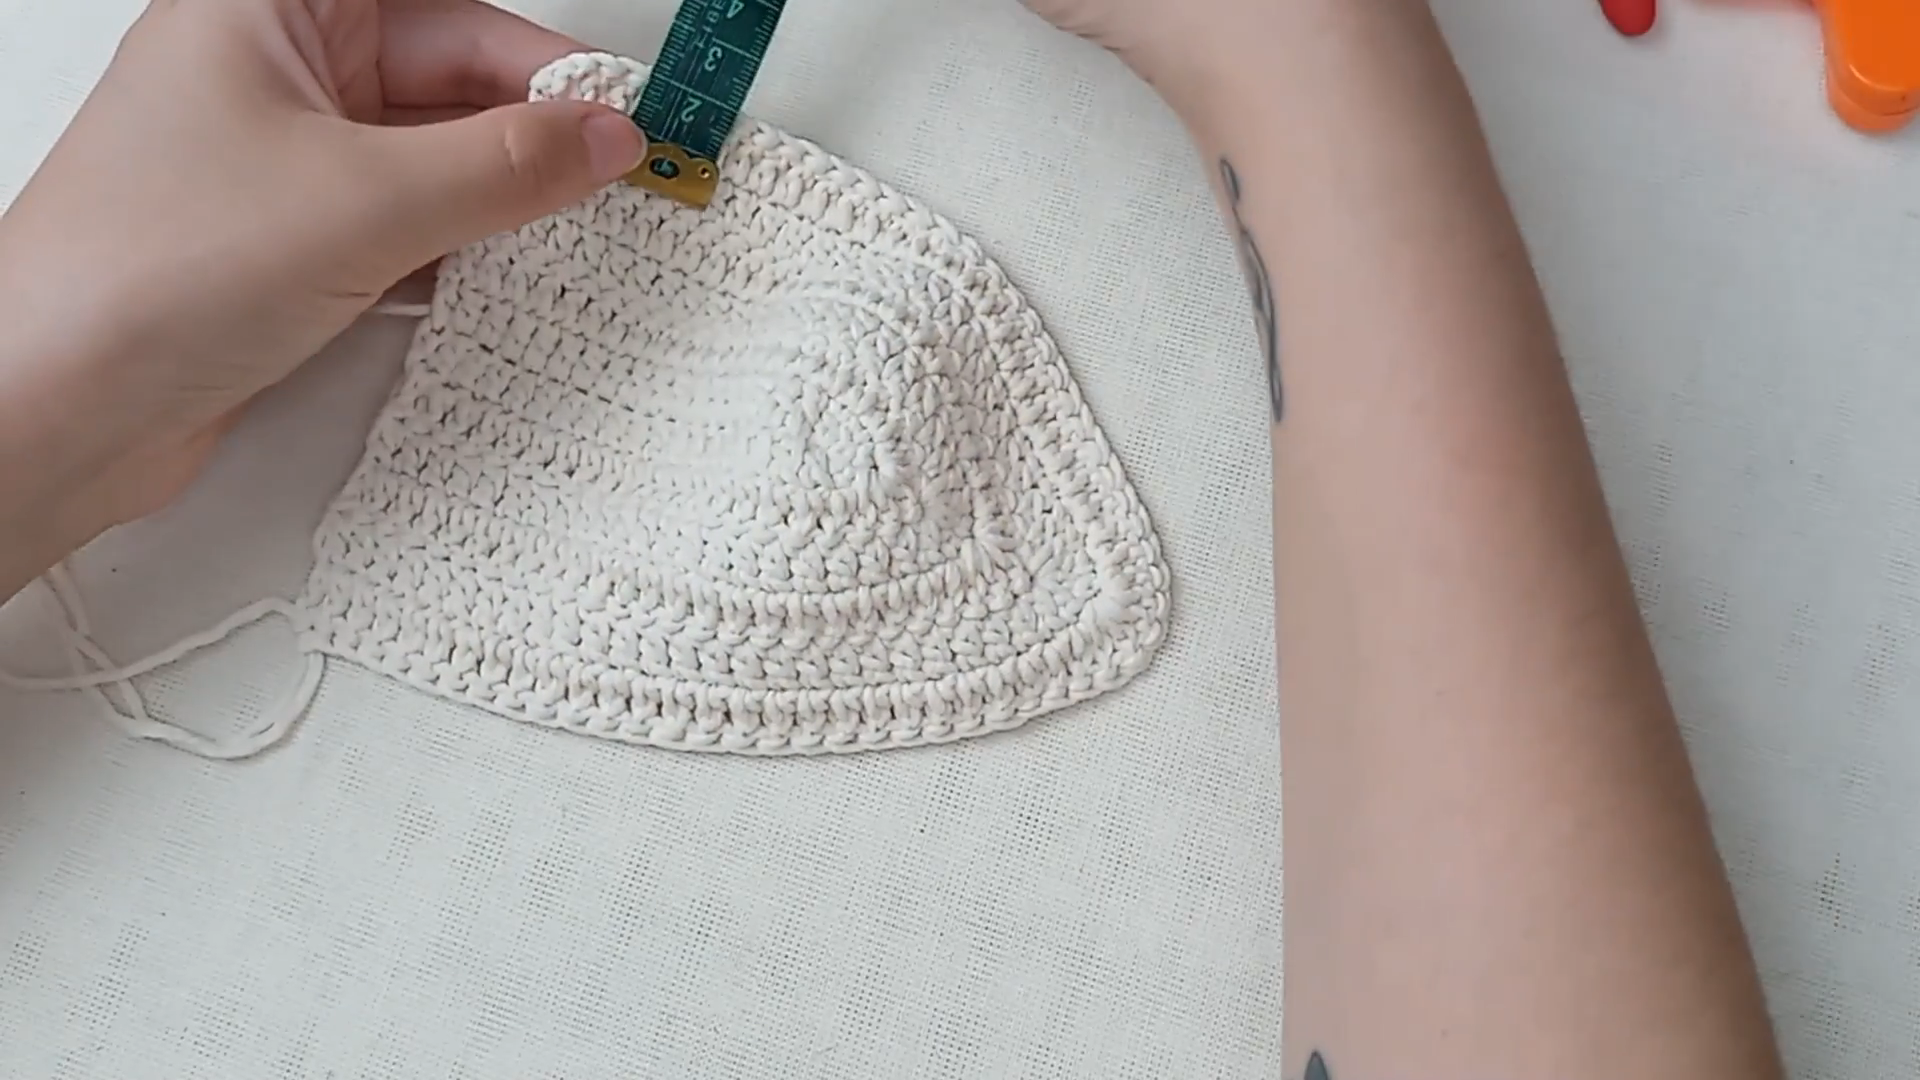
Hold the growing panel up against a measuring tape periodically, checking that the width and depth are tracking toward your intended finished size. Continue working rows until the triangle reaches the correct dimensions, then fasten off, leaving a workable tail for joining later. Repeat this entire sequence to crochet a matching second triangle cup for the other side.
Step 4: Transitioning Into the Shell-Stitch Section
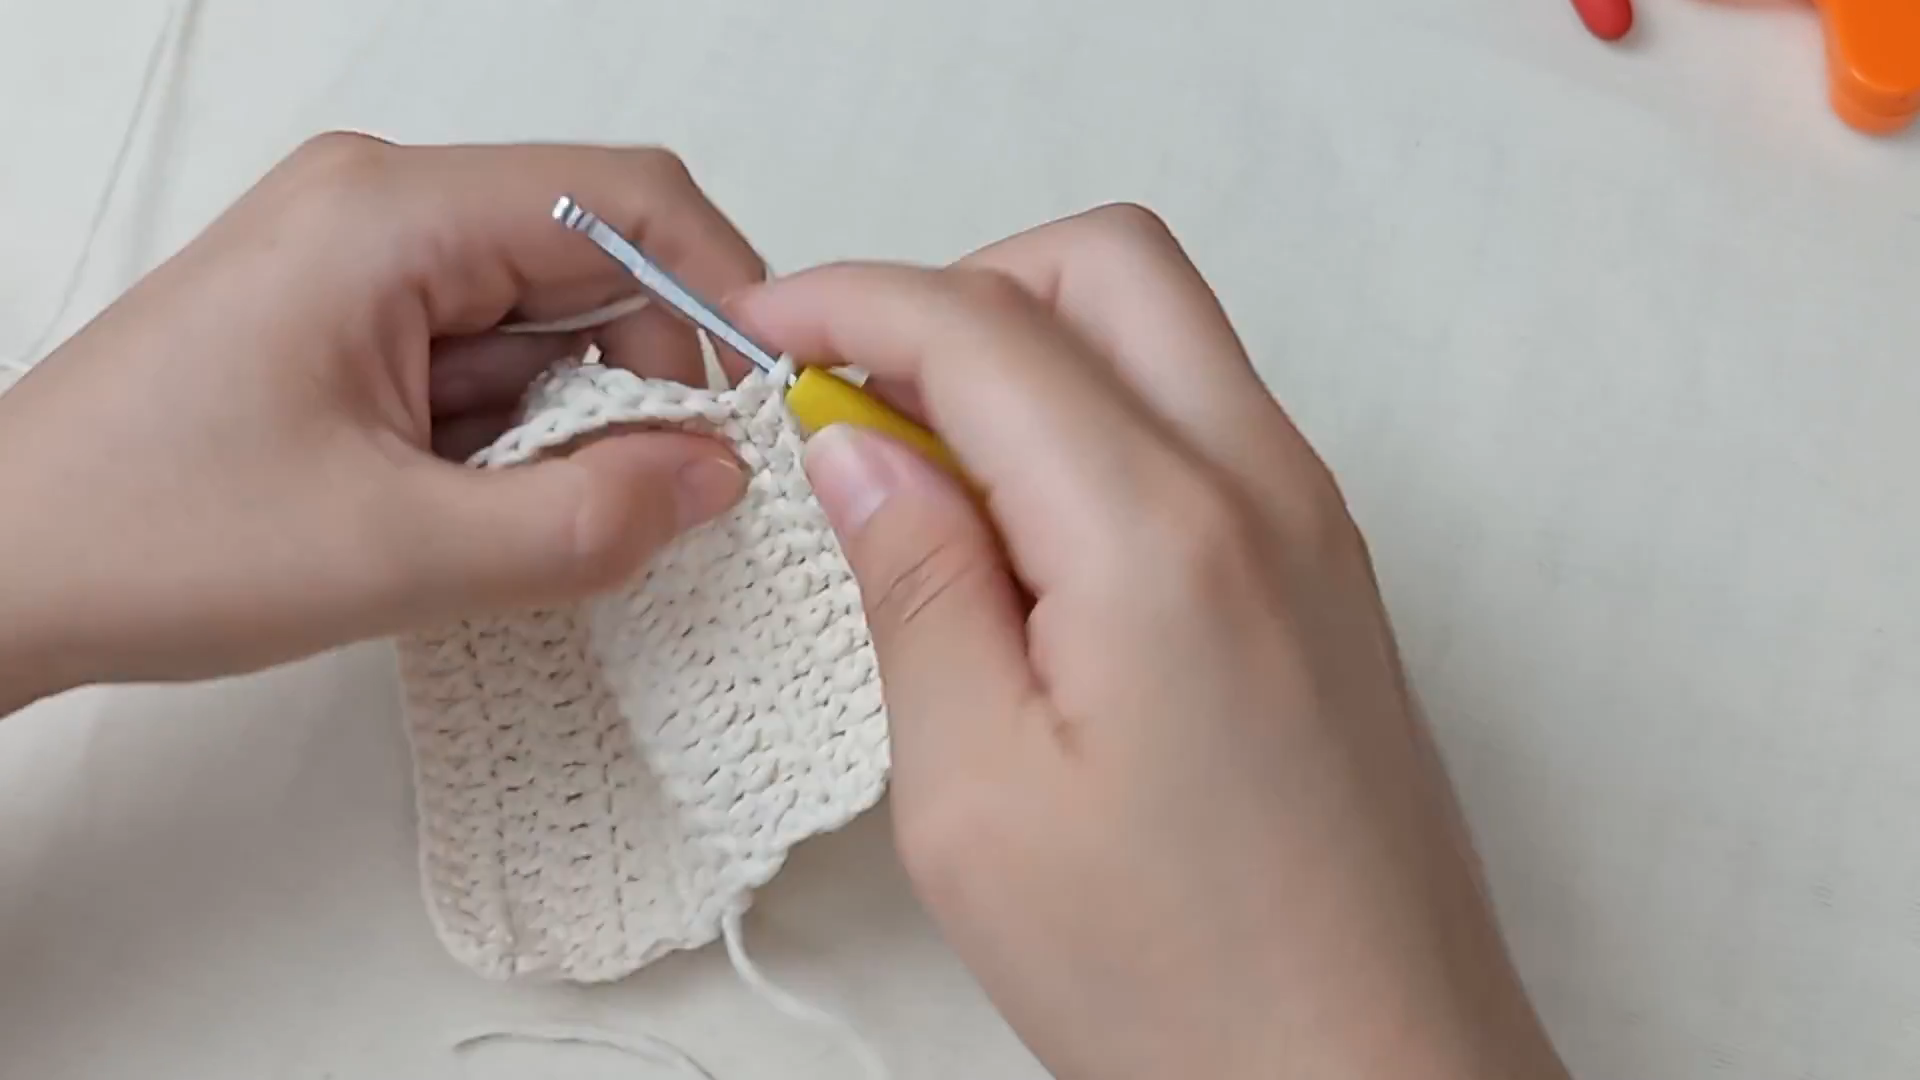
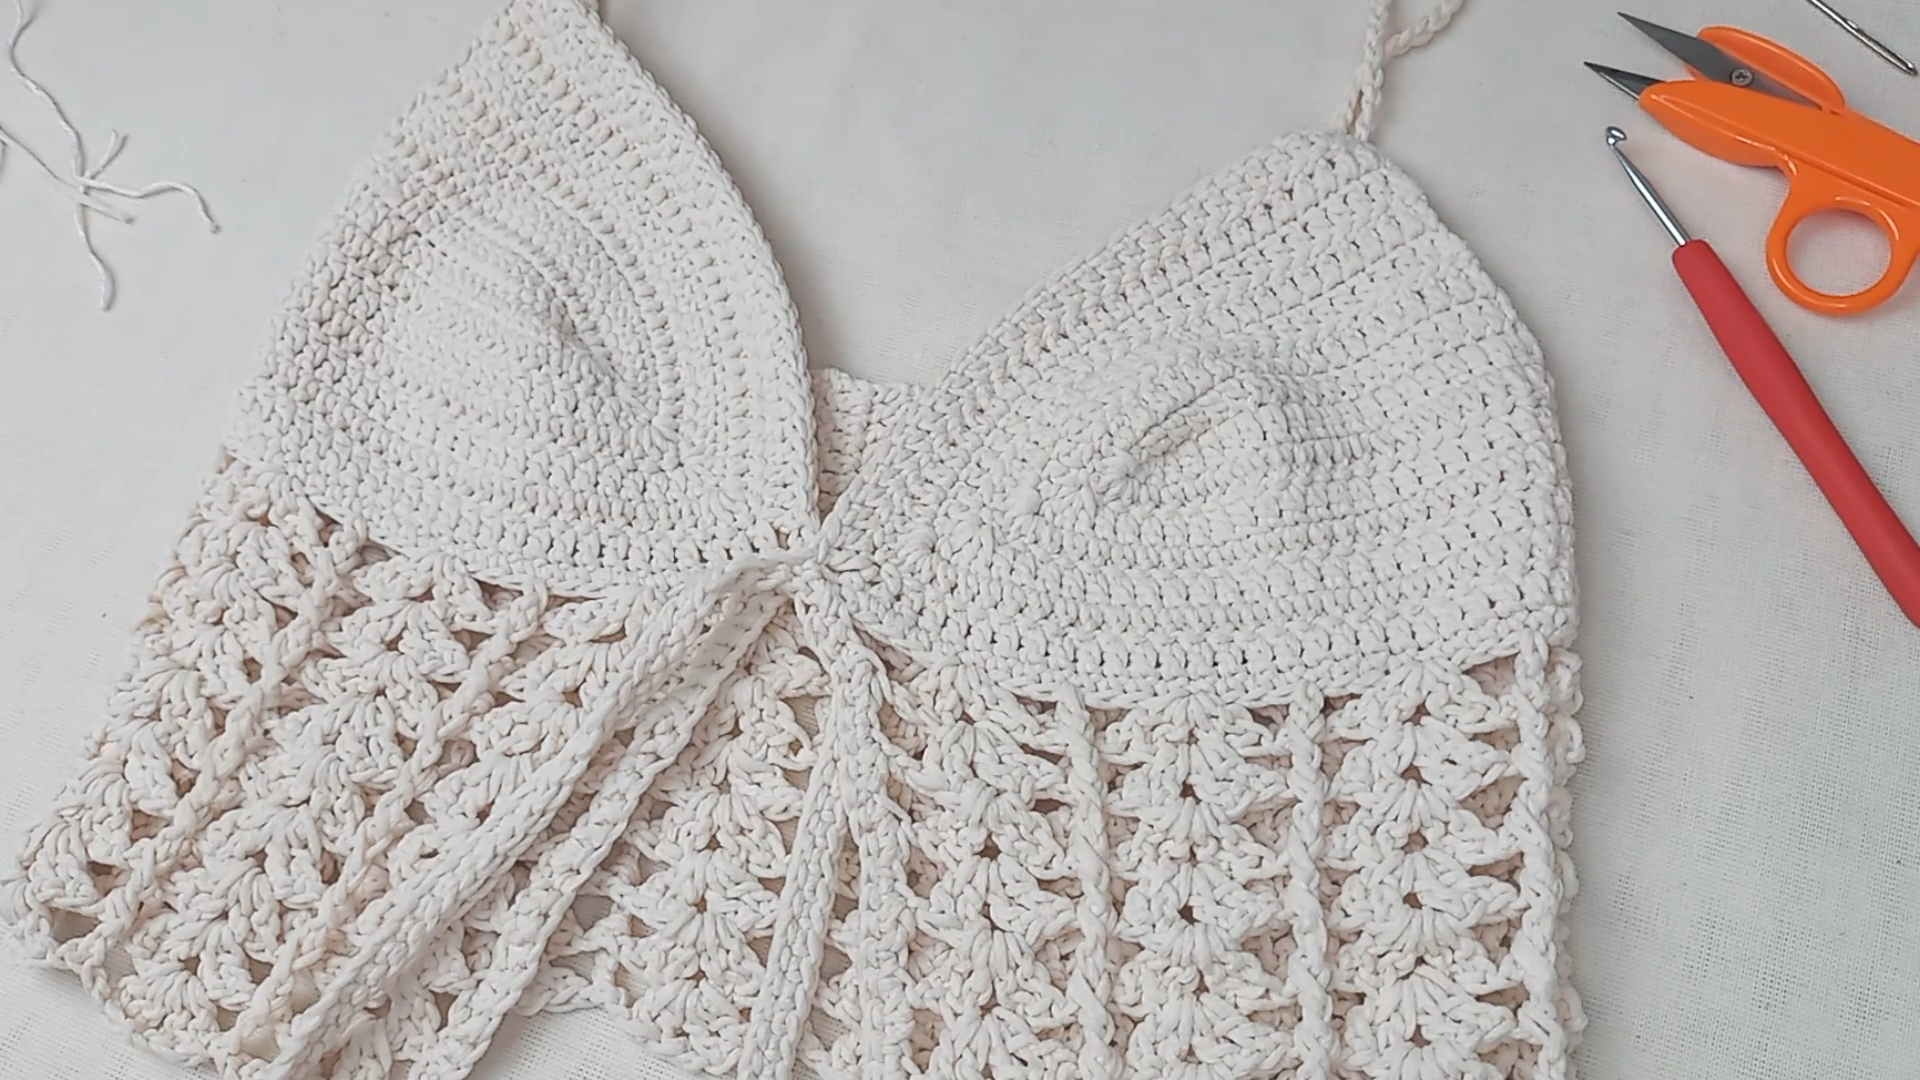
Pick up stitches along the bottom edge of the joined triangle cups and begin working your first row of shell stitches, spacing each shell evenly across the width. Notice how the fabric shifts from the dense, solid triangle texture into an open, lacy pattern as the shells build downward. Continue working shell stitch rows until the section reaches your desired top length, keeping tension consistent so the shells stay uniform throughout.
Step 5: Reviewing the Finished Panel
Lay the completed panel flat and check that both triangle cups sit symmetrically with the shell-stitch section flowing evenly beneath them. This is a good moment to confirm the overall proportions look balanced before adding straps, since adjustments are far easier now than after everything is finished. Take note of where the straps will need to attach at the top corners of each triangle cup.
Joining All Pieces
Sew the two triangle cups together at the center point, creating a smooth, seamless transition between both sides of the bust area. Chain a length of straps from each top corner, sizing them to tie comfortably behind the neck and adjusting as needed for a secure, comfortable fit.
Final Assembly
Weave in every loose yarn end neatly through the back of the stitching once all pieces are joined. Try the top on to check strap length and overall fit, adjusting the tie position if needed before trimming any excess length. Give the finished piece a light steam or gentle blocking session so the shell stitches lie open and even.
Tips for Success
- Keep your foundation chain relaxed so the triangle cups reach their full intended width.
- Count stitches at the end of each row to keep both triangle edges symmetrical.
- Measure panels against your body regularly while working to catch sizing issues early.
- Space shell stitches evenly for a consistent, open texture throughout the bottom section.
- Try the top on partway through construction to check fit before finishing straps.
- Block the finished piece gently to help the shell stitches sit flat and open.
Personalization Ideas
Swapping the cream base for a bold coral or sage green shade instantly gives this Crochet Cropped Top a completely different seasonal feel. A striped version alternating two colors through the shell-stitch section adds playful visual interest without changing the construction.
Lengthening the shell-stitch section turns this into a longer, tunic-style top instead of a cropped fit, and adding a tie at the front hem creates a slightly different silhouette. Thicker straps offer more coverage for anyone wanting a sturdier fit around the shoulders.
Common Mistakes to Avoid
- Uneven triangle shaping: Count stitches on both sides of each row to keep the cups symmetrical.
- Mismatched cup sizes: Measure each triangle against the other before joining them together.
- Irregular shell spacing: Keep consistent stitch counts between shells for an even, balanced texture.
- Skipping fit checks: Try the top on periodically rather than only checking once fully assembled.
- Overly tight straps: Leave enough length to tie comfortably without pulling on the neckline.
Frequently Asked Questions
What yarn works best for this cropped top?
DK or worsted weight cotton yarn holds the triangle shaping well while giving the shell-stitch section a nice, breathable drape.
How do I make sure both triangle cups match in size?
Measure each panel with a tape as you work and compare row counts to keep both cups growing at the same rate.
Can I adjust the length of the shell-stitch section?
Yes, simply work additional rows of shells to lengthen the top or fewer rows for a shorter, more cropped fit.
Is this Crochet Cropped Top pattern suitable for a beginner?
It’s approachable for confident beginners, especially those who have already tried basic increase and decrease shaping.
What’s the best way to keep the shell stitches looking even?
Count your stitch groups at the end of every row to maintain consistent spacing across the entire section.
Can I make this top with a solid bottom instead of shell stitch?
Yes, simply continue in single crochet rows instead of shells if you prefer a denser, less open fabric.
How do I keep the straps from stretching out over time?
Work them slightly firmer in tension than the rest of the top, since straps carry weight and benefit from added durability.
Care and Storage Tips
Conclusion
This Crochet Cropped Top combines structured shaping with open, textured stitches. The result is both flattering and breezy. Take your time shaping each triangle cup. Enjoy watching the shell stitches form the lacy bottom section. You can also adjust the fit and length to suit your style. Once finished, this warm-weather top makes a beautiful addition to a handmade wardrobe. Pick up your hook and enjoy creating this stylish piece.