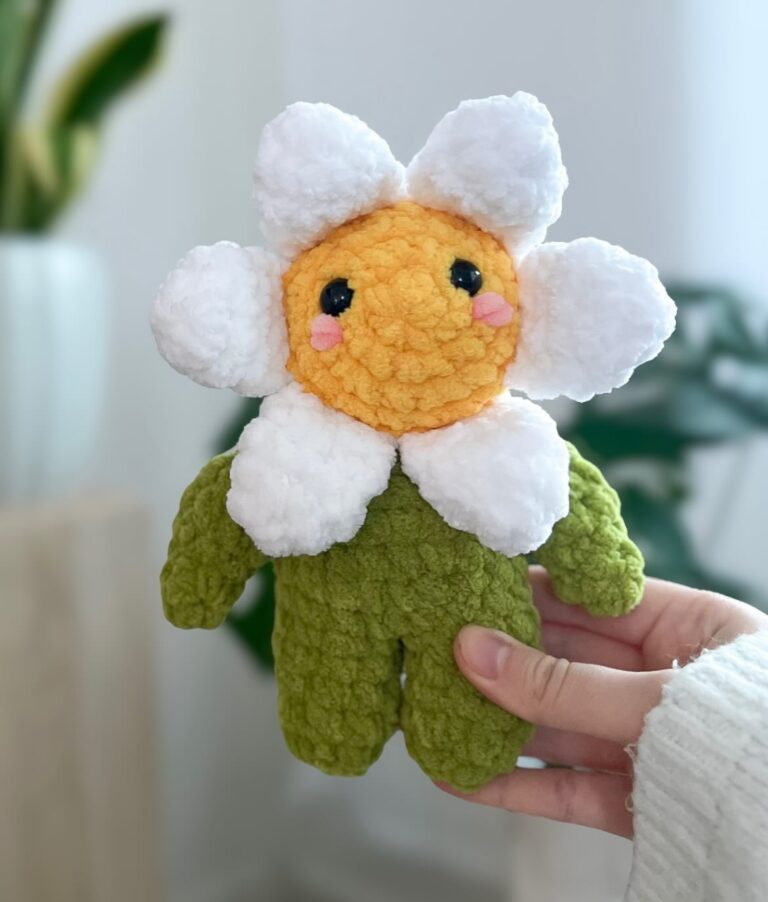
Impressive Crochet Flower Crown Pochacco Pink Amigurumi Pattern
Unveil the Impressive Crochet Flower Crown Pochacco Pink Amigurumi Pattern, swoon-worthy, beginner-friendly, bursting with pastel charm, plushy sweetness, and photo-ready vibes for gifts, decor, and kawaii collections.
Introducing the Impressive Crochet Flower Crown Pochacco Pink Amigurumi Pattern, your pastel-perfect guide to stitching a cuddly, kawaii friend crowned in blossoms. Designed for beginners yet delightful for pros, this pattern outlines clear rounds, neat color changes, and simple embroidery for Pochacco’s sweet face.

Expect a plush, huggable finish, polished shaping, and charming flower details that work up quickly with small yarn amounts. Customize the crown, add a keychain loop, or scale sizes with hook swaps. Ready to bloom your lineup with pink perfection? Let’s crochet joy, petal by petal.
Uses:
- Adorable gift for birthdays, baby showers, or holidays
- Cute shelf/desk decor for kawaii-themed spaces
- Bag charm or keychain with a small hanging loop

Impressive Crochet Flower Crown Pochacco Pink Amigurumi Pattern
Looking for smoother readability and a beginner-friendly guide? Then this Impressive Crochet Flower Crown Pochacco Pink Amigurumi Pattern is exactly what you need. Not only does it include clear steps and accurate measurements, but it also uses strong transition words to guide you effortlessly from start to finish. As a result, you will crochet with confidence, maintain momentum, and finish a plush that looks polished and irresistibly cute.
Materials and Exact Measurements
To start, gather the following supplies so you can work without interruptions:
- Yarn (DK/Light Worsted, Weight 3) for firm stitches:
- Main body: soft pink, 40 g
- Muzzle/belly patch: white, 10 g
- Ears/embroidery accents: black, 5 g
- Flowers: rose pink (6 g) and blush (4 g)
- Leaves: spring green, 5 g
- Crochet hooks:
- 3.0 mm for head and body
- 2.5 mm for flowers, leaves, and small details
- Safety eyes: 8 mm (pair) or embroidery for a child-safe option
- Embroidery floss/yarn for face: black or dark brown (1–2 m)
- Fiberfill: 30–40 g
- Tapestry needle (5–7 cm), stitch markers, pins, and scissors
- Optional: 3.5 mm hook for larger size, blush for cheeks, keychain hardware
Finished size with a 3.0 mm hook: approximately 12–14 cm tall (ears add ~2–3 cm). Moreover, each ear measures about 6–7 cm, each rose measures about 2.5–3.0 cm, and each leaf measures about 3.0 cm.
Level of Difficulty
Beginner-friendly. Specifically, you will use MR (magic ring), ch (chain), sc (single crochet), inc (increase), dec (invisible decrease), and sl st (slip stitch). Consequently, if you already know these basics, you are ready.
Special Features
- Importantly, the head and body are worked in one piece, which minimizes sewing.
- Additionally, a petite flower crown adds irresistible charm.
- Furthermore, step markers, spacing tips, and stuffing guidance help you avoid common pitfalls.
- Finally, quick sizing advice makes it simple to scale your project.
Sizing and Gauge Tips
- For a firmer, smaller plush (approximately 9–10 cm), use a 2.5 mm hook.
- Conversely, for a larger plush (around 16–18 cm), use a 3.5 mm hook and add one even round where noted.
- Although gauge is flexible in amigurumi, aim for tight stitches that hide stuffing; typically, 18–20 sc per 10 cm with DK and a 3.0 mm hook works well.
Step-by-Step Instructions with Time Estimates
Note: Unless stated otherwise, work in continuous rounds. Additionally, place a stitch marker at the first stitch of each round.
- Head (Estimated time: 45–60 minutes)
- Round 1: MR, 6 sc (6)
- Round 2: inc around (12)
- Round 3: (sc, inc) x6 (18)
- Round 4: (2 sc, inc) x6 (24)
- Round 5: (3 sc, inc) x6 (30)
- Round 6: (4 sc, inc) x6 (36)
- Rounds 7–11: sc around (36)
- Next, insert safety eyes between Rounds 9–10, approximately 8–9 stitches apart. Optionally, add small white felt patches behind the eyes for extra brightness.
- Round 12: (4 sc, dec) x6 (30)
- Round 13: (3 sc, dec) x6 (24)
- As you shape, lightly stuff the head; however, avoid overstuffing so the sphere remains smooth.
- Muzzle and Face Details (Estimated time: 10–15 minutes)
- With white yarn, you may create a small oval muzzle; alternatively, simply embroider the nose and mouth directly on the pink head.
- Nose: stitch a tiny satin triangle centered between the eyes (about 2–3 stitches wide).
- Mouth: embroider a gentle “Y” or curved smile. Consequently, the expression looks soft and friendly.
- Transition to Body (Estimated time: 25–30 minutes)
- Round 14: (3 sc, inc) x6 (30)
- Round 15: (4 sc, inc) x6 (36)
- Round 16: (5 sc, inc) x6 (42)
- Rounds 17–20: sc around (42)
- Round 21: (5 sc, dec) x6 (36)
- Round 22: (4 sc, dec) x6 (30)
- Because the neck supports the head, stuff the neck and upper body firmly at this stage.
- Close the Body (Estimated time: 15–20 minutes)
- Round 23: (3 sc, dec) x6 (24)
- Round 24: (2 sc, dec) x6 (18)
- Round 25: (sc, dec) x6 (12)
- Before closing, finish stuffing so the base sits flat; this way, your plush stands or sits evenly.
- Round 26: dec around (6). Then fasten off and close the opening cleanly with the yarn-tail needle method.
- Arms (make 2) (Estimated time: 12–15 minutes each)
- MR, 6 sc (6)
- Round 2: (sc, inc) x3 (9)
- Rounds 3–6: sc around (9)
- Lightly stuff just the hand area. Next, pin each arm slightly forward at shoulder height for a hugging pose. Finally, sew using neat, small stitches.
- Legs (make 2) (Estimated time: 15–20 minutes each)
- MR, 6 sc (6)
- Round 2: inc around (12)
- Round 3: (3 sc, inc) x3 (15)
- Rounds 4–6: sc around (15)
- Round 7: (3 sc, dec) x3 (12)
- Subsequently, stuff firmly and sew the legs at the base so Pochacco can sit securely. Moreover, keep them symmetrical for balance.
- Ears (make 2) (Estimated time: 12–15 minutes each)
- With black yarn: MR, 6 sc (6)
- Round 2: (sc, inc) x3 (9)
- Round 3: (2 sc, inc) x3 (12)
- Rounds 4–7: sc around (12)
- Flatten without stuffing; then attach to the top sides of the head. Slightly angle them outward; consequently, the silhouette looks playful.
- Belly Patch (optional) (Estimated time: 10 minutes)
- With white yarn: ch 6; sc in 2nd ch from hook, 3 sc, 3 sc in last ch; continue along the other side of the chain, 3 sc, 2 sc in last; sl st to join.
- Afterward, sew the oval centered on the lower body for contrast.
- Flower Crown: Roses and Leaves (Estimated time: 25–35 minutes total)
- Roses (make 3–5): With a 2.5 mm hook, ch 25; Row 1: sc in 2nd ch from hook and across; Row 2: (sl st, 3 dc) in first stitch, skip 1, repeat to the end to form petals. Then roll the strip into a spiral and stitch the base to secure. Consequently, each rose measures about 2.5–3.0 cm.
- Leaves (make 4–6): ch 6; sc in 2nd ch, hdc, dc, hdc, sc; rotate and mirror along the other side: sc, hdc, dc, hdc, sc; fasten off. Each leaf is roughly 3.0 cm long.
- Next, arrange roses above the ears and across the forehead; then insert leaves between blooms for a lush look. Pin first; afterward, sew securely so the crown stays put.
- Assembly and Shaping (Estimated time: 15–20 minutes)
- First, pin all pieces—arms, legs, ears, and crown—to check symmetry.
- Then sew parts carefully, tightening each stitch for durability.
- Finally, add a touch of blush to the cheeks and weave in all ends. As a result, your plush appears clean, neat, and photo-ready.
Common Mistakes and How to Avoid Them
- Visible stuffing: If gaps appear, your hook is likely too large; therefore, switch down a size or gently tighten tension.
- Crooked head or body: Miscounting causes a tilt; consequently, mark rounds and count at the end of each round.
- Wobbly head: Understuffing at the neck leads to wobbles; hence, pack the neck firmly without stretching stitches.
- Uneven eyes: Inconsistent placement looks distracting; thus, measure the stitch gap and insert both eyes on the same round.
- Loose crown: Flowers may shift if under-secured; therefore, tack the rose base and discreetly anchor two petals to the head.
Variations to Make It Yours
- Colorways: For example, swap to lavender with cream accents, or go classic white Pochacco with pink flowers.
- Sizes: Alternatively, use a 2.5 mm hook for a mini keychain or a 3.5 mm hook for a cuddle-sized plush.
- Expressions: Additionally, embroider sleepy eyes, tiny eyebrows, or a playful tongue for personality.
- Accessories: Moreover, add a bow, heart applique, or scarf to match seasonal themes.
Tutor Suggestions for Beginners
- Before starting, practice the magic ring and invisible decrease on a small swatch; consequently, your stitches will look smoother later.
- While working, mark every increase round and use a row counter or checklist; as a result, you will avoid miscounts.
- During stuffing, add small pinches at a time and rotate the piece; this method, therefore, prevents lumps.
- For cleaner seams, leave long tails to sew parts together; alternatively, attach with matching sewing yarn if preferred.
Finishing Tips for a Polished Look
- For an invisible finish, weave the tail under both loops of the next stitch and back into the last stitch; thus, the final “V” looks seamless.
- Lightly steam-block petals and leaves only; meanwhile, avoid steaming the stuffed body to preserve shape.
- To hide knots, bury them deep inside; then bring the tail out a few stitches away and snip so it retracts inside.
- Finally, use a lint roller or soft brush to remove fuzz; consequently, your amigurumi photographs beautifully.
With these refined transitions, clear steps, and friendly time estimates, your Impressive Crochet Flower Crown Pochacco Pink Amigurumi Pattern becomes easier to follow and more enjoyable to make. As you stitch, you will move smoothly from one step to the next, and, ultimately, you will finish a plush that’s adorable, balanced, and ready to gift or keep.