Free Mini Crochet Baseball Glove Pattern for Beginners
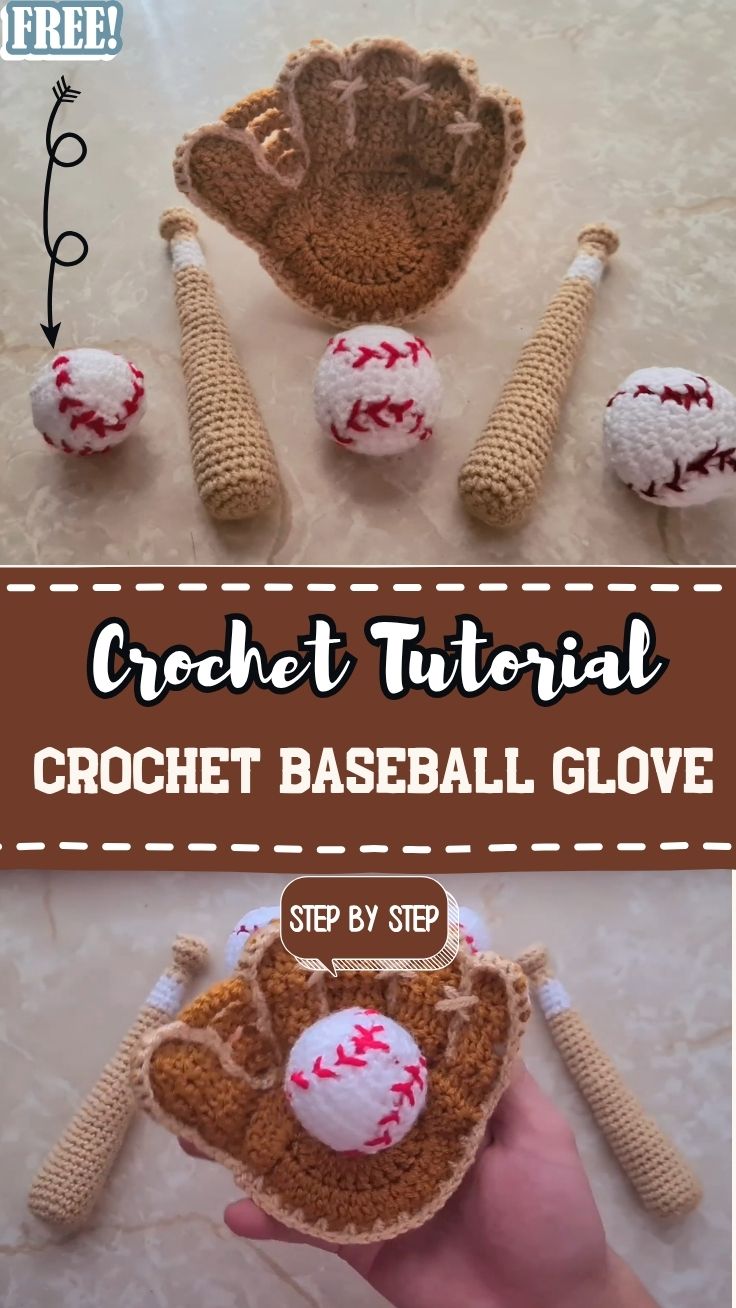
Two flat mustard-colored pieces, each shaped with a rounded pocket and a curved top edge, come together in our Free Mini Crochet Baseball Glove Pattern for Beginners to form a palm-sized mitt for shelves, gift bags, and ballpark parties.
Built from simple rounds plus a few rows of taller stitches, a mini baseball glove makes a sweet baby-shower prop, coach’s thank-you, or team-bag charm. Below, the crochet baseball glove pattern is split into four photo-matched stages, covering marker placement, matching both halves, and shaping the finger edge of your amigurumi baseball glove without loose gaps.
Pattern Overview
The glove is made from two matching flat halves. Each half starts small in the center, grows outward in rounds, and widens into a curved top that later becomes the finger section.
Once both halves match, they come together and the top edge is shaped into soft scallops. The result is a display piece, not a wearable glove, so accuracy in shape matters more than fit.
What You’ll Need
- Medium-weight yarn in mustard, tan, or brown (the video uses a warm golden mustard)
- A crochet hook suited to your yarn label, or one size smaller for firmer fabric
- 2 locking stitch markers
- Yarn needle
- Scissors
- Optional: a pinch of fiberfill and contrast yarn for lacing details
Check your yarn and hook against the video before starting. Small glove patterns are sensitive to hook size, and a half-size change can shift the finished shape noticeably.
Abbreviations (US Terms)
- ch: chain
- sl st: slip stitch
- sc: single crochet
- hdc: half double crochet
- dc: double crochet
- st(s): stitch(es)
Time Box
- Prep: about 10 minutes to gather supplies and set markers
- Stitching: roughly 1 to 2 hours for both halves, depending on your pace
- Finishing: 20 to 30 minutes for joining, weaving ends, and shaping
Times are estimates. A first attempt usually runs longer while you learn the shape.
Step-by-Step Construction
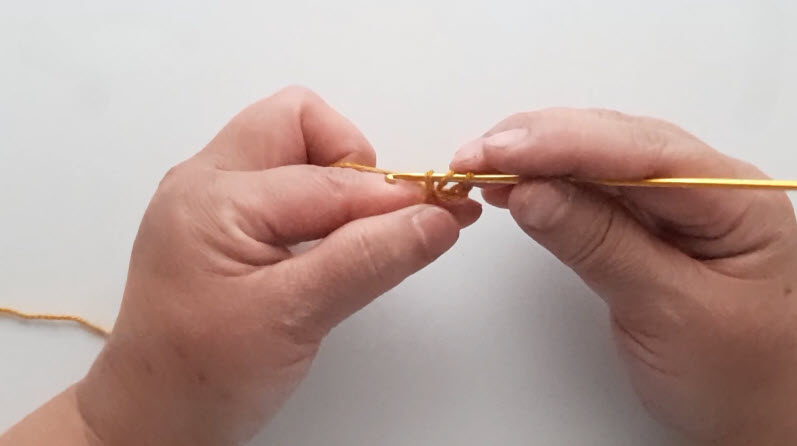
Step 1: Start the First Half
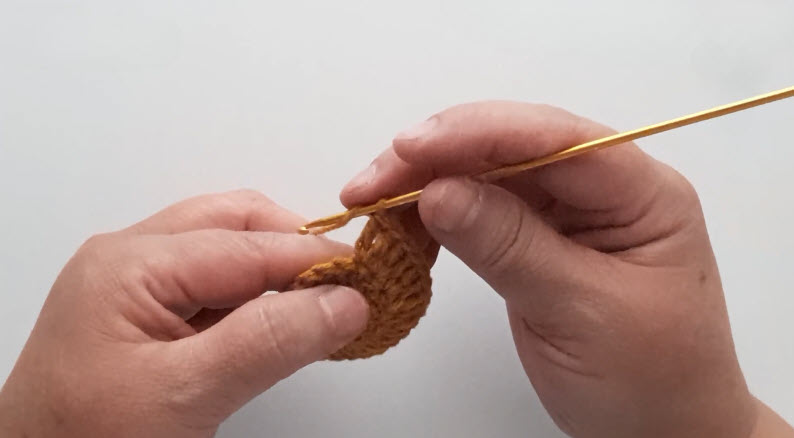
Make a slip knot and begin your first stitches at the center of the piece. Leave a tail of about 6 inches so you have enough to weave in later.
In the first screenshot, only a handful of stitches sit on the hook, and the tail trails off to the left. Hold the tail against the work with your left hand as you go. It stops the first stitches from twisting and keeps the center from loosening.
Keep these opening stitches snug. A loose center shows up as a hole in the palm of the finished glove.
Step 2: Build Out the Rounded Shape
Continue working around the growing piece, following the video’s round sequence. The fabric should stay flat as it widens.
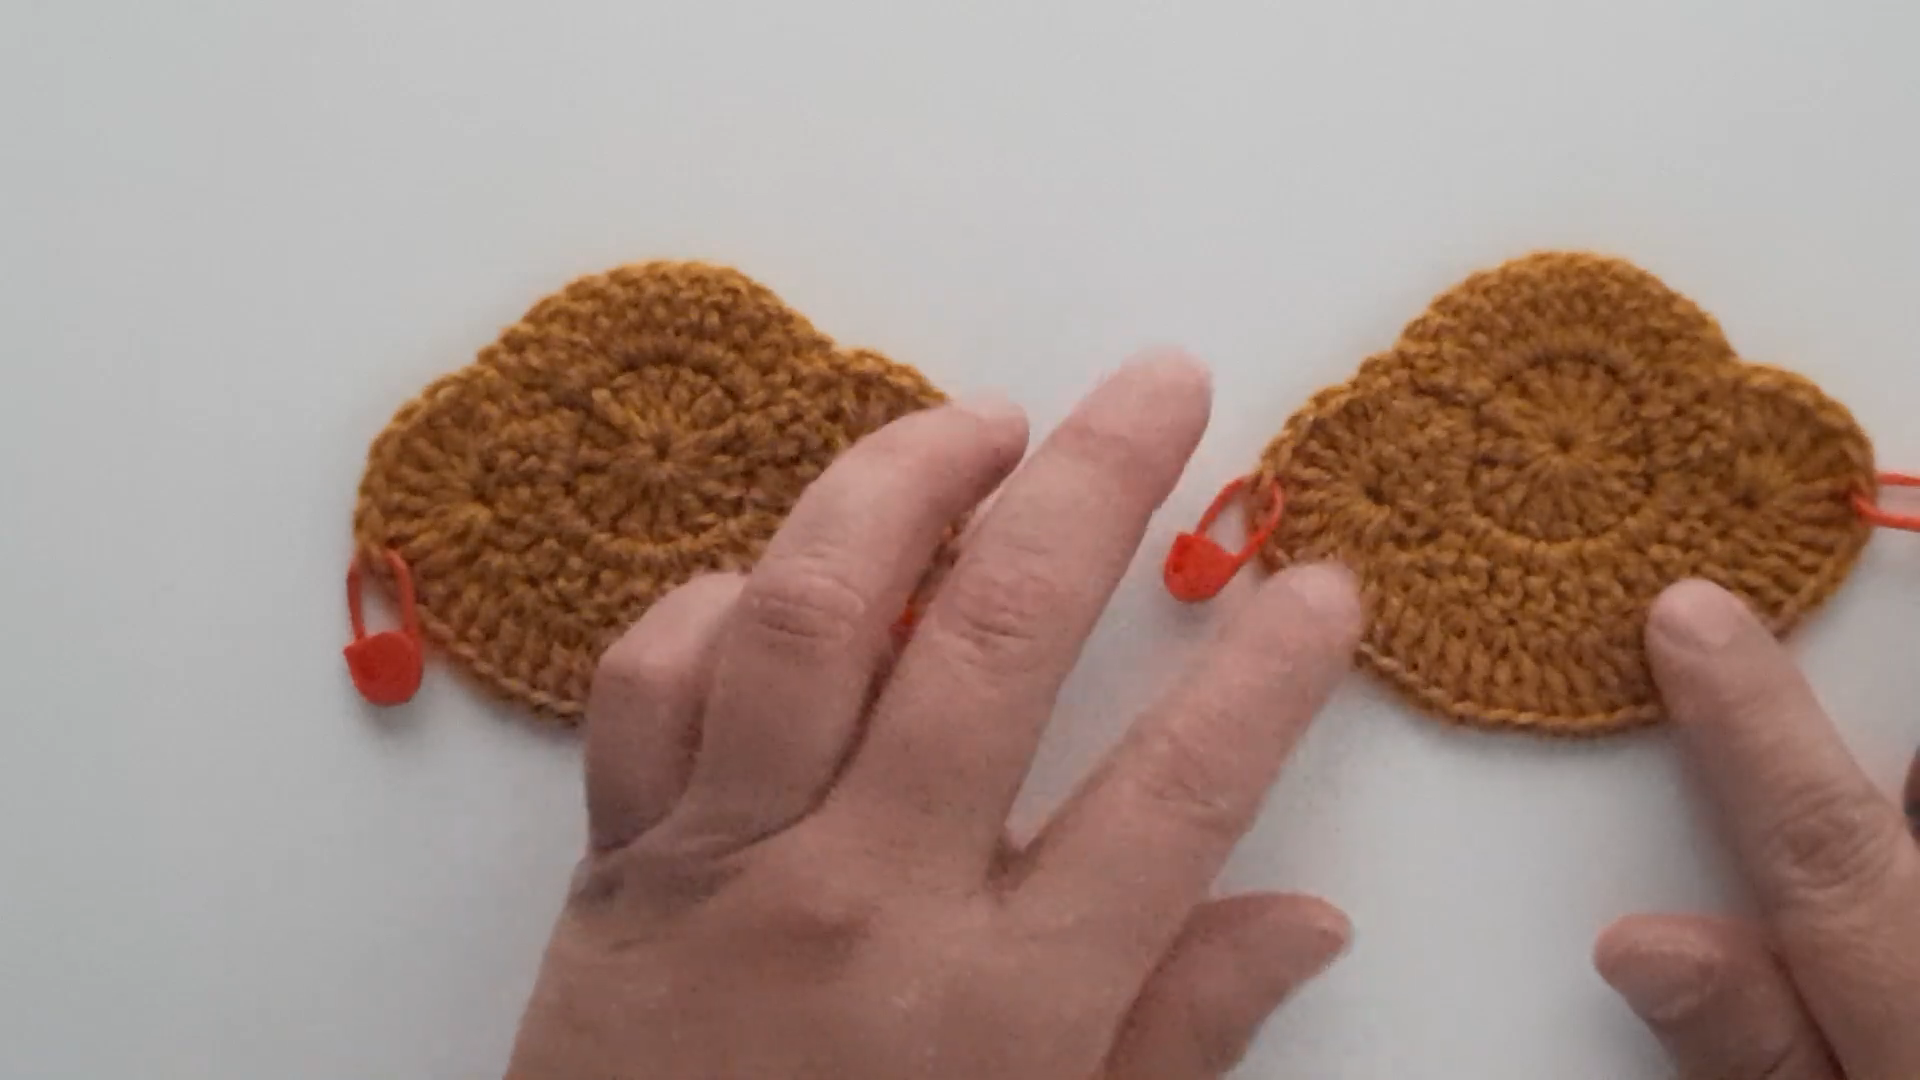
Here the half has grown into a dense, rounded shape with visible ridge lines, and the hook is entering the outer edge. Notice how tight and even the stitches look. That density is what helps a small glove hold its form.
Shape check: Lay the piece on a table every few rounds. If the edge ripples, you’ve added too many stitches. If it curls up like a bowl, you’ve added too few. Fix it now rather than later, because both halves need to match.
Pro tip: Place a locking marker in the first stitch of each round. On a piece worked in dense rounds, the start point disappears fast, and one missed stitch throws the whole outline off.
Step 3: Make the Second Half and Compare
Repeat Steps 1 and 2 to make a second, identical half. Then set them side by side before doing anything else.
Match now: Check that both pieces have the same width, the same number of rounds, and bumps in the same position. Place your markers at identical points on each half. They mark where the joining or finger shaping begins and ends, so they must line up exactly.
If one half is slightly larger, it’s usually a tension difference. Redo the last round of the larger piece with a tighter pull rather than forcing the pieces together.
Step 4: Join and Shape the Finger Edge
Follow the video’s joining order for bringing the halves together. As a general approach for flat crochet pieces, hold them wrong sides together, align the markers, and work through both layers so the edges meet cleanly.
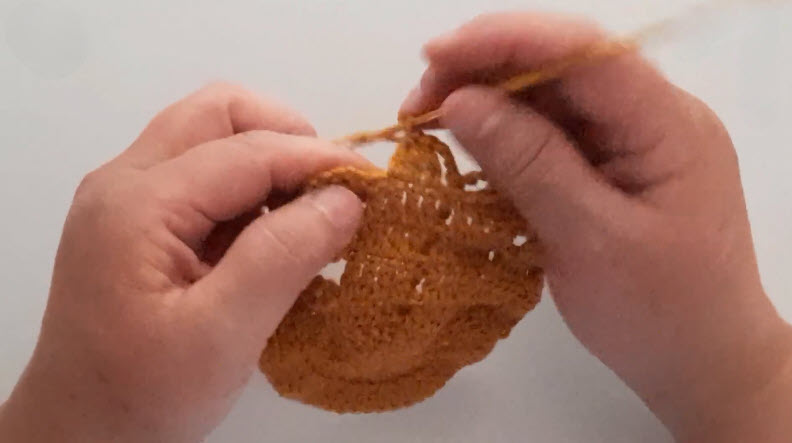
In the last screenshot, the glove has grown larger, with a wavy, scalloped top edge that forms the finger section. Taller stitches leave small, even spaces between them, and the hook is working along the curved edge.
Those small spaces are normal for tall stitches. What you want to avoid is one gap that looks noticeably wider than the rest. That usually means a skipped stitch or a stitch worked into the wrong space.
Pocket check: Before fastening off, press your thumb into the center to see whether the glove holds a shallow pocket. If it lies completely flat, the joining edge may be too loose.
Finishing
Fasten off and weave in every tail through several stitches, changing direction once so the end doesn’t work loose.
For a fuller look, tuck a small pinch of fiberfill near the joined edge before closing. Keep it light, as too much stuffing flattens the pocket.
Add a hanging loop at the top if you plan to use the glove as an ornament or bag charm.
Common Mistakes
Halves that don’t match. Usually caused by crocheting one half on a different day with different tension. Compare them before joining, never after.
A twisted join. If the markers don’t line up, the glove leans to one side. Pin the halves together first.
Loose tall stitches. Stitches in the finger edge can grow sloppy near the end. Pull each loop fully through before starting the next.
A gappy center. A loose first round creates a visible hole. Tighten the starting tail before weaving it in.
Personalization Ideas
Team-Color Lacing
Whipstitch around the outer edge with red or white yarn to mimic the laces on a real mitt.
A Tiny Ball in the Pocket
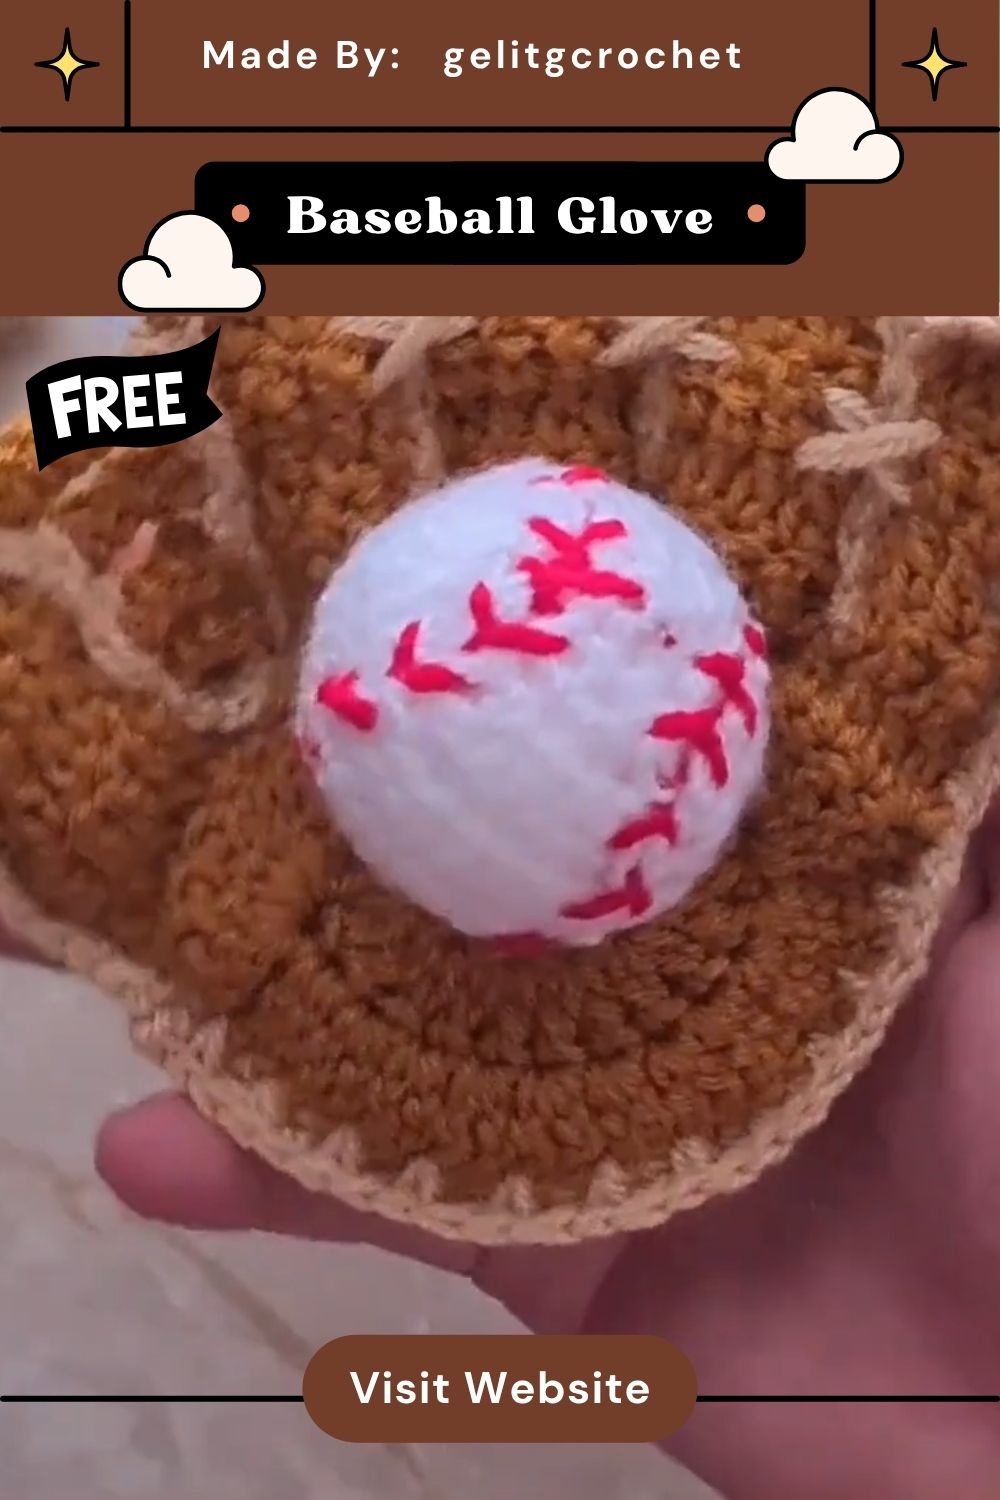
Crochet a small white ball with red stitch lines and tack it inside the glove for a baby-shower centerpiece.
Initials or Numbers
Embroider a player number or first initial on the back using a contrast color and a basic backstitch.
Gift-Tag Style
Attach a short ribbon and use the glove as a tag on a team gift bag or end-of-season present.
FAQs
How big is the finished glove?
Size depends on your yarn, hook, and tension. Measure both halves after Step 3 and adjust your hook if you want a larger or smaller mitt.
Can a beginner make the glove?
Yes, if you’re comfortable with basic rounds and tall stitches. The trickiest part is keeping both halves identical.
Which yarn works best?
A smooth medium-weight acrylic or cotton shows the stitch detail clearly. Fuzzy yarns hide the shaping.
Is the glove safe for babies?
Treat it as décor or a photo prop. Skip loose buttons or beads, secure every end firmly, and supervise any handling by small children.
Bonus: Setting the Pocket Shape So It Lasts
A mini glove looks more realistic when its pocket curve holds, even after sitting on a shelf.
Once finishing is done, press the glove over a small round object, such as a toy ball or rolled sock, and lightly mist it with water. Let it dry fully in that shape.
For acrylic yarn, hold a steam iron a few inches above the glove without touching it, then let it cool on the form. The fibers relax into the curve and keep it. Cotton responds best to damp blocking alone.
Wrapping Up
Two matched halves, a clean join, and a scalloped finger edge are all it takes to finish a tiny ballpark keepsake. Check your halves against each other before joining, and the rest falls into place.