Free Crochet Tiger Keychain Amigurumi Pattern for Everyday Use
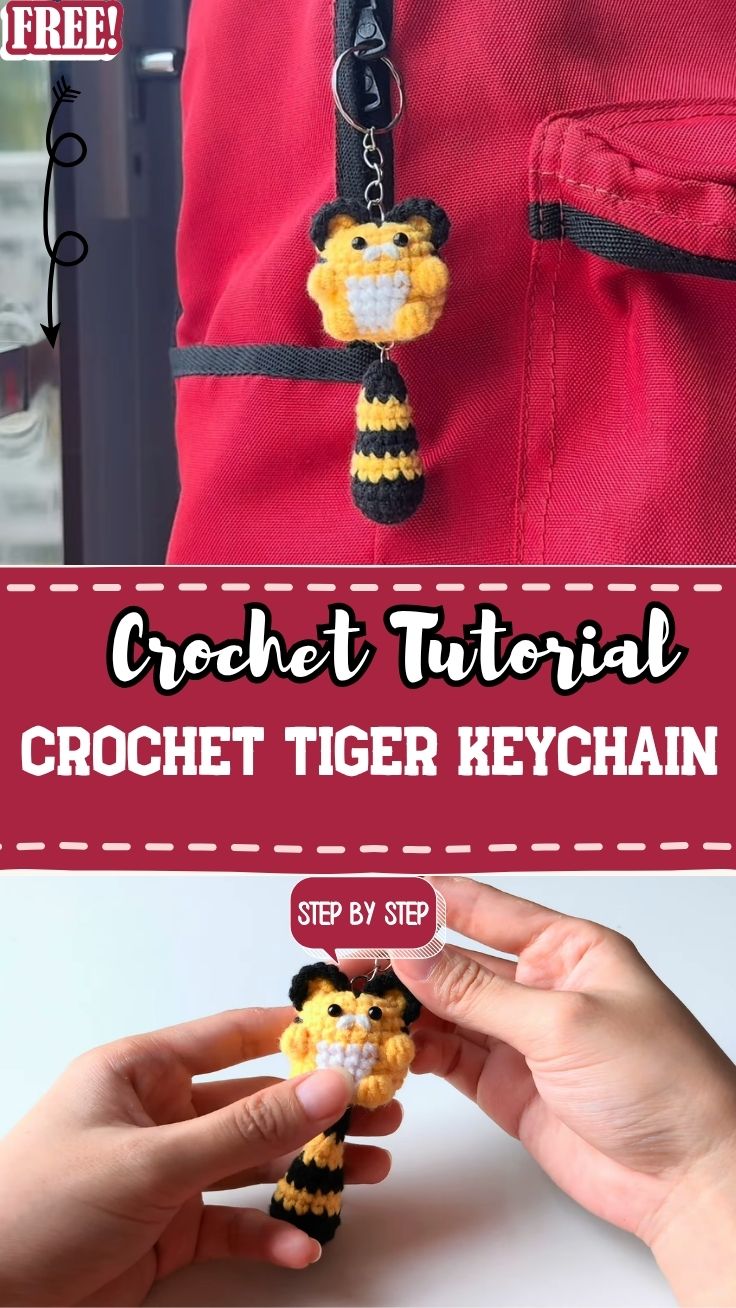
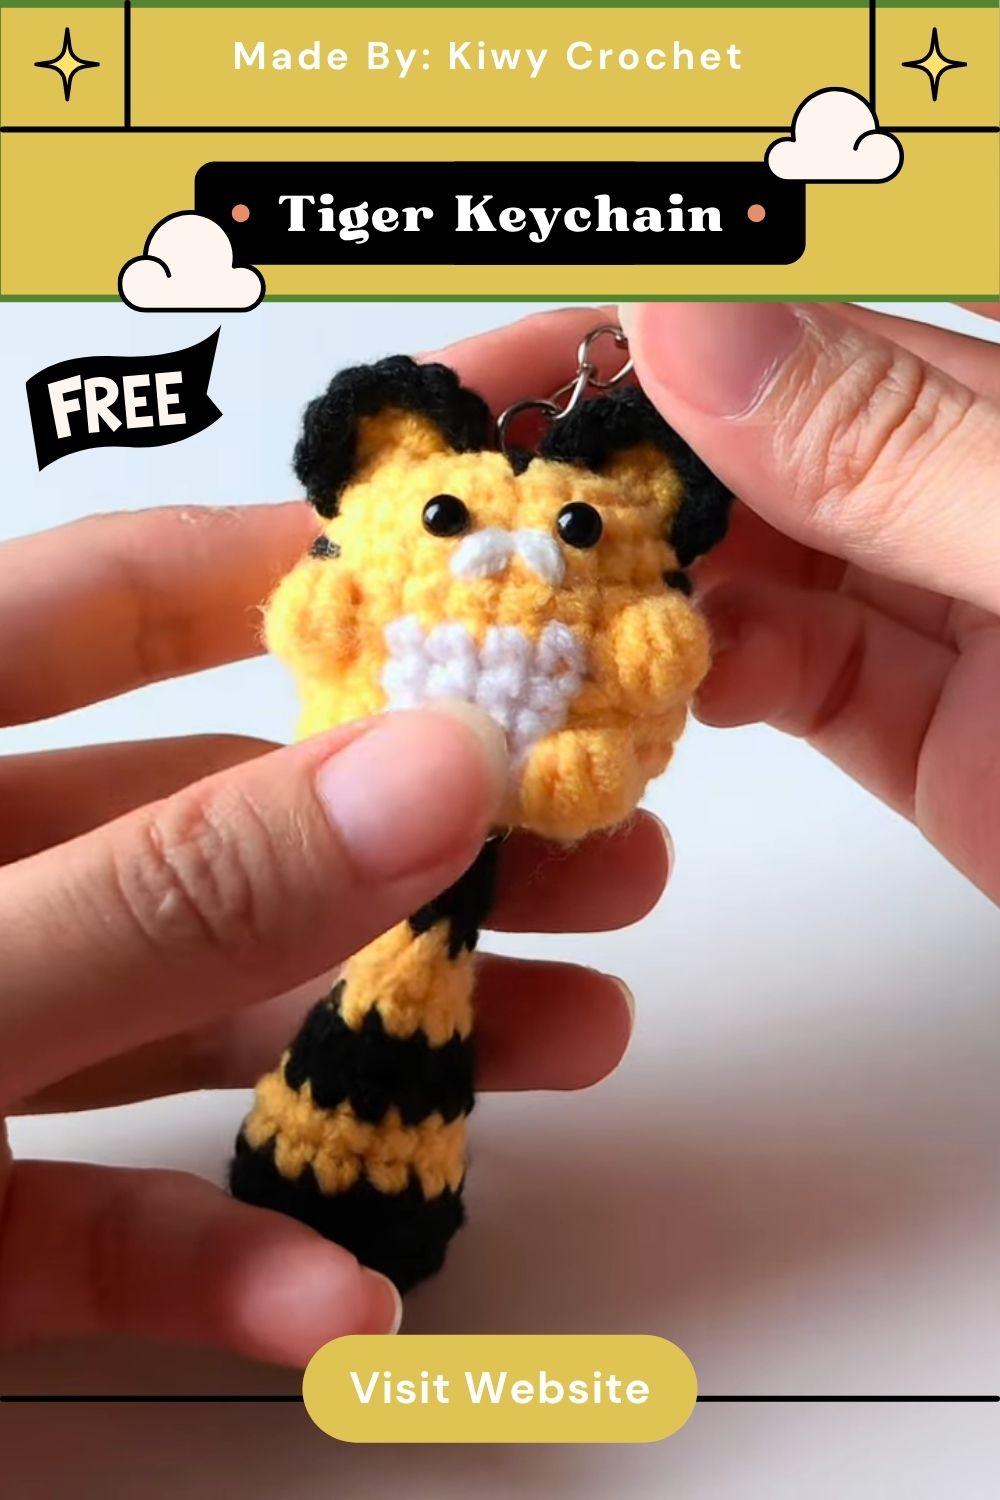
Bold black stripes running across warm golden fur give this Free Crochet Tiger Keychain Amigurumi Pattern for Everyday Use its unmistakable jungle-cat charm. A soft white muzzle, tiny rounded ears, and two glossy black eyes come together into a pocket-sized tiger amigurumi keychain that’s every bit as fierce as it is friendly.
Rich mustard yarn forms the base of the head and body, while confident black stripes wrap around in bold bands that instantly read as tiger markings even at this small scale. A soft white patch across the lower face brightens up the design, giving this crochet tiger pattern a friendly, approachable expression rather than a fierce one. Anyone building out a collection of animal-themed amigurumi keychain charms will find this striped little tiger a fun, fast addition to the lineup.
About This Crochet Pattern
A rounded head sits atop a slightly smaller striped body, both worked in continuous single crochet rounds with color changes creating the signature Free Crochet Tiger Keychain pattern along the way. Small rounded ears and a soft white muzzle patch finish off the face, giving the whole design a compact, huggable proportion perfect for a keychain.
Skill level stays in the beginner-to-intermediate range here, mainly due to the striped color-change sections that require some care to keep neat. None of the individual techniques feel especially advanced, though tracking stripe placement across both the head and body takes a bit more attention than a solid-color amigurumi would.
Project Details
- Skill Level: Beginner to Intermediate
- Finished Size: Approximately 2.5 to 3 inches tall
- Estimated Time Required: 2 to 2.5 hours
- Recommended Yarn Weight: DK or lightweight cotton yarn
- Crochet Hook Size: 2.0mm to 2.5mm
Materials Needed
- Golden or mustard yarn (main head and body color)
- Black yarn (stripes, ears, and nose detail)
- White yarn (muzzle patch)
- Black embroidery thread or safety eyes (facial features)
- Crochet hook (2.0mm–2.5mm)
- Fiberfill stuffing
- Tapestry needle
- Stitch markers
- Scissors
- Keychain clasp or jump ring
Crochet Stitches and Techniques
- Magic Ring (MR): Starts the tight center point of both the head and body.
- Single Crochet (sc): Builds the entire rounded shape of each piece.
- Increase (inc): Widens the rounds as each piece grows to its full size.
- Invisible Decrease (inv dec): Closes rounds smoothly at the base of the head and body.
- Color Changes: Introduces the black stripe bands across the golden base color.
- Fastening Off: Secures the yarn once each piece is complete.
- Sewing Pieces Together: Joins the head, body, ears, and muzzle into the finished tiger.
Only these techniques appear throughout the pattern, keeping the project accessible despite its layered stripe detailing.
Pattern Instructions
Starting the Head
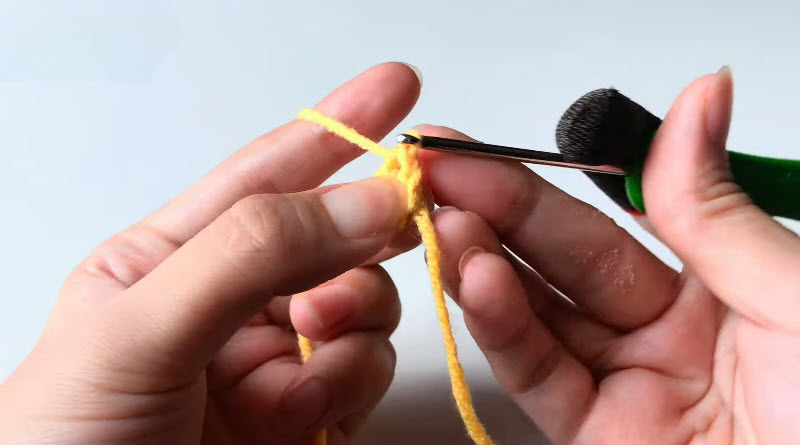
Form a magic ring with golden yarn and work six single crochets into it, pulling the loop closed and marking the first stitch of the round. Increase steadily over the following rounds to build the head outward into a smooth, rounded shape before beginning the stripe detailing.
Adding the Stripe Rounds
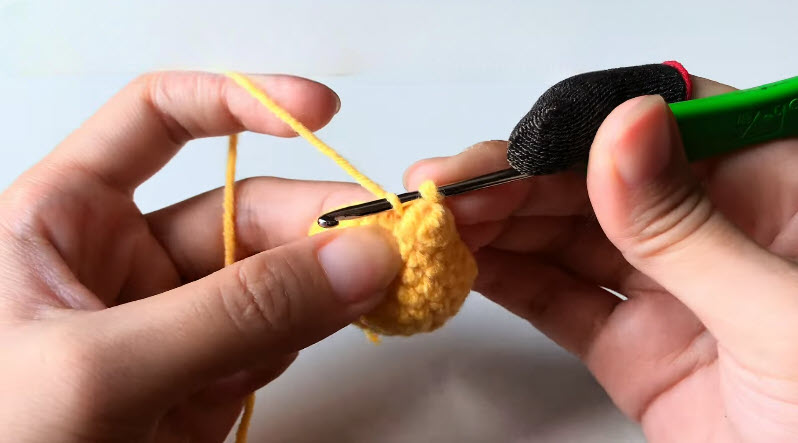
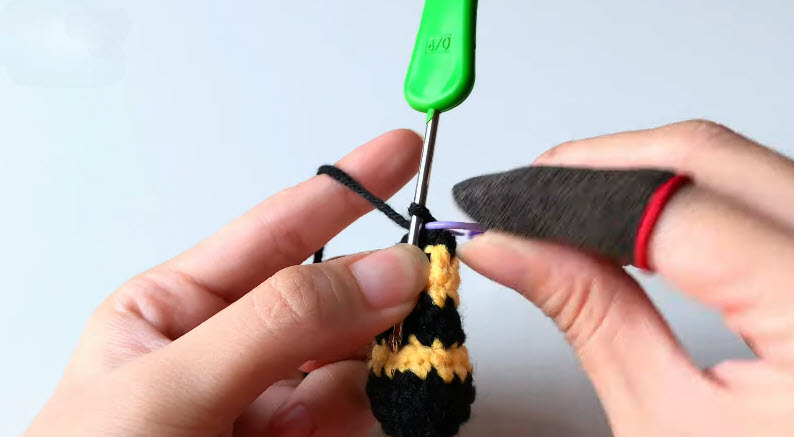
Switch to black yarn at planned intervals as the head grows, working one or two rounds in black before returning to gold to create evenly spaced stripe bands. Carry the unused color loosely behind the working stitches to keep tension even and prevent puckering along each color-change round.
Closing the Head
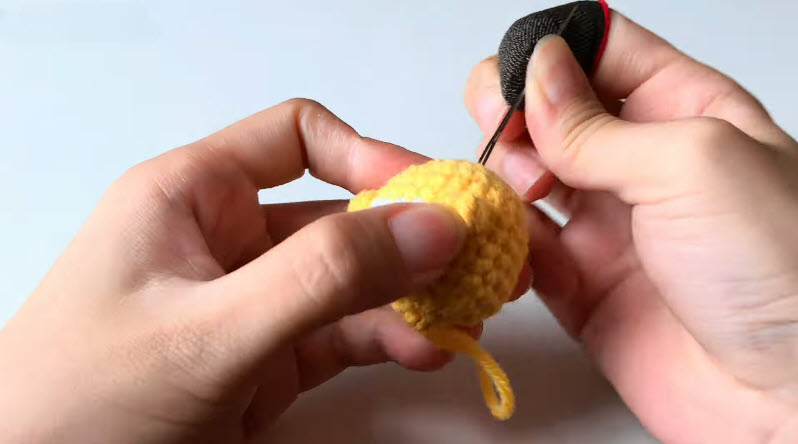
Decrease steadily over the final rounds, adding stuffing gradually as the opening narrows so the finished head holds a smooth, rounded shape. Fasten off and weave the tail back through the final round to hide it neatly.
Crocheting the Striped Body
Form a second, slightly smaller circle using golden yarn, following the same stripe placement technique used on the head to keep the pattern visually consistent. Stuff gradually as the body grows, then close the final rounds the same way as the head.
Making the Ears
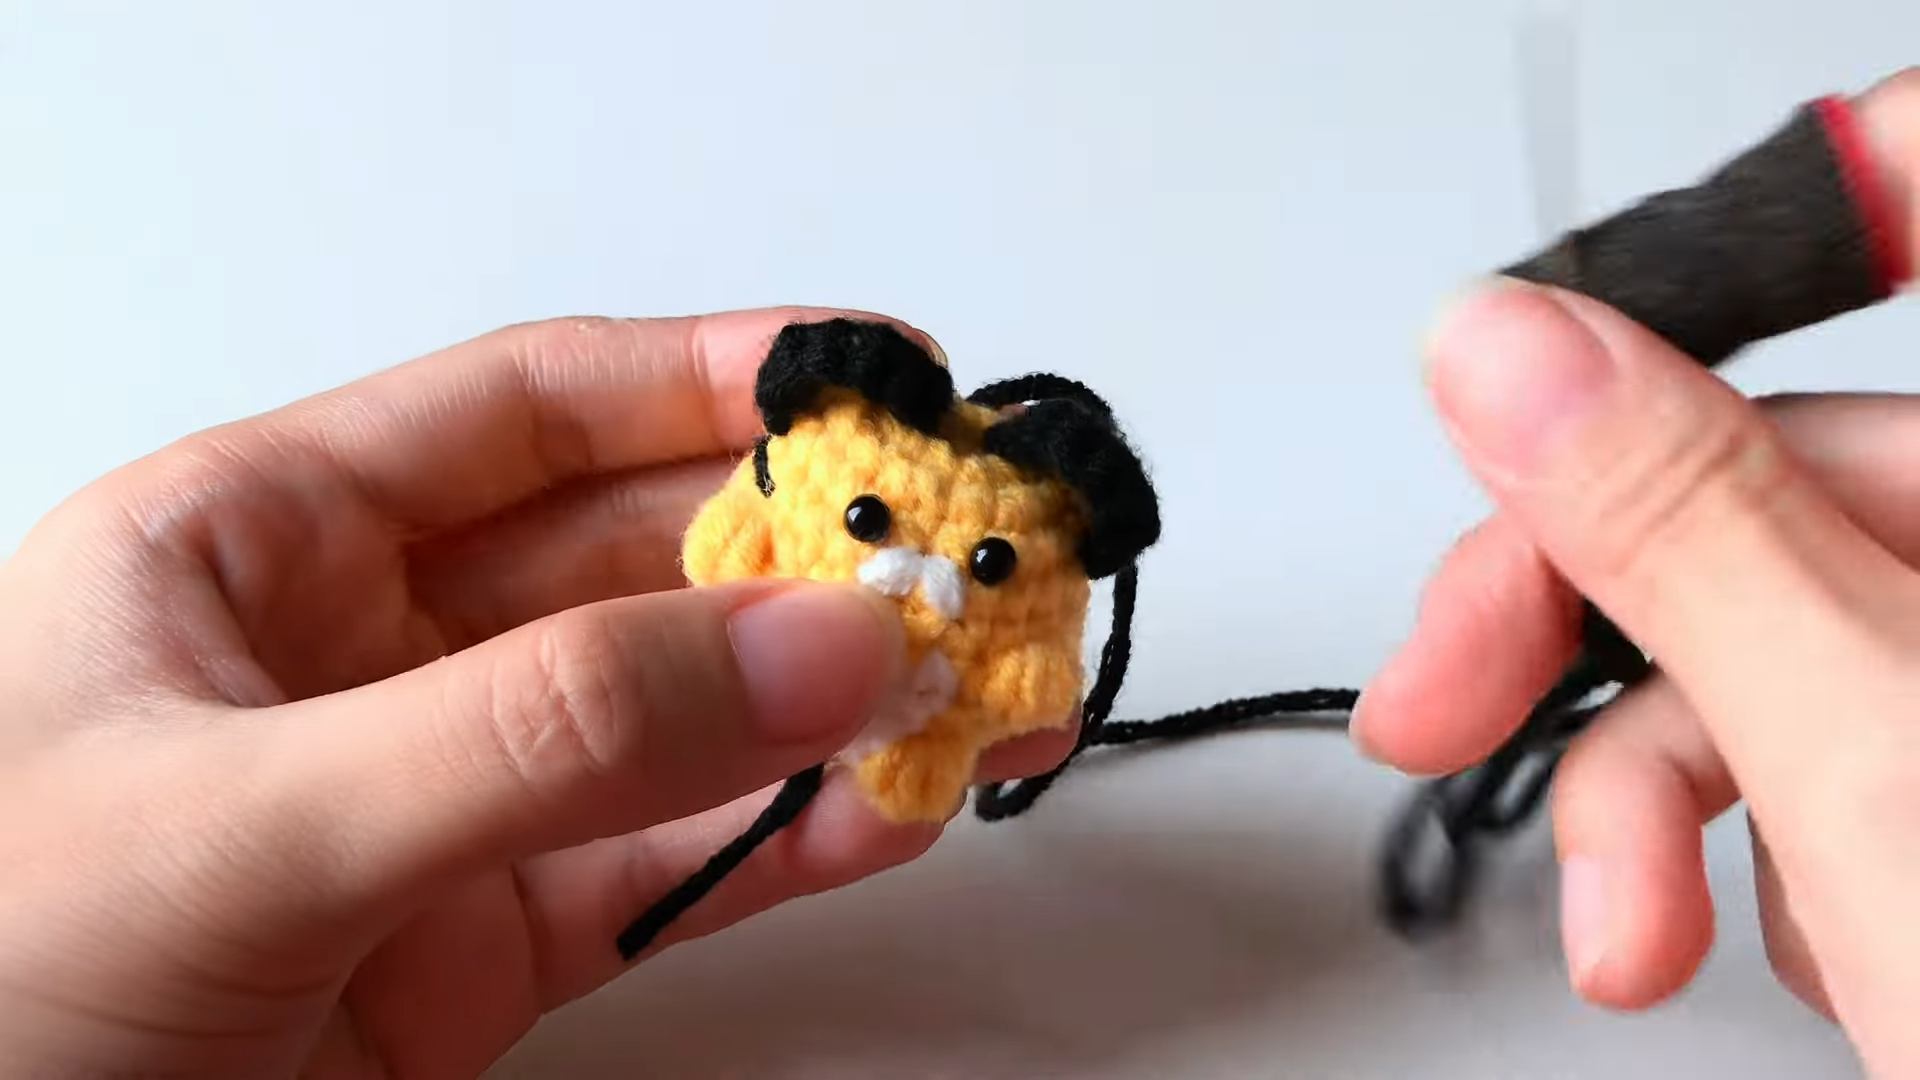
Crochet two small rounded ear pieces using black yarn, working just enough increase rounds to create a gentle dome shape. Leave a tail on each piece for attaching to the top of the head once the stripe work is complete.
Adding the Muzzle Patch
Work a small oval or rounded piece using white yarn, sizing it to sit comfortably across the lower half of the face. This patch brightens the overall expression and gives the finished tiger a softer, friendlier look despite the bold stripes surrounding it.
Facial Features
Position the safety eyes or embroidered eye dots above the white muzzle patch, spacing them evenly for a balanced expression. Add a small black nose and a simple mouth line beneath it using embroidery thread to finish the face.
Final Assembly
Sew the head onto the top of the striped body, checking that the stripe patterns align reasonably well between the two pieces before securing firmly. Attach both ears and the muzzle patch, then add a keychain clasp or jump ring at the top of the head, reinforcing that attachment point since it carries the full weight of the finished charm.
Tips for Success
- Plan stripe placement before starting so bands land at consistent intervals across both pieces.
- Carry unused yarn loosely across color changes to prevent puckering.
- Add safety eyes before fully closing the head, since placing them afterward becomes difficult.
- Stuff firmly but evenly so the small pieces hold their shape without looking lumpy.
- Reinforce the keychain attachment point with several extra stitches for lasting durability.
Personalization Ideas
Color Variations
Swapping gold for white and orange stripes creates a completely different big-cat look using the same construction.
Size Adjustments
A larger hook and thicker yarn turns this pattern into a bigger standalone plush rather than a small keychain.
Expression Changes
Adding a tiny embroidered smile beneath the muzzle gives each finished tiger its own cheerful personality.
Alternate Attachments
Swapping the keychain clasp for a bag charm hook or hair clip changes how the finished piece gets worn or displayed.
Common Mistakes to Avoid
Losing track of stripe spacing between rounds often results in uneven or mismatched bands across the head and body, so planning stripe placement before starting helps keep the pattern consistent. Pulling carried yarn too tightly across color changes can pucker the fabric right at each stripe boundary, so keeping that carried strand relaxed produces a smoother finished surface. Attaching the keychain hardware without reinforcement can lead to it pulling loose with regular use, so securing that point with extra stitches keeps the finished charm sturdy over time.
Frequently Asked Questions
What yarn works best for a small striped keychain like this?
DK or lightweight cotton yarn gives clean stitch definition at this small scale, making the stripe bands and facial details easier to shape neatly.
Can I make this without safety eyes?
Certainly. Embroidered eyes work as a safer alternative, especially if the finished keychain will be around young children.
How do I keep my stripes evenly spaced?
Counting rounds between each color change and using a stitch marker to track round starts helps maintain consistent stripe placement.
Is this pattern suitable for a first amigurumi project?
The stripe color changes add a bit of extra complexity, so some prior experience with basic amigurumi rounds helps before attempting this design.
How much yarn do I need for one tiger keychain?
Only a small amount of each color is needed, since the finished piece measures just a few inches tall.
Can I turn this into a bag charm instead of a keychain?
Yes, swapping the keychain clasp for a bag charm hook or clip works perfectly with the same construction.
How long does the whole Free Crochet Tiger Keychain project usually take?
Most makers finish within two to two and a half hours, with the stripe sections taking the most careful attention.
Conclusion
Small striped charms like this one prove that a handful of color changes can transform a simple round shape into something instantly recognizable. Whether it clips onto a backpack or hangs from a set of keys, this little tiger brings bold personality wherever it goes. Give this pattern a try, experiment with different stripe patterns or colors, and share your finished charm with fellow crocheters who love a project full of character.