Crochet Bunny Keychain Amigurumi Pattern with Long Ear Details
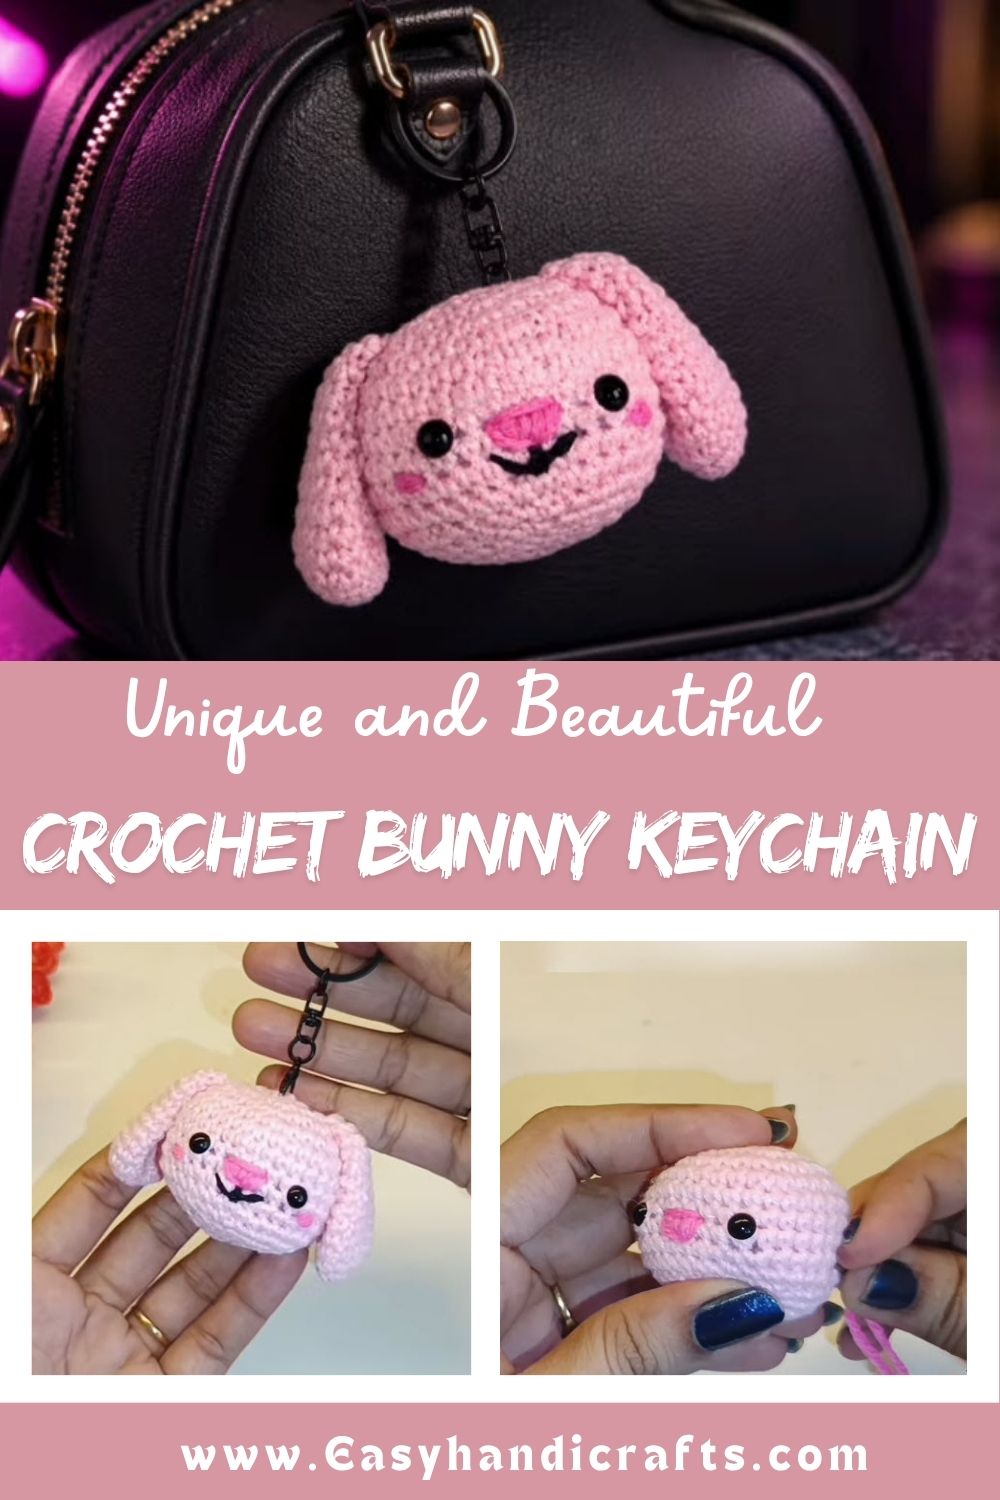
Project Details
- Skill Level: Beginner
- Finished Size: Approximately 2–2.5 inches (excluding keychain clasp)
- Estimated Time Required: 1.5–2 hours
- Recommended Yarn Weight: DK or sport weight
- Crochet Hook Size: 2mm–2.5mm for a tight, keychain-friendly fabric
Materials Needed
- Yarn in soft pink (or your preferred bunny shade)
- Small amount of black and pink yarn or embroidery thread for the face
- Crochet hook (2mm–2.5mm)
- Fiberfill stuffing
- Safety eyes or black embroidery thread
- Tapestry needle
- Keychain clasp and jump ring
- Scissors
Crochet Stitches and Techniques
- Magic Ring
- Single Crochet (sc)
- Increase (inc)
- Invisible Decrease (invdec)
- Fastening Off
- Sewing Pieces Together
Since this is a small keychain project, the technique list stays refreshingly short, making it a great pick for building confidence with basic amigurumi shaping.
Pattern Instructions
Every stage of this bunny works in a tidy little sequence, from the very first loop all the way to those adorable stitched features. Working through the stages in order keeps the shaping consistent and helps the finished piece hold its round, huggable shape.
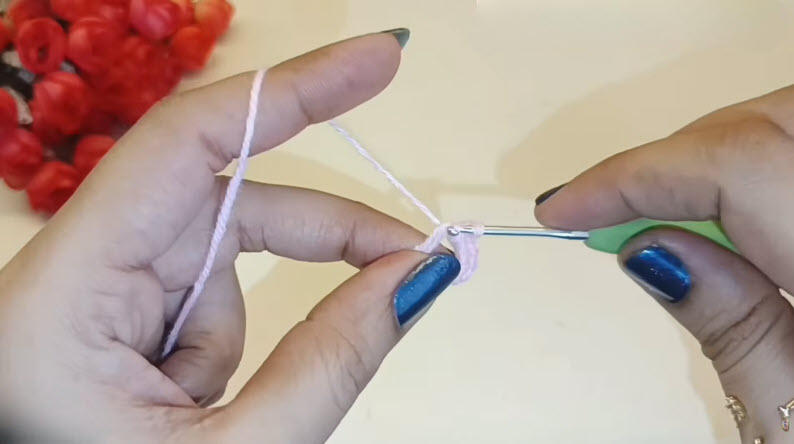
Step 1: Starting the Head With a Magic Ring
Form a magic ring using your pink yarn, wrapping it snugly around your fingers before pulling the working yarn through with your hook. This becomes the very center of the bunny’s head, and cinching the ring tightly afterward keeps the middle sealed with no visible gap once the stuffing goes in later.
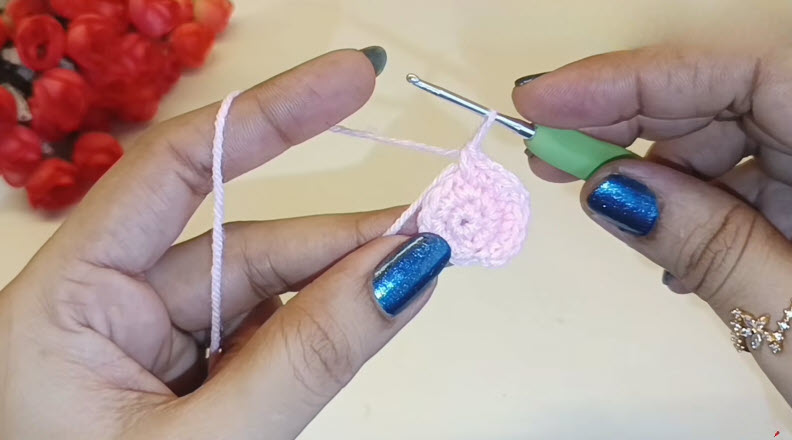
Step 2: Building the Rounds and Increasing Outward
Work single crochet stitches in a spiral, increasing steadily to expand the circle into a rounded shape. Watch how the piece begins curving into a dome as each round builds on the last, forming the base that will eventually cradle the bunny’s stuffed head. Keeping your stitch count accurate here prevents any lopsided bulging later on.
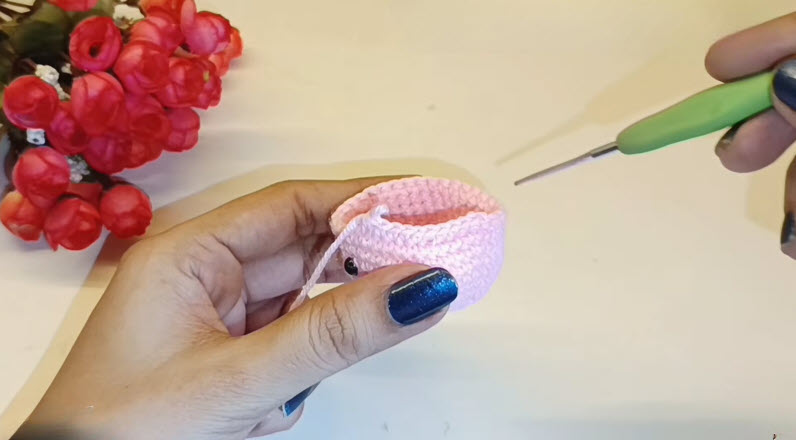
Step 3: Shaping the Long Ear Detail
Continue the pattern into the elongated ear section, working straight rows without increasing so the shape stretches upward rather than outward. Notice how the fabric narrows into that distinctive long, floppy silhouette that gives this bunny its signature look. Take care to keep tension consistent through this stretch, since looser stitches here can make the ear look uneven compared to its pair.
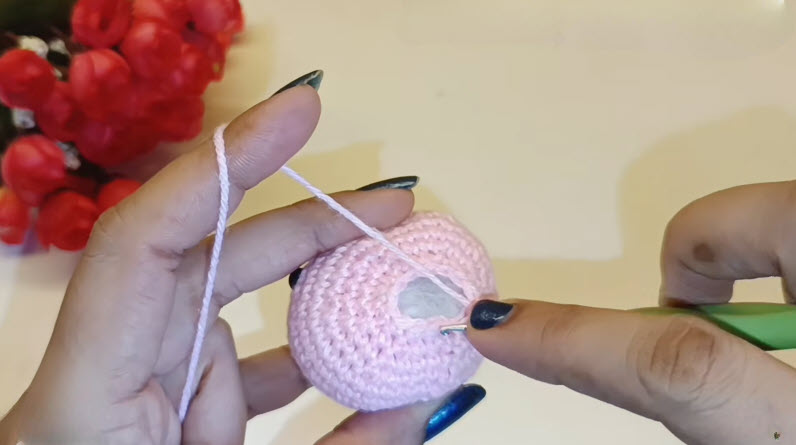
Step 4: Stuffing and Closing the Piece
Add fiberfill gradually through the opening, using your fingers or a stuffing tool to distribute it evenly so the shape stays smooth rather than lumpy. Once filled to a firm but soft consistency, begin closing the final round using an invisible decrease, weaving your needle through the remaining stitches to cinch the opening shut completely.
Step 5: Adding the Face and Finishing Touches
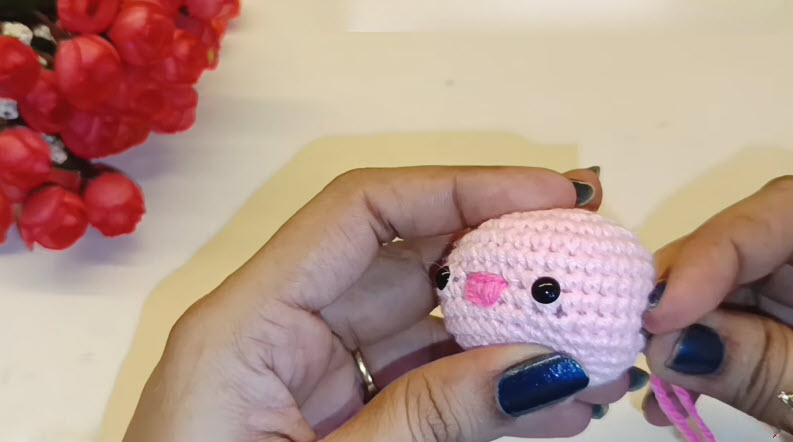
Attach small safety eyes or embroider them by hand, positioning them evenly on either side of the face for a balanced expression. Stitch a tiny pink nose beneath the eyes to complete that unmistakable bunny charm, checking the placement against the finished piece for reference before securing every stitch.
Joining All Pieces
Attach the second ear at a matching angle to keep both sides symmetrical, pinning it in place before stitching to double-check alignment. Sew any additional small parts, such as a tiny tail or paws, onto the body using tight, discreet stitches that blend into the surrounding fabric.
Final Assembly
Weave in every loose yarn end neatly through the back of the stitching, trimming any excess close to the surface. Attach the keychain clasp through a secure loop at the top of the head, giving it a gentle tug to make sure it holds firmly before it’s ready to clip onto a bag or gift.
Tips for Success
- Keep even tension throughout, especially while shaping the long ears.
- Use a stitch marker at the start of each round to avoid miscounting.
- Stuff gradually rather than all at once for a smoother finished shape.
- Pin pieces in place before sewing to check symmetry ahead of time.
- Hide yarn ends by weaving through several stitches instead of simply knotting.
- Reinforce the keychain attachment point with a few extra stitches for durability.
Personalization Ideas
Switching the yarn color to lavender, mint, or cream instantly gives this bunny a completely different seasonal feel. A pastel rainbow set makes a lovely Easter gift lineup, while a soft gray version leans into a more neutral, everyday accessory style.
Adding a tiny bow between the ears brings in extra sweetness, and a small string of beads can double as a charm bracelet accent instead of a keychain. A jumbo version stuffed generously with fiberfill also makes a wonderful standalone plush for younger crafters who love bunnies.
Common Mistakes to Avoid
- Uneven ear length: Measure both ears against each other before fastening off.
- Overstuffed head: Add fiberfill in small increments, checking firmness as you go.
- Crooked facial features: Use pins to test placement before stitching anything permanently.
- Loose keychain attachment: Reinforce the loop with extra stitching so it doesn’t stretch out over time.
- Visible color knots: Tuck ends into matching-colored stitches to keep them discreet.
Frequently Asked Questions
1. What yarn weight works best for a keychain-sized bunny?
DK or sport weight yarn keeps the piece compact while still holding its shape well.
2. Can I skip the keychain clasp and use this as an ornament instead?
Yes, simply swap the clasp for a small hanging loop at the top of the head.
3. How long does this Crochet Bunny Keychain project usually take to complete?
Most crocheters finish within one and a half to two hours in a single sitting.
4. Is this pattern appropriate for a first-time amigurumi maker?
Definitely, the small size and short stitch list make it an approachable starting project.
5. What’s the best way to keep both ears matching?
Count your rows carefully and compare the two ears side by side before closing them.
6. Can I use scrap yarn for this Crochet Bunny Keychain project?
Yes, this pattern is a great way to use up small leftover amounts from other projects.
7. How do I attach the keychain hardware securely?
Sew a sturdy loop through several layers of stitches before clipping on the jump ring and clasp.
Conclusion
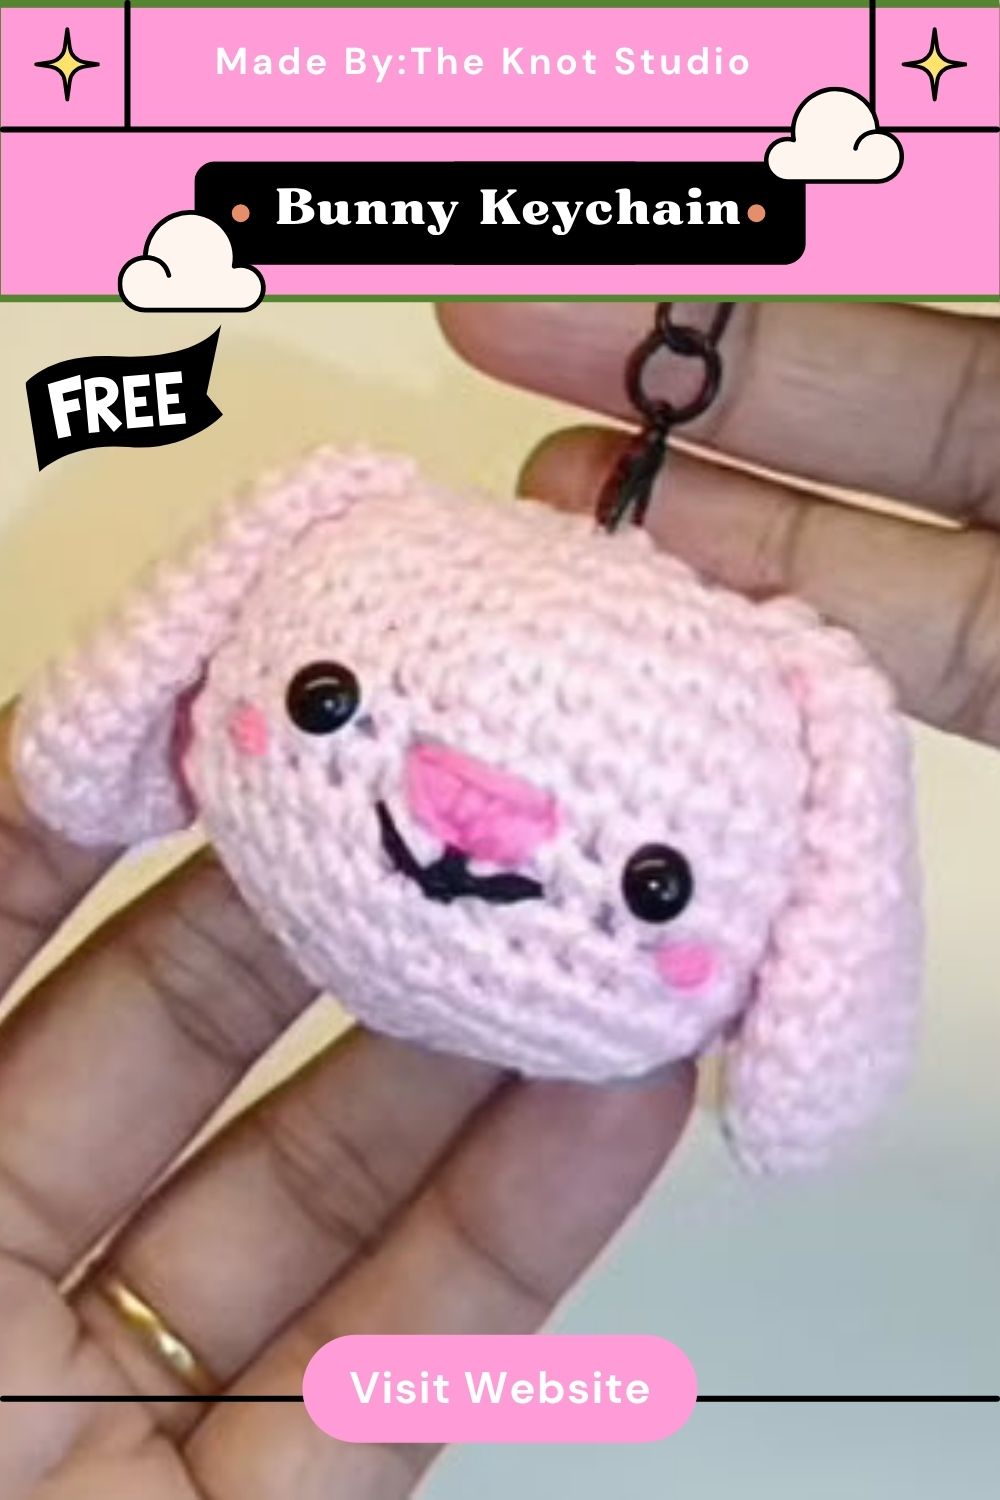
This Crochet Bunny Keychain amigurumi shows just how much personality a small project can hold once those long ears and sweet little face come together. Enjoy the process of shaping each round, take your time with the finishing details, and feel free to experiment with colors that match your own style. Once finished, this charming little bunny makes a delightful gift or accessory, so grab your hook and share your finished creation with fellow crochet enthusiasts.