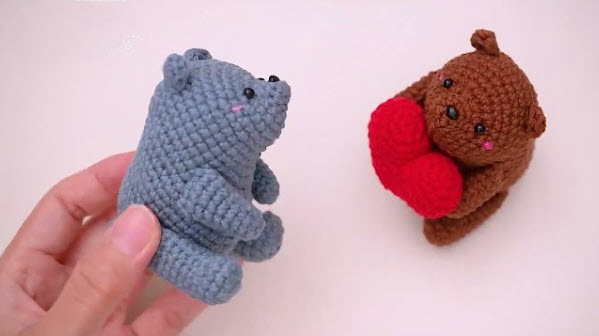
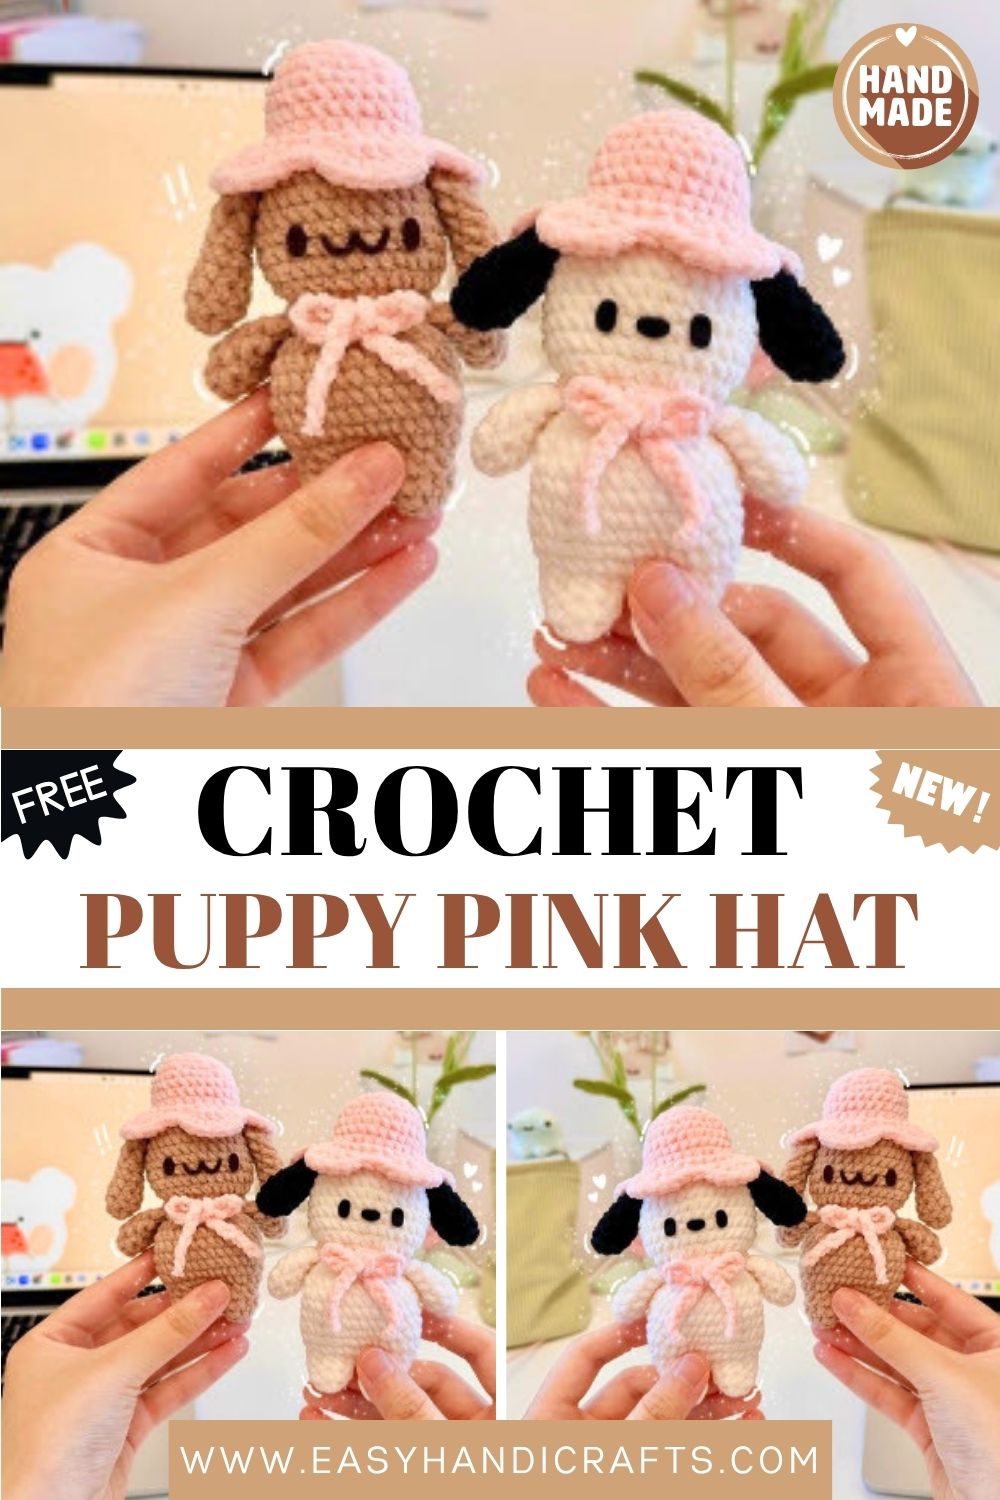
Precious Crochet Puppy Pink Hat Amigurumi Pattern for Details
Seeing a little puppy wearing a blooming hat instantly melts your heart, and crocheting it feels surprisingly easy too. Grab your favorite hook, just get started, and let this sweet little Crochet Puppy Pink Hat creation take over your afternoon today.
Crochet lovers searching for a charming and fun project for this weekend will find this puppy amigurumi pink hat pattern to be the perfect choice. Made from soft chenille yarn, this little dog looks incredibly adorable with its flower crown, dangling ears, and chubby round body. Two color variations Pochaco and Mocha give you the chance to pick your favorite little pup.
Materials
- 2mm chenille yarn in pink, white, and black (for Pochacco), plus brown (for Mocha)
- 2mm crochet hook
- Stitch markers
- Stuffing
- Safety eyes (optional)
- Felt
- Sewing needle
- Scissors
- Fabric glue
Abbreviations
This Crochet Puppy Pink Hat pattern follows US terminology.
- MR: magic ring
- sc: single crochet
- hdc: half double crochet
- dc: double crochet
- inc: increase
- dec: decrease
- ch: chain
- st: stitch
- slst: slip stitch
- FLO: front loop only
- BLO: back loop only
- FO: fasten off
Pattern Overview
- Soft 2mm chenille yarn gives the pup a plush, velvety finish that feels lovely in the hand and photographs beautifully for shop listings.
- One chart produces two adorable versions: Pochacco in crisp white and black, and Mocha in a warm, cozy brown.
- Separate pieces come together for the build, including the flower hat, head, body, two legs, two ears, and two arms.
- Continuous rounds keep the shaping smooth, so no awkward seams run down the body or head.
- Safety eyes and glued felt features both suit the face, letting you choose between a polished or softer handmade look.
- The finished puppy stays palm-sized, which makes it a fast, satisfying make for display, gifting, or a market table.
Special Techniques
A handful of small tricks give the pup its charm. None of them feels scary once you slow down and try a round or two.
- FLO and BLO stitchingshapes the ruffled flower petals and join the head neatly to the hat. Keeping the loops straight here makes the whole hat sit right.
- A stitch marker parked in R9 saves you later. You will reach for those back loops when the head begins, and the marker points you straight to them.
- Three dc worked into a single stitch, build each rounded petal around the brim. The repeat across the round creates that pretty, full flower edge.
- Joining the legs asks you to crochet into both sides of one chain to start the body. Take it slow, since the first body round sets the shape.
- Folding pieces flat and slip stitching across closes the ears and arms cleanly. The fold gives them their flattened, lifelike curve.
The Pattern
Flower Hat
The hat sets the tone for the whole pup, so start here while your hands are fresh. Worked in continuous rounds, beginning with the color of the flower hat.
R1: 6sc in MR [6] R2: 6inc [12] R3: (sc, inc) x6 [18] R4: (2sc, inc) x6 [24] R5: (3sc, inc) x6 [30] R6-9: 30sc [30] (4 rounds) R10: in FLO, 30sc [30]
Tip: Place a stitch marker in the first st of the BLO of R9, so you can find it easily when crocheting the head later.
R11: in FLO, (slst, hdc, 3dc in one st, hdc, slst, ch 1 and skip one st) x5 [35] R12: (slst, hdc, 2dc in one st, 2dc in one st, 2dc in one st, hdc, slst, ch 1 and skip 1 st) x5 [50] FO.
Head
The head builds straight off the hat, which keeps the join tidy and seam-free. Switch to white for Pochacco and brown for Mocha.
R1: in BLO of R9 of the flower hat, 30sc [30] R2: (4sc, inc) x6 [36] R3-8: 36sc [36] (6 rounds)
If using safety eyes, insert them between R6 and R7, 4 to 5 st apart.
R9: (4sc, dec) x6 [30] R10: (sc, dec) x10 [20] FO, but do not close the hole. Stuff the head and the flower hat.
Legs (Make 2)
Both legs start the same way before they merge into the body below. Work in white for Pochacco and brown for Mocha.
R1: 5sc in MR [5] R2: 5inc [10] R3-4: 10sc [10] (2 rounds) FO the first leg. Do not FO the second leg.
Body
From here, the two legs become one rounded body, so go slowly through that first round.
R5: continuing from the second leg, ch 1 and sc onto the first leg (the first st for this round), then 21sc, working into both sides of the ch [22] R6: (sc, inc) x11 [33] R7-11: 33sc [33] (5 rounds) R12: (sc, dec) x11 [22] R13: 4sc, dec, 10sc, dec, 4sc [20] Leave a long tail for sewing. Stuff the body.
Ears (Make 2)
Floppy ears give the pup its personality, and the length is easy to tweak. Switch to black for Pochacco and brown for Mocha.
R1: 5sc in MR [5] R2: 5inc [10] R3-7: 10sc [10] (5 rounds)
For Pochacco, stop here. For Mocha, add 2 more rows of 10sc. Stuff if needed, then fold.
R8: (3sc, dec) x2 [8] R9: fold and sc across 2 st to close the hole [4] Leave a long tail for sewing.
Arms (Make 2)
Two little arms finish off the silhouette and stuff up in minutes. Switch to white for Pochacco and brown for Mocha.
R1: 5sc in MR [5] R2: 5inc [10] R3-6: 10sc [10] (4 rounds) Stuff if needed.
R7: fold and sc across 2 st to close the hole [5]. Leave a long tail for sewing.
Skill Level
Beginner crocheters with a few finished projects under their belt can tackle the puppy comfortably, since the rounds stay simple. Confident stitchers will breeze through both color versions easily.
Common Mistakes
- Forgetting the R9 stitch marker turns finding the head join into a real headache later. Drop it in earl,y and your future self will thank you.
- Confusing FLO with BLO sends petals or the head onto the wrong loops. A quick double check before each special round keeps everything aligned.
- Ignoring the count in brackets lets a round close with the wrong stitch total. Pause at the end of each round and count before moving on.
- Overstuffing the head stretches the chenille and lets little gaps peek through. Add filling gently and stop once the shape feels firm but smooth.
- Sewing ears or arms down before checking placement leads to a lopsided pup. Pin first, glance at the cover photo, then commit your stitches.
Assembly
Once every piece is stuffed and ready, the fun part begins. Lay them out and follow the order below for a balanced finish.
- Stitch the ears to R1 of the head, placing one on each side so they sit evenly.
- Sew the head firmly onto the body, keeping it upright so the pup holds its pose.
- Attach the arms to R13 of the body, right where the head and body meet.
- Cut the face from felt and glue it onto R6-7 of the head for a clean, flat finish.
- Keep the eyes 4 to 5 st apart, matching the reference on the cover page.
Conclusion
Finishing your little Crochet Puppy Pink Hat feels genuinely rewarding, and honestly, ly the chenille softness makes it hard to set the toy down. Whether you pick cheerful Pochacco or sweet Mocha, a bit of patience pays off with a squishy, photogenic keepsake. Give one to a friend, photograph the pair side by side, or keep the whole litter crowding your shelf at home.