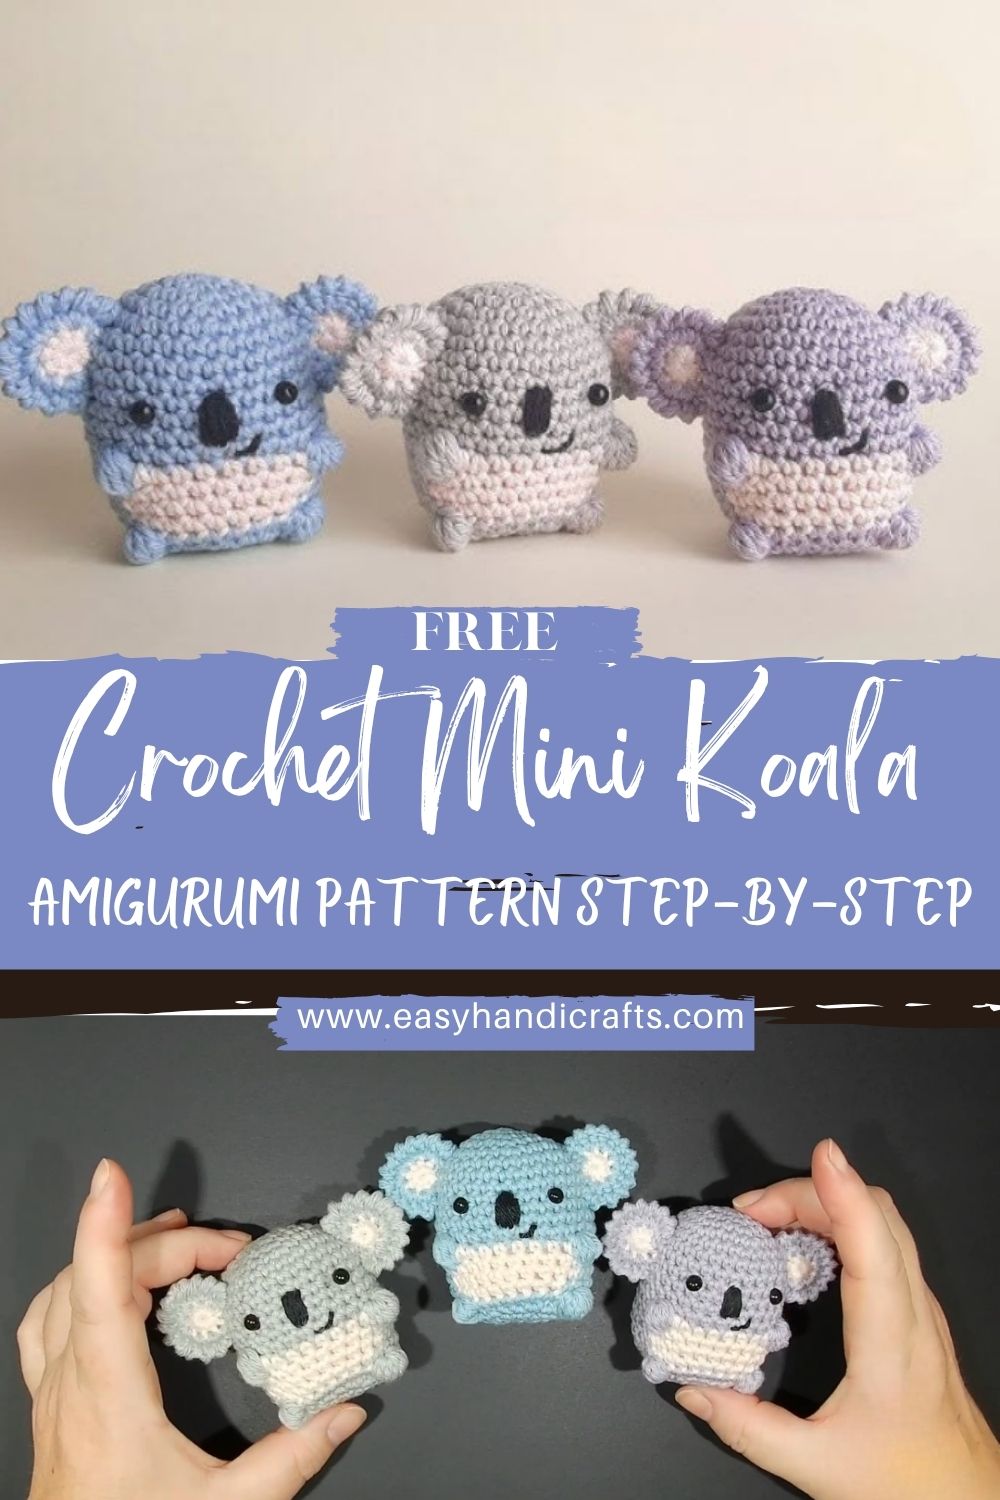
Motivating Crochet Mini Koala Amigurumi Pattern Step-by-Step
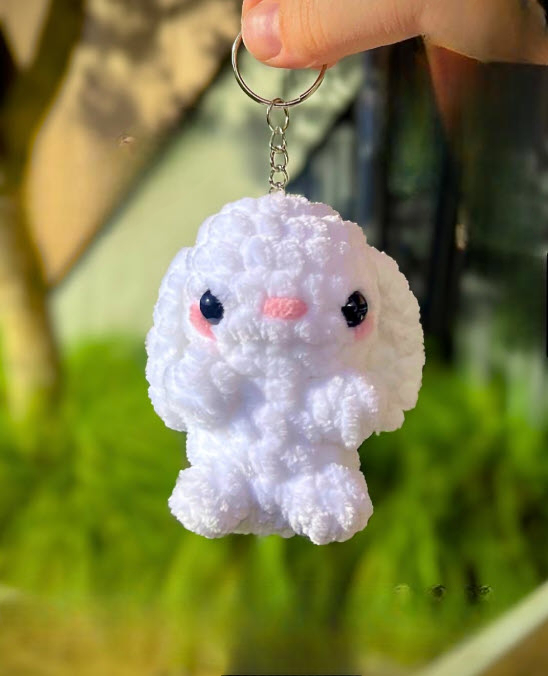
A tiny crochet mini koala is the kind of project that instantly makes a crochet basket feel happier. Because the shapes are simple and the details are small, this amigurumi mini koala comes together quickly and still looks beautifully “finished.”
Amigurumi is a style of crocheting small stuffed characters using tight stitches, simple rounds, and a bit of shaping. First, a basic ball or oval is made; next, small parts like ears and limbs are added; finally, a few facial details bring the character to life. Although it looks fancy, the technique is mostly just single crochet with increases and decreases.
Mini crochet animals are popular because they are quick, portable, and perfect for gifts—and koalas are especially fun because their round ears and calm expression are instantly recognizable. Meanwhile, the soft gray-and-white color palette makes a koala look gentle and cozy, even with the simplest stitches.
This crochet mini koala pattern is beginner-friendly because the body is one rounded piece, the ears are simple circles, and the limbs are short tubes that sew on easily. Later, the koala can be decorated with a bow, scarf, or tiny flower, making it a cute decoration or a thoughtful handmade gift.
Materials Needed (Exact Measurements)
- Yarn type and weight: Worsted/Medium weight (#4) cotton or acrylic
- Gray yarn (main body): 35 g (approx. 70–90 m)
- White yarn (muzzle/belly/paws): 10 g (approx. 20–25 m)
- Pink yarn (inner ears): 5 g (approx. 10–15 m)
- Black yarn (nose/mouth embroidery): 2–3 g (small scrap)
- Crochet hook size: 3.5 mm (recommended for tight amigurumi stitches with worsted yarn)
- Safety eyes (optional): 6–8 mm, black
- Stuffing: Polyfill or cotton stuffing 10–15 g
- Yarn needle: 1
- Stitch marker: 1 (or a short strand of yarn)
- Keychain ring (optional): 25–30 mm ring (plus jump ring if available)
Skill Level
Beginner
Making Time (Overview)
Total estimated time: 2–3.5 hours
- Body (head + torso in one piece): 60–100 minutes
- Ears: 20–30 minutes
- Arms and legs: 25–45 minutes
- Face + assembly + finishing: 20–55 minutes
Stitches used: single crochet (sc), increase (inc = 2 sc in one stitch), decrease (dec = sc2tog).
Tip first: Use the stitch marker and move it each round to prevent losing track while shaping.
Body (Main Shape of the Koala) (Making time: 60–100 minutes)
Start with the head
- First, with gray yarn, make a magic ring and crochet 6 sc into it (6).
- Next, increase to build a round head:
- Round 2: inc in each stitch (12)
- Round 3: (sc, inc) repeat (18)
- Round 4: (2 sc, inc) repeat (24)
- After that, crochet 2 rounds sc around (24) to give the head height.
Meanwhile, keep stitches snug, because tight stitches help the stuffing stay hidden.
Expand the body
- First, widen slightly for the upper torso:
- Next round: (3 sc, inc) repeat (30)
- Next, crochet 2–3 rounds sc around (30) to create a round belly.
- After that, taper a little to shape the lower body:
- Next round: (3 sc, dec) repeat (24)
- Next round: sc around (24)
- Next round: (2 sc, dec) repeat (18)
Later, this simple widening and tapering creates a cute “mini bean” koala shape.
Stuff the body lightly
- First, insert safety eyes (if using) before the opening gets too small.
- Next, begin stuffing with small pinches, shaping the face and belly as you add stuffing.
- After that, keep the stuffing lighter near the bottom so the koala can sit nicely.
- Finally, close the base:
- Next round: (sc, dec) repeat (12)
- Next round: dDecaround (6)
- Fasten off, then sew the last opening shut and hide the tail.
Optional belly patch (simple add-on):
After that, a small white oval can be crocheted and stitched to the front. However, a plain gray body also looks lovely and clean.
Ears (Making time: 20–30 minutes)
Crochet the ears separately
Each ear is made in a small, round shape and then attached to the sides of the head.
Outer ear (make 2, gray):
- First, magic ring, 6 sc (6)
- Next, Round 2: inc around (12)
- After that, Round 3: (sc, inc) repeat (18)
- Finally, fasten off,f leaving a long sewing tail.
Inner ear (make 2, pink):
- First, magic ring, 6 sc (6)
- Next, Round 2: (sc, inc) repeat (9)
- Finally, fasten off.
Add inner ear data.il
- First, place each pink inner ear centered on a gray outer ear.
- Next, stitch around the edge with small stitches in pink or gray.
- After that, pinch the bottom of the ear slightly to give it a gentle koala curve.
Ear placement tip: Position ears slightly above the eye line. Meanwhile, keep them even by counting stitches from the top center of the head.
Create the arms and l.egs
Arms (make 2, gray):
- First, magic ring, 6 sc (6)
- Next, sc around for 4 rounds (6 each round)
- After that, flatten the top and close with 3 sc through both layers
- Finally, fasten off, leaving a long tail.
Legs (make 2, gray):
- First, magic ring, 6 sc (6)
- Next, (sc, inc) repeat (9) for a slightly wider foot (9)
- After that, sc around for 3 rounds (9 each round)
- Then, (sc, dec) repeat to narrow slightly (6)
- Finally, flatten and close with 3 sc, fasten off with a long tail.
Add the little details (optional paws)
- First, with white yarn, add a small paw patch by embroidering a short oval on the end of each limb.
- Next, keep the stitches tiny so the paws look rather than bulky.
- Finally, weave in ends carefully.
Meanwhile, paw details are optional, because the koala still looks adorable without them.
Add safety eyes or embroider a cute nose and mouth
Option A: Safety eyes
- First, place eyes between the upper head rounds, spaced evenly.
- Next, check the expression by holding the muzzle area in place mentally (or pinning a small white patch).
- Finally, secure the safety backs firmly.
Option B: Embroidered eyes (kid-friendly and keychain-safe)
- First, stitch two small vertical lines or tiny “U” shapes with black yarn.
- Next, add a small white highlight stitch for extra sweetness (optional).
Nose and mouth (recommended embroidery)
- First, use black yarn to stitch an oval or triangle nose centered below the eyes.
- Next, add a short vertical stitch down from the nose.
- After that, stitch a small curved smile on each side for a relaxed koala look.
Attach the arms, ears, and legs securely
- First, pin both ears in place and confirm they match in height and angle.
- Next, stitch ears firmly with small whip stitches around the base.
- After that, sew legs to the lower front sides, making sure they sit evenly so the koala can “perch.”
- Then, attach arms slightly higher than the legs, angled gently forward.
- Finally, weave in every end by passing yarn through multiple stitches inside the body.
Beginner-friendly assembly tips
- First, use pins or stitch markers to hold pieces before sewing.
- Next, sew one limb, then immediately sew the matching limb to mirror it.
- Meanwhile, avoid pulling sewing yarn too tight, because it can dent the fabric.
- After that, tug gently on each part to confirm it feels secure—especially if making a keychain.
Keychain option:
Finally, add a loop at the top of the head using strong yarn or embroidery floss. After that, attach the keychain ring and tug-test the loop before calling it finished.
Special Features
- Texture: Soft, plush body with tidy stitches and cut,e rounded ears
- Expression: Sweet, relaxed koala face that looks calm and cuddly
- Size: Perfect for a mini plush toy, shelf décor, or a keychain
Sizing Tips
Yarn weight and hook size quickly affect the koala’s final size. First, a thicker yarn creates a larger koala even with the same stitch counts. Next, a smaller hook makes tighter stitches and a firmer shape.
- Worsted yarn + 3.5 mm hook: classic mini koala size
- Worsted yarn + 4.0 mm hook: slightly bigger and softer look
- DK yarn + 3.0 mm hook: smaller, tighter koala for keychains
- Chunky yarn + larger hook: plush, pillow-like mini koala
Meanwhile, tighter stitches are best for amigurumi because they prevent stuffing from showing.
Finishing Tips
- Neat stitching: Use consistent single crochet and place decreases evenly so the body stays round.
- Secure knots: Knot the knot inside the body whenever possible, then weave the ends through 6–10 stitches.
- Balanced stuffing: Add stuffing slowly, shaping the cheeks and belly as the body closes.
- Clean finishing edges: When closing openings, use a neat cinch and hide the yarn tail inside.
Finally, gently roll the koala between your hands to smooth out any uneven stuffing spots.
Common Mistakes to Avoid
- Loose stitches or uneven tension can cause gaps; therefore, use a smaller hook or tighten the tension slightly.
- Incorrect placement of arms, ears, or legs: A small shift changes the whole look; after that, the koala may appear tilted.
- Overstuffing or under-stuffing: Overstuffing stretches stitches; meanwhile, under-stuffing makes the koala look lumpy.
- Skipping stitch markers: Rounds can drift; then increases and decreases land in the wrong spots.
Variations & Customization Ideas
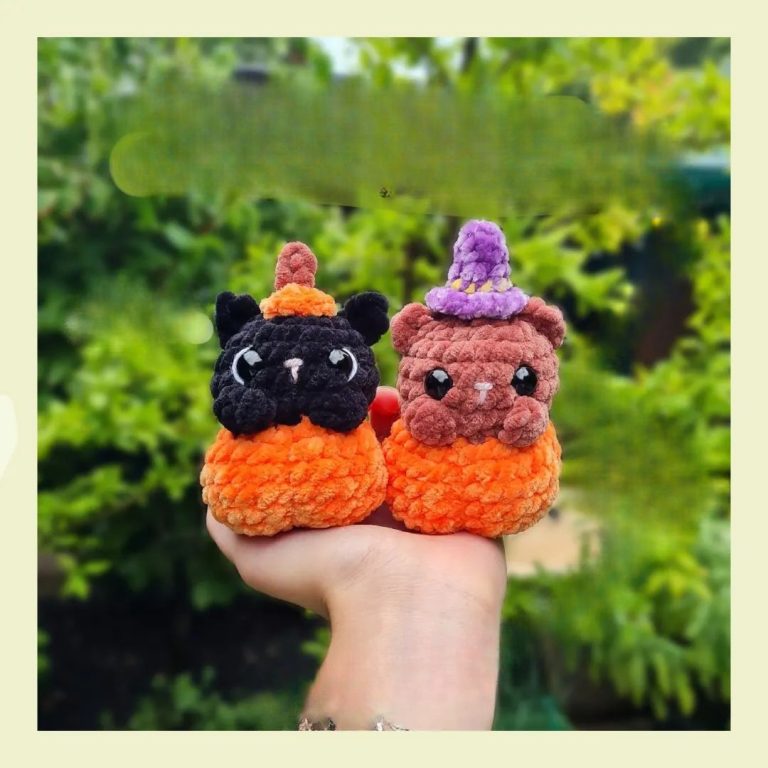
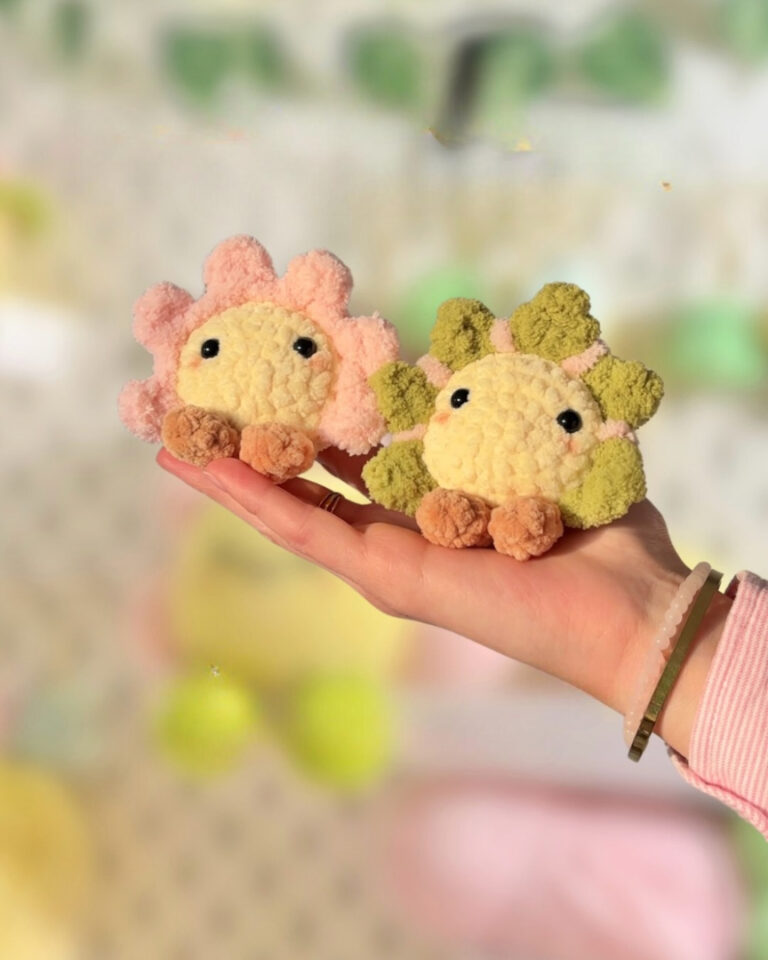
- Color changes: Try a brown, cream, or pastel koala for a softer nursery style.
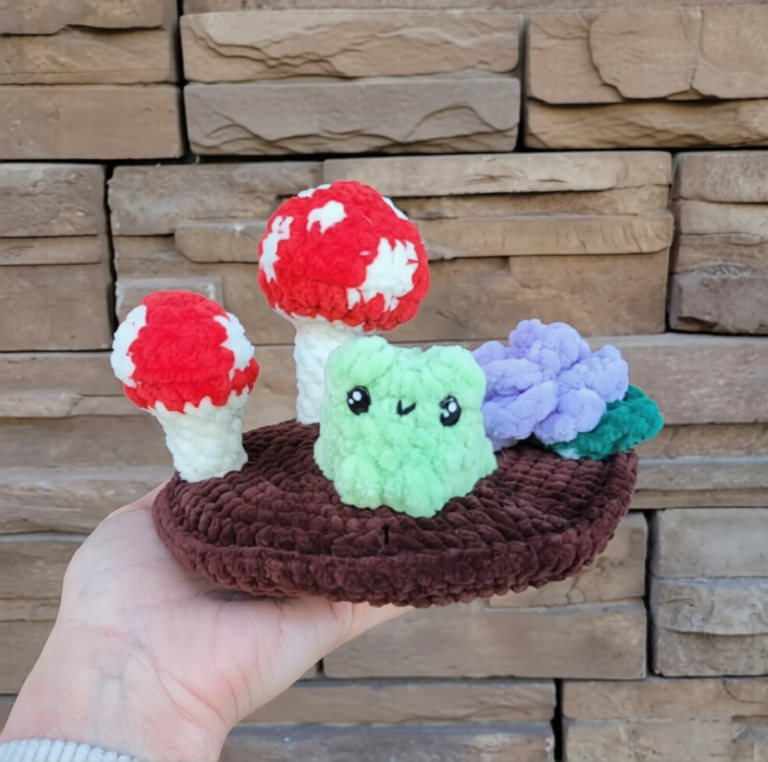
- Accessories: Add a tiny scarf, bow, flower, or even a mini leaf to hold.
- Koala family: Make a larger “parent” with a bigger hook and thicker yarn, then make tiny babies with DK yarn.
- Face styles: Add sleepy eyes, blushing cheeks, or a tiny embroidered heart nose for extra personality.
Later, a small felt eucalyptus leaf can turn the koala into an extra cute themed gift.
Conclusion
This crochet mini koala pattern is a cozy beginner project that feels relaxing from start to finish. First, the rounded body comes together quickly; next, the ears and limbs add character; finally, the embroidered face brings the koala to life. Finally, try different shades of yarn, add a tiny accessory, or turn the finished koala into a keychain for everyday cuteness. With each new amigurumi mini koala, confidence grows—and the crochet collection gets even more adorable.