Cozy Crochet Shark Hat for Cats Pattern for Small Pets
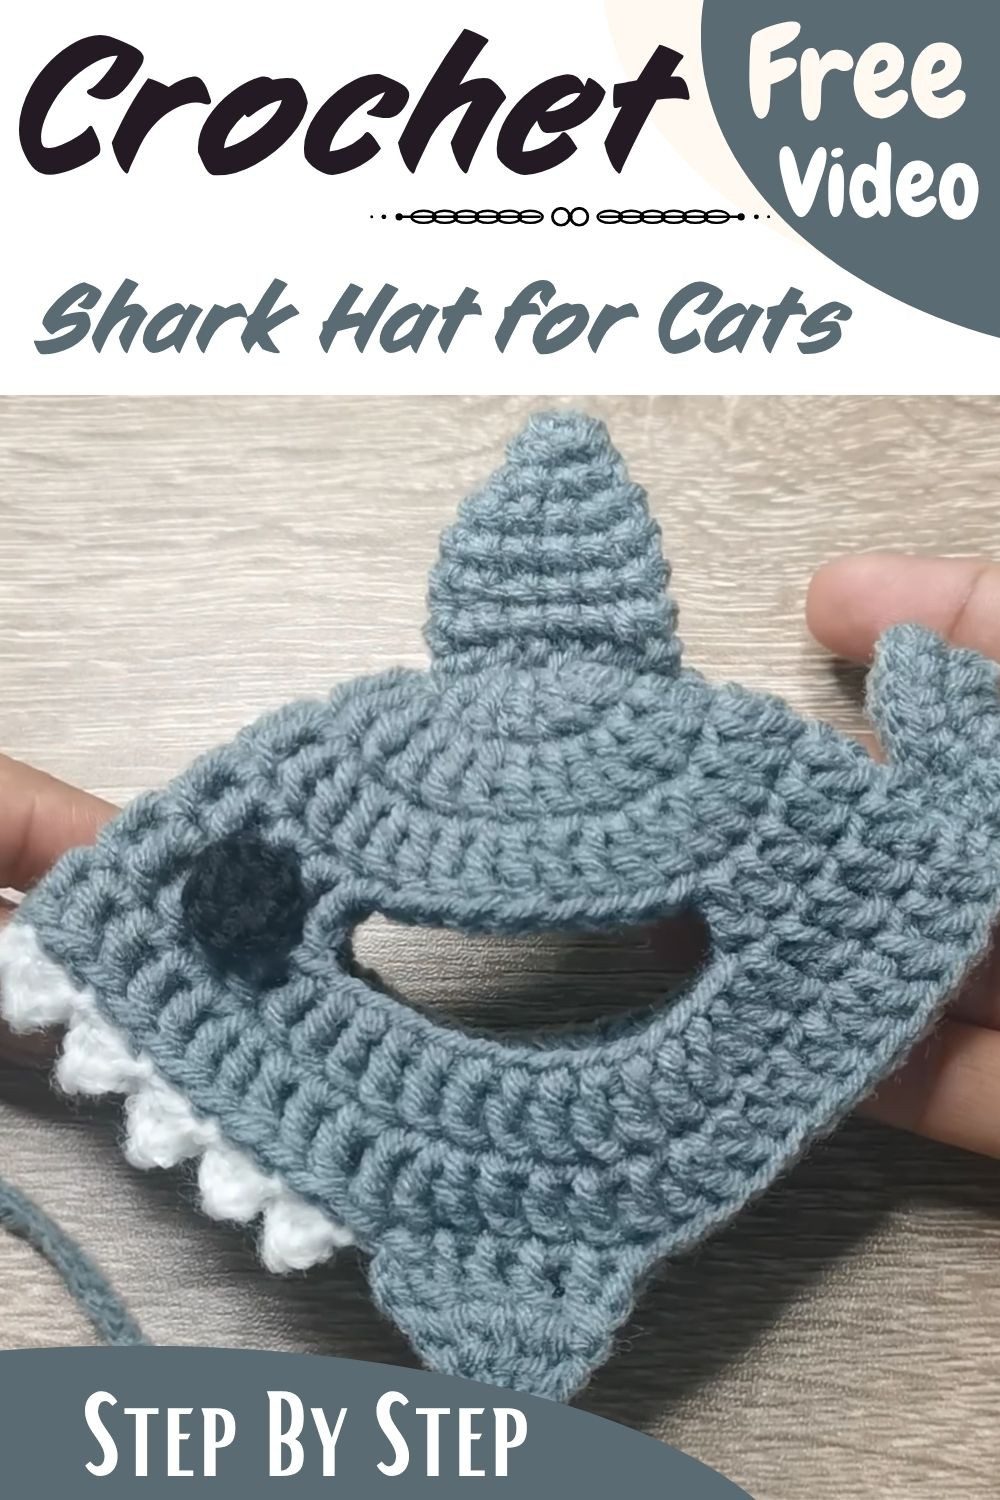
Turn your cat into the smallest shark in the house with this crochet shark hat for cats. It has ear holes, chin straps, a dorsal fin and a white tooth trim. The pattern is easy to follow, and the finished hat makes a lovely handmade gift.
This hat is worked mostly in rounds with simple stitches, so every part is easy to follow. Two ear holes keep the ears free, and two chin straps finish with tiny bobbles. A grey dorsal fin sits on top, a tail fin is sewn to the back, and a white zigzag trim forms the teeth. You can change the colors to match your own taste. If you want a different size, try another yarn or hook, and check the fit before you sew on the extra pieces. Keep your tension even so the shapes stay neat and tidy. It is also a fun way to practice amigurumi style shaping.
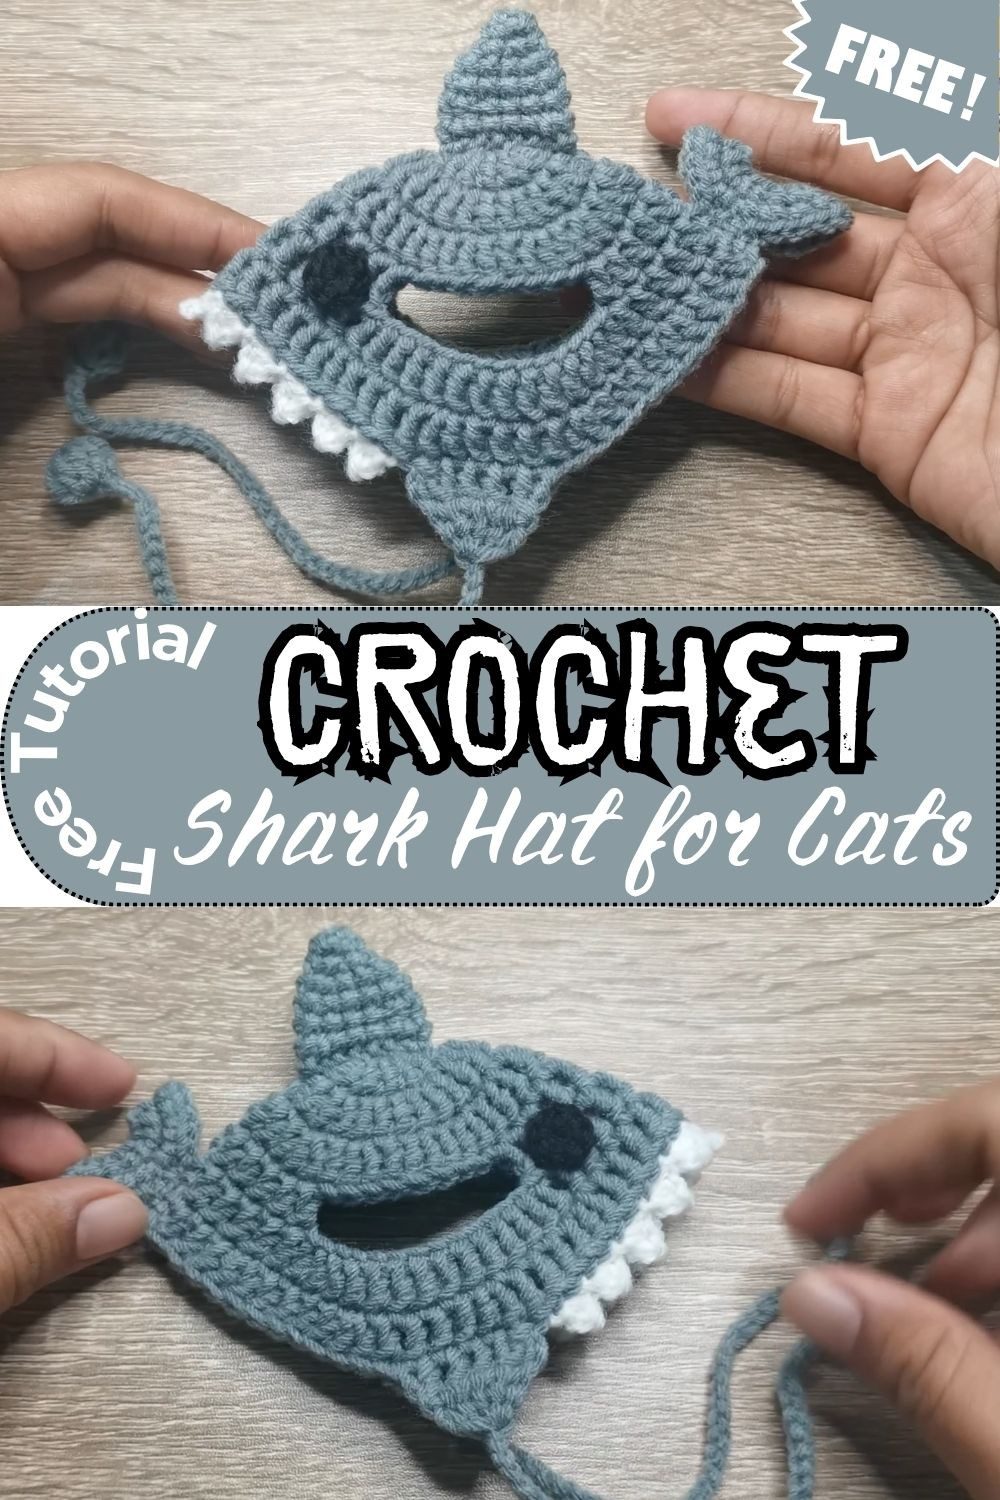
This design mixes cuteness with a little silliness by turning a plain grey cat into a tiny shark. Grey and white yarn make the teeth and fins stand out clearly. A 2.5 mm hook keeps the stitches close and tidy. The finished hat works well as a crochet pet costume, a thoughtful gift for a cat lover or a fun photo prop. It also fits nicely into a collection of handmade cat accessories
Project Overview
This hat turns a plain grey cat into a very small shark. The main piece is worked in rounds with two ear holes built in, so the ears can poke through. Two chin straps with little bobble ends sit on each side. A dorsal fin goes on top, a tail fin sits at the back, and a zigzag of white teeth frames the face. It suits small pets and anyone who enjoys making quick, cute crochet pet costume pieces.
Materials and Tools
- Yarn: Grey (Eagle brand, shade 780 or 770) and White for the teeth
- Black yarn for the eyes (as per the Eyes section)
- Crochet hook: 2.5 mm (equivalent to a gold-head 4/0 hook)
- Tapestry needle
- Scissors
- Stitch marker or scrap yarn
Abbreviations and Pattern Notes
Abbreviations (US terms)
MR – Magic Ring
Ch – Chain
Sl St – Slip Stitch
Sc – Single Crochet
Hdc – Half Double Crochet
Dc – Double Crochet
V – Increase (2 stitches in the same stitch)
BLO – Back Loop Only
Pattern Notes
- The hat is worked in rounds and joined with a Sl St.
- The starting Ch 2 does not count as a stitch (Rounds 1–7 of the main hat).
- The finishing steps use a long tail for sewing, so don’t cut it short.
The Complete Crochet Pattern
Part A: Main Hat Base (Grey)
Round 1: Make a Magic Ring. Ch 2 (does not count as a stitch). Work 12 Dc into the ring. Pull the tail tight to close the circle. Join with a Sl St to the top of the first stitch. (12 stitches)
Round 2: Ch 2. Work 1 V (2 Dc in the same stitch) in every stitch around. Join with a Sl St. (24 stitches)
Round 3: Ch 2. [1 Dc, 1 V] repeated around. Join with a Sl St. (36 stitches)
Round 4: Ch 2. [2 Dc, 1 V] repeated around. Join with a Sl St. (48 stitches)
Round 5 (Face and Ear Holes Row): Ch 2. Work 1 Dc in each of the first 7 stitches. Chain 18 and skip 10 base stitches below to create the cat’s ear hole. Work 14 Dc across the next 14 stitches. Chain 18 again and skip 10 base stitches below for the second ear hole. Work 1 Dc in each of the remaining 7 stitches. Join with a Sl St.
Round 6: Ch 2. Work 1 Dc in each of the first 7 stitches, 1 Dc into each of the 18 chain stitches, 14 Dc across the center section, 18 Dc across the second chain span, and 7 Dc in the final stitches. Join with a Sl St.
Round 7: Ch 2. [4 Dc, 1 V] repeated around (leaving 4 plain Dc at the very end before the edge). Join with a Sl St, Ch 1, and fasten off leaving a long tail for sewing.
Chin Straps and Ties
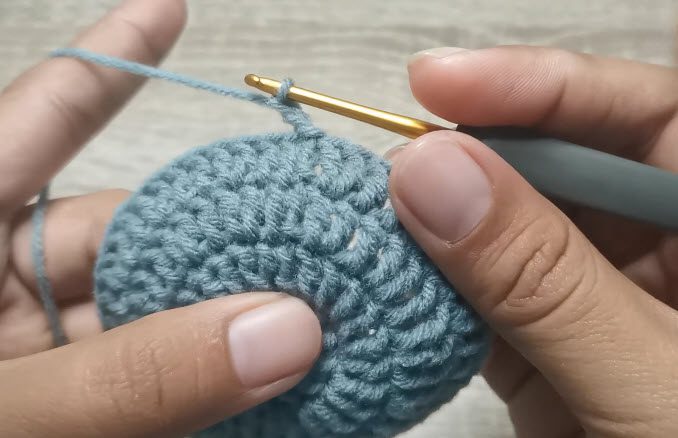
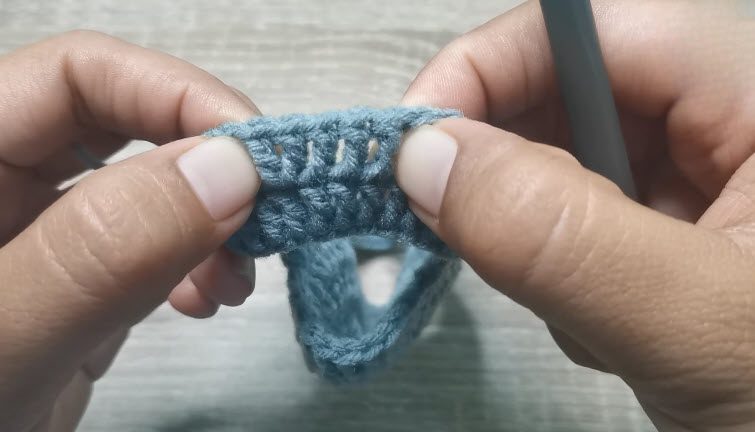
Strap Base: Fold the hat in half to locate the side position (covering roughly 6 stitches along the bottom edge). Attach grey yarn and Ch 2. Work a 2-stitch decrease, 2 plain Dc, and a 2-stitch decrease across 6 stitches. Ch 2, turn, and decrease the remaining 4 stitches into 2 stitches. Ch 1, turn, and work 1 Sc.
Ties and Pom-Poms: Chain 45 loosely. To make the decorative pom-pom/bobble at the end: Ch 4, work 5 partial Dc into the first chain stitch, yarn over and pull through all loops, Ch 3, repeat 5 partial Dc cluster, Sl St to anchor, Ch 1, and fasten off. Repeat for the second strap on the opposite side.
Dorsal Fin (Grey)
Round 1: Make a Magic Ring. Work 4 Sc into the ring. Pull tight and join with a Sl St. (4 stitches)
Round 2: Ch 1, [1 Sc, 1 V] repeated around. Join with a Sl St. (6 stitches)
Round 3: Ch 1, [1 Sc, 1 V] repeated 3 times. Join with a Sl St. (9 stitches)
Round 4: Ch 1, work 1 V in every stitch around. Join with a Sl St. (18 stitches)
Round 5: Ch 1, work 1 Sc in each stitch around (total 12 Sc as demonstrated). Join with a Sl St.
Round 6: Ch 1, work shaping stitches (Sc and Hdc). Join with a Sl St.
Round 7: Ch 1, [3 Sc, 1 V] repeated around. Join with a Sl St, Ch 1, and fasten off leaving a long tail for sewing.
Tail Fin
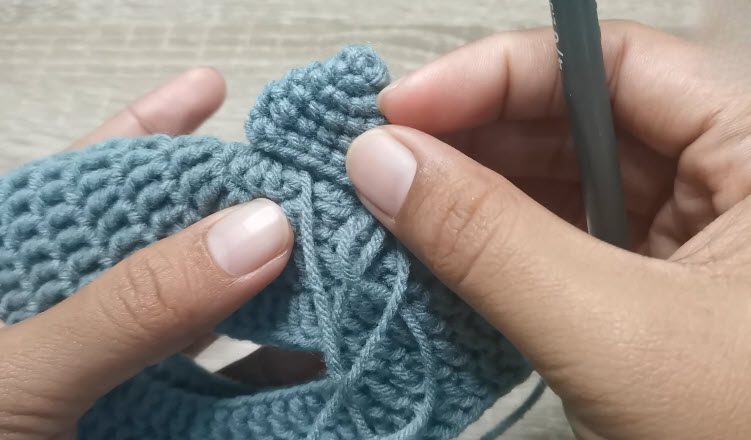
Foundation: Chain 16 loosely and join into a ring with a Sl St.
Round 1: Ch 1, work 16 Sc around the ring. Join with a Sl St. (16 stitches)
Round 2: Ch 1, work 1 V in every stitch around. Join with a Sl St, Ch 1, and fasten off leaving a long tail. (32 stitches)
Assembly: Fold this piece in half, stitch the edges together, and attach it to the back of the hat base.
Teeth Trim (White)
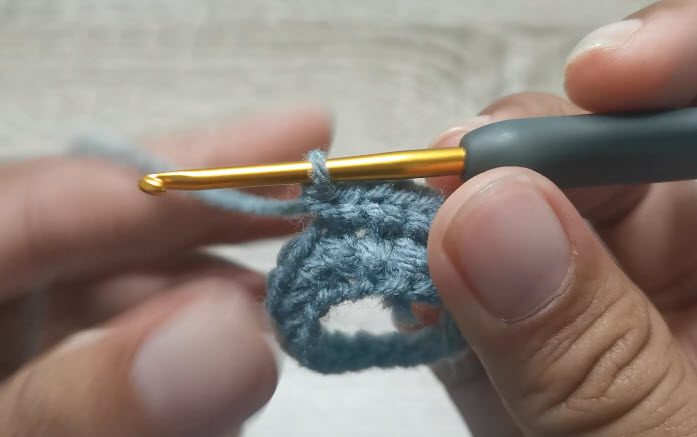
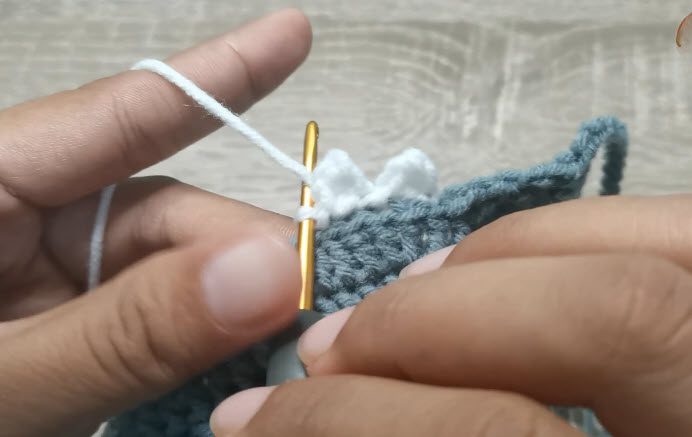
Row 1: Working along the front face opening edge in Back Loops Only (BLO), attach white yarn. Ch 3, work 1 Sc in the 2nd chain from hook, work 1 Hdc in the next chain, skip 1-2 base stitches along the edge, and secure with a Sl St. Repeat this zigzag tooth pattern all along the face opening. Fasten off and weave in the ends.
Eyes (Black, Make 2)
Round 1: Make a Magic Ring. Work 8 Sc into the ring. Join with a Sl St, and fasten off leaving a tail for sewing or gluing. (8 stitches)
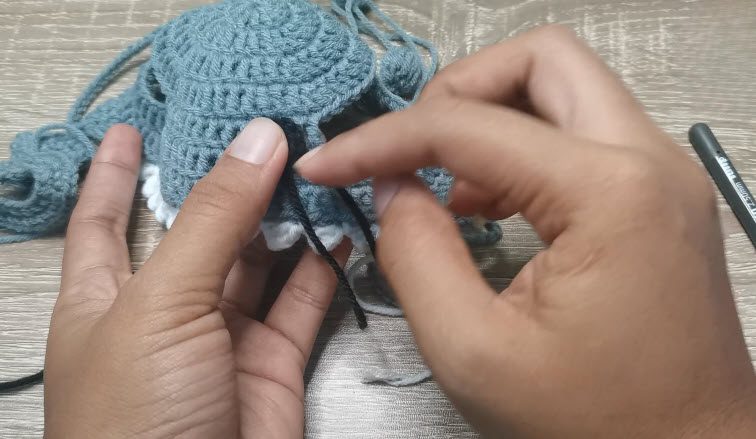
Final Assembly and Finishing
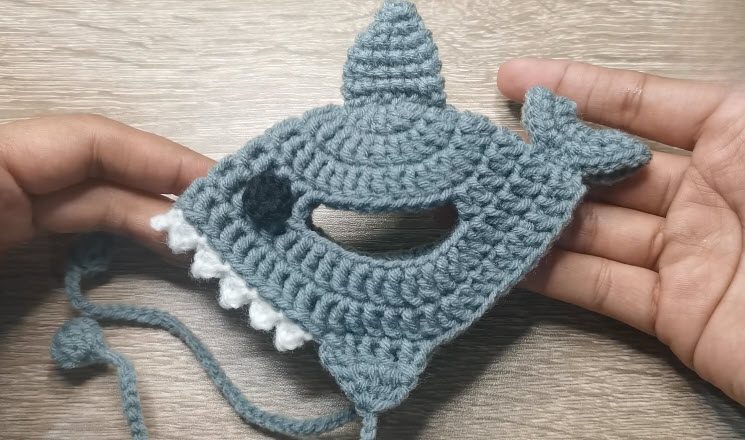
- Dorsal Fin: Position it centrally on top of the hat base and sew it securely.
- Tail Fin: Attach the folded tail fin to the rear of the hat.
- Eyes: Sew or craft-glue the black circular eyes onto the sides above the face opening.
- Ends: Weave all loose yarn tails neatly inside the hat with a tapestry needle.
Helpful Crochet Tips
- Keep your tension even from round to round. It helps the hat sit smooth and the pieces match.
- Put a stitch marker or a bit of scrap yarn at the start of each round, so you never lose your place.
- Close the magic ring as tightly as you can. A loose ring leaves a hole in the top of the hat and the fin.
- Don’t trim those long tails too early. They are just right for sewing the fins and eyes on.
- Hold the finished base up and check how it looks before you sew on the extra pieces.
- Try the hat on gently, and never leave it on a pet that is unattended.
Gift Ideas With This Hat
Handmade pet pieces make friendly presents. Here are a few easy ways to give this one.
- Wrap it for a friend who treats their cat like family.
- Tuck it into a small box with a cat toy or treat bag.
- Make it as a surprise for a birthday of a favorite furry pal.
- Add a handwritten card telling them it was made with your own two hands.
- Make two in different yarn colors if you have a pair of pets at home.
A handmade piece feels more personal than anything off a shelf, and a shark hat always starts a conversation.
Frequently Asked Questions
Which crochet hook do I need?
The pattern uses a 2.5 mm hook, which is equivalent to a gold-head 4/0 hook.
Why are the ear holes made with chains?
In Round 5 you chain 18 and skip 10 base stitches, which leaves a gap on each side. In Round 6 you work Dc into those chains, which gives you an opening for each ear.
How are the teeth attached?
You attach white yarn and work along the front face opening in the back loops only. A zigzag of Ch 3, Sc and Hdc is repeated all along the opening, and the ends are woven in at the end.
Can I change the yarn colors?
The pattern lists grey for the hat and fins, white for the teeth and black for the eyes. Swapping a color is a matter of taste, and the rounds stay the same.
How is the tail fin attached?
Work the tail fin, fold it in half, stitch the edges together, and then attach it to the back of the hat base.
Okay, So Here’s My Take
Honestly, this one is just fun to make. The ear holes are the part I’d go slow on, because you count carefully once and then it all falls into place. After that it’s mostly little pieces you stitch on at the end. Pick your greys, make the teeth, and just enjoy it.