Crochet Romantic Frog Couple Free Amigurumi Pattern
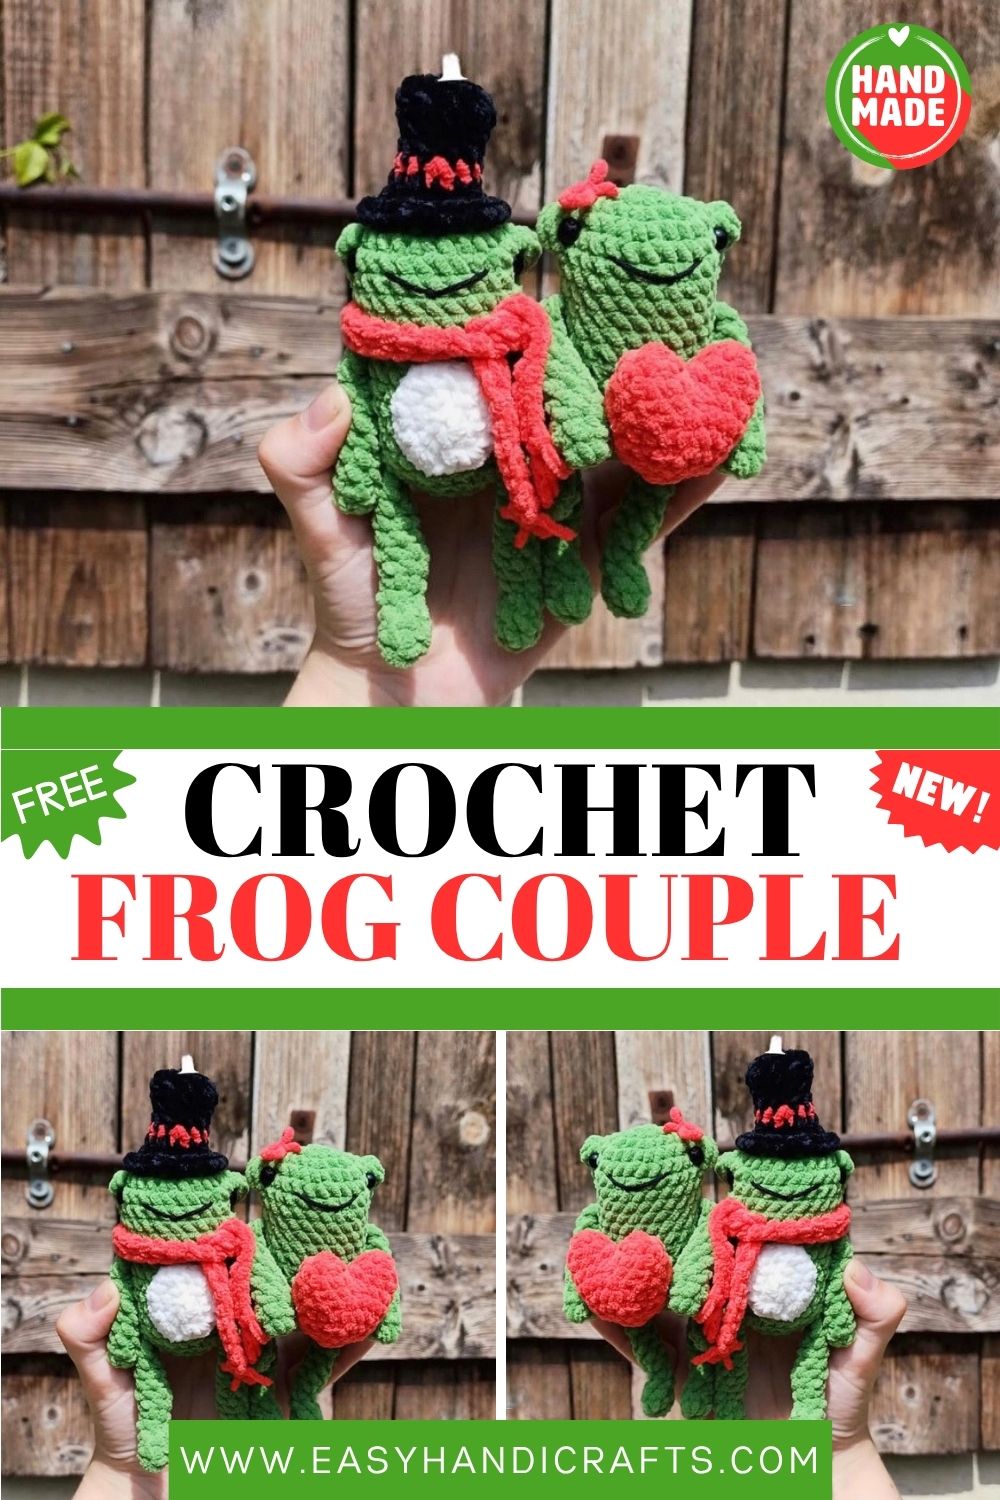
Need something sweet and quick? This Crochet Romantic Frog Couple amigurumi is pure charm. Two tiny green frogs, a little hat, a cozy scarf, and one adorable heart between them both.
There’s something magical about crocheting in pairs, and this Crochet Romantic Frog Couple proves it. The design pairs simple shapes with cute little accessories, so it stays beginner-friendly while looking adorable. Honestly, it makes a perfect handmade gift for anniversaries, Valentine’s Day, or just because you love someone. Grab your hook now.
Skill Level
This pattern sits comfortably at the easy beginner level. The shapes stay simple, the rounds repeat often, and the only slightly tricky part is attaching the little limbs neatly.
Pattern Overview
Here’s a quick look at what makes this little couple come together:
- Two matching frogs. Both share the same green head-and-body shape, so you crochet one set of instructions twice — easy and fast.
- Simple body parts. Each frog needs two arms, two legs, and one round head-and-body piece. Just basic increases and decreases.
- Cute accessories. A black-and-red hat, a soft red scarf, and a stuffed red heart give the couple their romantic personality.
- A white tummy. A small white circle on the front adds that classic chubby-belly look.
- Worked in continuous rounds. Most pieces spiral up without joining, so keep a stitch marker handy.
Special Techniques
A few special touches give this frog couple its character, and they’re worth knowing before you start.
The bobble stitch (bo) sits on the face and creates raised bumps where the safety eyes go. This detail makes the eyes pop and gives the frog its sweet, slightly surprised look.
The yarn under method, instead of the usual yarn over, keeps your single crochet stitches tighter, so less stuffing peeks through.
Finally, the fold-and-flatten finish on the arms and legs saves you from sewing closed ends just fold the piece in half and stitch across.
Materials
For the regular version you’ll need:
- Green yarn (bodies, arms, legs)
- Red yarn (hat band, scarf, heart)
- Black yarn (hat)
- White yarn (tummy)
- A 3mm chenille (velvet) yarn works beautifully
- 7mm safety eyes
- Polyester stuffing
- Embroidery thread for face details
- A yarn needle for sewing
Abbreviations
- sc — single crochet
- inc — increase
- dec — decrease
- mr — magic ring
- ch — chain
- sl st — slip stitch
- fo — fasten off
- bo — bobble stitch
Notes Before You Start
- Work in continuous rounds (no joining) unless a section says otherwise.
- Use the yarn under method for tighter, neater stitches.
- This pattern is for personal use only — please don’t copy or redistribute it.
- You may sell finished plushies, but please credit the designer in your photos: @madewithlovebyscar.
The Pattern
Make all green pieces twice if you want the full couple (one set per frog).
Arms (x2) — In green
- R1: 6sc in mr (6sc)
- R2–10: 6sc (9 rounds)
Don’t stuff! Fold in half and work 3sc across. Fasten off and leave a short tail (no sewing needed).
Legs (x2) — In green
- R1: 6sc in mr (6sc)
- R2–3: 6sc all around (6sc, 2 rounds)
- R4–6: 1inc, 2dec, 1inc (6sc, 3 rounds)
- R7–11: 6sc all around (5 rounds)
Don’t stuff! Fold in half and work 3sc across both sides. If needed, remove a stitch so the leg folds in half correctly. Fasten off and leave a short tail (no sewing needed).
Head and Body — In green
- R1: 6sc in mr (6sc) — you’ll adjust the leg here
- R2: 6inc (12sc)
- R3: (1sc, 1inc) x6 (18sc)
- R4: (2sc, 1inc) x6 (24sc)
- R5: 5sc, bo, 12sc, bo, 5sc (24sc) — the front is the side with 12sc between the bo stitches
- R6–9: 24sc (4 rounds) — insert the safety eyes in the bo stitches
- R10: 5sc, 3sc to attach the arm, 11sc, 3sc to attach the other arm, 2sc (24sc)
- R11–16: 24sc (6 rounds)
- R17: 9sc, 3sc to attach the leg, 8sc, 3sc to attach the leg, 1sc (24sc) — start stuffing
- R18: (2sc, 1dec) x6 (18sc)
- R19: (1sc, 1dec) x6 (12sc)
- R20: 6dec (6sc)
Fasten off, close the hole, and weave in the yarn tail.
Tip: You may need to adjust the arm and leg placement depending on your tension.
Tummy — In white
- R1: 6sc in mr (6sc)
- R2: 6inc (12sc)
- R3: (1sc, 1inc) x6 (18sc)
Slip stitch and fasten off with a long tail for sewing. Place between R9 and R15.
Hat — In black
Don’t work in a spiral here — slip stitch at the end of each round.
- R1: 6sc in mr (6sc)
- R2: 6inc (12sc)
- R3: 12sc in blo (back loops only)
- R4–6: 12sc (3 rounds)
- In red — R7: 12sc all around (12sc)
- In black — R8: 12sc all around (12sc)
- R9: (1sc, 1inc) in flo (front loops only) x6 (18sc)
- R10: (2sc, 1inc) x6 (24sc)
Slip stitch and fasten off, leaving a long tail for sewing.
Scarf — In red
Chain the number of stitches needed to reach the length you want. Turn the work and crochet the same number of sc back. If you’d like tassels, cut 4 pieces of yarn about 5cm long, fold them in half, and knot them at the scarf ends. Trim them to your preferred length.
Heart — In red
Stuff as you go!
- R1: 6sc in mr (6sc)
- R2: (1sc, 1inc) x3 (9sc)
- R3: 9sc all around (9sc)
Repeat R1–3 one more time, but this time don’t cut the yarn keep working.
- R4: connect the two parts with a sc in the first part of the heart, then another sc and 1inc, then (2sc, 1inc) x5 (24sc)
- R5: 24sc
- R6: (2sc, 1dec) x6 (18sc)
- R7: 18sc
- R8: (1sc, 1dec) x6 (12sc)
- R9: 6dec (6sc)
- R10: 3dec (3sc)
Fasten off and close the hole.
Assembly
Putting your Crochet Romantic Frog Couple e together is the most rewarding part:
- Attach the tummy first. Pin the white circle to the front between R9 and R15, then sew it on with small, even stitches.
- Place the arms and legs. These get worked into the body at R10 and R17, so check their spacing and adjust if your tension pulled them off-center.
- Sew on the hat. Set it at a jaunty angle on one frog’s head and stitch it down all around.
- Add the scarf. Wrap it around the other frog’s neck and tack it with a stitch or two.
- Set the heart between them. Tuck it between their hands, or sew it to one arm so they look like they’re sharing it.
Common Mistakes (and How to Fix Them)
Even easy patterns have a few traps. Here’s what trips people up most:
- Stuffing too early. Don’t stuff the arms or legs at all, and only start stuffing the body around R17. Too soon and the shape goes lumpy.
- Losing your round. Continuous rounds spiral, so drop in a stitch marker at the start of each round and move it up as you go.
- Messy bobble stitches. If your bobbles look loose, give the yarn a gentle tug after each one. Even bobbles mean even eyes.
- Uneven eyes. Insert the safety eyes into the bo stitches before stuffing and check they line up before locking the backs on.
- Gaps in the magic ring. Pull that first ring tight, or you’ll see a little hole at the start of every piece.
Important Remarks
A few final notes to keep your make smooth and respectful:
- Tension is everything. Chenille yarn can hide your stitch count, so count carefully and use yarn under to keep the fabric tight.
- Make a pair, or just one. Crochet both frogs for the full couple, or stop at a single frog as a solo cutie.
- Customize the colors. Swap the green for any shade you love, or match the hat and scarf to a gift recipient’s style.
- Respect the designer. This free pattern is for personal use only don’t copy or redistribute it. Selling finished plushies is fine,in your photos.
Conclusion
And that’s your Crochet Romantic Frog Couple two little sweethearts ready to share a heart. The best part of a small project like this is how fast it rewards you; in an afternoon, a few balls of yarn turn into a pair of soft friends with real personality. Don’t stress if your first frog looks a touch wobbly that’s the handmade magic, and every frog has its own charm. So grab your hook, give it a go, and have fun. If you make one, I’d love to see it. Share your finished couple, credit the pattern, and keep that yarn stash moving. Happy stitching, friend.


