Free Crochet Heart Necklace Pattern for Everyday Wear
Small handmade jewelry pieces have become a favorite way to add personality to any outfit, and a Free Crochet Heart Necklace fits that trend perfectly. It’s quick, budget-friendly, and endlessly customizable. Whether you’re crafting a gift or a piece for your own collection, this pattern turns simple stitches into a piece you’ll reach for daily.
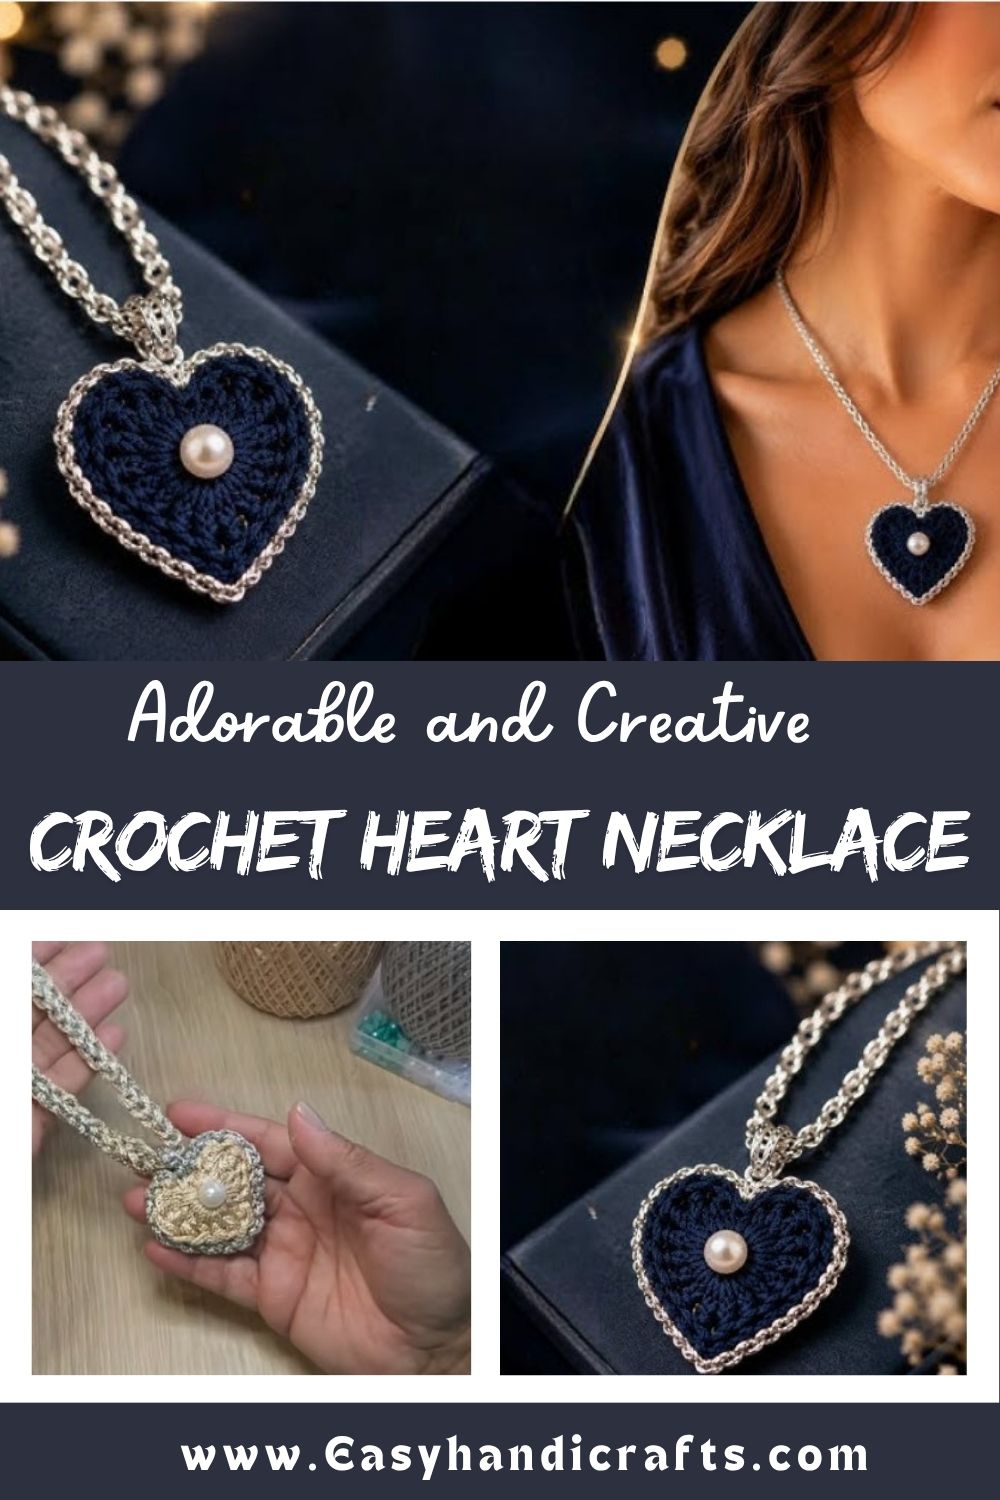
A crochet heart necklace is a small pendant, usually two to three inches wide, stitched in the round or worked flat and folded to create the classic heart shape. It’s attached to a cord, chain, or crocheted strap and worn close to the collarbone. This project uses minimal yarn, works up fast, and suits crafters who want a satisfying finish without a long time commitment.
Because the heart shape is so recognizable, this necklace works for holidays, birthdays, or plain everyday styling. It pairs well with casual and dressy outfits alike.
Skill Level
Beginner to Intermediate. The pattern relies on basic single crochet and increase/decrease shaping, so anyone comfortable with the fundamentals can complete it in one sitting. A total beginner may need a bit of practice with the shaping rounds first.
What You’ll Need
- Worsted weight cotton or acrylic yarn (small amount, under 20 grams, in your chosen color)
- A crochet hook matching your yarn weight (typically 3.5mm–4mm)
- Stuffing (small amount of polyester fiberfill, optional for a puffier heart)
- Tapestry needle for weaving in ends and closing the seam
- Scissors
- Stitch marker (or a small scrap of contrasting yarn)
- Necklace cord, jewelry chain, or extra yarn to crochet a strap
- Jump ring and clasp (optional, if using a chain)
Key Techniques You’ll Use
Before jumping into the steps, it helps to know the core techniques that shape this project.
Working in the Round
The heart is typically built using a magic ring or chain-and-join method, which keeps the center tight and avoids a visible hole at the top of the piece.
Increasing and Decreasing
Heart shapes rely on strategic increases at the top lobes and decreases at the bottom point. Getting these placements right is what gives the pendant its recognizable silhouette rather than a lopsided blob.
Two-Layer Construction
Most heart necklaces are made from two flat pieces stitched together around the edges, leaving a small opening for stuffing before closing it fully. This gives the pendant a bit of dimension so it doesn’t lie completely flat.
Edging and Finishing
A simple slip stitch or single crochet border around the heart cleans up the edges and gives the piece a polished, professional look.
Step-by-Step Guide
Step 1: Prepare Your Materials
Wind off a small length of yarn and check your hook size against a quick swatch. Tension matters here since a loose stitch will leave gaps that show once the piece is stuffed.
Step 2: Crochet the First Heart Panel
- Start with a magic ring or foundation chain.
- Work your first round of single crochets into the ring.
- Begin shaping the top two lobes with increases, leaving a small dip in the center top.
- Taper the sides down toward a single point at the bottom.
- Fasten off, leaving a long tail for sewing.
Step 3: Crochet the Second Panel
Repeat the same steps to create a matching second heart shape. Keeping both panels identical in stitch count is the key to a symmetrical finished necklace.
Step 4: Join the Two Panels
Place both hearts with wrong sides facing each other. Using a whip stitch or single crochet seam, join around the edge, leaving a two to three-centimeter gap near one lobe.
Step 5: Add Stuffing
Gently fill the pendant with a small amount of fiberfill through the gap. Avoid overstuffing, as this can distort the heart shape and pull the edges out of alignment.
Step 6: Close the Seam
Continue stitching the remaining gap closed, then weave in all loose ends securely using your tapestry needle.
Step 7: Attach the Cord or Chain
- For a crocheted strap, chain a length matching your desired necklace size and attach it to the top center dip of the heart.
- For a metal chain, use a jump ring to connect the pendant to the chain, then attach a clasp at the ends.
Step 8: Final Check
Inspect the piece for loose threads, gaps in stitching, or uneven stuffing before wearing or gifting.
Tips for Beginners
- Practice the increase and decrease pattern separately before attempting the full heart shape.
- Use a stitch marker at the start of each round so you don’t lose track of where you began.
- Choose a slightly smaller hook than recommended for tighter stitches, which helps hide stuffing and keeps the shape crisp.
- Block the finished heart lightly with a damp cloth if the edges look uneven.
Common Mistakes to Avoid
- Uneven panel sizes: Always count stitches per round to keep both heart pieces matching.
- Overstuffing: Too much filling pulls the seams tight and distorts the heart’s curves.
- Skipping the gap check: Leaving too small a gap makes stuffing difficult and can stretch the seam.
- Loose ends left unwoven: These tend to unravel over time with regular wear, so always secure them properly.
- Ignoring tension: Loose stitches create visible gaps once the piece is worn against fabric.
Customization Ideas
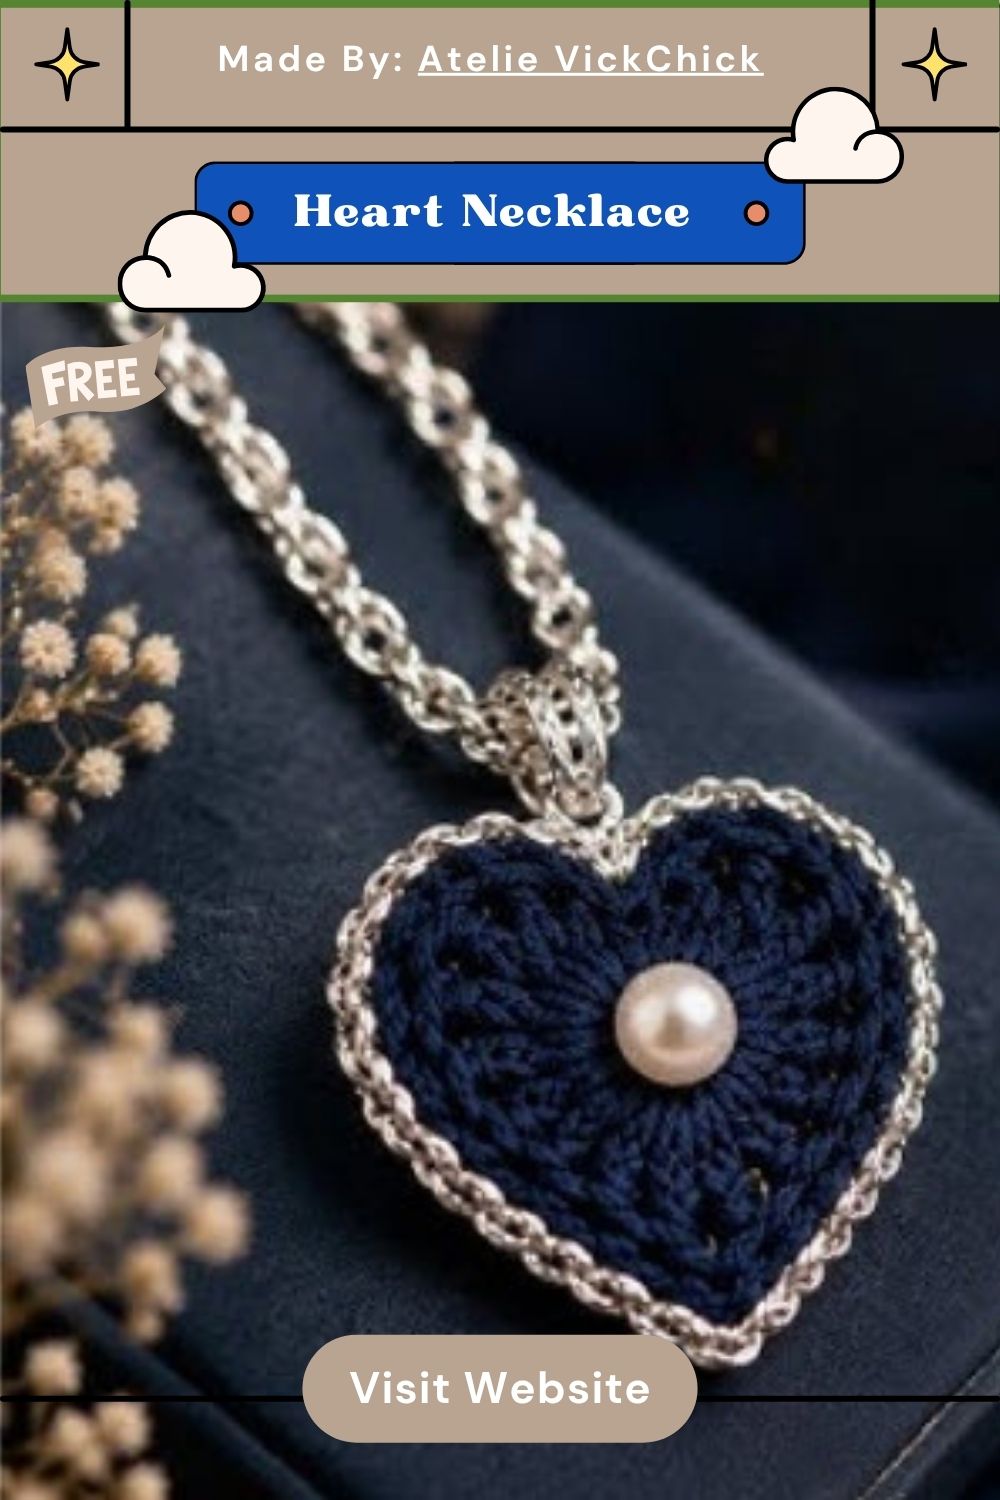
- Add a contrasting color border for extra definition.
- Attach a small bead or charm at the bottom point for a bit of sparkle.
- Make a mini version as a keychain instead of a necklace.
- Try ombre or variegated yarn for a gradient heart effect.
- Layer two different-sized hearts on the same chain for a trendy stacked look.
- Swap the crochet strap for a leather or satin cord for a more polished, dressy finish.
Frequently Asked Questions
How long does it take to make a crochet heart necklace?
Most crafters finish the pendant itself within 30 to 60 minutes, with attaching the cord adding just a few extra minutes.
What yarn works best for this project?
Cotton yarn holds its shape well and feels comfortable against skin, making it a popular choice, though acrylic works fine too.
Can I make this Free Crochet Heart Necklace without stuffing?
Yes. A flat, unstuffed version works as a lighter, thinner pendant and is a good option if you prefer a minimalist look.
Is this Free Crochet Heart Necklace pattern suitable for complete beginners?
It’s approachable for beginners who already know basic stitches, though the shaping rounds may take a little extra practice at first.
How do I keep the Free Crochet Heart Necklace from stretching out of shape over time?
Using a slightly firmer tension and avoiding overly soft yarn blends helps the heart hold its shape through regular wear.
Can this pattern be used for other jewelry pieces?
Definitely. The same heart shape works well as earrings, bracelet charms, or bag charms with minor size adjustments.
Conclusion
A Free Crochet Heart Necklace is a small project with a big payoff. It’s fast enough for a weekend craft session, yet meaningful enough to wear daily or give as a heartfelt gift. With just a bit of yarn and a few basic stitches, you get a piece that feels personal and unique compared to anything store-bought. Once you’ve mastered the shaping, try experimenting with colors, sizes, and cord styles to make the pattern truly your own. Grab your hook, pick a favorite color, and give this sweet little project a try.