Crochet Narwhal Pattern for a Sweet Sea Toy
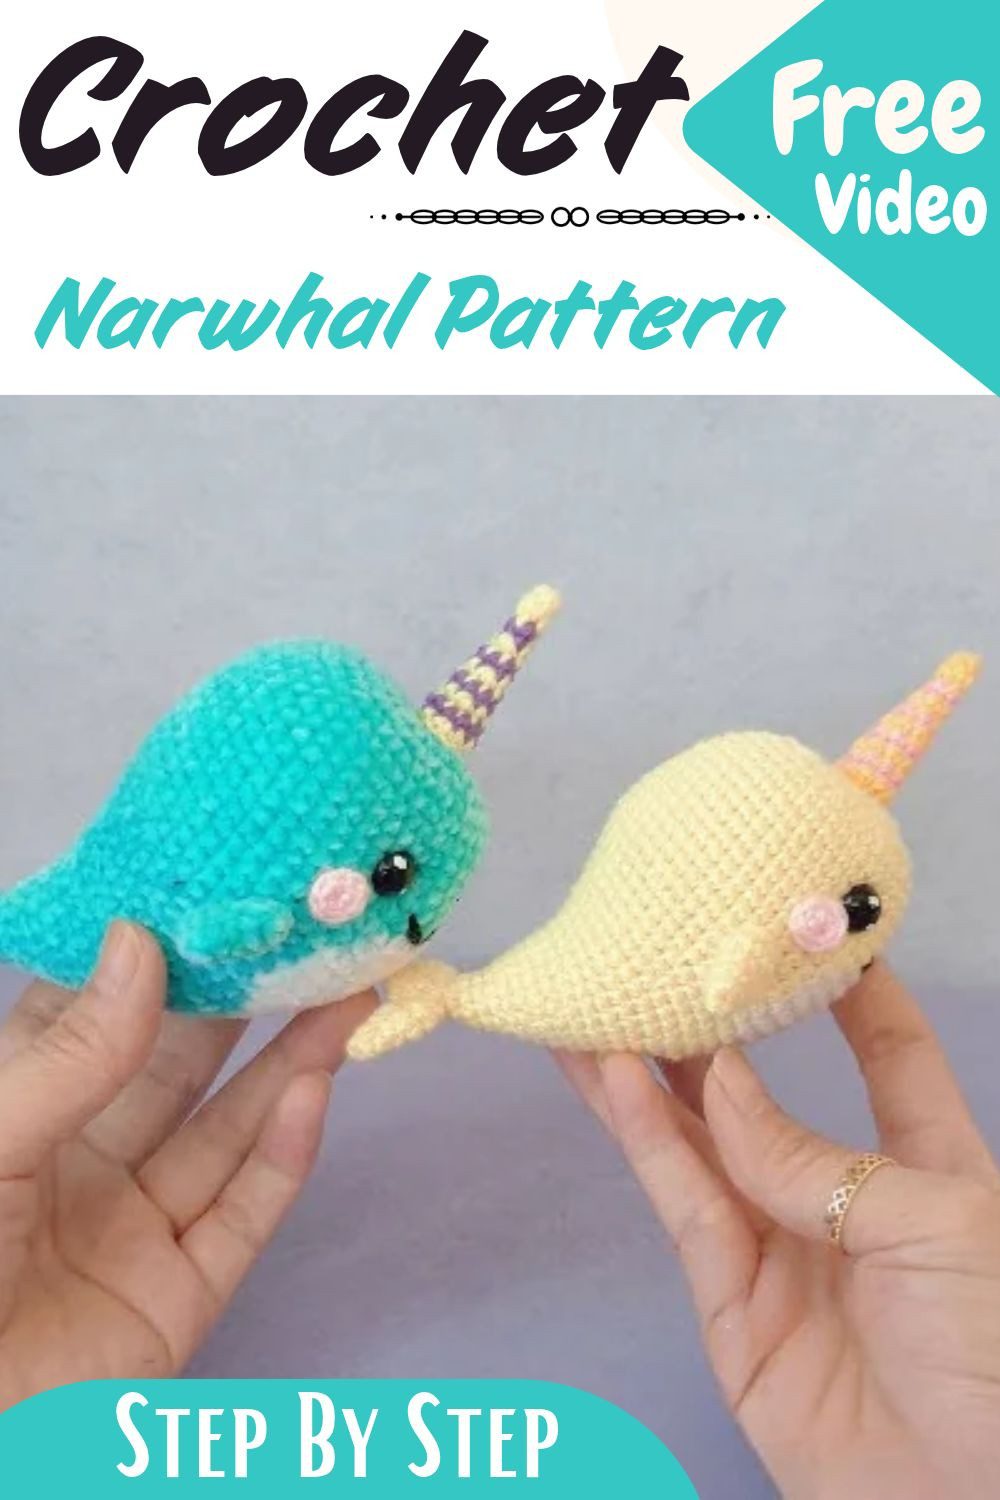
Love tiny sea animals? Here is a free crochet narwhal pattern you can follow easily. Two cute toys wear pink cheeks and bright horns, so they make perfect kids gifts in soft yarn. Because it is a great time to start your handmade project.
Want an easy toy to make over the weekend? Then try our cuddly crochet narwhal in soft velvet yarn. Because every single round is explained clearly, beginners feel confident. First, you shape a plump body, and then you add one small pointy horn plus two little fins. Also, pink cheeks bring happy faces. These amigurumi sea animals look truly lovely on shelves or as cheerful birthday gifts.
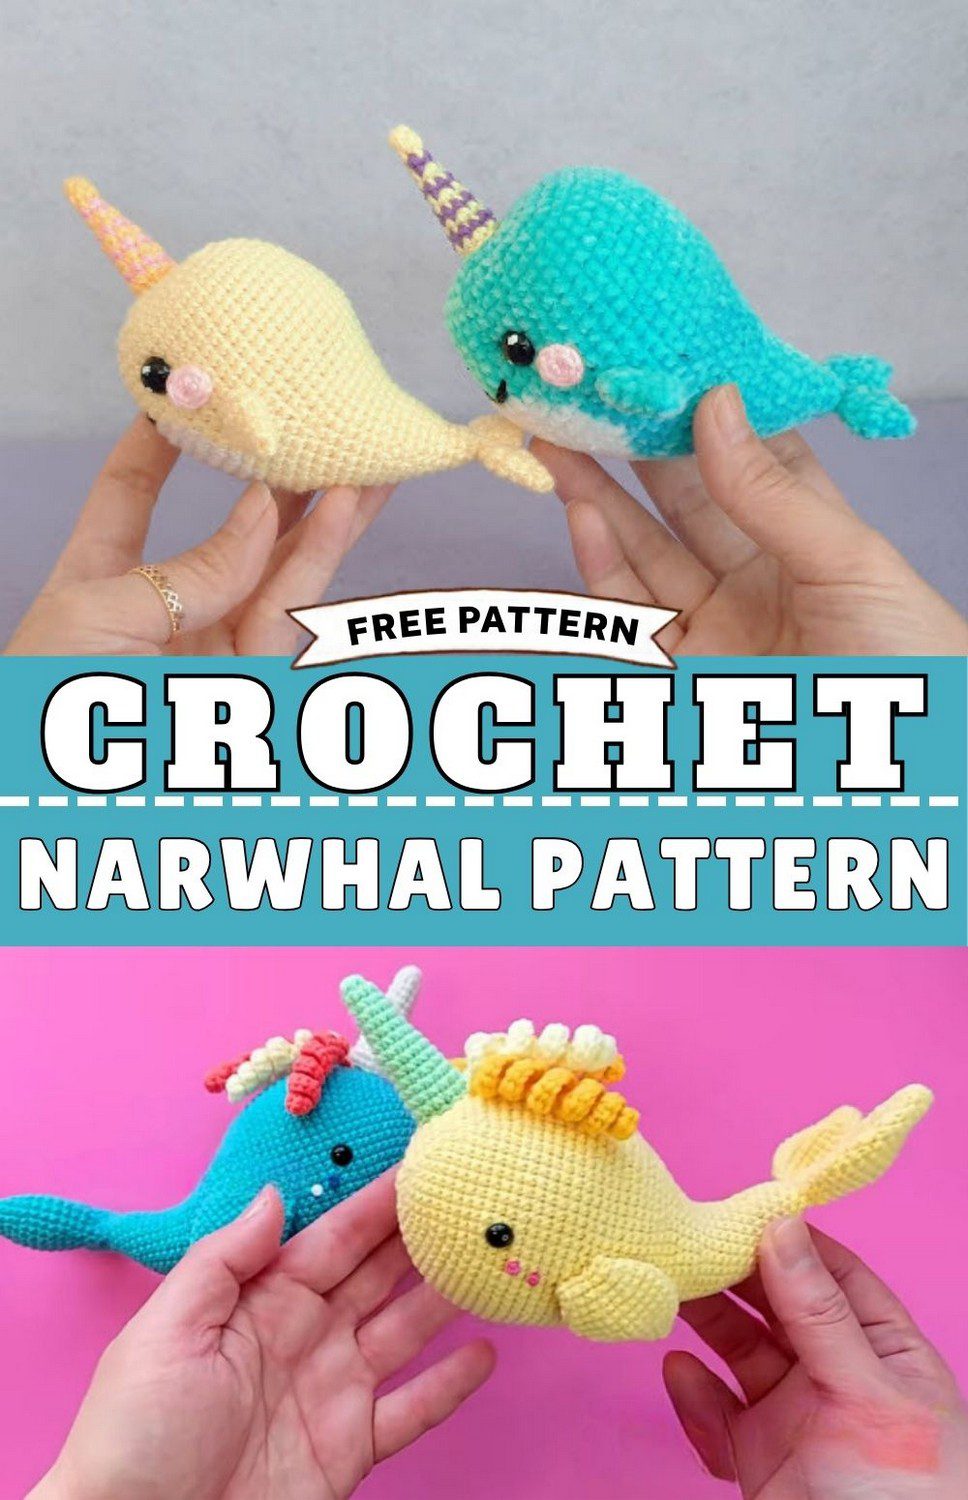
The whole thing uses a tiny 2.0 mm hook, so it stays small and neat. Also, add a keychain ring at the end, and your crochet narwhal plushie becomes a cute bag charm too. If you are looking for an amigurumi narwhal pattern that is quick and gentle on beginners, this crochet narwhal pattern is a good place to start.
Crochet Narwhal Pattern Overview
Skill level: Beginner to confident beginner (basic stitches, increases and decreases only)
Finished size: About 4 inches (10 cm) long, not counting the horn
Materials for the Crochet Narwhal Pattern
- Velvet yarn for the body, horn and fins
- Standard cotton or acrylic yarn for small details
- Black embroidery thread or yarn for the eyes and mouth
- Pink thread or yarn for the cheeks
- 2.0 mm crochet hook
- Fiberfill stuffing
- Yarn needle
- Scissors
- Keychain ring (optional)
Abbreviations
MR – magic ring
sc – single crochet
inc – increase (2 sc in the same stitch)
dec – decrease
hdc – half double crochet
dc – double crochet
tr – treble crochet
ch – chain
slst – slip stitch
BLO – back loop only
FLO – front loop only
Before You Start the Crochet Narwhal Pattern
Working in spirals
Work the body and the small pieces in continuous rounds without joining. Also, use a stitch marker so you always know where each round begins.
Hook and tension
Use a 2.0 mm hook throughout. It is smaller than velvet yarn usually asks for, and that is on purpose. Because tight stitches keep the stuffing from showing through, keep your tension even. Also, velvet yarn can feel slippery, so uneven stitches show quickly.
Crochet Narwhal Pattern: Step-by-Step Instructions
Body of the Crochet Narwhal Pattern
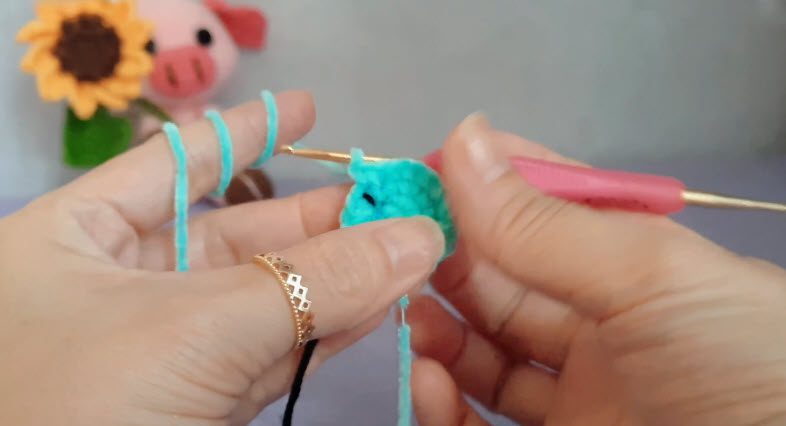
The body is one single piece. First, you start at the nose end with a magic ring. Then you grow the round belly, and after that you decrease down to the tapering tail.
Round 1: MR, 8 sc
Round 2: 8 inc (16 sts)
Round 3: (1 sc, 1 inc) x 8 (24 sts)
Round 4: (2 sc, 1 inc) x 8 (32 sts)
Round 5: (3 sc, 1 inc) x 8 (40 sts)
Rounds 6–14: 40 sc in each round (40 sts)
Shaping the Tail
From here, the body starts to taper. Also, each round loses two stitches.
Round 15: 2 sc, 1 dec, 16 sc, 1 dec, 16 sc (38 sts)
Round 16: 2 sc, 1 dec, 15 sc, 1 dec, 15 sc (36 sts)
Round 17: 2 sc, 1 dec, 14 sc, 1 dec, 14 sc (34 sts)
Round 18: 2 sc, 1 dec, 13 sc, 1 dec, 13 sc (32 sts)
Round 19: 2 sc, 1 dec, 12 sc, 1 dec, 12 sc (30 sts)
Start stuffing the body around here, and then keep adding a little as you go.
Round 20: 2 sc, 1 dec, 11 sc, 1 dec, 11 sc (28 sts)
Round 21: 2 sc, 1 dec, 10 sc, 1 dec, 10 sc (26 sts)
Round 22: 2 sc, 1 dec, 9 sc, 1 dec, 9 sc (24 sts)
Round 23: 2 sc, 1 dec, 8 sc, 1 dec, 8 sc (22 sts)
Round 24: 2 sc, 1 dec, 7 sc, 1 dec, 7 sc (20 sts)
Add the last bit of stuffing, then close the opening. Finally, fasten off and weave in the end.
Horn Pattern
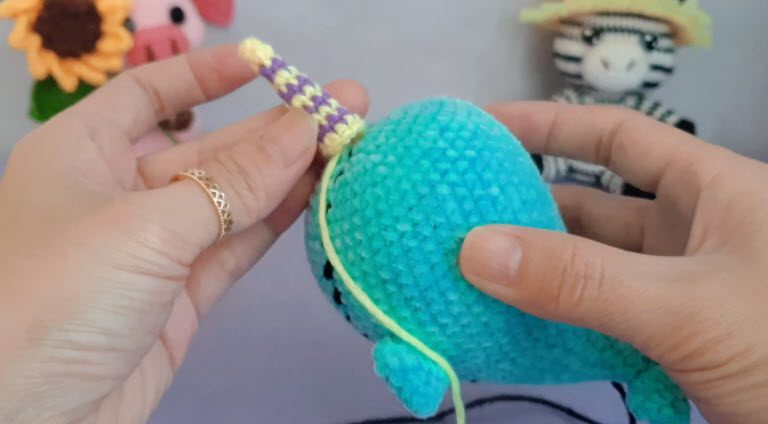
The horn is a small cone, and it is worked separately.
Round 1: MR, 5 sc
Round 2: 5 inc (10 sts)
Rounds 3–5: 10 sc in each round (10 sts)
Fasten off and leave a long tail for sewing. Then sew the horn to the top of the head.
Fin Pattern
Make the fins in the same colour as the body.
Round 1: MR, 6 sc
Round 2: 6 inc (12 sts)
Round 3: 12 sc (12 sts)
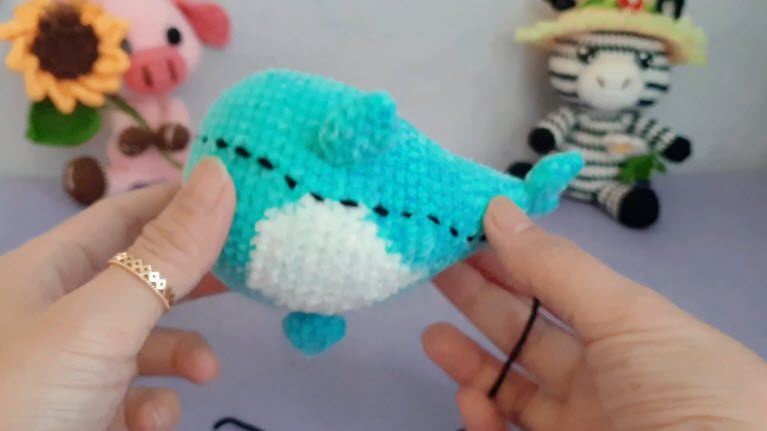
Fasten off and leave a tail for sewing. Then sew the fins to the sides of the body, and keep them even on both sides.
Assembly and Face
Attaching the pieces
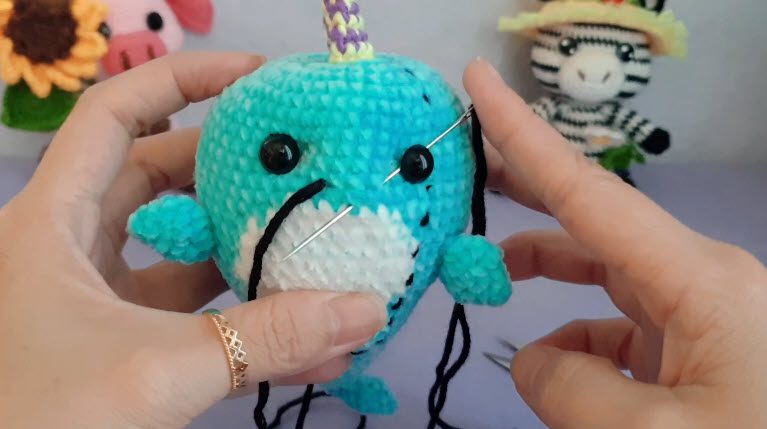
Use a yarn needle and yarn to attach the horn and fins. The horn goes at the top and front, while the fins sit on the sides. Before you sew them down, check that everything looks balanced.
Eyes
Place the eyes between rounds 9 and 10, with 7 stitches between them. Pin them first, and then check they look even before you fix them.
Mouth
Embroider the mouth on round 12, centred between the eyes. Use black thread or yarn, and then stitch a small “V” or a gentle curve.
Cheeks
Finally, add the pink cheeks with pink thread. Place one small oval or short dash stitch right under each eye.
Finishing
First, weave in all yarn ends so they are hidden inside the body. Then, if you want a keychain, attach a ring at the end.
Handy Tips for Velvet Yarn
- Keep the tension steady, so the stuffing fills the body evenly with no gaps.
- Also, check that both eyes are in the same place before you secure them.
- Finally, finish the face with embroidery thread, because it gives a neat and delicate look.
Pro Tips for a Neater Crochet Narwhal Pattern
- First, pin the horn and fins in place and look at the toy from the front and the back before you sew. A small shift is easy to fix now but hard to fix later.
- Also, stuff in small pieces rather than big clumps, so the belly stays smooth.
- Because velvet yarn hides stitches, count each round now and then to stay on track.
Common Mistakes to Avoid
- Fixing the eyes too soon. Instead, pin them first and compare both sides.
- Loose stitches. Because a bigger hook makes the stuffing peek through, stick with the 2.0 mm hook.
- Losing the round start. Always use a stitch marker, especially in the tail rounds where the decreases begin.
- Sewing the fins at different heights. So hold the toy upright and check both sides before you stitch.
Why You Will Love This Crochet Narwhal Pattern
- It works up fast, so you can finish one in a short time.
- Also, the small size uses very little yarn.
- Besides that, it teaches simple shaping with increases and decreases.
- Finally, velvet yarn makes it extra soft to hold.
Gift Ideas
A crochet narwhal plushie makes a lovely small gift for a child’s birthday or a new baby. Also, it works as a keychain for a friend, a charm on a school bag or a little desk buddy. Because it is a cute sea animal pattern, it fits well in an ocean-themed nursery or a shelf of handmade toys.
Colour Ideas to Try
Once you have the basic narwhal, play with colours. For example, soft grey or baby blue gives a classic look. Meanwhile, lilac and pink make a dreamy version. Also, a cream horn against a darker body makes the horn stand out. So make a few in different shades, and you have a whole little pod to gift or keep.
Crochet Narwhal Pattern Video Tutorial
Prefer to watch while you crochet? Then follow along with the video below.
Crochet Narwhal Pattern FAQs
What size hook should I use for this crochet narwhal?
Use a 2.0 mm hook for every piece. Because it is smaller than velvet yarn usually asks for, it keeps the stitches tight so the stuffing stays hidden.
Is this narwhal good for beginners?
Yes. Since it uses only basic stitches, increases and decreases, a beginner or a confident beginner can make it.
How big is the finished narwhal?
It is about 4 inches (10 cm) long, not counting the horn.
Can I turn it into a keychain?
Yes. Simply attach a keychain ring at the end, and then it becomes a cute bag charm.
Do I need to join the rounds?
No. Instead, work the body and small pieces in continuous rounds without joining, and use a stitch marker.
Last Few Words Before You Go
So that is the whole narwhal, and honestly it works up fast. Take your time with the face, because that is where the cuteness comes from. After that, make one for yourself, make another as a gift, or clip one onto a bag. Either way, this crochet narwhal pattern gives you a happy little project.