Crochet Max Bag Pattern for Everyday Use
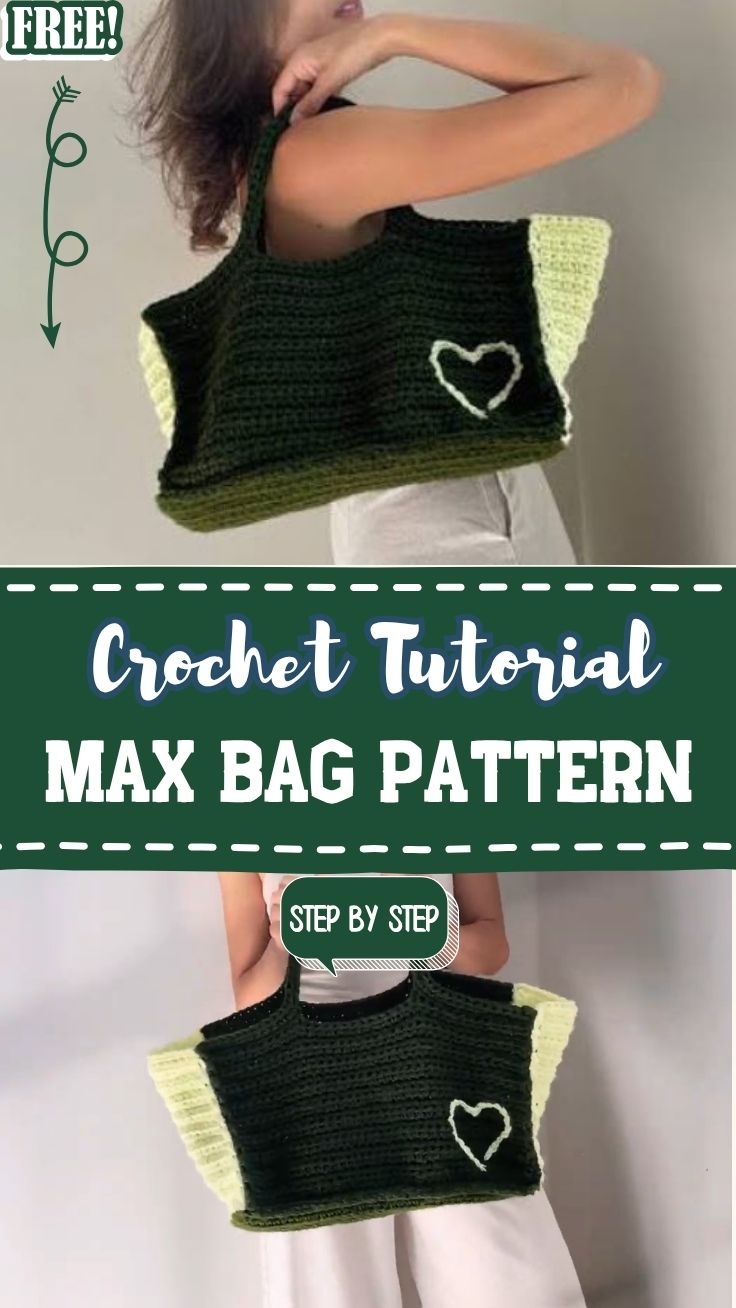
Everyday essentials deserve a bag that feels both practical and personal, and this Crochet Max Bag Pattern for Everyday Use checks both boxes. Built from a sturdy rib-stitch panel, it holds its shape well while still leaving room for a fun colour-block finish. Anyone who wants a handmade accessory that actually gets used daily will enjoy this project.
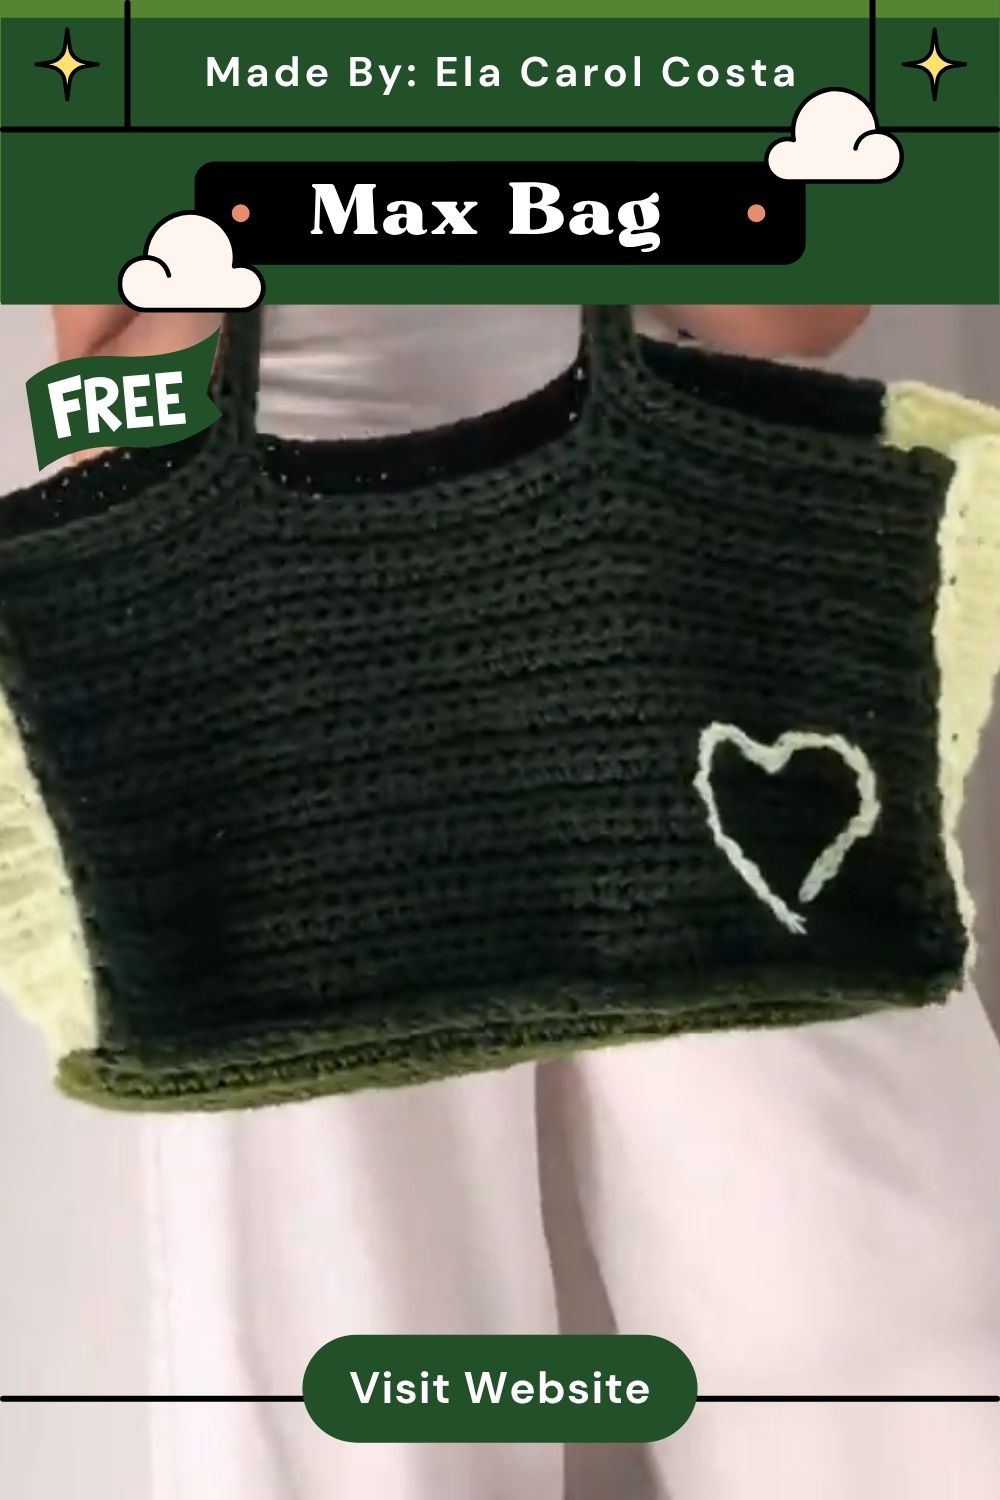
This crochet max bag stands out for its two-tone colour-block crochet design, giving it a bold, graphic look without any extra embellishment. What sets this particular pattern apart is how its sturdy rib texture holds the bag’s structure, keeping it from sagging or losing shape even under the weight of everyday essentials. This design suits daily errands, work commutes, or anyone after a practical, statement-making everyday tote especially well.
The heart-detail handle adds a small personal touch to an otherwise simple silhouette.
Pattern Overview
- A sturdy, structured tote-style bag built from ribbed panels
- Two-tone color block design for visual contrast
- Reinforced handles for daily carrying
- Adaptable size through panel width and length
Materials Needed
- Worsted or bulky weight yarn in two contrasting colors
- A crochet hook sized to match your yarn weight
- Tapestry needle for seaming and weaving in ends
- Stitch markers for tracking rows and color changes
- Sharp scissors
- Measuring tape
Special Techniques
- Foundation chain – sets the base length for the bag panel
- Ribbed row construction – builds a sturdy, textured fabric for structure
- Color changes – switches shades cleanly for the two-tone effect
- Stitch marker tracking – keeps row counts accurate across a large panel
- Seaming and handle attachment – joins the finished panels into the final bag shape
Time Box
- Prep Time: 10 minutes for yarn prep and hook selection
- Stitching Time: 4–6 hours across the full panel and handles
- Finishing Time: 30–40 minutes for seaming and weaving in ends
Common Mistakes to Avoid
- Losing track of your row count on a long panel without a marker
- Pulling the color-change stitch too tight, distorting the color block line
- Skipping a gauge check, leading to a bag that ends up too small or floppy
- Attaching handles unevenly, causing the bag to hang crooked
Uses and Benefits
A handmade max bag works well for grocery runs, daily commutes, or as a sturdy everyday tote for work essentials. Because the rib stitch holds its shape, it handles a reasonable amount of weight without stretching out of form. Making this piece also builds confidence with color-block construction and handle attachment, both useful skills for future bag projects.
Helpful Beginner Tips
- Count your rows regularly to keep both panel sides matching.
- Check your gauge swatch before starting the full-size panel.
- Keep tension consistent throughout to avoid a lopsided shape.
- Use a stitch marker at every color change point for easy tracking.
Instructions
Step 1: Starting Your Foundation Loop
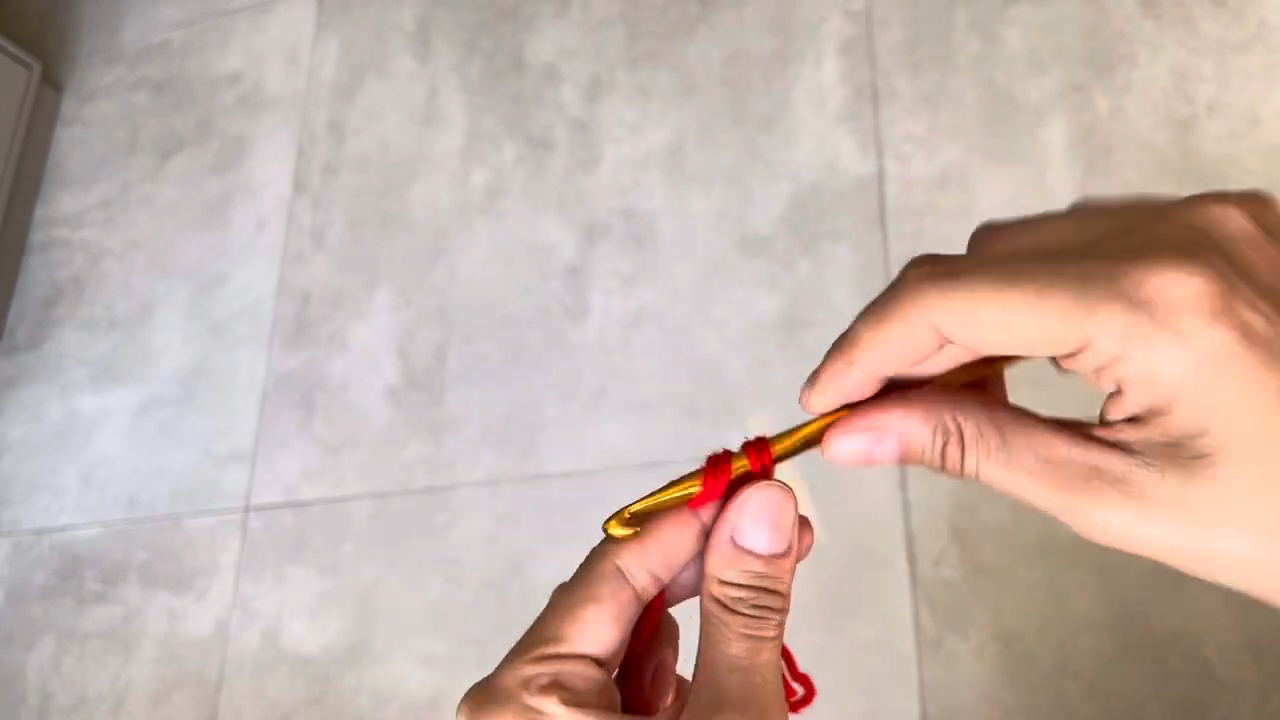
Place a slip knot on your hook using your first color, holding it with a relaxed grip. This starting loop sets the tension for the entire panel, so keep it snug without pulling too tight.
Step 2: Building the Foundation Chain
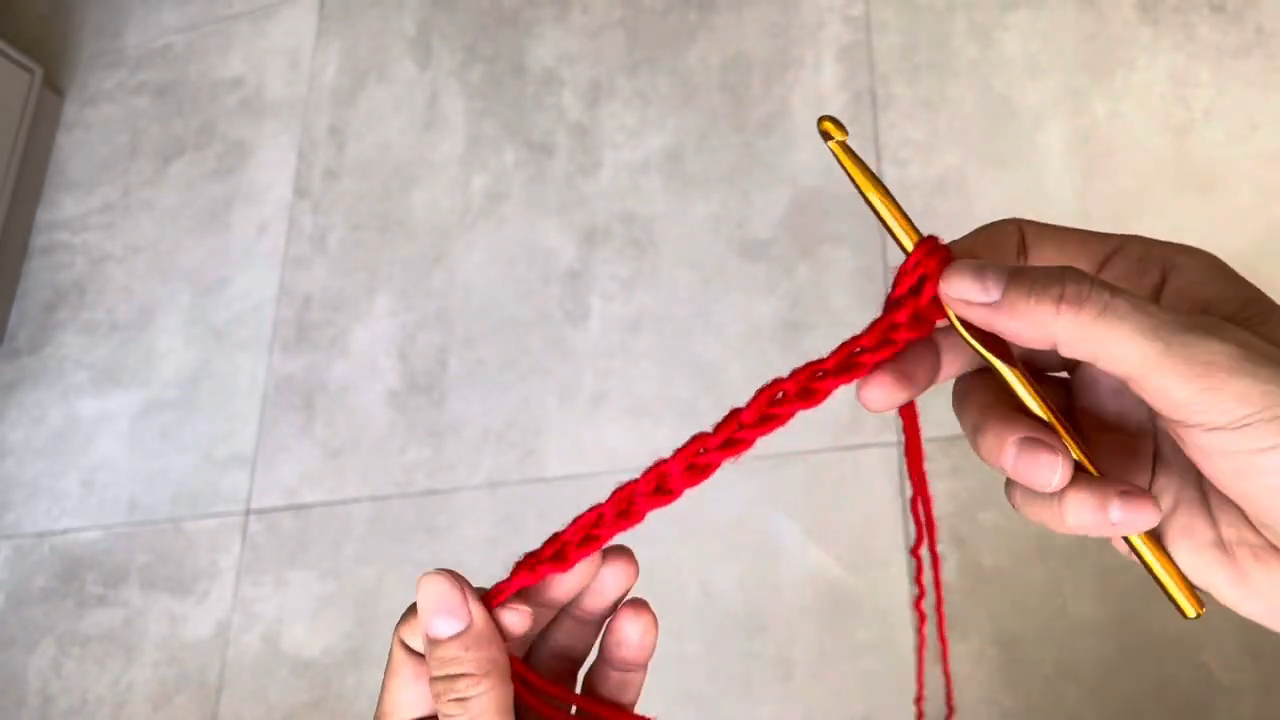
Work a foundation chain long enough to match your desired bag width, keeping your tension even along the row. This chain becomes the base for every row that follows.
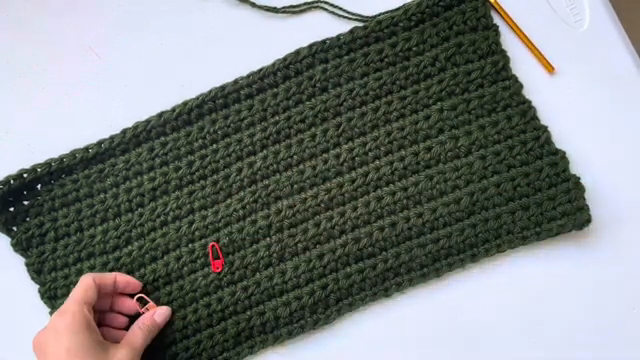
Step 3: Working the Main Ribbed Panel
Continue working rows in your rib stitch pattern, placing stitch markers periodically to track your row count. This stage builds the bulk of the bag’s sturdy texture.
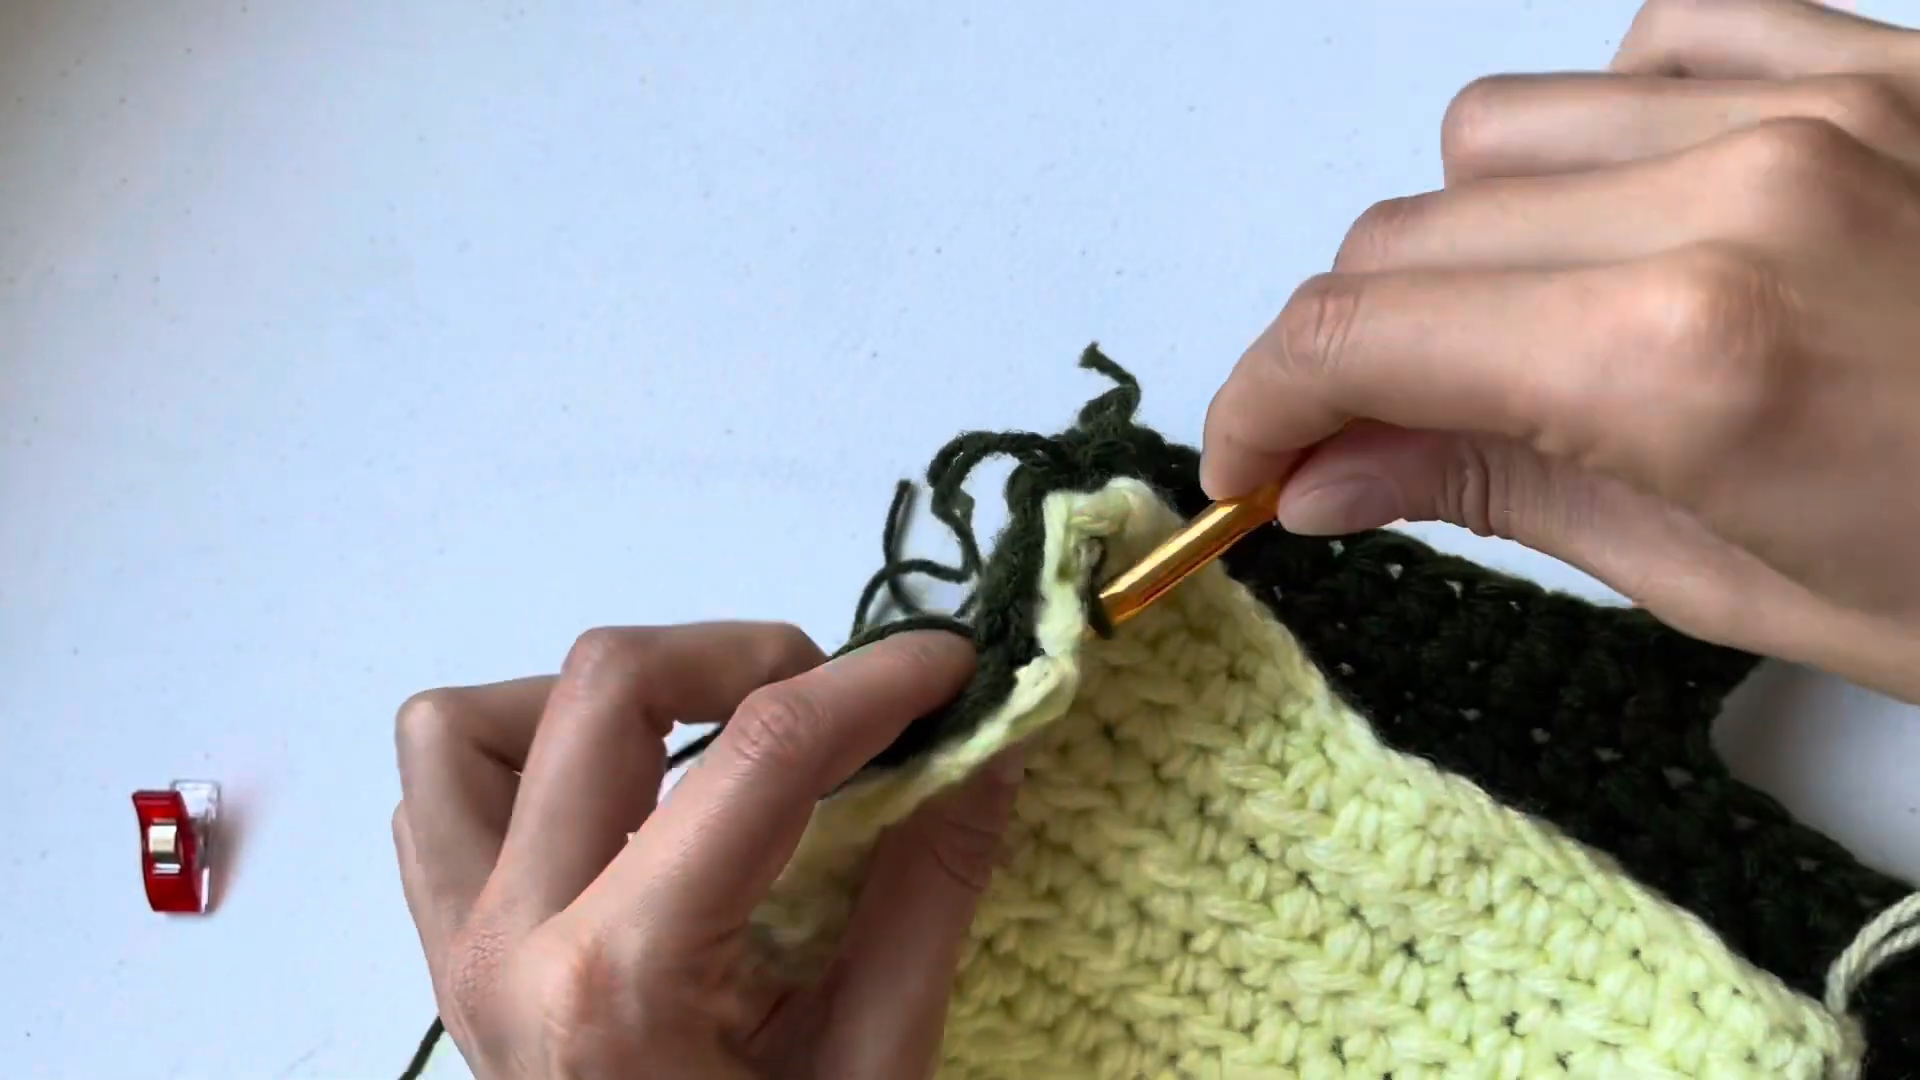
Step 4: Adding the Color Change
Switch to your second color at the marked row, working a few clean rows to form the contrast block. Carry the unused color loosely along the edge to keep the transition tidy.
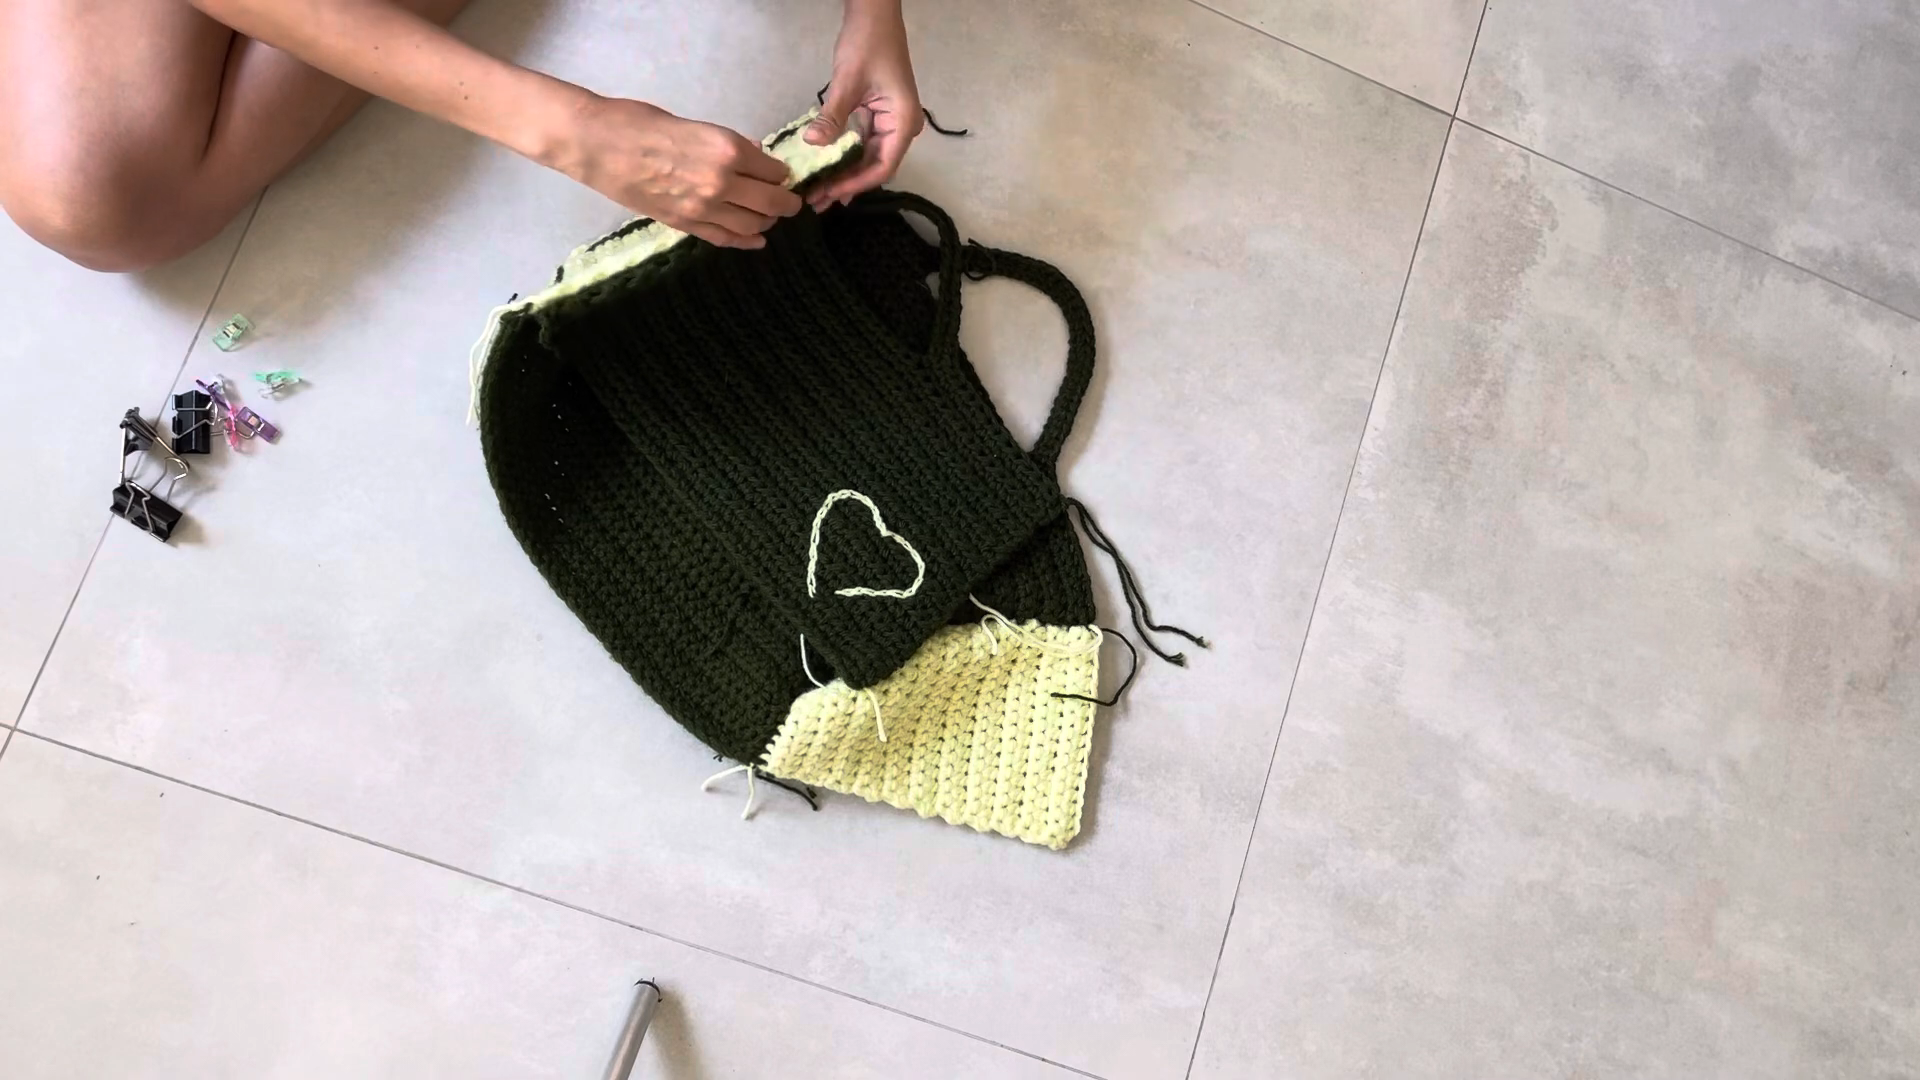
Step 5: Assembling the Bag and Handles
Fold and seam your finished panel into the bag shape, then attach your handles securely at each side. Add the heart-detail accent if desired before weaving in any remaining ends.
Tips and Tricks for Success
- Block your finished panel lightly before seaming for a cleaner shape.
- Reinforce handle attachment points with a few extra stitches for durability.
- Try the bag with a light load before finalizing the strap length.
- Weave in ends gradually rather than saving them all for the end.
Why This Crochet Max Bag Is Trending
Sturdy, everyday crochet bags have become popular among makers who want function alongside handmade charm. This color-block design fits that demand well, offering a graphic look that still works for practical daily use.
- The two-tone design photographs well for handmade shop listings.
- The ribbed texture gives the bag a structured, polished finish.
- It doubles as a thoughtful, practical handmade gift.
How to Adjust the Strap Length
Adjusting the strap comes down to changing your foundation chain length before attaching it to the bag body. Add extra chains for a crossbody-style strap, or keep it shorter for a classic shoulder carry. Always test the length against your own frame before securing the final stitches.
Conclusion
The Crochet Max is for daily. Each step, from the first chain to the final seam, builds practical skills for future projects. Take your time with the color change, since a clean transition makes the biggest visual difference. Once finished, this bag is ready for everyday use or gifting.