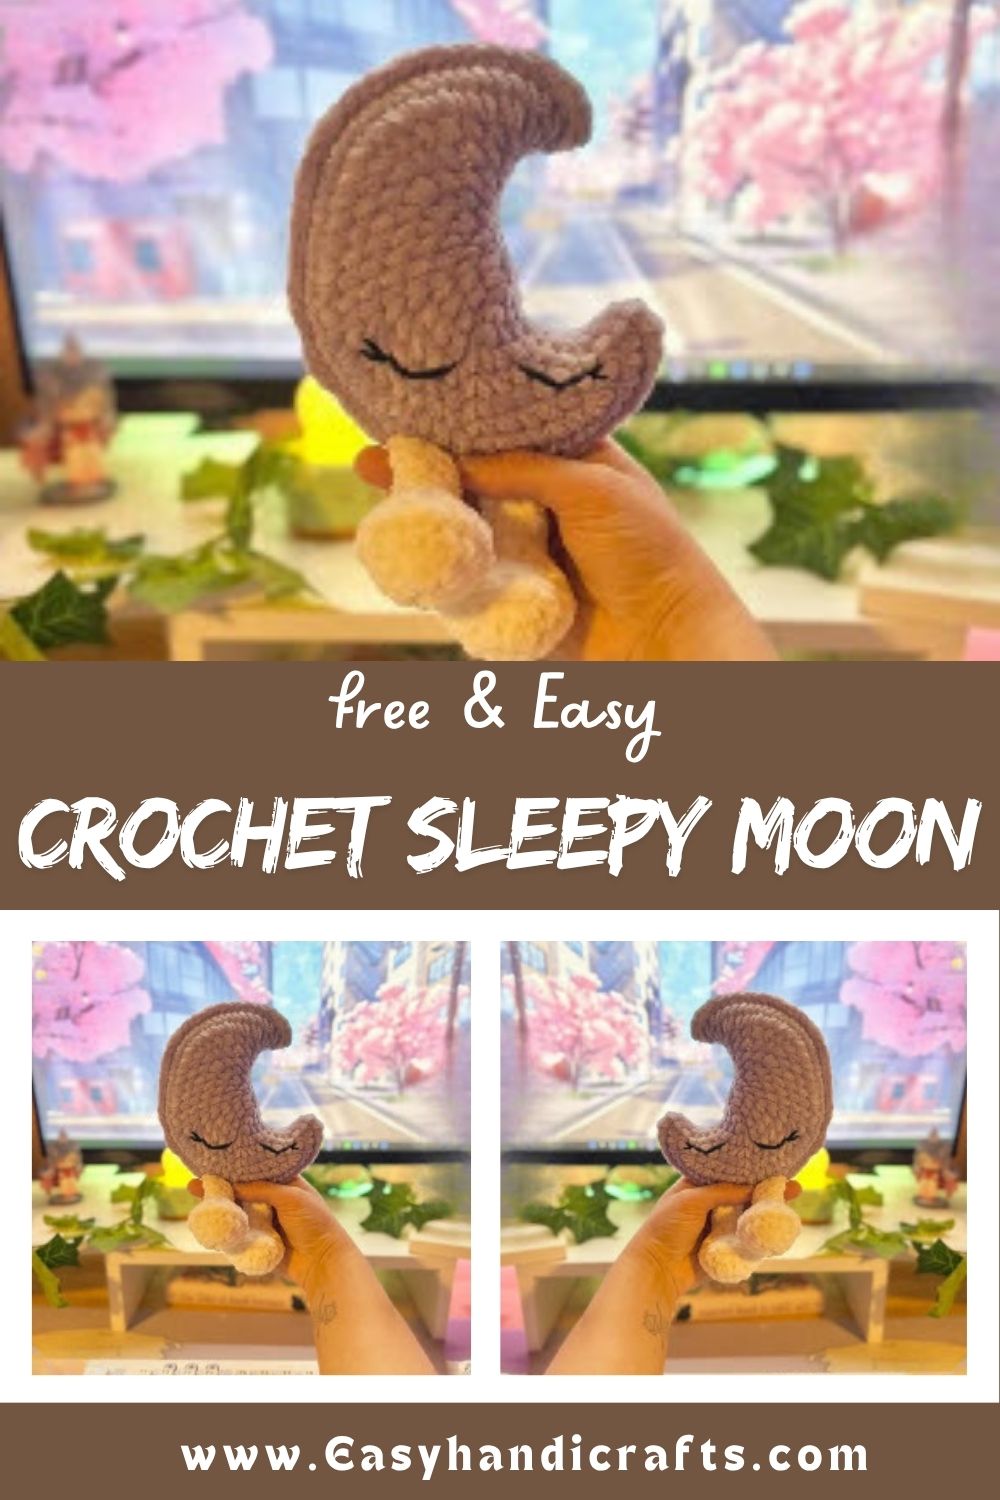
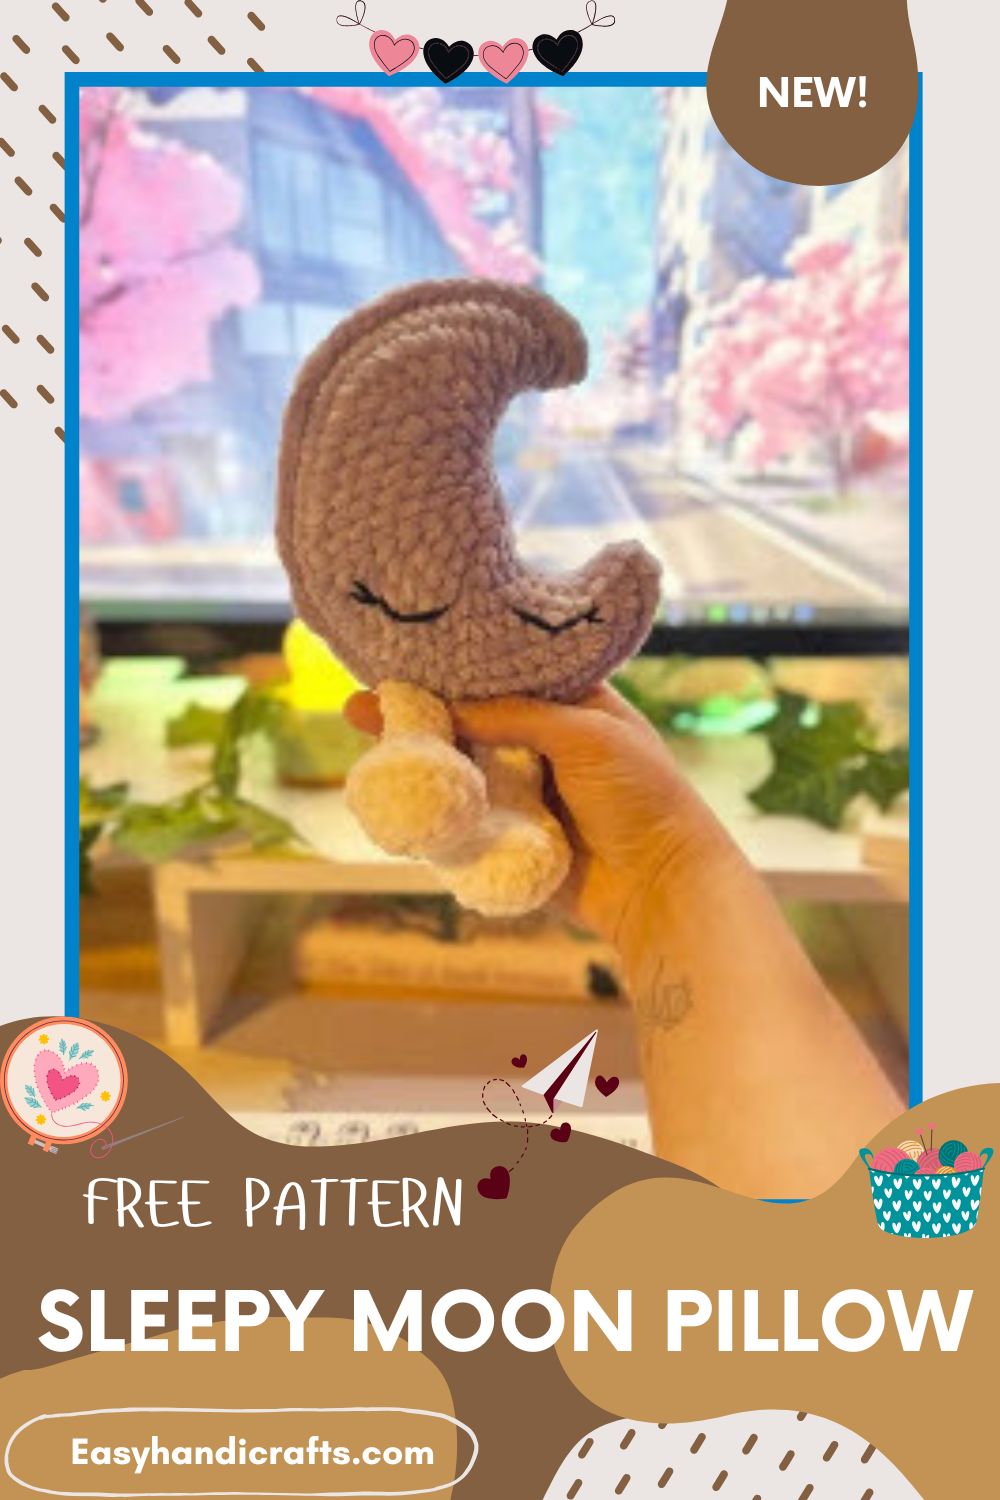
Free Crochet Sleepy Moon Pillow Amigurumi Pattern for Decor
This Crochet Sleepy Moon Pillow brings soft charm to any shelf or bed corner. Honestly, the rounded shape and gently stitched face make it a cozy amigurumi decor piece. Grab your hook and two yarn colors to start this relaxing weekend project today.
Crochet decor pieces bring warmth to a room without much effort, and this sleepy moon pillow proves that point well. Trust me, the pattern uses simple single crochet rounds paired with a textured back post technique for visual interest. Beginners comfortable with basic stitches will find this project approachable. The finished plushie works as a nursery accent, a reading nook companion, or a thoughtful handmade gift. Two yarn colors and a handful of standard supplies are all this build needs.
Skill Level
This pattern suits confident beginners and intermediate crocheters alike. Crocheters need basic single crochet, increases, and decreases to complete it. Since the back post single crochet technique adds mild texture work, it still stays approachable with practice and patience.
Pattern Overview
- This pattern works in continuous rounds using standard amigurumi construction, so no joining or turning is needed between rounds
- It builds from two main pieces: a pair of small legs and one larger rounded body
- The design uses two yarn colors for contrast between the moon shape and the smaller detail pieces
- Crocheters shape the piece through increase and decrease rounds, which stay evenly spaced and easy to track
- The legs finish with a textured back post single crochet section for added dimension
- For assembly, crocheters fold the body in half rather than stuffing it as a full round shape, which creates the flattened pillow-style silhouette
- Light stuffing keeps the piece soft and huggable while still holding its shape on a shelf
- Overall, this pattern suits gifting, nursery decor, shelf styling, or a calming bedside accent piece
Special Techniques
- Back Post Single Crochet (BPSC): To work this stitch, insert the hook around the post of the stitch rather than through the top loops, which creates a raised, textured ridge across the leg. First, insert the hook from back to front on the right side of the post, then move front to back on the left side, before completing the stitch as usual. As a result, this small ridge mimics a subtle ankle or cuff detail on the finished leg.
- Magic Ring (MR): Both the legs and body begin with a magic ring, which keeps the center of each piece tight and avoids a visible hole once stuffed.
- Invisible Decrease (DEC): Working an invisible decrease instead of a standard decrease keeps the surface smooth and prevents gaps from forming along shaping rounds. This matters most on visible sections like the moon’s rounded body.
- Folding for Assembly: Rather than stuffing the body as a full sphere, crocheters fold it flat, which gives the finished piece its pillow-like, flattened shape instead of a rounder amigurumi silhouette.
- Directional Shaping: Because the legs attach with a specific front-facing orientation, tracking the start of each round with a stitch marker makes the final assembly step far easier to get right on the first try.
Common Mistakes
- Skipping stitch markers, which makes it easy to lose track of round starting points on longer body rounds
- Overstuffing the legs, since this can distort the flattened foot shape and push the feet out of alignment
- Working the BPSC section too loosely, which flattens the intended texture instead of giving it a raised look
- Forgetting to leave the body unfastened before moving into assembly, which then forces extra unraveling and rework
- Attaching the legs facing the wrong direction, so the feet point backward instead of forward once the plushie sits upright
- Rushing the fold in the final body round without first checking that both sides line up evenly along the seam
- Using a hook size larger than 5mm, because this leaves visible gaps between stitches and lets stuffing peek through
- Closing the seam too quickly instead of stuffing gradually, which often results in lumpy or uneven filling
Supplies
- Less than one skein each of two yarn colors (100g skeins)
- 5mm crochet hook
- Darning needle
- Fiberfill stuffing
- Scissors
- Stitch markers
- Embroidery thread or acrylic yarn for the eyes
This pattern follows US crochet terminology throughout.
Abbreviations
- MR – Magic Ring
- SC – Single Crochet
- ST – Stitch
- DEC – Decrease (invisible decrease)
- INC – Increase (2 SC in one stitch)
- BPSC – Back Post Single Crochet
- FO – Fasten Off
- […] – Number of stitches per round
Legs (Make 2)
Round 1: 6 SC into a MR [6] Round 2: 6 INC [12] Round 3: (SC, INC) x 6 [18] Round 4: 18 BPSC [18] Round 5: 3 SC, DEC x 6, 3 SC [12]
Stuff the bottom of the foot lightly at this stage. Leave the rest of the leg unstuffed.
Round 6: (SC, DEC) x 4 [8] Round 7: (SC, DEC) x 2, 2 SC [6] Rounds 8–9: 6 SC around (2 rounds)
Once Round 9 is complete, fold the piece flat, then work 3 SC across the top. Fasten off and weave in ends. Afterward, a stitch or two may need to shift so the foot faces forward once flattened.
Body
Round 1: 8 SC into a MR [8] Round 2: 8 INC [16] Round 3: (SC, INC) x 8 [24] Round 4: (2 SC, INC) x 8 [32] Round 5: (3 SC, INC) x 8 [40] Round 6: (4 SC, INC) x 8 [48] Round 7: (5 SC, INC) x 8 [56] Round 8: (6 SC, INC) x 8 [64] Round 9: 64 INC [128] Round 10: SC around [128]
The body will naturally curl because of the increase round in Round 9. So, do not fasten off; instead, move directly into assembly.
Assembly
- First, fold the body in half so the two sides meet evenly
- Then stuff the piece gradually while closing the seam, rather than all at once
- Next, work 40 SC across both sides while folded
- Attach the first leg with 3 SC into the body
- After that, continue with 4 SC across the body
- Attach the second leg with 3 SC into the body
- Finally, finish the seam with 14 SC [64 total]
- Fasten off and weave in all remaining ends
- Position both legs so the front of each foot faces the front of the finished plushie
Important Remarks
-
- This Crochet Sleepy Moon Pillow pattern layout appears here for personal, non-commercial reference, so please do not redistribute or duplicate it as a standalone pattern file.
- Original pattern content and stitch layout credit goes to Cozymountaincrochet.
- All instructions follow US crochet terminology, so UK crocheters should adjust stitch names accordingly.
- The finished piece works well displayed as decor, though it is not intended as a children’s toy because of the small stuffed parts and embroidered details.
- Color choices for the two yarns can shift freely to match different moon or decor themes.
- Crocheters can embroider the eyes with thread, or they can substitute safety eyes instead, depending on personal preference and safety needs for the intended use.
Conclusion
This Crochet Sleepy Moon Pillow pattern turns a few basic stitches into a genuinely charming decor piece. Real talk, the BPSC texture on the legs is a small detail that makes a noticeable difference in the finished look. Once the body is folded and assembled, the plushie holds its pillow shape nicely on a shelf or bed. It works equally well as a handmade gift or a personal decor project. With just two colors and a handful of supplies, this build comes together in a single relaxed session. No joke, first-time amigurumi crocheters often pick this exact pattern to practice folding and directional shaping without feeling overwhelmed.